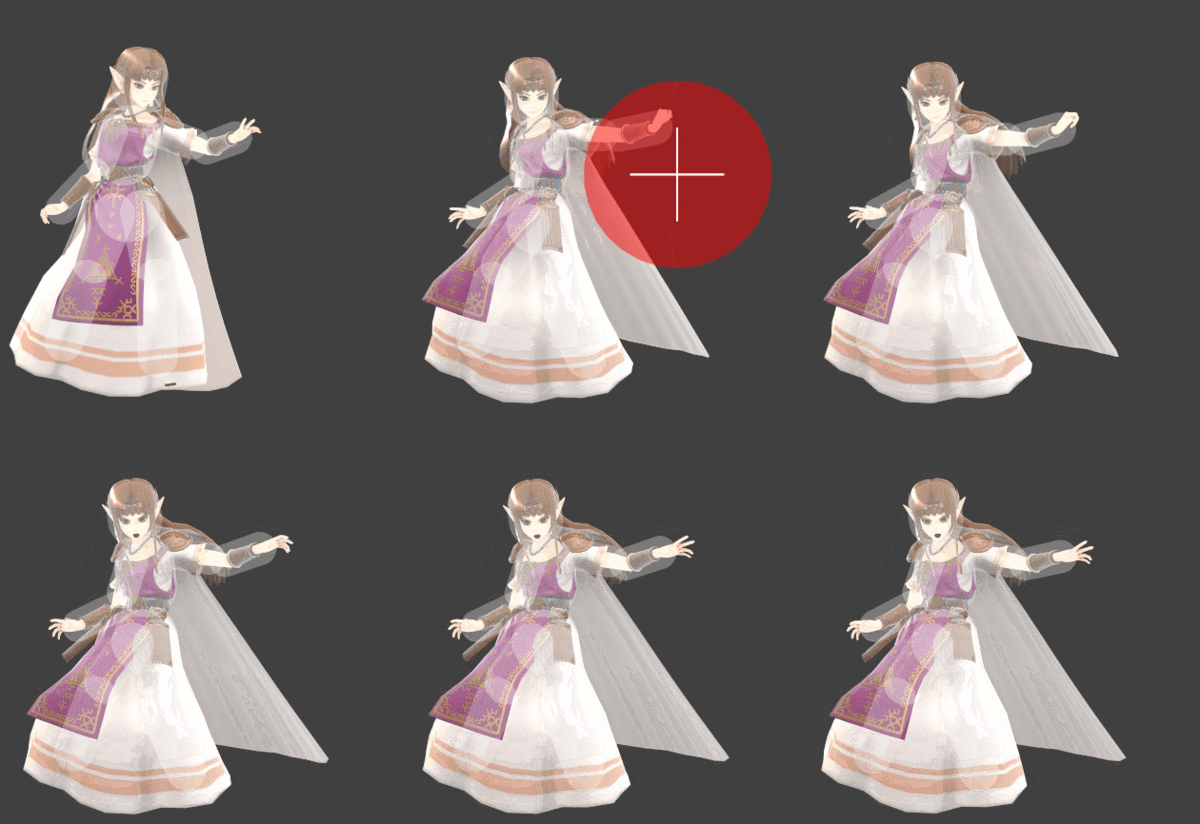
Zelda (SSBU)/Pummel
Overview[edit]
While levitating the opponent, Zelda clenches her fist to inflict a pulse of weak magic. It is a fast attack that can be used repeatedly on grabbed opponents. Each pummel will inflict small damage and occupy a spot in the staleness queue, improving the KO potential of other moves, but at the risk of giving the opponent more time to mash out of the grab before a throw is performed. The higher the opponent's percent, the more mashing it will require for them to escape the grab. Among all pummels, Zelda's is rather average in damage.
All of Zelda's throws have slow startup and distinct animations and are thus reactable. Therefore, forgoing pummels and throwing immediately for a DI mixup is generally ineffective. For the most part, maximizing the number of safe pummels before a throw is preferred, and can make the difference in Zelda's throws (namely back throw and up throw) KOing. For down throw specifically, however, pummeling can be detrimental around mid percents. The pummels' cumulative damage and their strengthening of down throw if it was stale can prevent it from KO confirming into a Lightning Kick.
Since Zelda can combine her throws into Phantom Slash for combos, pummel also serves as a way to stall (namely for forward throw, which has high KO potential with Phantom) while accumulating slight damage. However, since the timing for forward throw into Phantom is strict, pummel's high hitlag risks missing the combo window entirely, as opposed to just holding the opponent in place. If intending to rack maximum damage before the Phantom hits, down throw is the superior option to pummel, as the looping hits deal more damage at a faster rate with much less hitlag.
Hitboxes[edit]
Timing[edit]
| Hitbox | 2 |
|---|---|
| Interruptible | 8 |
| Animation length | 24 |
Lag time |
Hitbox |
Interruptible |
|
