Super Smash Bros. Ultimate

Zelda (SSBU)/Grab

< Zelda (SSBU)
Revision as of 18:12, July 31, 2024 by Kiedan (talk | contribs) (→‎Overview)
(diff) ← Older revision | Latest revision (diff) | Newer revision → (diff)
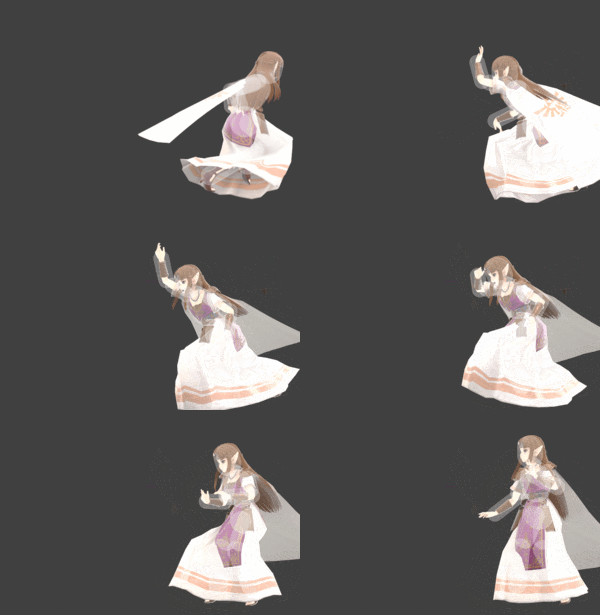
Zelda grab hitbox visualization.
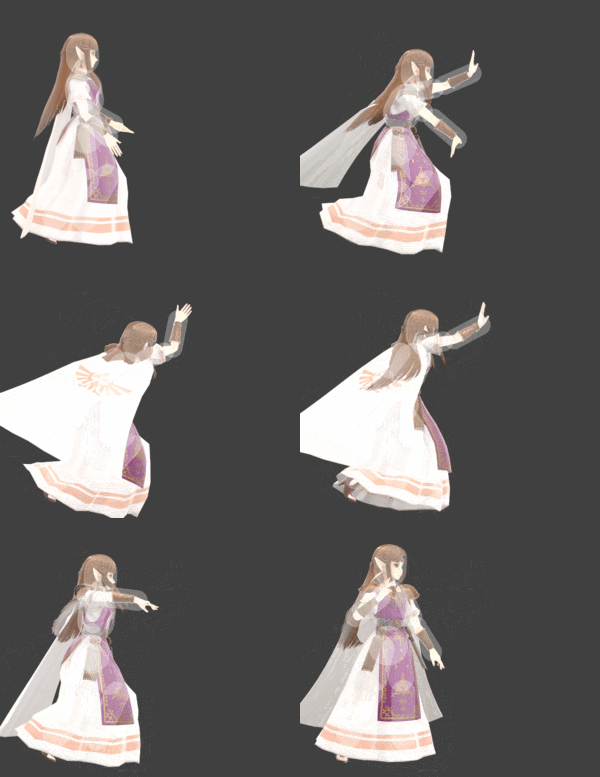
Zelda dash grab hitbox visualization.
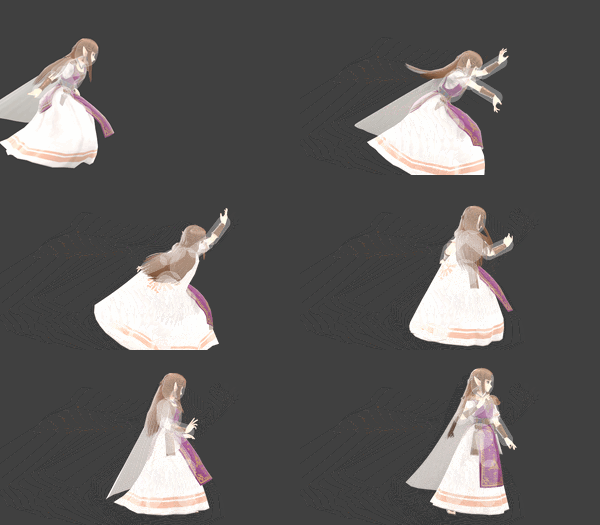
Zelda pivot grab hitbox visualization.

OverviewEdit

Zelda casts holding magic in front of her. Her grab has above-average range, but at frame 10 with a FAF of 40, it is laggy, a mediocre out of shield option (especially out of shieldstun) and difficult to land, especially on aerial opponents due to a narrow hitbox. However, the reward in her throws is massive, as it can inflict large damage and can KO in three different ways. Grab can combo from down aerial. It also works well with Phantom, as it beats shield, a common defensive option against Phantom.

Dash grab is good as a whiff punish, but is quite slow and should be used very carefully, as it can very easily be whiff punished itself.

Pivot grab is less laggy and has a huge disjoint only dwarfed by Greninja's among non-tethers. This gives it some spacing potential, but it is still committal.
Grabbox DataEdit

Standing GrabEdit

ID Radius Bone Offset G A
0 3.8 top 0.0 9.0 4.0 to 11.5    
1 1.9 top 0.0 9.0 2.1 to 13.4    

Dash GrabEdit

ID Radius Bone Offset G A
0 3.0 top 0.0 9.0 4.0 to 13.3    
1 1.5 top 0.0 9.0 2.5 to 14.8    

Pivot GrabEdit

ID Radius Bone Offset G A
0 3.8 top 0.0 9.0 -4.0 to -19.2    
1 1.9 top 0.0 9.0 -2.1 to -21.1    

TimingEdit

Standing grabEdit

Grab 10-11
Interruptible 40
Animation length 39
                                                                             

Dash grabEdit

Grab 13-14
Interruptible 48
Animation length 47
                                                                                             

Pivot grabEdit

Grab 14-15
Interruptible 43
Animation length 48
                                                                                               
Legend (1 square = 1 frame)
 
Lag time
 
Grab
 
Interruptible