Super Smash Bros. Ultimate

Zelda (SSBU)/Down smash

< Zelda (SSBU)
Revision as of 17:03, May 22, 2024 by Kiedan (talk | contribs) (Back sourspot actually reaches higher than the front sourspot (7u compared to 5u))
Competitive.png This article or section may require competitive expertise.
You can discuss this issue on the talk page or edit this page to improve it.
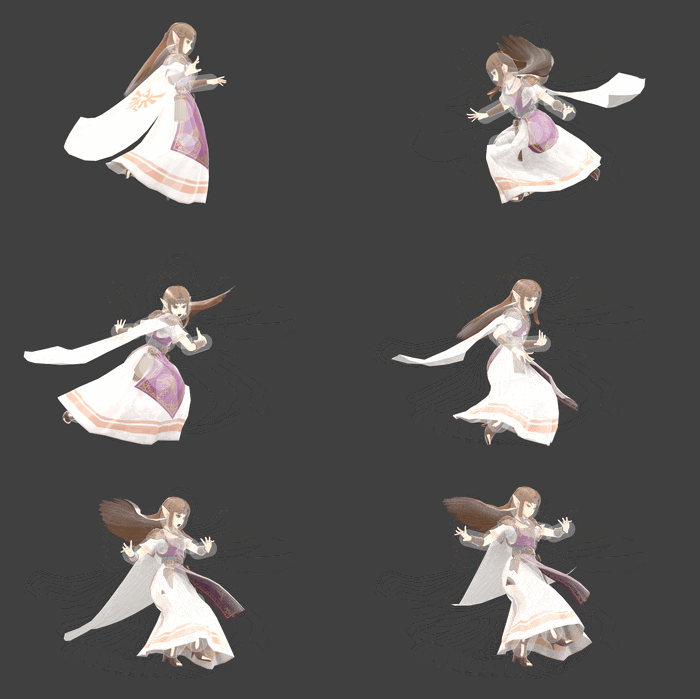
Hitbox visualization showing Zelda's down smash.

Overview

Update History

  13.0.0

  •   Down smash has more knockback scaling (86 (front)/96 (back) → 89/100).

Hitboxes

ID Part Rehit rate Damage SD Angle Angle type BK KS FKV Set weight Radius Bone Offset SDI× T% Clang Rebound Effect Type G A Sound Direct Hit bits Hit part Blockable Reflectable Absorbable Flinchless No GFX Heedless
First hit
0 0 0 12.0% 0   Standard 20 89 0   4.2 top 0.0 3.0 12.5 1.0× 1.0× 20%               Kick   All All            
1 0 0 12.0% 0   Standard 20 89 0   3.0 top 0.0 3.0 to 5.0 11.0 to 7.0 1.0× 1.0× 20%               Kick   All All            
Second hit
0 0 0 10.0% 0   Standard 20 100 0   4.2 top 0.0 3.0 -11.0 1.0× 1.0× 20%               Kick   All All            
1 0 0 10.0% 0   Standard 20 100 0   3.0 top 0.0 7.0 to 5.0 -9.0 to -4.5 1.0× 1.0× 20%               Kick   All All            

Timing

Charges between 2-3
Hit 1 5-6
Hit 2 13-14
Interruptible 38
Animation length 59
                                                                                                                     
Legend (1 square = 1 frame)
 
Lag time
  
Charge interval
 
Hitbox
 
Interruptible

Trivia

  • This move has a 20% chance to trip. However, the ID 0 hitboxes can only cause it on slants due to their launch angle.