Super Smash Bros. Ultimate

Zelda (SSBU)/Down smash

< Zelda (SSBU)
Revision as of 15:51, December 19, 2019 by Zeckemyro (talk | contribs) (New Page: {{ArticleIcons|ssbu=y}} thumb|420px|Hitbox visualization showing Zelda's down smash. ==Overview== ==Hitboxes== {{UltimateHitboxTableHeader}} {{HitboxTableTi...)
(diff) ← Older revision | Latest revision (diff) | Newer revision → (diff)
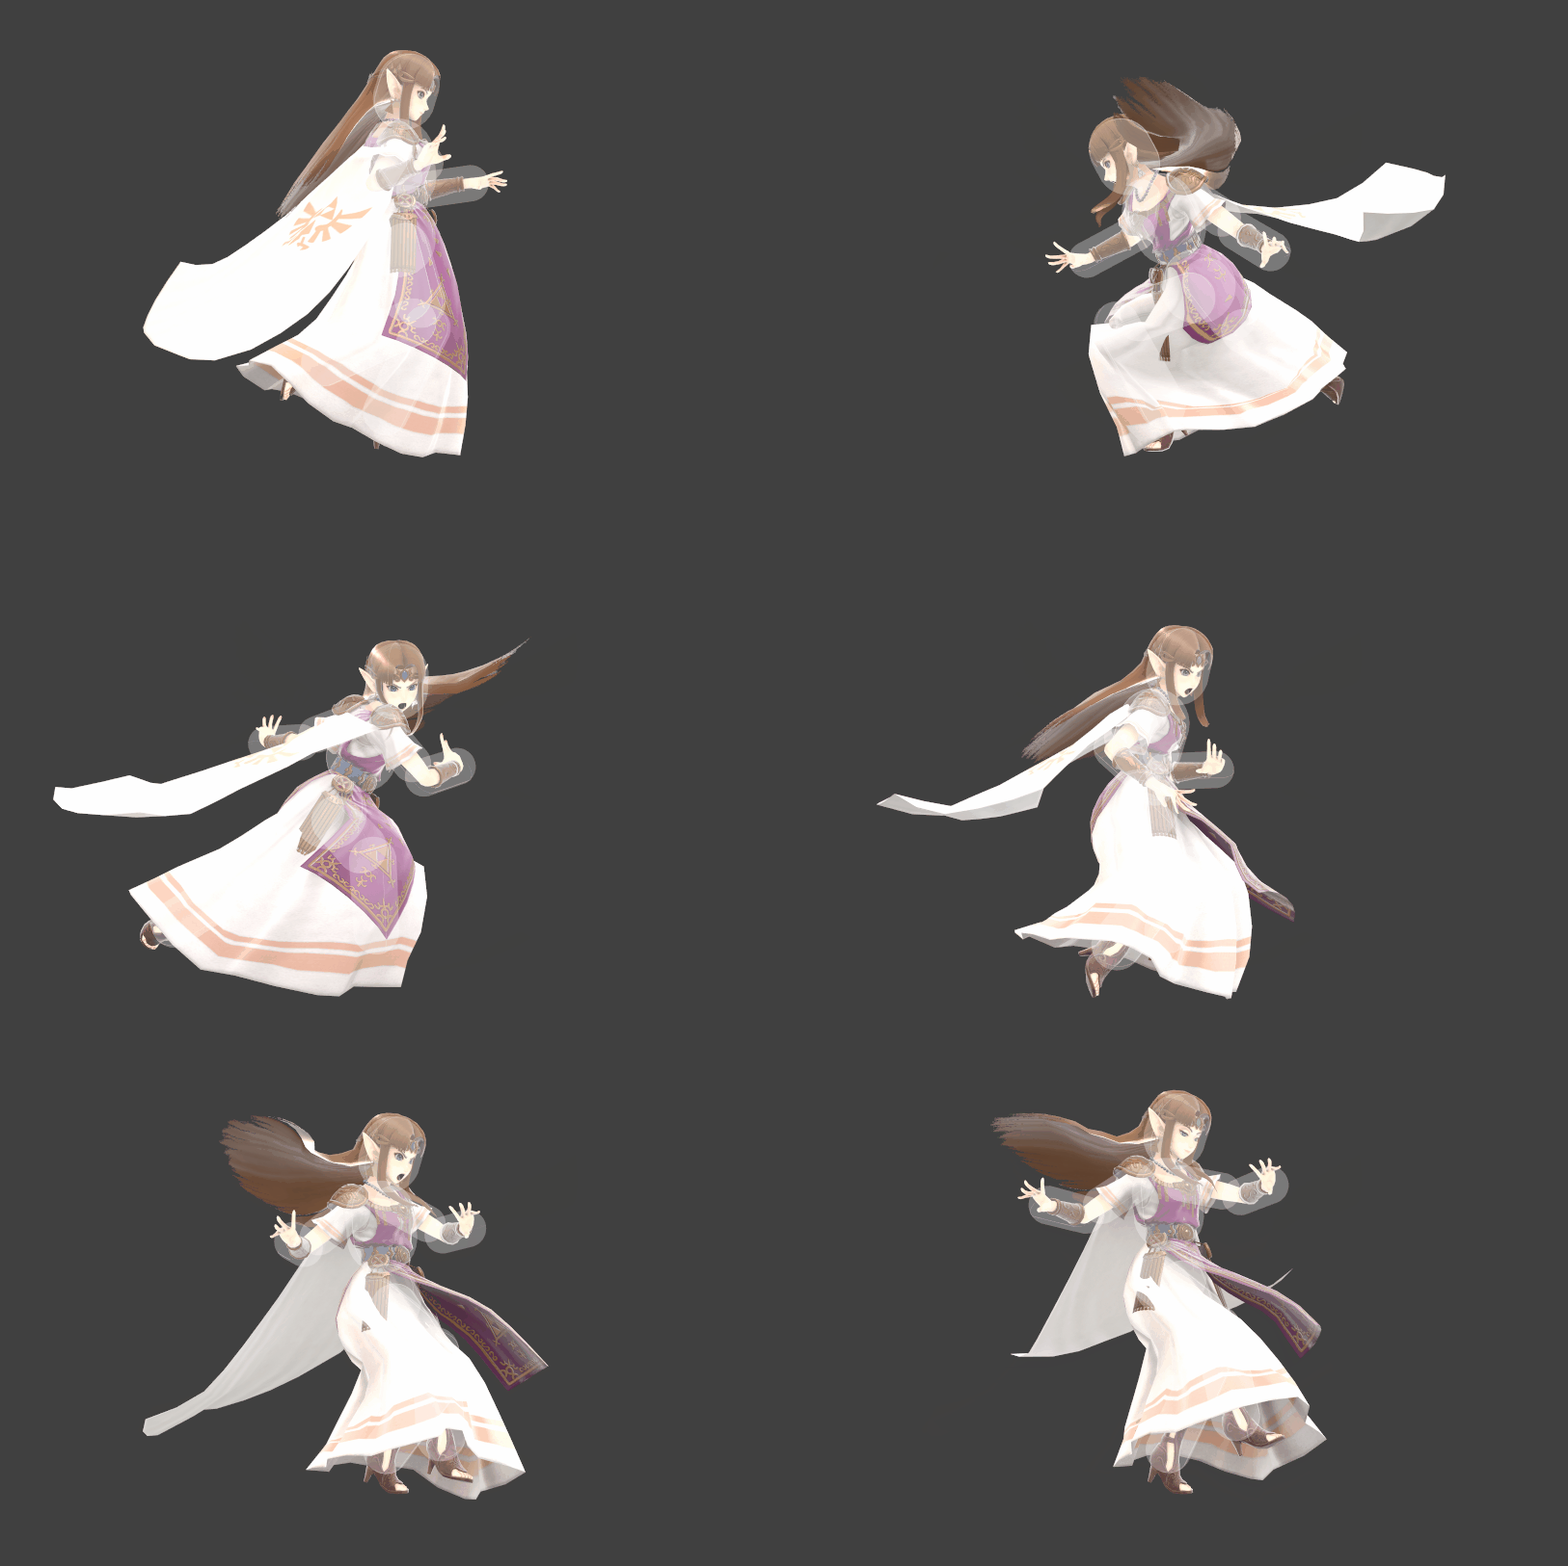
Hitbox visualization showing Zelda's down smash.

Overview

Hitboxes

ID Part Rehit rate Damage SD Angle Angle type BK KS FKV Set weight Radius Bone Offset SDI× T% Clang Rebound Effect Type G A Sound Direct Hit bits Hit part Blockable Reflectable Absorbable Flinchless No GFX Heedless
First hit
0 0 0 12.0% 0   Standard 20 86 0   4.2 top 0.0 3.0 12.5 1.0× 1.0× 20%               Kick   All All            
1 0 0 12.0% 0   Standard 20 86 0   3.0 top 0.0 3.0 to 5.0 11.0 to 7.0 1.0× 1.0× 20%               Kick   All All            
Second hit
0 0 0 10.0% 0   Standard 20 96 0   4.2 kneer 0.0 3.0 -11.0 1.0× 1.0× 20%               Kick   All All            
1 0 0 10.0% 0   Standard 20 96 0   3.0 kneer 0.0 3.0 to 5.0 -9.0 to -4.5 1.0× 1.0× 20%               Kick   All All            

Timing

Charges between 2-3
Hit 1 5-6
Hit 2 13-14
Interruptible 38
Animation length 59
Hitboxes                                                                                                                       
Legend (1 square = 1 frame)
 
Lag time
  
Charge interval
 
Hitbox
 
Interruptible

Trivia

  • This move has a 20% chance to trip. Due to the angle of the ID 0 hitboxes, it can only occur on slants.