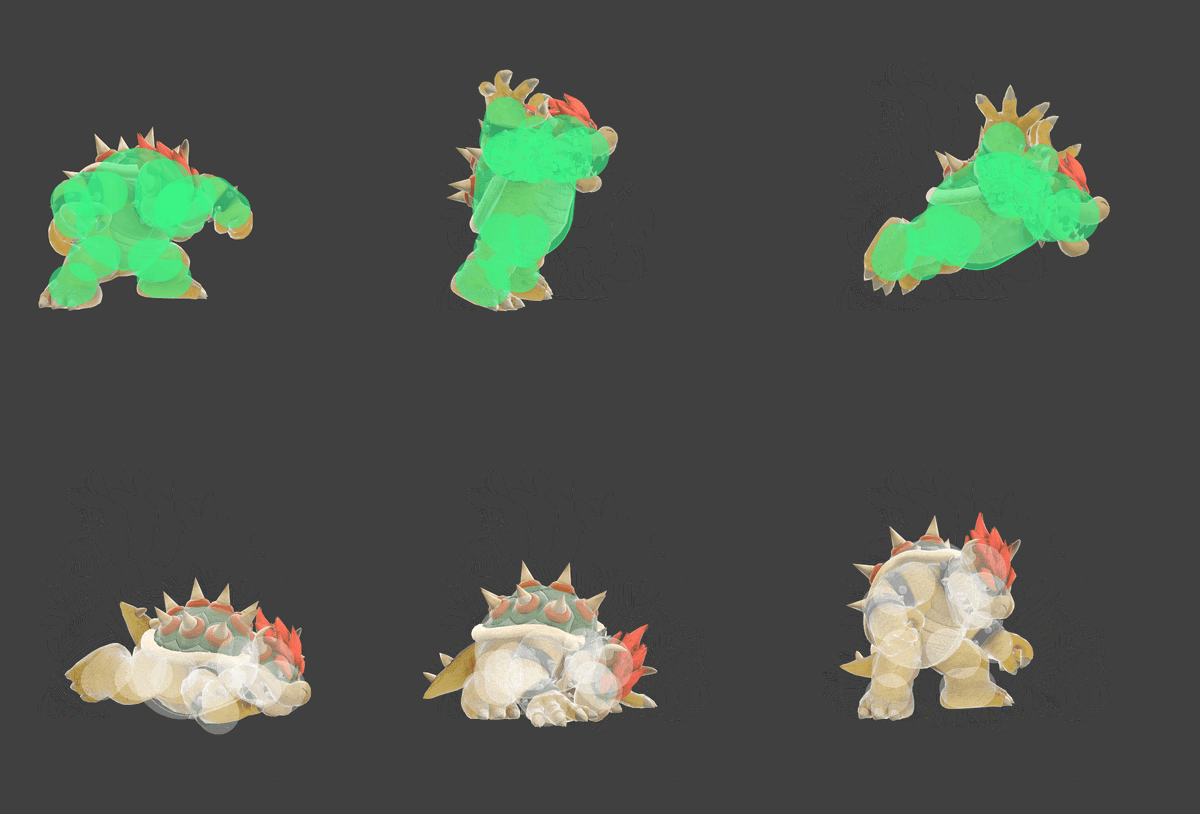
| Bowser down throw hurtbox and hitbox visualization | ||||
|---|---|---|---|---|

| ||||
Overview
Bowser places the opponent on the ground and body slabs them with high damage, making it one of the strongest throws in the game. With high base knockback, low knockback scaling and high ending lag helps Bowser to prevent getting any follow-ups. Although he gets easily punishable after the throw.
Throw and Hitbox Data
| Kind | ID | Damage | Angle | Angle type | BK | KS | FKV | H× | Effect | Type | Sound | ||||||||||||
|---|---|---|---|---|---|---|---|---|---|---|---|---|---|---|---|---|---|---|---|---|---|---|---|
| Throw | |||||||||||||||||||||||
| Throw | 0 | 4.0% | Forward | 90 | 80 | 0 | 0.0× | None | |||||||||||||||
Timing
| Invincibility | 1-37 |
|---|---|
| Hitbox | 35-45 |
| Throw Release | 37 |
| Interruptible | 85 |
| Animation length | 91 |
| Lag time |
Hitbox |
Hitbox change |
Vulnerable |
Invincible |
Throw point |
Interruptible |