Bowser (SSBU)/Down throw
From SmashWiki, the Super Smash Bros. wiki
Jump to navigationJump to search
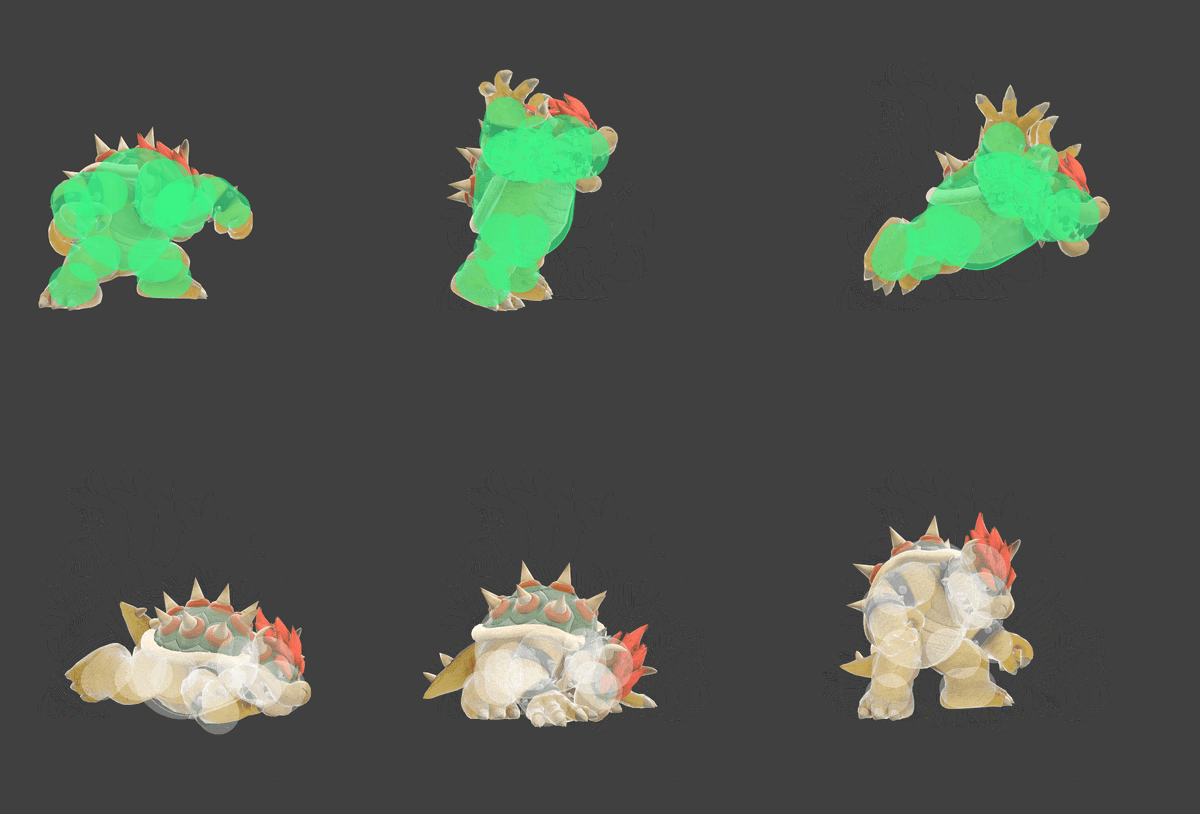
| Bowser down throw hurtbox and hitbox visualization | ||||
|---|---|---|---|---|

| ||||
Overview[edit]
Bowser places the opponent on the ground and body slams them with high damage, making it one of the most damaging throws in the game. With high base knockback, low knockback scaling and high ending lag, however, this throw has near nonexistent combo or KO potential, making it strictly useful for damage racking and repositioning; its 0 degrees semi-spike angle coupled with high damage makes it good for setting up edgeguards and tech chases.
Throw and Hitbox Data[edit]
| Kind | ID | Damage | Angle | Angle type | BK | KS | FKV | H× | Effect | Type | Sound | ||||||||||||
|---|---|---|---|---|---|---|---|---|---|---|---|---|---|---|---|---|---|---|---|---|---|---|---|
| Throw | |||||||||||||||||||||||
| Throw | 0 | 4.0% | Forward | 90 | 80 | 0 | 0.0× | ||||||||||||||||
| Break | 0 | 3.0% | Forward | 40 | 100 | 0 | 0.0× | ||||||||||||||||
Timing[edit]
| Invincibility | 1-37 |
|---|---|
| Hitbox | 35-45 |
| Throw Release | 37 |
| Interruptible | 85 |
| Animation length | 91 |
Lag time |
Hitbox |
Vulnerable |
Invincible |
Throw point |
Interruptible |
|