Super Smash Bros. 4

Dr. Mario (SSB4)/Forward tilt

From SmashWiki, the Super Smash Bros. wiki
Jump to navigationJump to search
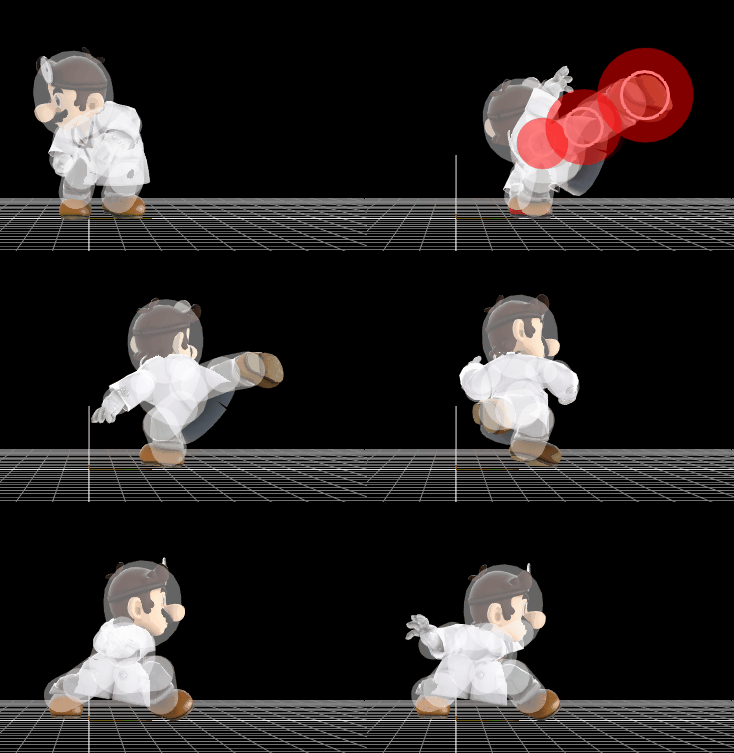
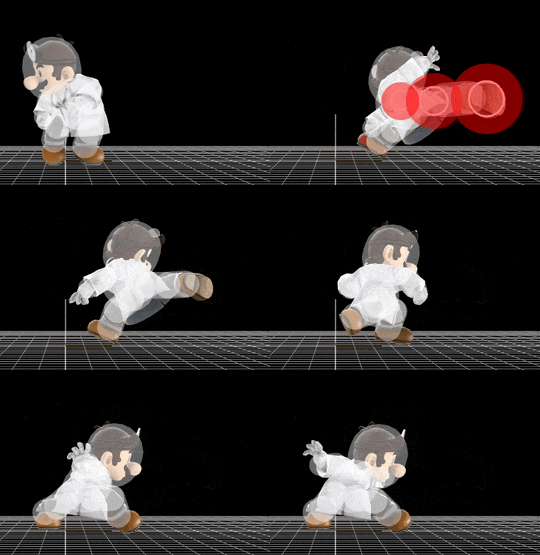
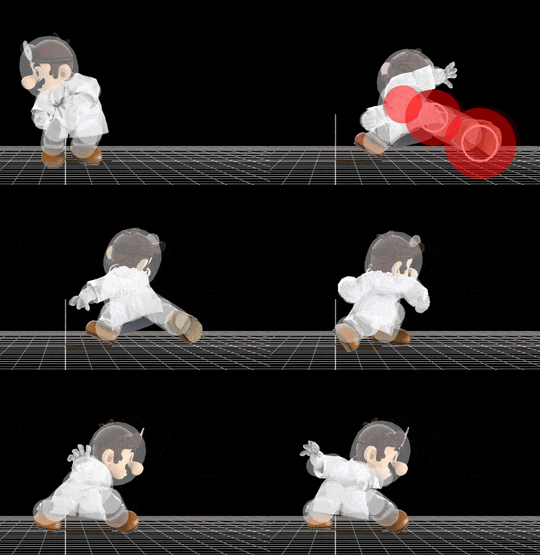
Dr. Mario forward tilt hitbox visualization
Dr.MarioFTiltUp.gif
Dr.MarioFTilt.gif
Dr.MarioFTiltDown.gif

Overview[edit]

Dr. Mario performs a reverse roundhouse kick from his outside leg, which can be angled, allowing it to have 2-frame potential with the downwards angle, and slight anti-airing potential with the upwards angle. Comparatively, it is almost the exact the same as Mario's forward tilt, but deals 0.84% more damage. Otherwise, it has similar use, being able to be used in locks due to the Sakurai angle, as an out of shield option, while also staying a punishable move with low kill power. The slight damage increase allows the move to knock away opponents slightly farther, while also having slightly less locking potential.

Hitboxes[edit]

ID Part Damage SD Angle BK KS FKV Radius Bone Offset SDIx T% Clang Rebound Type Effect G A Sound Direct
0 0 7% 0 Sakurai angle 8 100 0 3.8 9 4.6 0.0 0.3 1.0x 1.0x 0% HitboxTableIcon(Clang).png HitboxTableIcon(Rebound).png Foot (type) Normal (effect) HitboxTableIcon(GroundedTrue).png HitboxTableIcon(AerialTrue).png M Kick SpecialsDirect.png
1 0 7% 0 Sakurai angle 8 100 0 3.0 8 1.2 0.0 0.0 1.0x 1.0x 0% HitboxTableIcon(Clang).png HitboxTableIcon(Rebound).png Foot (type) Normal (effect) HitboxTableIcon(GroundedTrue).png HitboxTableIcon(AerialTrue).png M Kick SpecialsDirect.png
2 0 7% 0 Sakurai angle 8 100 0 2.0 3 1.1 -2.0 0.0 1.0x 1.0x 0% HitboxTableIcon(Clang).png HitboxTableIcon(Rebound).png Foot (type) Normal (effect) HitboxTableIcon(GroundedTrue).png HitboxTableIcon(AerialTrue).png M Kick SpecialsDirect.png
The damage values are untouched before being affected by Dr. Mario's 1.12x damage multiplier.

Timing[edit]

Hitbox 5-7
Interruptible 31
Animation length 40
FrameIcon(Lag).png FrameIcon(Lag).png FrameIcon(Lag).png FrameIcon(Lag).png FrameIcon(Hitbox).png FrameIcon(Hitbox).png FrameIcon(Hitbox).png FrameIcon(Lag).png FrameIcon(Lag).png FrameIcon(Lag).png FrameIcon(Lag).png FrameIcon(Lag).png FrameIcon(Lag).png FrameIcon(Lag).png FrameIcon(Lag).png FrameIcon(Lag).png FrameIcon(Lag).png FrameIcon(Lag).png FrameIcon(Lag).png FrameIcon(Lag).png FrameIcon(Lag).png FrameIcon(Lag).png FrameIcon(Lag).png FrameIcon(Lag).png FrameIcon(Lag).png FrameIcon(Lag).png FrameIcon(Lag).png FrameIcon(Lag).png FrameIcon(Lag).png FrameIcon(Lag).png FrameIcon(Interruptible).png FrameIcon(Interruptible).png FrameIcon(Interruptible).png FrameIcon(Interruptible).png FrameIcon(Interruptible).png FrameIcon(Interruptible).png FrameIcon(Interruptible).png FrameIcon(Interruptible).png FrameIcon(Interruptible).png FrameIcon(Interruptible).png
Legend (1 square = 1 frame)
Lag
Lag time
Hitbox
Hitbox
Interruptibility
Interruptible