Isabelle (SSBU)/Side special: Difference between revisions
(Added to weaknesses.) |
|||
| Line 9: | Line 9: | ||
For her [[side special move]], [[Fishing Rod]], Isabelle pulls out a fishing rod. The move can be smash-inputted to increase its range. The move serves as a [[Grab#Special moves that can grab|command grab]] against opponents. If Isabelle successfully catches an opponent with the hook, she will reel them in, then throw them in one of four different directions, depending on the input. Tossing them forward or backward can be used to setup into [[Edgeguarding|edgeguards]], throwing them upward can [[KO]], and Fishing Rod's downward throw can [[combo]] into [[Aerial attack|aerials]]. Because Fishing Rod is a command grab with decent [[range]], it is an effective tool against {{SSBU|Banjo & Kazooie}}'s [[Wonderwing]] side special. Fishing Rod can also be used as a [[tether recovery]] move as well, giving Isabelle a secondary [[recovery]] option to go with her [[Balloon Trip]] [[up special move]]. | For her [[side special move]], [[Fishing Rod]], Isabelle pulls out a fishing rod. The move can be smash-inputted to increase its range. The move serves as a [[Grab#Special moves that can grab|command grab]] against opponents. If Isabelle successfully catches an opponent with the hook, she will reel them in, then throw them in one of four different directions, depending on the input. Tossing them forward or backward can be used to setup into [[Edgeguarding|edgeguards]], throwing them upward can [[KO]], and Fishing Rod's downward throw can [[combo]] into [[Aerial attack|aerials]]. Because Fishing Rod is a command grab with decent [[range]], it is an effective tool against {{SSBU|Banjo & Kazooie}}'s [[Wonderwing]] side special. Fishing Rod can also be used as a [[tether recovery]] move as well, giving Isabelle a secondary [[recovery]] option to go with her [[Balloon Trip]] [[up special move]]. | ||
However, the move has | However, the move has major weaknesses; it is one of the only [[Grab#Hitboxes that can grab|hit grabs]] in ''Ultimate''. This means that it is unusually negated by [[shield]]ing, unlike all other [[grab]]s. Additionally, the hook can also be [[Reflection|reflected]], which also negates the move as well. Additionally, the move's hitboxes are not entirely on par with its visuals, making it pass through foe's. This is particularly evident when used on the ground, decreasing its reliability. Lastly, if the opponent is on a platform as she reels in her catch, the grab may not finish properly- resulting in a missed punish. | ||
==Update History== | ==Update History== | ||
Latest revision as of 05:45, December 4, 2023
Overview[edit]
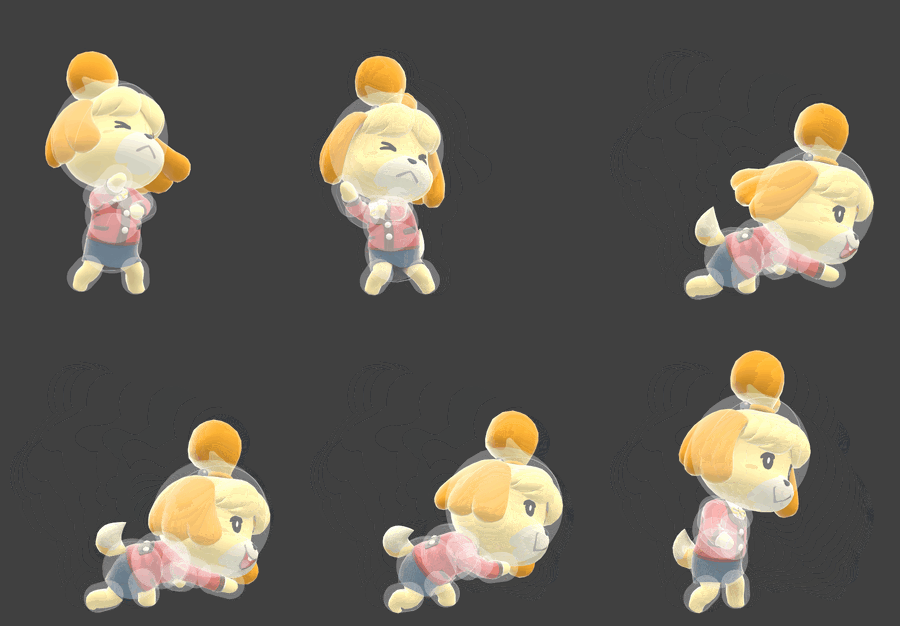
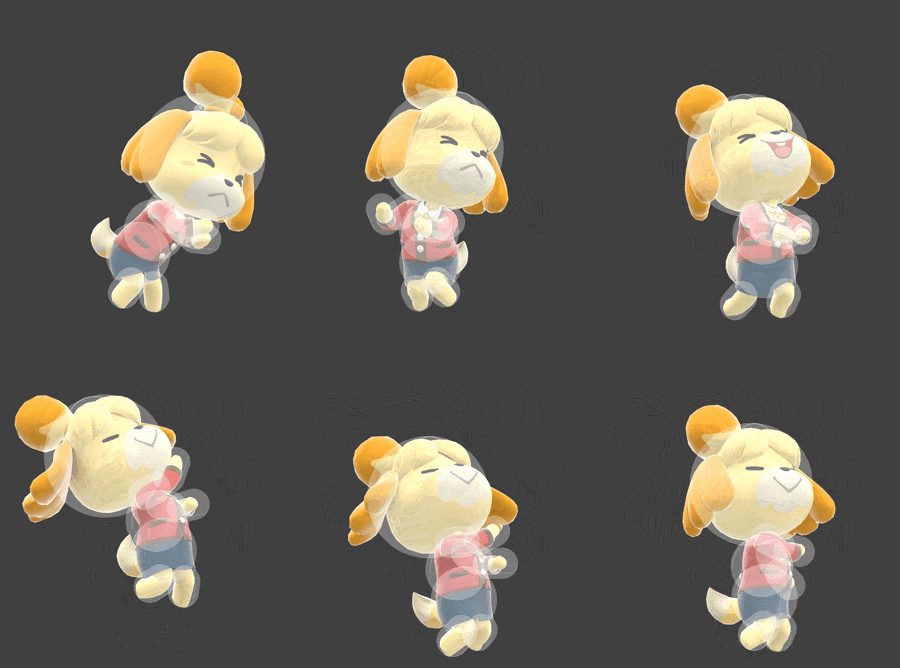
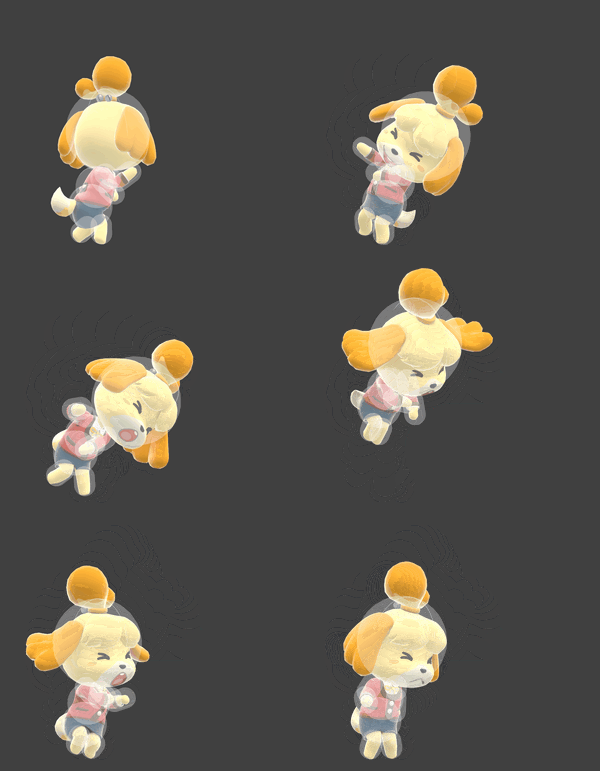
For her side special move, Fishing Rod, Isabelle pulls out a fishing rod. The move can be smash-inputted to increase its range. The move serves as a command grab against opponents. If Isabelle successfully catches an opponent with the hook, she will reel them in, then throw them in one of four different directions, depending on the input. Tossing them forward or backward can be used to setup into edgeguards, throwing them upward can KO, and Fishing Rod's downward throw can combo into aerials. Because Fishing Rod is a command grab with decent range, it is an effective tool against Banjo & Kazooie's Wonderwing side special. Fishing Rod can also be used as a tether recovery move as well, giving Isabelle a secondary recovery option to go with her Balloon Trip up special move.
However, the move has major weaknesses; it is one of the only hit grabs in Ultimate. This means that it is unusually negated by shielding, unlike all other grabs. Additionally, the hook can also be reflected, which also negates the move as well. Additionally, the move's hitboxes are not entirely on par with its visuals, making it pass through foe's. This is particularly evident when used on the ground, decreasing its reliability. Lastly, if the opponent is on a platform as she reels in her catch, the grab may not finish properly- resulting in a missed punish.
Update History[edit]
 Fixed item collided with two Fishing Rods that would behave erratically, most noticeably infinite Assist Trophy glitch.
 Fishing Rod's reel has fewer active frames (frames 2-11 → 10-11).
 Fishing Rod's reel can catch opponents in the air while it is not moving, giving it a guaranteed setup for 2 frame punishes.
 Fishing Rod was reverted to its pre-3.0.0 behavior.
 The move has more active frames when reeling back (frames 9-11 → 2-11).
 Fishing Rod no longer catches opponents while it is not moving.
 Fishing Rod has less startup lag (frame 25 → 21) and can be reeled in faster (frame 50 → 46).
 Fishing Rod's up throw has more knockback scaling (62 → 66).
 Adjusted variables related to Fishing Rod's ledge tether range (14, 10, -3, -10 → 20, 25, -3, -10), in order to improve its reliability as a tether recovery.
Throw Data[edit]
Forward throw[edit]
| Kind | ID | Damage | Angle | Angle type | BK | KS | FKV | H× | Effect | Type | Sound |
|---|---|---|---|---|---|---|---|---|---|---|---|
| Throw | 0 | 14.0% | Forward | 55 | 60 | 0 | 0.0× |
Back throw[edit]
| Kind | ID | Damage | Angle | Angle type | BK | KS | FKV | H× | Effect | Type | Sound |
|---|---|---|---|---|---|---|---|---|---|---|---|
| Throw | 0 | 11.0% | Forward | 72 | 40 | 0 | 0.0× |
Up throw[edit]
| Kind | ID | Damage | Angle | Angle type | BK | KS | FKV | H× | Effect | Type | Sound |
|---|---|---|---|---|---|---|---|---|---|---|---|
| Throw | 0 | 12.0% | Forward | 70 | 66 | 0 | 0.0× |
Down throw[edit]
| Kind | ID | Damage | Angle | Angle type | BK | KS | FKV | H× | Effect | Type | Sound |
|---|---|---|---|---|---|---|---|---|---|---|---|
| Throw | 0 | 8.5% | Forward | 82 | 41 | 0 | 0.0× |
Timing[edit]
Forward throw[edit]
| Throw Release | 15 |
|---|---|
| Interruptible | 46 |
| Animation length | 58 |
Back throw[edit]
| Throw Release | 13 |
|---|---|
| Interruptible | 36 |
| Animation length | 55 |
Up throw[edit]
| Throw Release | 22 |
|---|---|
| Interruptible | 44 |
| Animation length | 71 |
Down throw[edit]
| Hitbox | 18-21 |
|---|---|
| Throw Release | 22 |
| Interruptible | 40 |
| Animation length | 49 |
Lag time |
Hitbox |
Throw point |
Interruptible |


