Bowser (SSBB)/Up special: Difference between revisions
From SmashWiki, the Super Smash Bros. wiki
Jump to navigationJump to search
m (Text replacement - "== ([^=])" to "== $1") |
|||
| (One intermediate revision by the same user not shown) | |||
| Line 1: | Line 1: | ||
{{ArticleIcons|ssbb=y}} | {{ArticleIcons|ssbb=y}} | ||
{{disambig2|the hitbox visualization in ''[[Super Smash Bros. Brawl]]''|the move itself|Whirling Fortress}} | {{disambig2|the hitbox visualization in ''[[Super Smash Bros. Brawl]]''|the move itself|Whirling Fortress}} | ||
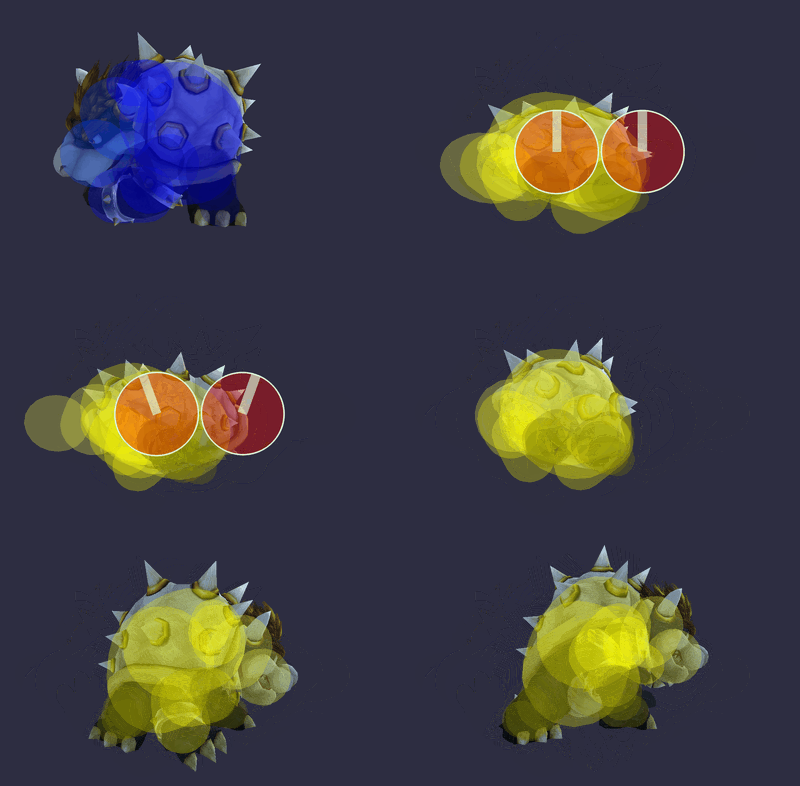
[[File: | [[File:BowserWhirlingFortressGSSBB.gif|thumb|400px|Hitbox visualization showing Bowser's grounded Whirling Fortress.]] | ||
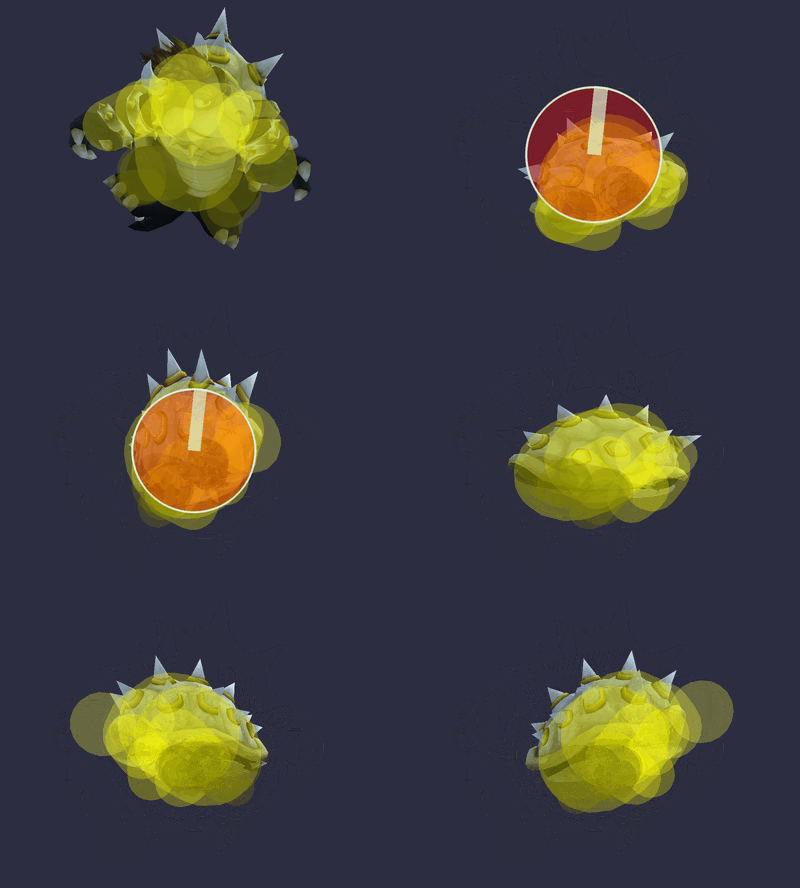
[[File:BowserWhirlingFortressASSBB.gif|thumb|400px|Hitbox visualization showing Bowser's aerial Whirling Fortress.]] | |||
[[File: | |||
==Overview== | ==Overview== | ||
| Line 12: | Line 8: | ||
==Hitboxes== | ==Hitboxes== | ||
===Grounded=== | ===Grounded=== | ||
{{BrawlHitboxTableHeader}} | {{BrawlHitboxTableHeader}} | ||
| Line 32: | Line 27: | ||
|slvl=L | |slvl=L | ||
|sfx=Burn | |sfx=Burn | ||
|rawflags=00111011010000110001000010000000 | |||
}} | }} | ||
{{BrawlHitboxTableRow | {{BrawlHitboxTableRow | ||
| Line 49: | Line 45: | ||
|slvl=L | |slvl=L | ||
|sfx=Burn | |sfx=Burn | ||
|rawflags=00111011010000110001000010000000 | |||
}} | }} | ||
{{HitboxTableTitle|Hit 2 (clean)|44}} | {{HitboxTableTitle|Hit 2 (clean)|44}} | ||
| Line 67: | Line 64: | ||
|slvl=L | |slvl=L | ||
|sfx=Slash | |sfx=Slash | ||
|rawflags=00111011010000110000011010000010 | |||
}} | }} | ||
{{BrawlHitboxTableRow | {{BrawlHitboxTableRow | ||
| Line 84: | Line 82: | ||
|slvl=L | |slvl=L | ||
|sfx=Slash | |sfx=Slash | ||
|rawflags=00111011010000110000011010000010 | |||
}} | }} | ||
{{HitboxTableTitle|Hit 2 (late)|44}} | {{HitboxTableTitle|Hit 2 (late)|44}} | ||
| Line 102: | Line 101: | ||
|slvl=M | |slvl=M | ||
|sfx=Slash | |sfx=Slash | ||
|rawflags=00111011010000010000011001000010 | |||
}} | }} | ||
{{BrawlHitboxTableRow | {{BrawlHitboxTableRow | ||
| Line 119: | Line 119: | ||
|slvl=M | |slvl=M | ||
|sfx=Slash | |sfx=Slash | ||
|rawflags=00111011010000010000011001000010 | |||
}} | }} | ||
|} | |} | ||
| Line 140: | Line 141: | ||
|slvl=L | |slvl=L | ||
|sfx=Paper | |sfx=Paper | ||
|rawflags=00111011010000110000010010000000 | |||
}} | }} | ||
{{HitboxTableTitle|Hits 2-6|44}} | {{HitboxTableTitle|Hits 2-6|44}} | ||
| Line 157: | Line 159: | ||
|slvl=S | |slvl=S | ||
|sfx=Slash | |sfx=Slash | ||
|rawflags=00111011010000110000011000000010 | |||
}} | }} | ||
{{HitboxTableTitle|Hits 7-11|44}} | {{HitboxTableTitle|Hits 7-11|44}} | ||
| Line 174: | Line 177: | ||
|slvl=S | |slvl=S | ||
|sfx=Slash | |sfx=Slash | ||
|rawflags=00111011010000110000011000000010 | |||
}} | }} | ||
|} | |} | ||
Latest revision as of 00:25, May 28, 2024
Overview[edit]
Retreats into his shell and spins around. This attack is considered to be one of the best out of shield moves in the game, but only deals up to two hits when used on the ground, making it unsafe to use against enemy shields. As a recovery move, although it gains decent horizontal distance, it gains very little vertical distance, making this recovery worse compared others. On the ground, the clean hit deals good vertical knockback, able to KOing certain characters at around 131%.
Hitboxes[edit]
Grounded[edit]
Aerial[edit]
Timing[edit]
Grounded[edit]
| Intangible | 1-5 |
|---|---|
| Hit 1 | 6-7 |
| Hit 2 (clean) | 8-11, 12-15, 16-19, 20-23 |
| Hit 2 (late) | 24-27, 28-31, 32-35, 36-39 |
| Animation length | 79 |
Aerial[edit]
| Hit 1 | 6-7 |
|---|---|
| Hits 2-6 | 8-11, 12-15, 16-19, 20-23, 24-27 |
| Hits 7-11 | 28-31, 32-35, 36-39, 40-43, 44-47 |
| Animation length | 79 |
Landing lag[edit]
| Animation length | 50 |
|---|
Lag time |
Hitbox |
Hitbox change |
Vulnerable |
Intangible |

