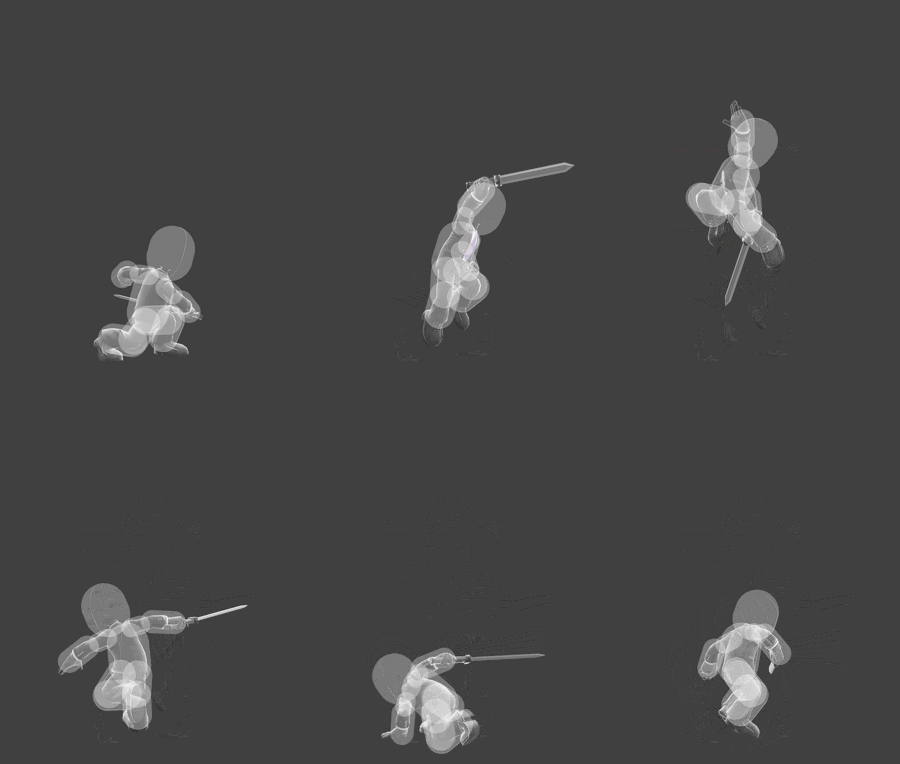
(New Page: {{ArticleIcons|ssbu=y}} thumb|450px|Hitbox visualization showing Mii Swordfighter's up smash. {{competitive expertise}} ==Overview== ==Hitboxes==...) |
Omega Tyrant (talk | contribs) mNo edit summary |
||
| (4 intermediate revisions by 3 users not shown) | |||
| Line 1: | Line 1: | ||
{{ArticleIcons|ssbu=y}} | {{ArticleIcons|ssbu=y}} | ||
[[File:MiiSwordfighterUSmashSSBU.gif|thumb| | [[File:MiiSwordfighterUSmashSSBU.gif|thumb|300px|Hitbox visualization showing Mii Swordfighter's up smash.]] | ||
{{competitive expertise}} | {{competitive expertise}} | ||
==Overview== | ==Overview== | ||
Mii Swordfighter jumps and performs two arching slashes above while spinning around. It KOs middleweights without rage at ground level around 120%, it [[reach]]es through low [[platform]]s, and it's their fastest [[out of shield]] option if Swordfighter isn't using [[Mii Swordfighter (SSBU)/Up special/Custom 2|Hero's Spin]]. However, its use as an out of shield option leaves more to be desired, due to unremarkable eleven frame [[startup]] and the initial grounded hitbox being small, limiting it to only [[punish]]ing committal moves at point blank range. Because of this, the move is mainly used for punish scenarios, hard reads, and occasional platform [[pressure]]. | |||
==Hitboxes== | ==Hitboxes== | ||
{{UltimateHitboxTableHeader}} | {{UltimateHitboxTableHeader}} | ||
{{HitboxTableTitle|Hit 1| | {{HitboxTableTitle|Hit 1|50}} | ||
{{UltimateHitboxTableRow | {{UltimateHitboxTableRow | ||
|id=0 | |id=0 | ||
| Line 25: | Line 28: | ||
|rebound=f | |rebound=f | ||
}} | }} | ||
{{HitboxTableTitle|Hit 2 (early)| | {{HitboxTableTitle|Hit 2 (early)|50}} | ||
{{UltimateHitboxTableRow | {{UltimateHitboxTableRow | ||
|id=0 | |id=0 | ||
| Line 83: | Line 86: | ||
|rebound=f | |rebound=f | ||
}} | }} | ||
{{HitboxTableTitle|Hit 2 (late)| | {{HitboxTableTitle|Hit 2 (late)|50}} | ||
{{UltimateHitboxTableRow | {{UltimateHitboxTableRow | ||
|id=0 | |id=0 | ||
| Line 91: | Line 94: | ||
|ks=100 | |ks=100 | ||
|fkv=90 | |fkv=90 | ||
|r= | |r=3.5 | ||
|bn=top | |bn=top | ||
|xpos=0.0 | |xpos=0.0 | ||
|ypos= | |ypos=17.0 | ||
|zpos=-5.5 to 2.0 | |zpos=-5.5 to 2.0 | ||
|ff=1.5 | |ff=1.5 | ||
| Line 113: | Line 116: | ||
|bn=top | |bn=top | ||
|xpos=0.0 | |xpos=0.0 | ||
|ypos= | |ypos=21.0 | ||
|zpos=-6.0 to 2.3 | |zpos=-6.0 to 2.3 | ||
|ff=1.5 | |ff=1.5 | ||
| Line 141: | Line 144: | ||
|rebound=f | |rebound=f | ||
}} | }} | ||
{{HitboxTableTitle|Hit 3 (early)| | {{HitboxTableTitle|Hit 3 (early)|50}} | ||
{{UltimateHitboxTableRow | {{UltimateHitboxTableRow | ||
|id=0 | |id=0 | ||
| Line 187: | Line 190: | ||
|ks=142 | |ks=142 | ||
|fkv=0 | |fkv=0 | ||
|r= | |r=3.0 | ||
|bn=top | |bn=top | ||
|xpos=0.0 | |xpos=0.0 | ||
| Line 199: | Line 202: | ||
|rebound=f | |rebound=f | ||
}} | }} | ||
{{HitboxTableTitle|Hit 3 (late)| | {{HitboxTableTitle|Hit 3 (late)|50}} | ||
{{UltimateHitboxTableRow | {{UltimateHitboxTableRow | ||
|id=0 | |id=0 | ||
| Line 211: | Line 214: | ||
|xpos=0.0 | |xpos=0.0 | ||
|ypos=31.0 | |ypos=31.0 | ||
|zpos=-6.0 to 0.5 | |zpos=-6.0 to -0.5 | ||
|ff=2.0 | |ff=2.0 | ||
|type=Sword | |type=Sword | ||
| Line 226: | Line 229: | ||
|ks=142 | |ks=142 | ||
|fkv=0 | |fkv=0 | ||
|r= | |r=4.0 | ||
|bn=top | |bn=top | ||
|xpos=0.0 | |xpos=0.0 | ||
|ypos=25. | |ypos=25.3 | ||
|zpos=-8.0 to -0.5 | |zpos=-8.0 to -0.5 | ||
|ff=2.0 | |ff=2.0 | ||
| Line 245: | Line 248: | ||
|ks=142 | |ks=142 | ||
|fkv=0 | |fkv=0 | ||
|r= | |r=3.0 | ||
|bn=top | |bn=top | ||
|xpos=0.0 | |xpos=0.0 | ||
Latest revision as of 20:17, August 12, 2023
OverviewEdit
Mii Swordfighter jumps and performs two arching slashes above while spinning around. It KOs middleweights without rage at ground level around 120%, it reaches through low platforms, and it's their fastest out of shield option if Swordfighter isn't using Hero's Spin. However, its use as an out of shield option leaves more to be desired, due to unremarkable eleven frame startup and the initial grounded hitbox being small, limiting it to only punishing committal moves at point blank range. Because of this, the move is mainly used for punish scenarios, hard reads, and occasional platform pressure.
HitboxesEdit
TimingEdit
| Charges between | 9-10 |
|---|---|
| Hit 1 | 11-12 |
| Hit 2 (early, late) | 14, 15 |
| Hit 3 (early, late) | 21, 22 |
| Interruptible | 60 |
| Animation length | 75 |
| Lag time |
Charge interval |
Hitbox |
Interruptible |

