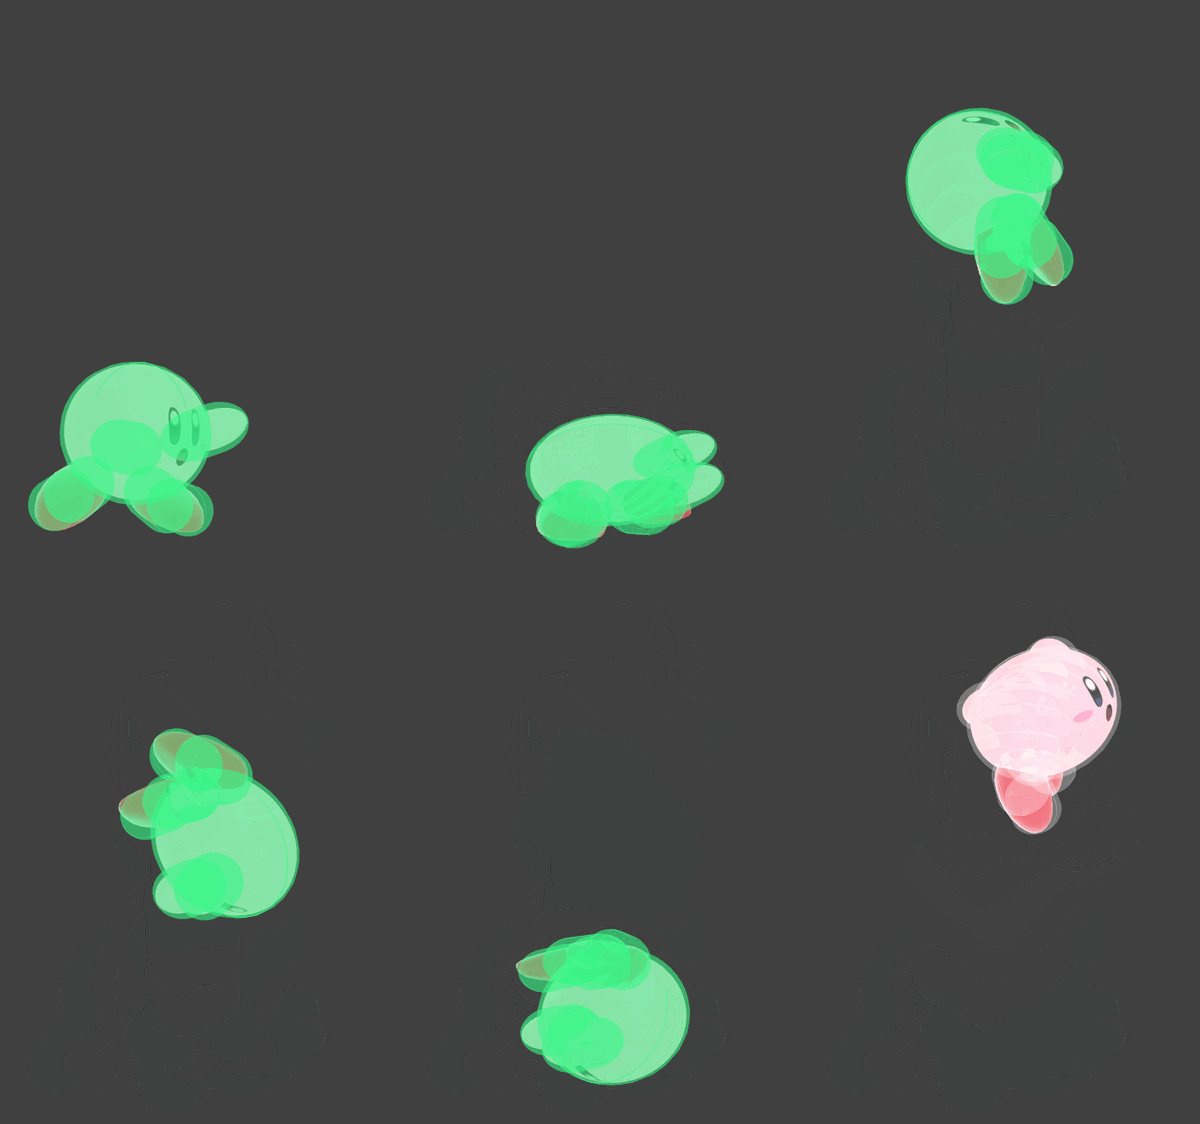
Kirby (SSBU)/Back throw: Difference between revisions
From SmashWiki, the Super Smash Bros. wiki
Jump to navigationJump to search
| (10 intermediate revisions by 7 users not shown) | |||
| Line 1: | Line 1: | ||
{{ArticleIcons|ssbu=y}} | {{ArticleIcons|ssbu=y}} | ||
{|class="wikitable" style="float:right; margin:4pt;" | {|class="wikitable" style="float:right; margin:4pt;" | ||
!colspan=5|Kirby back throw hurtbox visualization | !colspan=5|Kirby back throw hurtbox visualization | ||
| Line 9: | Line 8: | ||
==Overview== | ==Overview== | ||
The Big Suplex from the Suplex Ability. It has very low ending lag, but since Kirby jumps immediately after releasing the opponent and moves slightly | The Big Suplex from the Suplex Ability. It has very low ending lag, but since Kirby jumps immediately after releasing the opponent and moves slightly forwards, its combo potential to back aerial at 0% has weakened compared to ''Smash 4''. However, in spite of its low base knockback and average damage output, it has very high knockback scaling. Due to this, it has decent knockback overall, giving it moderate KO potential at the ledge. | ||
==Throw Data== | ==Throw Data== | ||
| Line 22: | Line 21: | ||
|fkv=0 | |fkv=0 | ||
|ff=0.0 | |ff=0.0 | ||
|sfx=None | |||
|slvl=S | |||
}} | |||
{{UltimateThrowTableRow | |||
|kind=1 | |||
|id=0 | |||
|type=Throwing | |||
|damage=3.0% | |||
|angle=361 | |||
|bk=60 | |||
|ks=100 | |||
|fkv=0 | |||
|effect=Normal | |effect=Normal | ||
|sfx=None | |sfx=None | ||
| Line 33: | Line 44: | ||
|1-41 | |1-41 | ||
|- | |- | ||
!Throw | !Air transition | ||
|13 | |||
|- | |||
!Throw release | |||
|41 | |41 | ||
|- | |- | ||
| Line 45: | Line 59: | ||
{{FrameStrip|t=Lag|c=40|e=LagThrowS}}{{FrameStrip|t=Lag|c=9|s=LagThrowE}}{{FrameStrip|t=Interruptible|c=13}} | {{FrameStrip|t=Lag|c=40|e=LagThrowS}}{{FrameStrip|t=Lag|c=9|s=LagThrowE}}{{FrameStrip|t=Interruptible|c=13}} | ||
|- | |- | ||
{{FrameStrip|t=Invincible|c= | {{FrameStrip|t=Invincible|c=12|e=InvincibleStateS}}{{FrameStrip|t=Invincible|c=29|s=InvincibleStateE}}{{FrameStrip|t=Vulnerable|c=21}} | ||
{{FrameStripEnd}} | {{FrameStripEnd}} | ||
{{FrameIconLegend|lag=y|throw=y|interruptible=y|vulnerable=y|invincible=y}} | {{FrameIconLegend|lag=y|throw=y|interruptible=y|vulnerable=y|state=y|invincible=y}} | ||
{{MvSubNavKirby|g=SSBU}} | {{MvSubNavKirby|g=SSBU}} | ||
Latest revision as of 19:37, July 19, 2022
| Kirby back throw hurtbox visualization | ||||
|---|---|---|---|---|

| ||||
Overview[edit]
The Big Suplex from the Suplex Ability. It has very low ending lag, but since Kirby jumps immediately after releasing the opponent and moves slightly forwards, its combo potential to back aerial at 0% has weakened compared to Smash 4. However, in spite of its low base knockback and average damage output, it has very high knockback scaling. Due to this, it has decent knockback overall, giving it moderate KO potential at the ledge.
Throw Data[edit]
| Kind | ID | Damage | Angle | Angle type | BK | KS | FKV | H× | Effect | Type | Sound |
|---|---|---|---|---|---|---|---|---|---|---|---|
| Throw | 0 | 8.0% | Forward | 30 | 120 | 0 | 0.0× | ||||
| Break | 0 | 3.0% | Forward | 60 | 100 | 0 | 0.0× |
Timing[edit]
| Invincibility | 1-41 |
|---|---|
| Air transition | 13 |
| Throw release | 41 |
| Interruptible | 50 |
| Animation length | 62 |
Lag time |
Vulnerable |
Invincible |
State change |
Throw point |
Interruptible |
|