[dismiss]
| Welcome to SmashWiki! Log in or create an account and join the community, and don't forget to read this first! |
| Notices |
|---|
| The Skill parameter has been removed from Smasher infoboxes, and in its place are the new "Best historical ranking" and "Best tournament result" parameters. SmashWiki needs help adding these new parameters to Smasher infoboxes, refer to the guidelines here for what should be included in these new parameters. |
| When adding results to Smasher pages, include each tournament's entrant number in addition to the player's placement, and use the {{Trn}} template with the matching game specified. Please also fix old results on Smasher pages that do not abide to this standard. Refer to our Smasher article guidelines to see how results tables should be formatted. |
| Check out our project page for ongoing projects that SmashWiki needs help with. |
Meta Knight (SSB4)/Neutral attack
From SmashWiki, the Super Smash Bros. wiki
Jump to navigationJump to search
Overview[edit]
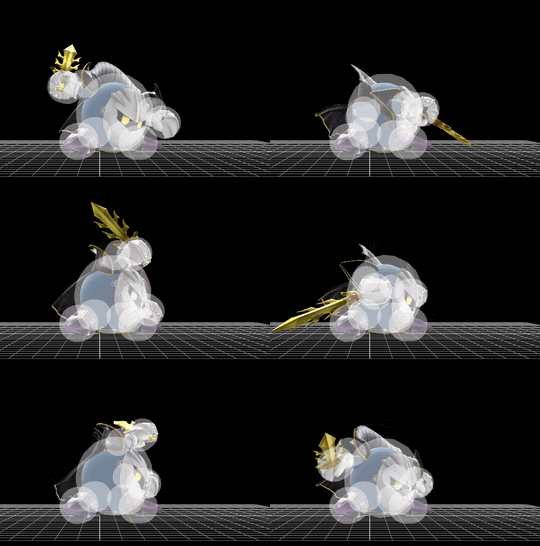
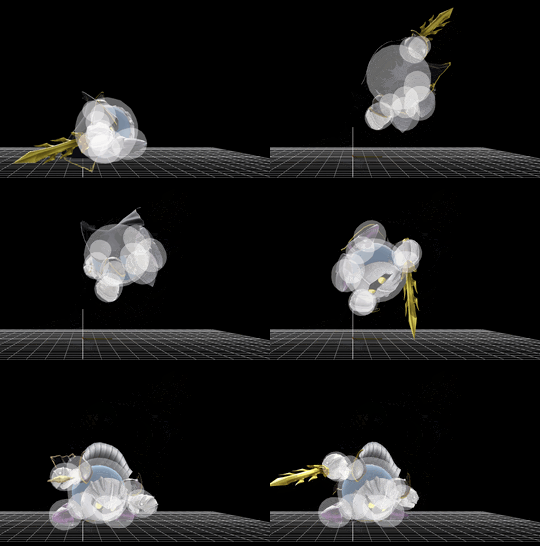
Meta Knight's Flurry Attack executes a lightning-fast series of slashes, ending with him doing a swift uppercut with Galaxia. One of Meta Knight's most reliable damage rackers, always dealing at least 10-11% damage. However, due to its nature, it is easily punishable if missed entirely.
Update History[edit]
 Neutral attack's loop hits deal 0.2% more damage: 1% → 1.2%, its loop hits' knockback scaling decreased: 40 → 30, its last hit's hitbox size increased: 5.7u → 8u, its ending lag decreased: frame 47 → 35, its SDI multiplier decreased: 1× → 0.6×, and its hitboxes split to cover more space. Altogether, these changes improve its damage racking potential, range and safety.
Hitboxes[edit]
All five of the loop hits have a separate set of hitboxes but they are all identical.
Timing[edit]
| First loop frame | 6 |
|---|---|
| Hitboxes | 7, 11, 15, 20, 24, 29... |
| Finisher | 3 |
| Interruptible (Finisher) | 35 |
| Animation length (Finisher) | 51 |
Lag time |
Hitbox |
Loop point |
Interruptible |
Trivia[edit]
- Like in Brawl, this is the only neutral attack in the game that is purely a rapid jab.
|


