Super Smash Bros. 4

Palutena (SSB4)/Up smash

From SmashWiki, the Super Smash Bros. wiki
Jump to navigationJump to search
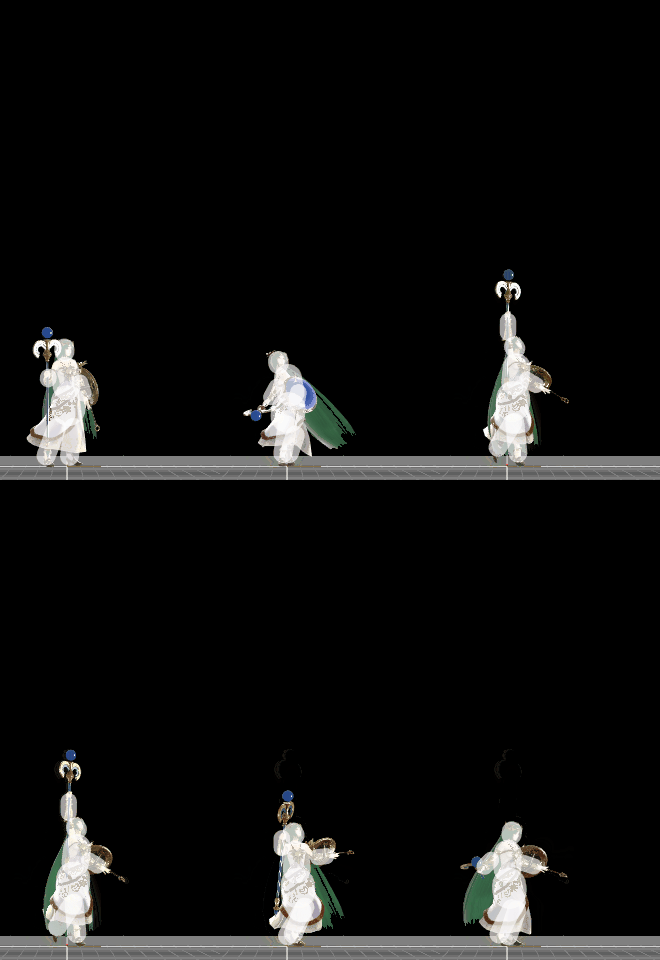
Hitbox visualization showing Palutena's up smash.

Overview

After a small delay, Palutena uses her staff to conjure a huge, light blue beam of vaporizing light from the ground, firing it into the air. This attack has the highest vertical range of any non-projectile up smash in the game, let alone the entire series, as well as trascendent priority, but its horizontal range is low to compensate, requiring the opponent to be on the beam's range to actually get hit, and its vertical range is limited to the beam's whitest part. It also has fairly high ending lag, though it is her smash attack with the least ending lag.

This attack has three hitboxes: one at the base, another one at the middle, and a last one at the tip, which is the smallest hitbox. The lower the hitbox, the stronger it is; it is very powerful when sweetspotted at the base, KOing at 102%. It is useful for edgeguarding due to its range, and works very well after ledge trumping the opponent.

This attack originates from Kid Icarus: Uprising, where one of her strongest attacks is what she calls the "Glam Blaster", a tall, giant beam of vaporizing light with the power to disintegrate anyone on contact.

Update history

Super Smash Bros. 4 1.0.4

  • Buff It has a longer duration (frames 18-23 → 18-26).

Hitboxes

ID Part Rehit rate Damage SD Angle BK KS FKV Radius Bone Offset SDIx T% Clang Rebound Type Effect G A Sound Direct Hit bits Blockable Reflectable Absorbable Piercing Heedless No GFX Flinchless Stretch
0 0 0 16% 0 AngleIcon88.png Forwards 53 84 0 4.5 0 0.0 20.0 9.7 1.0x 1.0x 0% HitboxTableIcon(NoClang).png HitboxTableIcon(Rebound).png Magic (type) Normal (effect) HitboxTableIcon(GroundedTrue).png HitboxTableIcon(AerialTrue).png L Magic SpecialsDirect.png 63 HitboxTableIcon(Blockable).png HitboxTableIcon(Unreflectable).png HitboxTableIcon(Unabsorbable).png HitboxTableIcon(False).png HitboxTableIcon(False).png HitboxTableIcon(False).png HitboxTableIcon(False).png 0.0 4.0 9.7
1 0 0 12% 0 AngleIcon88.png Forwards 55 85 0 2.5 0 0.0 48.0 9.7 1.0x 1.0x 0% HitboxTableIcon(NoClang).png HitboxTableIcon(Rebound).png Magic (type) Normal (effect) HitboxTableIcon(GroundedTrue).png HitboxTableIcon(AerialTrue).png M Magic SpecialsDirect.png 63 HitboxTableIcon(Blockable).png HitboxTableIcon(Unreflectable).png HitboxTableIcon(Unabsorbable).png HitboxTableIcon(False).png HitboxTableIcon(False).png HitboxTableIcon(False).png HitboxTableIcon(False).png 0.0 4.0 9.7
2 0 0 9% 0 AngleIcon88.png Forwards 55 87 0 2.5 0 0.0 65.0 9.7 1.0x 1.0x 0% HitboxTableIcon(NoClang).png HitboxTableIcon(Rebound).png Magic (type) Normal (effect) HitboxTableIcon(GroundedTrue).png HitboxTableIcon(AerialTrue).png M Magic SpecialsDirect.png 63 HitboxTableIcon(Blockable).png HitboxTableIcon(Unreflectable).png HitboxTableIcon(Unabsorbable).png HitboxTableIcon(False).png HitboxTableIcon(False).png HitboxTableIcon(False).png HitboxTableIcon(False).png 0.0 4.0 9.7

Timing

Charges between 12-13
Hitboxes 18-26
Interruptible 68
Animation length 74
FrameIcon(Lag).png FrameIcon(Lag).png FrameIcon(Lag).png FrameIcon(Lag).png FrameIcon(Lag).png FrameIcon(Lag).png FrameIcon(Lag).png FrameIcon(Lag).png FrameIcon(Lag).png FrameIcon(Lag).png FrameIcon(Lag).png FrameIcon(LagChargeS).png FrameIcon(LagChargeE).png FrameIcon(Lag).png FrameIcon(Lag).png FrameIcon(Lag).png FrameIcon(Lag).png FrameIcon(Hitbox).png FrameIcon(Hitbox).png FrameIcon(Hitbox).png FrameIcon(Hitbox).png FrameIcon(Hitbox).png FrameIcon(Hitbox).png FrameIcon(Hitbox).png FrameIcon(Hitbox).png FrameIcon(Hitbox).png FrameIcon(Lag).png FrameIcon(Lag).png FrameIcon(Lag).png FrameIcon(Lag).png FrameIcon(Lag).png FrameIcon(Lag).png FrameIcon(Lag).png FrameIcon(Lag).png FrameIcon(Lag).png FrameIcon(Lag).png FrameIcon(Lag).png FrameIcon(Lag).png FrameIcon(Lag).png FrameIcon(Lag).png FrameIcon(Lag).png FrameIcon(Lag).png FrameIcon(Lag).png FrameIcon(Lag).png FrameIcon(Lag).png FrameIcon(Lag).png FrameIcon(Lag).png FrameIcon(Lag).png FrameIcon(Lag).png FrameIcon(Lag).png FrameIcon(Lag).png FrameIcon(Lag).png FrameIcon(Lag).png FrameIcon(Lag).png FrameIcon(Lag).png FrameIcon(Lag).png FrameIcon(Lag).png FrameIcon(Lag).png FrameIcon(Lag).png FrameIcon(Lag).png FrameIcon(Lag).png FrameIcon(Lag).png FrameIcon(Lag).png FrameIcon(Lag).png FrameIcon(Lag).png FrameIcon(Lag).png FrameIcon(Lag).png FrameIcon(Interruptible).png FrameIcon(Interruptible).png FrameIcon(Interruptible).png FrameIcon(Interruptible).png FrameIcon(Interruptible).png FrameIcon(Interruptible).png FrameIcon(Interruptible).png
Legend (1 square = 1 frame)
Lag
Lag time
ChargeCharge
Charge interval
Hitbox
Hitbox
Interruptibility
Interruptible