Ken (SSBU)/Floor attack (trip): Difference between revisions
From SmashWiki, the Super Smash Bros. wiki
Jump to navigationJump to search
mNo edit summary |
No edit summary |
||
| Line 5: | Line 5: | ||
==Hitboxes== | ==Hitboxes== | ||
{{UltimateHitboxTableHeader}} | {{UltimateHitboxTableHeader}} | ||
{{HitboxTableTitle|Hit 1| | {{HitboxTableTitle|Hit 1|42}} | ||
{{UltimateHitboxTableRow | {{UltimateHitboxTableRow | ||
|id=0 | |id=0 | ||
| Line 27: | Line 27: | ||
|rebound=f | |rebound=f | ||
}} | }} | ||
{{HitboxTableTitle|Hit 2| | {{HitboxTableTitle|Hit 2|42}} | ||
{{UltimateHitboxTableRow | {{UltimateHitboxTableRow | ||
|id=0 | |id=0 | ||
| Line 33: | Line 33: | ||
|sd=8.0 | |sd=8.0 | ||
|angle=361 | |angle=361 | ||
|af=3 | |||
|bk=60 | |bk=60 | ||
|ks=50 | |ks=50 | ||
Latest revision as of 19:05, August 1, 2022
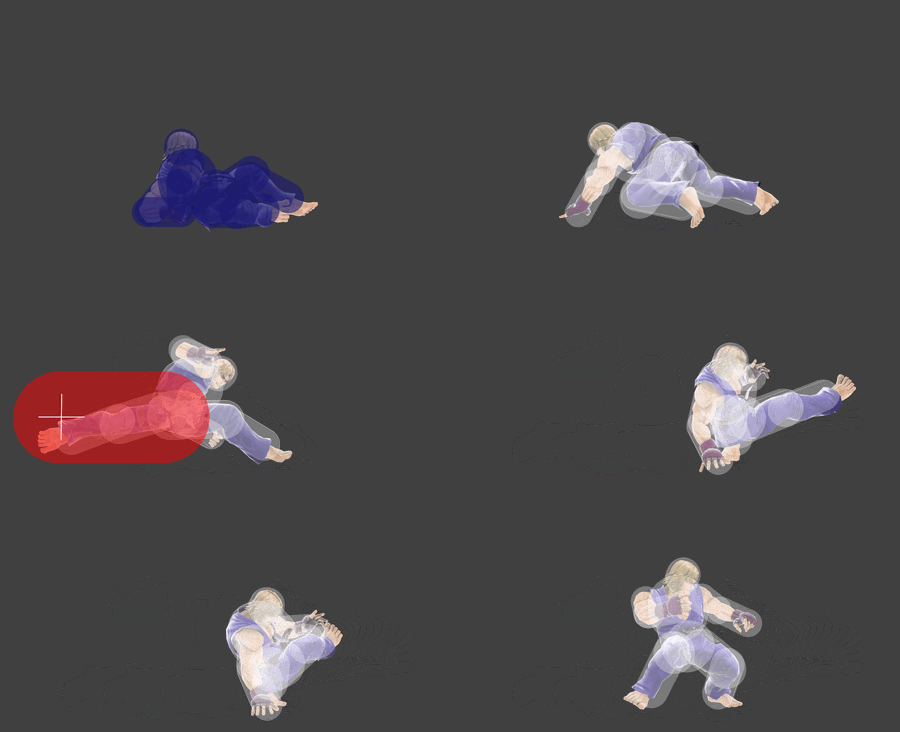
Overview[edit]
Hitboxes[edit]
Timing[edit]
| Intangibility | 1-7 |
|---|---|
| Hit 1 | 19-20 |
| Hit 2 | 24-25 |
| Interruptible | 50 |
| Animation length | 61 |
Lag time |
Hitbox |
Vulnerable |
Intangible |
Interruptible |
|

