Bowser (SSBB)/Forward smash: Difference between revisions
From SmashWiki, the Super Smash Bros. wiki
Jump to navigationJump to search
No edit summary |
|||
| (7 intermediate revisions by 5 users not shown) | |||
| Line 1: | Line 1: | ||
{{ArticleIcons|ssbb=y}} | {{ArticleIcons|ssbb=y}} | ||
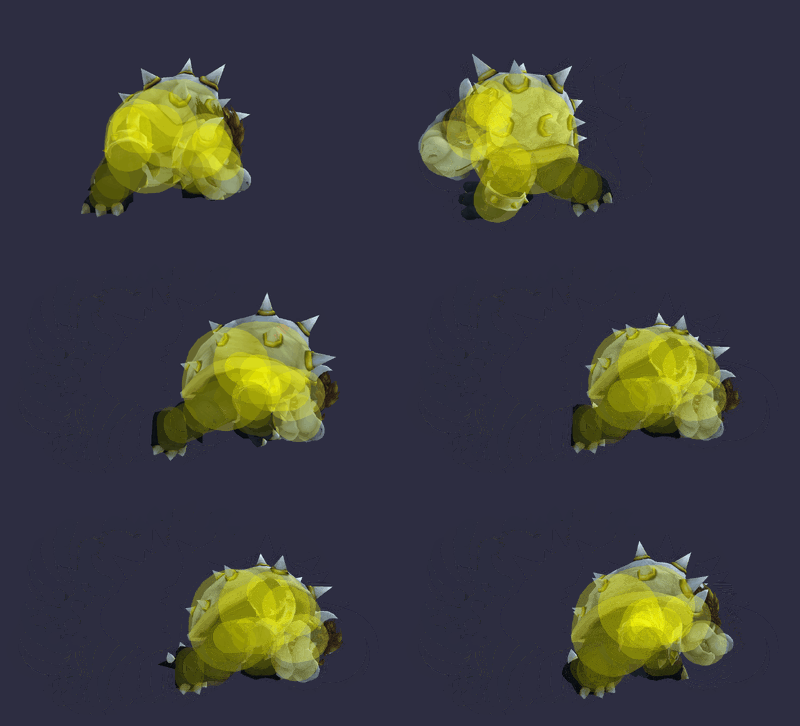
[[File:BowserFSmashSSBB.gif|thumb|400px|Hitbox visualization showing Bowser's forward smash.]] | |||
==Overview== | |||
Bowser rears back and then performs a very strong headbutt. It starts off with a weaker hitbox which then leads into a much stronger hitbox. It is the most damaging forward smash in the game if Bowser connects both hits. Both hits are guaranteed against shielding opponents, with no gap between the hits. It [[KO]]es {{SSBB|Mario}} at 55% at the ledge and 80% from the center of {{SSBB|Final Destination}} if both hits connect, while fully charged it's extremely powerful, KOing at just 20% at the ledge, and 40% from the center. | |||
==Hitboxes== | ==Hitboxes== | ||
{{BrawlHitboxTableHeader}} | {{BrawlHitboxTableHeader}} | ||
{{HitboxTableTitle|Hit 1|24}} | {{HitboxTableTitle|Hit 1|24}} | ||
{{BrawlHitboxTableRow | {{BrawlHitboxTableRow | ||
|bn=50 | |bn=50 | ||
|id=0 | |id=0 | ||
| Line 27: | Line 27: | ||
{{HitboxTableTitle|Hit 2|24}} | {{HitboxTableTitle|Hit 2|24}} | ||
{{BrawlHitboxTableRow | {{BrawlHitboxTableRow | ||
|bn=50 | |bn=50 | ||
|id=0 | |id=0 | ||
| Line 46: | Line 45: | ||
}} | }} | ||
{{BrawlHitboxTableRow | {{BrawlHitboxTableRow | ||
|bn=50 | |bn=50 | ||
|id=1 | |id=1 | ||
| Line 71: | Line 69: | ||
|11-12 | |11-12 | ||
|- | |- | ||
! | !Hit 1 | ||
|26 | |26 | ||
|- | |- | ||
! | !Hit 2 | ||
|28-31 | |28-31 | ||
|- | |- | ||
Latest revision as of 23:15, May 27, 2024
Overview[edit]
Bowser rears back and then performs a very strong headbutt. It starts off with a weaker hitbox which then leads into a much stronger hitbox. It is the most damaging forward smash in the game if Bowser connects both hits. Both hits are guaranteed against shielding opponents, with no gap between the hits. It KOes Mario at 55% at the ledge and 80% from the center of Final Destination if both hits connect, while fully charged it's extremely powerful, KOing at just 20% at the ledge, and 40% from the center.
Hitboxes[edit]
Timing[edit]
| Charges between | 11-12 |
|---|---|
| Hit 1 | 26 |
| Hit 2 | 28-31 |
| Interruptible | 66 |
| Animation length | 69 |
Lag time |
Charge interval |
Hitbox |
Interruptible |
