Template:SSBU stage table: Difference between revisions
From SmashWiki, the Super Smash Bros. wiki
Jump to navigationJump to search
m (Shouldn't Boxing Ring use the Punch-Out!! design for its image since it is labeled as a Punch-Out!! stage?) Tag: Mobile edit |
No edit summary Tag: Mobile edit |
||
| (6 intermediate revisions by 4 users not shown) | |||
| Line 1: | Line 1: | ||
{|class="wikitable" style="text-align:center;margin:1em auto 1em auto" | {|class="wikitable" style="text-align:center;margin:1em auto 1em auto" | ||
!width= | !width=77px style="padding:0;"| | ||
!width= | !width=77px style="padding:0;"| | ||
!width= | !width=77px style="padding:0;"| | ||
!width= | !width=77px style="padding:0;"| | ||
!width= | !width=77px style="padding:0;"| | ||
!width= | !width=77px style="padding:0;"| | ||
!width= | !width=77px style="padding:0;"| | ||
!width= | !width=77px style="padding:0;"| | ||
!width= | !width=77px style="padding:0;"| | ||
!width= | !width=77px style="padding:0;"| | ||
!width= | !width=77px style="padding:0;"| | ||
!width= | !width=77px style="padding:0;"| | ||
|- | |- | ||
!colspan=12|New | !colspan=12|New stages (19) | ||
|- | |- | ||
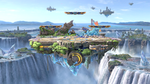
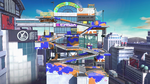
|colspan=2|[[File:SSBU-Battlefield.png|150x90px|link=Battlefield (SSBU)]]<br>{{SSBU|Battlefield}}<br>{{symbol|ssb|20px}} | |colspan=2|[[File:SSBU-Battlefield.png|150x90px|link=Battlefield (SSBU)]]<br>{{SSBU|Battlefield}}<br>{{symbol|ssb|20px}} | ||
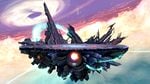
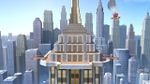
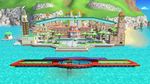
|colspan=2|[[File:SSBU-Final Destination.jpg|150x90px|link=Final Destination (SSBU)]]<br>{{SSBU|Final Destination}}<br>{{symbol|ssb|20px}} | |||
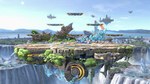
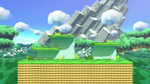
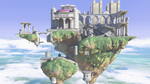
|colspan=2|[[File:SSBU-Big-Battlefield.png|150x90px|link=Big Battlefield (SSBU)]]<br>{{SSBU|Big Battlefield}}<br>{{symbol|ssb|20px}} | |||
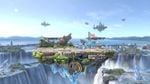
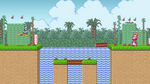
|colspan=2|[[File:SSBU-Small-Battlefield.jpg|150x90px|link=Small Battlefield]]<br>[[Small Battlefield]] <small><small>(8.1.0)</small></small><br>{{symbol|ssb|20px}} | |colspan=2|[[File:SSBU-Small-Battlefield.jpg|150x90px|link=Small Battlefield]]<br>[[Small Battlefield]] <small><small>(8.1.0)</small></small><br>{{symbol|ssb|20px}} | ||
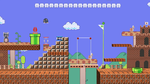
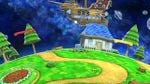
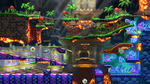
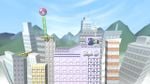
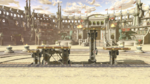
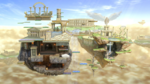
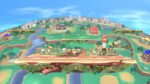
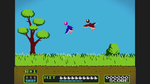
|colspan=2|[[File:SSBU-New Donk City Hall.jpg|150x90px|link=New Donk City Hall]]<br>[[New Donk City Hall]]<br>{{symbol|smb|20px}} | |colspan=2|[[File:SSBU-New Donk City Hall.jpg|150x90px|link=New Donk City Hall]]<br>[[New Donk City Hall]]<br>{{symbol|smb|20px}} | ||
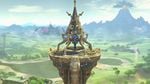
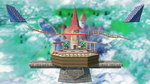
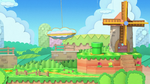
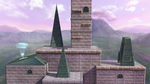
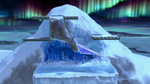
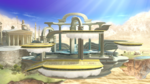
|colspan=2|[[File:SSBU-Great Plateau Tower.jpg|150x90px|link=Great Plateau Tower]]<br>[[Great Plateau Tower]]<br>{{symbol|zelda|20px}} | |colspan=2|[[File:SSBU-Great Plateau Tower.jpg|150x90px|link=Great Plateau Tower]]<br>[[Great Plateau Tower]]<br>{{symbol|zelda|20px}} | ||
| Line 42: | Line 42: | ||
|colspan=3| | |colspan=3| | ||
|- | |- | ||
!colspan=12|Returning | !colspan=12|Returning stages (96) | ||
|- | |- | ||
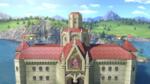
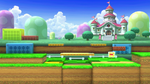
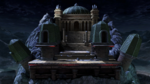
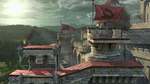
|colspan=2|[[File:SSBU-Peach's Castle.png|150x90px|link=Peach's Castle]]<br>{{gameIcon|SSB}} [[Peach's Castle]]<br>{{symbol|smb|20px}} | |colspan=2|[[File:SSBU-Peach's Castle.png|150x90px|link=Peach's Castle]]<br>{{gameIcon|SSB}} [[Peach's Castle]]<br>{{symbol|smb|20px}} | ||
| Line 65: | Line 65: | ||
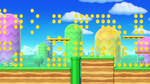
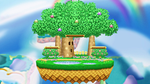
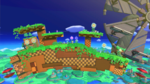
|colspan=2|[[File:SSBU-Yoshi's Island (SSB).png|150x90px|link=Super Happy Tree]]<br>{{gameIcon|SSB}} [[Super Happy Tree]]<br>{{symbol|yoshi|20px}} | |colspan=2|[[File:SSBU-Yoshi's Island (SSB).png|150x90px|link=Super Happy Tree]]<br>{{gameIcon|SSB}} [[Super Happy Tree]]<br>{{symbol|yoshi|20px}} | ||
|- | |- | ||
|colspan=2|[[File:SSBU-Yoshi's Story.png|150x90px|link=Yoshi's Story]]<br>{{gameIcon|SSBM}} [[Yoshi's Story]]<br>{{symbol|yoshi|20px}} | |||
|colspan=2|[[File:SSBU-Yoshi's Island (SSBM).png|150x90px|link=Yoshi's Island (SSBM)]]<br>{{gameIcon|SSBM}} [[Yoshi's Island (SSBM)|Yoshi's Island (Melee)]]<br>{{symbol|yoshi|20px}} | |colspan=2|[[File:SSBU-Yoshi's Island (SSBM).png|150x90px|link=Yoshi's Island (SSBM)]]<br>{{gameIcon|SSBM}} [[Yoshi's Island (SSBM)|Yoshi's Island (Melee)]]<br>{{symbol|yoshi|20px}} | ||
|colspan=2|[[File:SSBU-Yoshi's Island (SSBB).png|150x90px|link=Yoshi's Island (SSBB)]]<br>{{gameIcon|SSBB}} {{SSBB|Yoshi's Island}}<br>{{symbol|yoshi|20px}} | |colspan=2|[[File:SSBU-Yoshi's Island (SSBB).png|150x90px|link=Yoshi's Island (SSBB)]]<br>{{gameIcon|SSBB}} {{SSBB|Yoshi's Island}}<br>{{symbol|yoshi|20px}} | ||
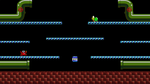
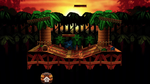
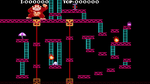
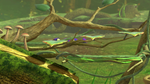
|colspan=2|[[File:SSBU-Kongo Jungle.png|150x90px|link=Kongo Jungle (SSB)]]<br>{{gameIcon|SSB}} {{SSB|Kongo Jungle}}<br>{{symbol|dk|20px}} | |colspan=2|[[File:SSBU-Kongo Jungle.png|150x90px|link=Kongo Jungle (SSB)]]<br>{{gameIcon|SSB}} {{SSB|Kongo Jungle}}<br>{{symbol|dk|20px}} | ||
| Line 131: | Line 131: | ||
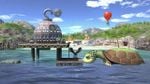
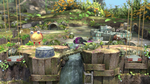
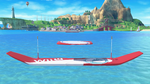
|colspan=2|[[File:SSBU-Tortimer Island.png|150x90px|link=Tortimer Island]]<br>{{gameIcon|SSB4-3DS}} [[Tortimer Island]]<br>{{symbol|ac|20px}} | |colspan=2|[[File:SSBU-Tortimer Island.png|150x90px|link=Tortimer Island]]<br>{{gameIcon|SSB4-3DS}} [[Tortimer Island]]<br>{{symbol|ac|20px}} | ||
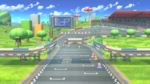
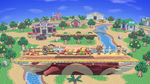
|colspan=2|[[File:SSBU-Town and City.png|150x90px|link=Town and City]]<br>{{gameIcon|SSB4-U}} [[Town and City]]<br>{{symbol|ac|20px}} | |colspan=2|[[File:SSBU-Town and City.png|150x90px|link=Town and City]]<br>{{gameIcon|SSB4-U}} [[Town and City]]<br>{{symbol|ac|20px}} | ||
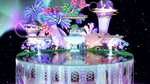
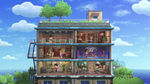
|colspan=2|[[File:SSBU-Wii Fit Studio.png|150x90px|link=Wii Fit Studio]]<br>{{gameIcon|SSB4-U}} [[Wii Fit Studio]]<br>{{symbol|wf|20px}} | |colspan=2|[[File:SSBU-Wii Fit Studio.png|150x90px|link=Wii Fit Studio]]<br>{{gameIcon|SSB4-U}} [[Wii Fit Studio]]<br>{{symbol|wf|20px}} | ||
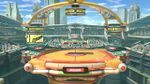
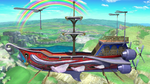
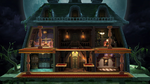
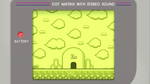
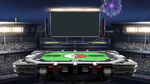
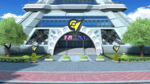
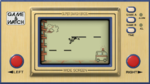
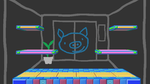
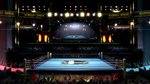
|colspan=2|[[File:SSBU-Boxing Ring.png|150x90px|link=Boxing Ring]]<br>{{gameIcon|SSB4}} [[Boxing Ring]]<br>{{symbol|po|20px}} | |||
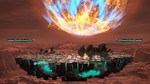
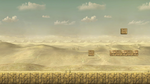
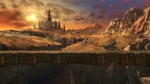
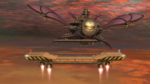
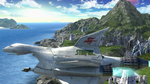
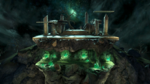
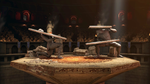
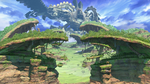
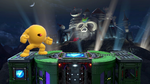
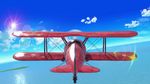
|colspan=2|[[File:SSBU-Gaur Plain.png|150x90px|link=Gaur Plain]]<br>{{gameIcon|SSB4}} [[Gaur Plain]]<br>{{symbol|xb|20px}} | |colspan=2|[[File:SSBU-Gaur Plain.png|150x90px|link=Gaur Plain]]<br>{{gameIcon|SSB4}} [[Gaur Plain]]<br>{{symbol|xb|20px}} | ||
|- | |- | ||