| Welcome to SmashWiki! Log in or create an account and join the community, and don't forget to read this first! |
| Notices |
|---|
| The Skill parameter has been removed from Smasher infoboxes, and in its place are the new "Best historical ranking" and "Best tournament result" parameters. SmashWiki needs help adding these new parameters to Smasher infoboxes, refer to the guidelines here for what should be included in these new parameters. |
| When adding results to Smasher pages, include each tournament's entrant number in addition to the player's placement, and use the {{Trn}} template with the matching game specified. Please also fix old results on Smasher pages that do not abide to this standard. Refer to our Smasher article guidelines to see how results tables should be formatted. |
| Check out our project page for ongoing projects that SmashWiki needs help with. |
User:Ultimate Toad/Super Smash Bros. Nitro: Difference between revisions
(I'll have to think pf a proper title) |
(Imma need to change up the stages a bit) |
||
| Line 61: | Line 61: | ||
|[[File:SSBU spirit Swanky Kong.png|100x100px|link=]]<br>Swanky Kong<br>{{symbol|dk|20px}} | |[[File:SSBU spirit Swanky Kong.png|100x100px|link=]]<br>Swanky Kong<br>{{symbol|dk|20px}} | ||
|-style="vertical-align:bottom" | |-style="vertical-align:bottom" | ||
|[[File:RandallTheCloud.png|100x100px|link=]]<br>Randall<br>{{symbol|yoshi|20px}} | |||
|[[File:WWHD Tingle.png|70px|link=]]<br>Tingle<br>{{symbol|zelda|20px}} | |[[File:WWHD Tingle.png|70px|link=]]<br>Tingle<br>{{symbol|zelda|20px}} | ||
|{{external image|https://static.wikia.nocookie.net/zelda_gamepedia_en/images/6/6e/TFoE_King_Harkinian.png|100px|100px}}<br>Harkinian<br>{{symbol|zelda|20px}} | |{{external image|https://static.wikia.nocookie.net/zelda_gamepedia_en/images/6/6e/TFoE_King_Harkinian.png|100px|100px}}<br>Harkinian<br>{{symbol|zelda|20px}} | ||
|[[File:AlfonzoTrophy3DS.png|100x100px|link=]]<br>Alfonzo<br>{{symbol|zelda|20px}} | |||
|[[File:SSBU spirit Groose.png|100x100px|link=]]<br>Groose<br>{{symbol|zelda|20px}} | |||
|[[File:Samus SSBU.png|100x100px|link=]]<br>Samus<br>{{symbol|metroid|20px}} | |[[File:Samus SSBU.png|100x100px|link=]]<br>Samus<br>{{symbol|metroid|20px}} | ||
|[[File: | |-style="vertical-align:bottom" | ||
|[[File:Marx.png|100x100px|link=]]<br>Marx<br>{{symbol|kirby|20px}} | |||
|[[File:Fox SSBU.png|100x100px|link=]]<br>Fox<br>{{symbol|fox|20px}} | |[[File:Fox SSBU.png|100x100px|link=]]<br>Fox<br>{{symbol|fox|20px}} | ||
|-style="vertical-align:bottom" | |-style="vertical-align:bottom" | ||
| Line 73: | Line 77: | ||
|{{external image|https://i.imgur.com/uuIPWia.png|100px|100px}}<br>Lardna<br>{{symbol|eb|20px}} | |{{external image|https://i.imgur.com/uuIPWia.png|100px|100px}}<br>Lardna<br>{{symbol|eb|20px}} | ||
|-style="vertical-align:bottom" | |-style="vertical-align:bottom" | ||
|{{external image|https://cdn.donmai.us/original/c7/a7/__alear_and_alear_fire_emblem_and_1_more_drawn_by_mika_pikazo__c7a724b7e36e6c78c11aa4dab959262d.png|100px|100px}}<br>Alear<br>{{symbol|fe|20px}} | |||
|{{external image|https://cdn.fireemblemwiki.org/b/b6/FEE_Hortensia_portrait.png|100px|100px}}<br>Hortensia<br>{{symbol|fe|20px}} | |||
|-style="vertical-align:bottom" | |||
|{{external image|https://static.wikia.nocookie.net/supersmashbrosultimate/images/5/51/Smash4_mod_goku_by_nibroc_rock-da60l6e.png|100px|100px}}<br>Goku<br>{{symbol|battlefield|20px}} | |||
|{{external image| https://static.wikia.nocookie.net/supersmashbrosultimate/images/d/db/Joseph_Joestar.jpg|100px|100px}}<br>Joseph Joestar<br>{{symbol|battlefield|20px}} | |||
|{{external image|https://wiki.teamfortress.com/w/images/0/05/Merch_Demo_Figure_BLU.png|100px|100px}}<br>Demoman<br>{{symbol|battlefield|20px}} | |||
|{{external image|https://static.wikia.nocookie.net/fantendo/images/a/ad/Fortnite_Man_Render.png|100px|100px}}<br>Fortnite Guy<br>{{symbol|battlefield|20px}} | |||
|[[File:RandomHeadSSB4-U.png|100x100px|link=]]<br>Random<br>{{symbol|smash|20px}} | |[[File:RandomHeadSSB4-U.png|100x100px|link=]]<br>Random<br>{{symbol|smash|20px}} | ||
|} | |} | ||
| Line 99: | Line 110: | ||
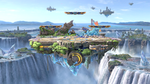
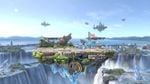
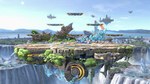
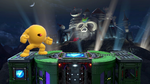
|colspan=2|[[File:SSBU-Big-Battlefield.png|150x90px|link=Big Battlefield (SSBU)]]<br>{{SSBU|Big Battlefield}}<br>{{symbol|ssb|20px}} | |colspan=2|[[File:SSBU-Big-Battlefield.png|150x90px|link=Big Battlefield (SSBU)]]<br>{{SSBU|Big Battlefield}}<br>{{symbol|ssb|20px}} | ||
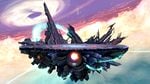
|colspan=2|[[File:SSBU-Final Destination.jpg|150x90px|link=Final Destination (SSBU)]]<br>{{SSBU|Final Destination}}<br>{{symbol|ssb|20px}} | |colspan=2|[[File:SSBU-Final Destination.jpg|150x90px|link=Final Destination (SSBU)]]<br>{{SSBU|Final Destination}}<br>{{symbol|ssb|20px}} | ||
|- | |||
!colspan=12|Returning Stages (96) | |||
|- | |||
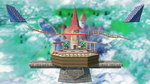
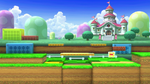
|colspan=2|[[File:SSBU-Peach's Castle.png|150x90px|link=Peach's Castle]]<br>{{gameIcon|SSB}} [[Peach's Castle]]<br>{{symbol|smb|20px}} | |||
|colspan=2|[[File:SSBU-Mushroom Kingdom (SSB).png|150x90px|link=Mushroom Kingdom (SSB)]]<br>{{gameIcon|SSB}} {{SSB|Mushroom Kingdom}}<br>{{symbol|smb|20px}} | |||
|colspan=2|[[File:SSBU-Princess_Peach's_Castle.png|150x90px|link=Princess Peach's Castle]]<br>{{gameIcon|SSBM}} <span style="font-size:90%">[[Princess Peach's Castle]]</span><br>{{symbol|smb|20px}} | |||
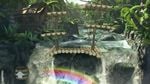
|colspan=2|[[File:SSBU-Rainbow Cruise.png|150x90px|link=Rainbow Cruise]]<br>{{gameIcon|SSBM}} [[Rainbow Cruise]]<br>{{symbol|smb|20px}} | |||
|colspan=2|[[File:SSBU-Mushroom Kingdom II.png|150x90px|link=Mushroom Kingdom II]]<br>{{gameIcon|SSBM}} [[Mushroom Kingdom II]]<br>{{symbol|smb|20px}} | |||
|colspan=2|[[File:SSBU-Delfino Plaza.jpg|150x90px|link=Delfino Plaza]]<br>{{gameIcon|SSBB}} [[Delfino Plaza]]<br>{{symbol|smb|20px}} | |||
|- | |||
|colspan=2|[[File:SSBU-Mushroomy Kingdom.png|150x90px|link=Mushroomy Kingdom]]<br>{{gameIcon|SSBB}} [[Mushroomy Kingdom]]<br>{{symbol|smb|20px}} | |||
|colspan=2|[[File:SSBU-Mario Circuit (SSBB).png|150x90px|link=Figure-8 Circuit]]<br>{{gameIcon|SSBB}} [[Figure-8 Circuit]]<br>{{symbol|smb|20px}} | |||
|colspan=2|[[File:SSBU-Luigi's Mansion.png|150x90px|link=Luigi's Mansion]]<br>{{gameIcon|SSBB}} [[Luigi's Mansion]]<br>{{symbol|smb|20px}} | |||
|colspan=2|[[File:SSBU-Mario Bros.png|150x90px|link=Mario Bros.]]<br>{{gameIcon|SSBB}} [[Mario Bros.]]<br>{{symbol|smb|20px}} | |||
|colspan=2|[[File:SSBU-3D Land.png|150x90px|link=3D Land]]<br>{{gameIcon|SSB4-3DS}} [[3D Land]]<br>{{symbol|smb|20px}} | |||
|colspan=2|[[File:SSBU-Golden Plains.png|150x90px|link=Golden Plains]]<br>{{gameIcon|SSB4-3DS}} [[Golden Plains]]<br>{{symbol|smb|20px}} | |||
|- | |||
|colspan=2|[[File:SSBU-Paper Mario.png|150x90px|link=Paper Mario]]<br>{{gameIcon|SSB4-3DS}} [[Paper Mario]]<br>{{symbol|smb|20px}} | |||
|colspan=2|[[File:SSBU-Mushroom Kingdom U.png|150x90px|link=Mushroom Kingdom U]]<br>{{gameIcon|SSB4-U}} [[Mushroom Kingdom U]]<br>{{symbol|smb|20px}} | |||
|colspan=2|[[File:SSBU-Mario Galaxy.jpg|150x90px|link=Mario Galaxy]]<br>{{gameIcon|SSB4-U}} [[Mario Galaxy]]<br>{{symbol|smb|20px}} | |||
|colspan=2|[[File:SSBU-Mario Circuit (SSB4).png|150x90px|link=Mario Circuit (SSB4)]]<br>{{gameIcon|SSB4-U}} {{SSB4|Mario Circuit}}<br>{{symbol|smb|20px}} | |||
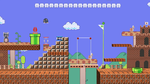
|colspan=2|[[File:SSBU-Super Mario Maker.png|150x90px|link=Super Mario Maker]]<br>{{gameIcon|SSB4}} [[Super Mario Maker]]<br>{{symbol|smb|20px}} | |||
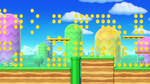
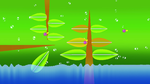
|colspan=2|[[File:SSBU-Yoshi's Island (SSB).png|150x90px|link=Super Happy Tree]]<br>{{gameIcon|SSB}} [[Super Happy Tree]]<br>{{symbol|yoshi|20px}} | |||
|- | |||
|colspan=2|[[File:SSBU-Yoshi's Island (SSBM).png|150x90px|link=Yoshi's Island (SSBM)]]<br>{{gameIcon|SSBM}} [[Yoshi's Island (SSBM)|Yoshi's Island (Melee)]]<br>{{symbol|yoshi|20px}} | |||
|colspan=2|[[File:SSBU-Kongo Jungle.png|150x90px|link=Kongo Jungle (SSB)]]<br>{{gameIcon|SSB}} {{SSB|Kongo Jungle}}<br>{{symbol|dk|20px}} | |||
|colspan=2|[[File:SSBU-Kongo Falls.jpg|150x90px|link=Kongo Falls]]<br>{{gameIcon|SSBM}} [[Kongo Falls]]<br>{{symbol|dk|20px}} | |||
|colspan=2|[[File:SSBU-Jungle Japes.png|150x90px|link=Jungle Japes]]<br>{{gameIcon|SSBM}} [[Jungle Japes]]<br>{{symbol|dk|20px}} | |||
|- | |||
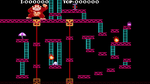
|colspan=2|[[File:SSBU-75m.png|150x90px|link=75m]]<br>{{gameIcon|SSBB}} [[75m]]<br>{{symbol|dk|20px}} | |||
|colspan=2|[[File:SSBU-Hyrule Castle.png|150x90px|link=Hyrule Castle]]<br>{{gameIcon|SSB}} [[Hyrule Castle]]<br>{{symbol|zelda|20px}} | |||
|colspan=2|[[File:SSBU-Great Bay.jpg|150x90px|link=Great Bay]]<br>{{gameIcon|SSBM}} [[Great Bay]]<br>{{symbol|zelda|20px}} | |||
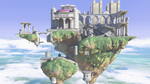
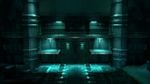
|colspan=2|[[File:SSBU-Temple.png|150x90px|link=Temple]]<br>{{gameIcon|SSBM}} [[Temple]]<br>{{symbol|zelda|20px}} | |||
|colspan=2|[[File:SSBU-Bridge of Eldin.png|150x90px|link=Bridge of Eldin]]<br>{{gameIcon|SSBB}} [[Bridge of Eldin]]<br>{{symbol|zelda|20px}} | |||
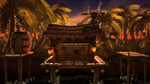
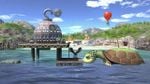
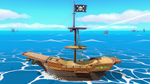
|colspan=2|[[File:SSBU-Pirate Ship.png|150x90px|link=Pirate Ship]]<br>{{gameIcon|SSBB}} [[Pirate Ship]]<br>{{symbol|zelda|20px}} | |||
|- | |||
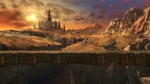
|colspan=2|[[File:SSBU-Gerudo Valley.png|150x90px|link=Gerudo Valley]]<br>{{gameIcon|SSB4-3DS}} [[Gerudo Valley]]<br>{{symbol|zelda|20px}} | |||
|colspan=2|[[File:SSBU-Spirit Train.png|150x90px|link=Spirit Train]]<br>{{gameIcon|SSB4-3DS}} [[Spirit Train]]<br>{{symbol|zelda|20px}} | |||
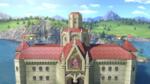
|colspan=2|[[File:SSBU-Skyloft.png|150x90px|link=Skyloft]]<br>{{gameIcon|SSB4-U}} [[Skyloft]]<br>{{symbol|zelda|20px}} | |||
|colspan=2|[[File:SSBU-Brinstar.png|150x90px|link=Brinstar]]<br>{{gameIcon|SSBM}} [[Brinstar]]<br>{{symbol|metroid|20px}} | |||
|colspan=2|[[File:SSBU-Brinstar Depths.png|150x90px|link=Brinstar Depths]]<br>{{gameIcon|SSBM}} [[Brinstar Depths]]<br>{{symbol|metroid|20px}} | |||
|colspan=2|[[File:SSBU-Norfair.png|150x90px|link=Norfair]]<br>{{gameIcon|SSBB}} [[Norfair]]<br>{{symbol|metroid|20px}} | |||
|- | |||
|colspan=2|[[File:SSBU-Frigate Orpheon.png|150x90px|link=Frigate Orpheon]]<br>{{gameIcon|SSBB}} [[Frigate Orpheon]]<br>{{symbol|metroid|20px}} | |||
|colspan=2|[[File:SSBU-Green Greens.png|150x90px|link=Green Greens]]<br>{{gameIcon|SSBM}} [[Green Greens]]<br>{{symbol|kirby|20px}} | |||
|colspan=2|[[File:SSBU-Halberd.png|150x90px|link=Halberd]]<br>{{gameIcon|SSBB}} [[Halberd]]<br>{{symbol|kirby|20px}} | |||
|colspan=2|[[File:SSBU-Dream Land (3DS).png|150x90px|link=Dream Land GB]]<br>{{gameIcon|SSB4-3DS}} [[Dream Land GB]]<br>{{symbol|kirby|20px}} | |||
|- | |||
|colspan=2|[[File:SSBU-The Great Cave Offensive.png|150x90px|link=The Great Cave Offensive]]<br>{{gameIcon|SSB4-U}} <span style="font-size:88%">[[The Great Cave Offensive]]</span><br>{{symbol|kirby|20px}} | |||
|colspan=2|[[File:SSBU-Corneria.png|150x90px|link=Corneria]]<br>{{gameIcon|SSBM}} [[Corneria]]<br>{{symbol|fox|20px}} | |||
|colspan=2|[[File:SSBU-Venom.png|150x90px|link=Venom]]<br>{{gameIcon|SSBM}} [[Venom]]<br>{{symbol|fox|20px}} | |||
|colspan=2|[[File:SSBU-Lylat Cruise.jpg|150x90px|link=Lylat Cruise]]<br>{{gameIcon|SSBB}} [[Lylat Cruise]]<br>{{symbol|fox|20px}} | |||
|colspan=2|[[File:SSBU-Saffron City.jpg|150x90px|link=Saffron City]]<br>{{gameIcon|SSB}} [[Saffron City]]<br>{{symbol|pkmn|20px}} | |||
|colspan=2|[[File:SSBU-Pokémon Stadium.png|150x90px|link=Pokémon Stadium]]<br>{{gameIcon|SSBM}} [[Pokémon Stadium]]<br>{{symbol|pkmn|20px}} | |||
|- | |||
|colspan=2|[[File:PokeFloats.jpg|150x90px|link=Poké Floats]]<br>{{gameIcon|SSBB}} [[Poké Floats]]<br>{{symbol|pkmn|20px}} | |||
|colspan=2|[[File:SSBU-Spear Pillar.png|150x90px|link=Spear Pillar]]<br>{{gameIcon|SSBB}} [[Spear Pillar]]<br>{{symbol|pkmn|20px}} | |||
|colspan=2|[[File:SSBU-Unova Pokémon League.png|150x90px|link=Unova Pokémon League]]<br>{{gameIcon|SSB4-3DS}} <span style="font-size:90%">[[Unova Pokémon League]]</span><br>{{symbol|pkmn|20px}} | |||
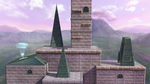
|colspan=2|[[File:SSBU-Prism Tower.png|150x90px|link=Prism Tower]]<br>{{gameIcon|SSB4-3DS}} [[Prism Tower]]<br>{{symbol|pkmn|20px}} | |||
|colspan=2|[[File:SSBU-Kalos Pokémon League.png|150x90px|link=Kalos Pokémon League]]<br>{{gameIcon|SSB4-U}} <span style="font-size:90%">[[Kalos Pokémon League]]</span><br>{{symbol|pkmn|20px}} | |||
|colspan=2|[[File:SSBU-Big Blue.png|150x90px|link=Big Blue]]<br>{{gameIcon|SSBM}} [[Big Blue]]<br>{{symbol|fz|20px}} | |||
|- | |||
|colspan=2|[[File:SSBU-Port Town Aero Dive.png|150x90px|link=Port Town Aero Dive]]<br>{{gameIcon|SSBB}} [[Port Town Aero Dive]]<br>{{symbol|fz|20px}} | |||
|colspan=2|[[File:SSBU-Mute City (3DS).png|150x90px|link=Mute City SNES]]<br>{{gameIcon|SSB4-3DS}} [[Mute City SNES]]<br>{{symbol|fz|20px}} | |||
|colspan=2|[[File:SSBU-Onett.png|150x90px|link=Onett]]<br>{{gameIcon|SSBM}} [[Onett]]<br>{{symbol|eb|20px}} | |||
|colspan=2|[[File:SSBU-Fourside.jpg|150x90px|link=Fourside]]<br>{{gameIcon|SSBM}} [[Fourside]]<br>{{symbol|eb|20px}} | |||
|colspan=2|[[File:SSBU-New Pork City.png|150x90px|link=New Pork City]]<br>{{gameIcon|SSBB}} [[New Pork City]]<br>{{symbol|eb|20px}} | |||
|colspan=2|[[File:SSBU-Magicant.png|150x90px|link=Magicant]]<br>{{gameIcon|SSB4-3DS}} [[Magicant]]<br>{{symbol|eb|20px}} | |||
|- | |||
|colspan=2|[[File:SSBU-Summit.png|150x90px|link=Summit]]<br>{{gameIcon|SSBB}} [[Summit]]<br>{{symbol|ic|20px}} | |||
|colspan=2|[[File:SSBU-Castle Siege.png|150x90px|link=Castle Siege]]<br>{{gameIcon|SSBB}} [[Castle Siege]]<br>{{symbol|fe|20px}} | |||
|colspan=2|[[File:SSBU-Arena Ferox.png|150x90px|link=Arena Ferox]]<br>{{gameIcon|SSB4-3DS}} [[Arena Ferox]]<br>{{symbol|fe|20px}} | |||
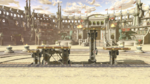
|colspan=2|[[File:SSBU-Coliseum.png|150x90px|link=Coliseum]]<br>{{gameIcon|SSB4-U}} [[Coliseum]]<br>{{symbol|fe|20px}} | |||
|colspan=2|[[File:SSBU-Flat Zone X.png|150x90px|link=Flat Zone X]]<br>{{gameIcon|SSB4-U}} [[Flat Zone X]]<br>{{symbol|gw|20px}} | |||
|colspan=2|[[File:SSBU-Skyworld.png|150x90px|link=Skyworld]]<br>{{gameIcon|SSBB}} [[Skyworld]]<br>{{symbol|ki|20px}} | |||
|- | |||
|colspan=2|[[File:SSBU-Reset Bomb Forest.png|150x90px|link=Reset Bomb Forest]]<br>{{gameIcon|SSB4-3DS}} [[Reset Bomb Forest]]<br>{{symbol|ki|20px}} | |||
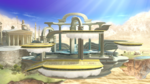
|colspan=2|[[File:SSBU-Palutena's Temple.png|150x90px|link=Palutena's Temple]]<br>{{gameIcon|SSB4-U}} [[Palutena's Temple]]<br>{{symbol|ki|20px}} | |||
|colspan=2|[[File:SSBU-WarioWare, Inc..png|150x90px|link=WarioWare, Inc.]]<br>{{gameIcon|SSBB}} [[WarioWare, Inc.]]<br>{{symbol|wario|20px}} | |||
|colspan=2|[[File:SSBU-Gamer.png|150x90px|link=Gamer]]<br>{{gameIcon|SSB4-U}} [[Gamer]]<br>{{symbol|wario|20px}} | |||
|colspan=2|[[File:SSBU-Distant Planet.png|150x90px|link=Distant Planet]]<br>{{gameIcon|SSBB}} [[Distant Planet]]<br>{{symbol|pikmin|20px}} | |||
|colspan=2|[[File:SSBU-Garden of Hope.png|150x90px|link=Garden of Hope]]<br>{{gameIcon|SSB4-U}} [[Garden of Hope]]<br>{{symbol|pikmin|20px}} | |||
|- | |||
|colspan=2|[[File:SSBU-Wii Fit Studio.png|150x90px|link=Wii Fit Studio]]<br>{{gameIcon|SSB4-U}} [[Wii Fit Studio]]<br>{{symbol|wf|20px}} | |||
|colspan=2|[[File:SSBU-Boxing Ring.png|150x90px|link=Boxing Ring]]<br>{{gameIcon|SSB4}} [[Boxing Ring]]<br>{{symbol|po|20px}} | |||
|colspan=2|[[File:SSBU-Gaur Plain.png|150x90px|link=Gaur Plain]]<br>{{gameIcon|SSB4}} [[Gaur Plain]]<br>{{symbol|xb|20px}} | |||
|- | |||
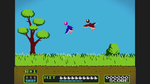
|colspan=2|[[File:SSBU-Duck Hunt.png|150x90px|link=Duck Hunt (stage)]]<br>{{gameIcon|SSB4}} {{b|Duck Hunt|stage}}<br>{{symbol|dh|20px}} | |||
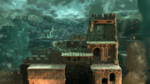
|colspan=2|[[File:SSBU-Shadow Moses Island 2.jpg|150x90px|link=Shadow Moses Island]]<br>{{gameIcon|SSBB}} [[Shadow Moses Island]]<br>{{symbol|mg|20px}} | |||
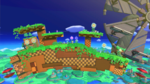
|colspan=2|[[File:SSBU-Green Hill Zone.png|150x90px|link=Green Hill Zone]]<br>{{gameIcon|SSBB}} [[Green Hill Zone]]<br>{{symbol|sonic|20px}} | |||
|colspan=2|[[File:SSBU-Windy Hill Zone.png|150x90px|link=Windy Hill Zone]]<br>{{gameIcon|SSB4-U}} [[Windy Hill Zone]]<br>{{symbol|sonic|20px}} | |||
|colspan=2|[[File:SSBU-Wily Castle.png|150x90px|link=Wily Castle]]<br>{{gameIcon|SSB4}} [[Wily Castle]]<br>{{symbol|mm|20px}} | |||
|colspan=2|[[File:SSBU-Pac-Land.png|150x90px|link=Pac-Land]]<br>{{gameIcon|SSB4-U}} [[Pac-Land]]<br>{{symbol|pm|20px}} | |||
|- | |||
|colspan=2|[[File:SSBU-Suzaku Castle.png|150x90px|link=Suzaku Castle]]<br>{{gameIcon|SSB4}} [[Suzaku Castle]]<br>{{symbol|sf|20px}} | |||
|colspan=2|[[File:SSBU-Midgar.jpg|150x90px|link=Midgar]]<br>{{gameIcon|SSB4}} [[Midgar]]<br>{{symbol|ff|20px}} | |||
|colspan=2|[[File:SSBU-Umbra Clock Tower.png|150x90px|link=Umbra Clock Tower]]<br>{{gameIcon|SSB4}} [[Umbra Clock Tower]]<br>{{symbol|bayonetta|20px}} | |||
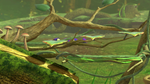
|colspan=2|[[File:SSBU-Hanenbow.png|150x90px|link=Hanenbow]]<br>{{gameIcon|SSBB}} [[Hanenbow]]<br>{{symbol|ep|20px}} | |||
|colspan=2|[[File:SSBU-PictoChat 2.png|150x90px|link=PictoChat 2]]<br>{{gameIcon|SSB4-3DS}} [[PictoChat 2]]<br>{{symbol|ds|20px}} | |||
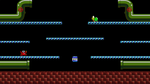
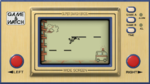
|colspan=2|[[File:SSBU-Balloon Fight.png|150x90px|link=Balloon Fight]]<br>{{gameIcon|SSB4-3DS}} [[Balloon Fight]]<br>{{symbol|bf|20px}} | |||
|- | |||
|colspan=2|[[File:SSBU-Living Room.png|150x90px|link=Living Room]]<br>{{gameIcon|SSB4-3DS}} [[Living Room]]<br>{{symbol|nd|20px}} | |||
|colspan=2|[[File:SSBU-Find Mii.png|150x90px|link=Find Mii]]<br>{{gameIcon|SSB4-3DS}} [[Find Mii]]<br>{{symbol|streetpass|20px}} | |||
|colspan=2|[[File:SSBU-Tomodachi Life.png|150x90px|link=Tomodachi Life]]<br>{{gameIcon|SSB4-3DS}} [[Tomodachi Life]]<br>{{symbol|tomodachi|20px}} | |||
|colspan=2|[[File:SSBU-Wrecking Crew.png|150x90px|link=Wrecking Crew]]<br>{{gameIcon|SSB4-U}} [[Wrecking Crew]]<br>{{symbol|wreckingcrew|20px}} | |||
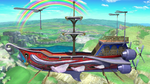
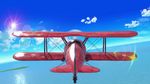
|colspan=2|[[File:SSBU-Pilotwings.png|150x90px|link=Pilotwings]]<br>{{gameIcon|SSB4-U}} [[Pilotwings]]<br>{{symbol|pw|20px}} | |||
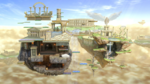
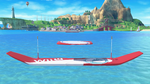
|colspan=2|[[File:SSBU-Wuhu Island.png|150x90px|link=Wuhu Island]]<br>{{gameIcon|SSB4-U}} [[Wuhu Island]]<br>{{symbol|wuhu|20px}} | |||
|} | |} | ||
Revision as of 20:57, March 20, 2023
| Super Smash Bros. (tentative title) | |
|---|---|
 Logo of the game | |
| Developer(s) | Bandai Namco Sora Ltd. |
| Publisher(s) | Nintendo |
| Released | 2018 |
| Genre(s) | Fighting |
Super Smash Bros. (tentative title) is an upcoming fighting game for the currently unannounced successor to the Nintendo Switch. It was announced in the Nintendo Direct which aired on April 1st, 2023. It is scheduled to release in early 2024.
Characters
The new Super Smash Bros.'s theme is the opposite of Ultimate: rather than all veterans returning, every veteran except the Original 12 will be cut from the roster.
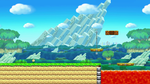
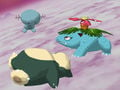
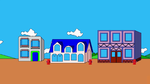
Goomba was the first character to be revealed, with Alternate costume variations based off of Goombario and Goombella. In the same reveal was Rabbid Peach shooting away a group of Goombas and was announced to be replacing Princess Peach. Baby Wario was then shown using his magnet to snatch Rabbid Peach's gun.
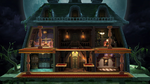
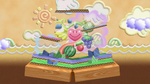
A later scene shows King Harkinian from the infamous CD-I game Link and the Faces of Evil recieving a glass from Tingle, who is shown floating on a pair of balloons, both of which being confirmed the next fighters of the Zelda universe. A small insect is seen flying out of the glass, revealed to be Buzz Buzz from the EarthBound universe, however in the very next shot he gets slapped away by Lardna, referencing Buzz Buzz's death.
| Veterans (12) | |||||
|---|---|---|---|---|---|
 Mario |
 Luigi |
 Yoshi |
 Donkey Kong |
 Link |
 Samus |
 Kirby |
 Fox |
 Pikachu |
 Jigglypuff |
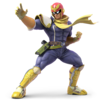 Captain Falcon |
 Ness |
| Newcomers ( ) | |||||
 Goomba |
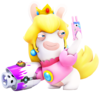 Rabbid Peach |
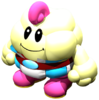 Mallow |
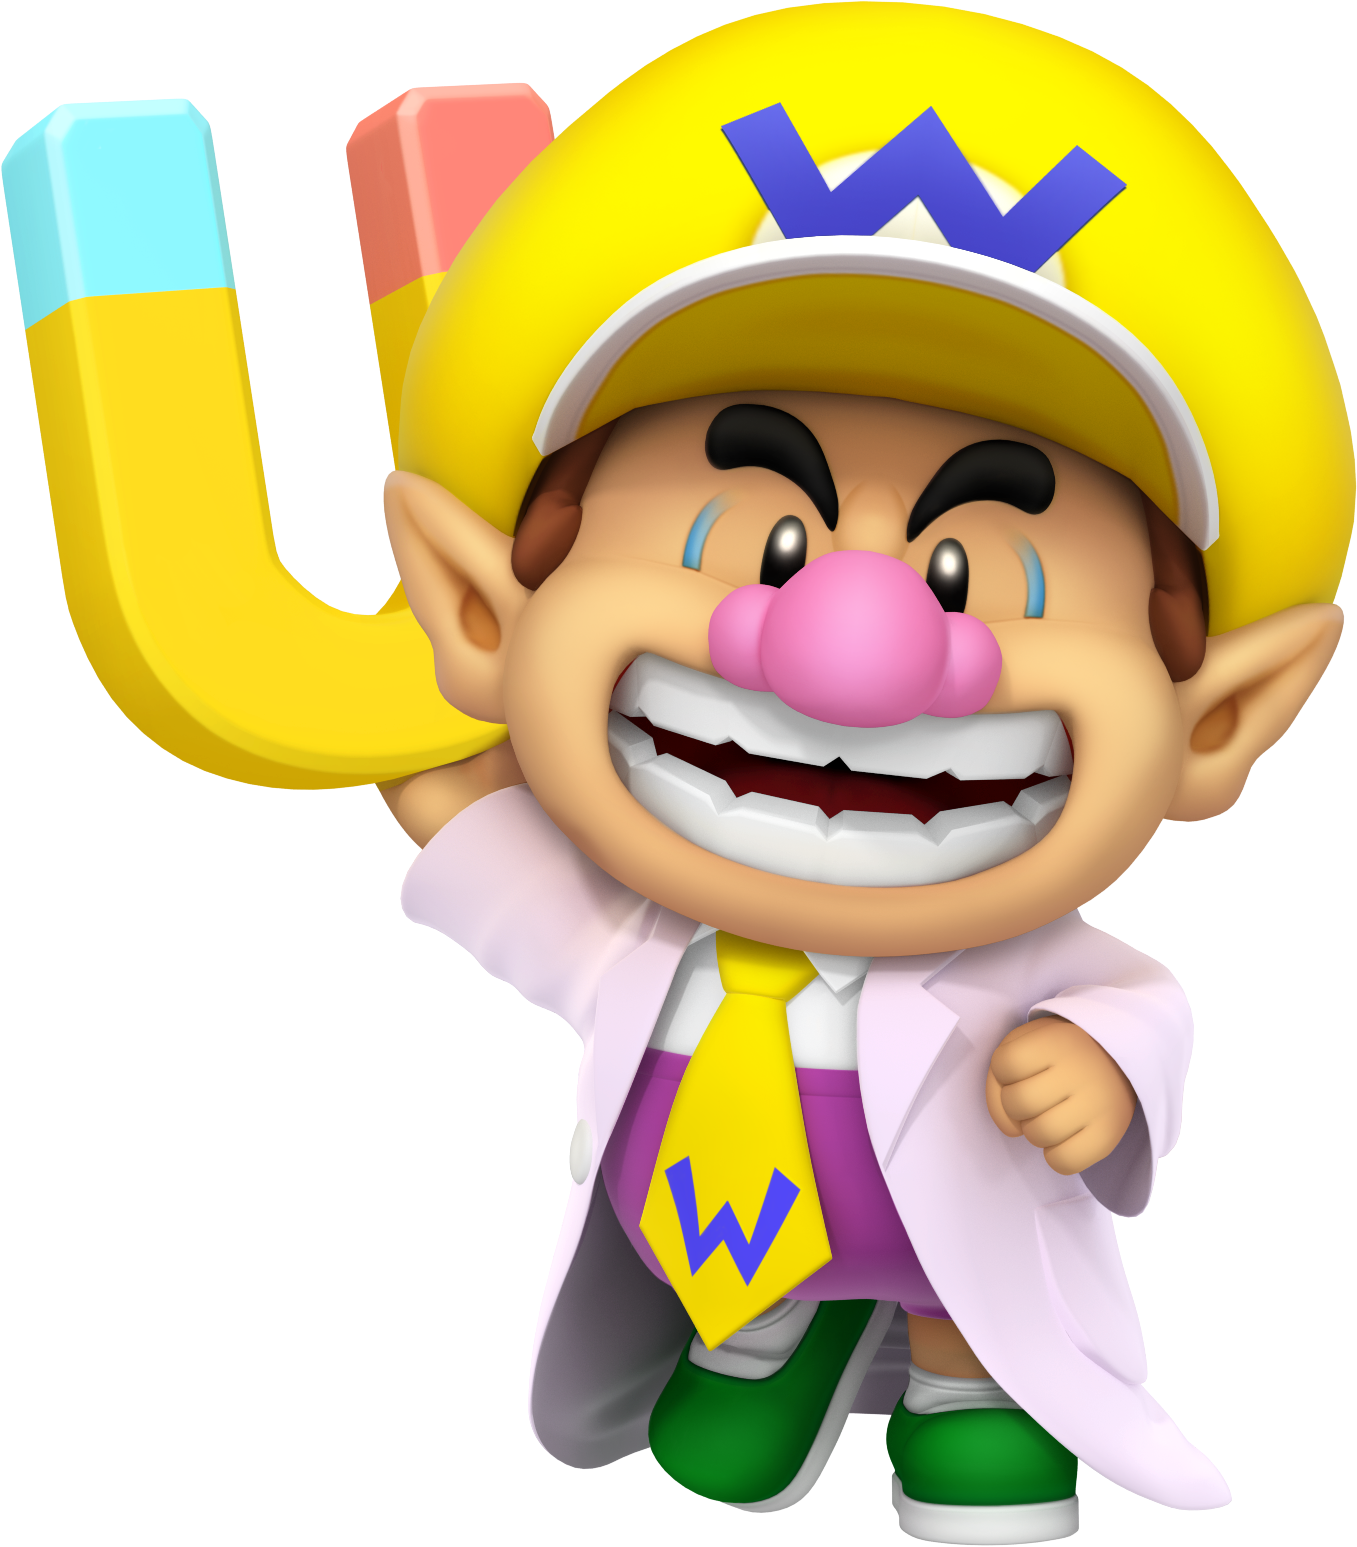 Baby Wario |
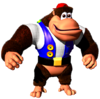 Chunky Kong |
 Swanky Kong |
 Randall |
 Tingle |
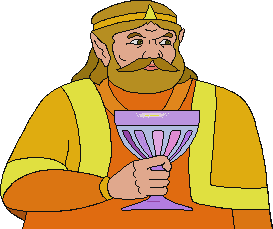 Harkinian |
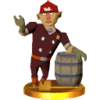 Alfonzo |
 Groose |
Samus |
 Marx |
Fox | ||||
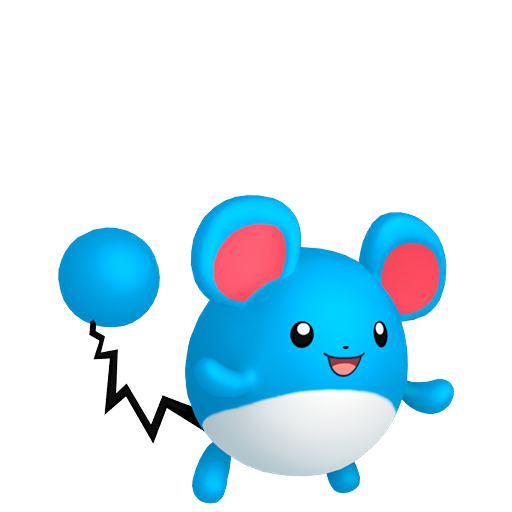 Pikablu |
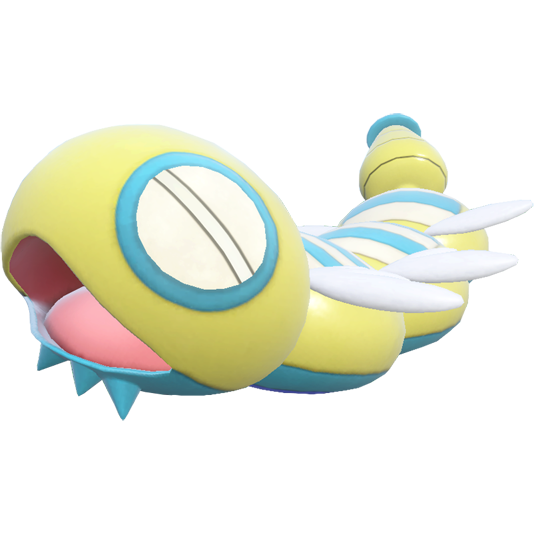 Dudunsparce |
 New Age Retro Hippie |
Buzz Buzz |
 Lardna | |
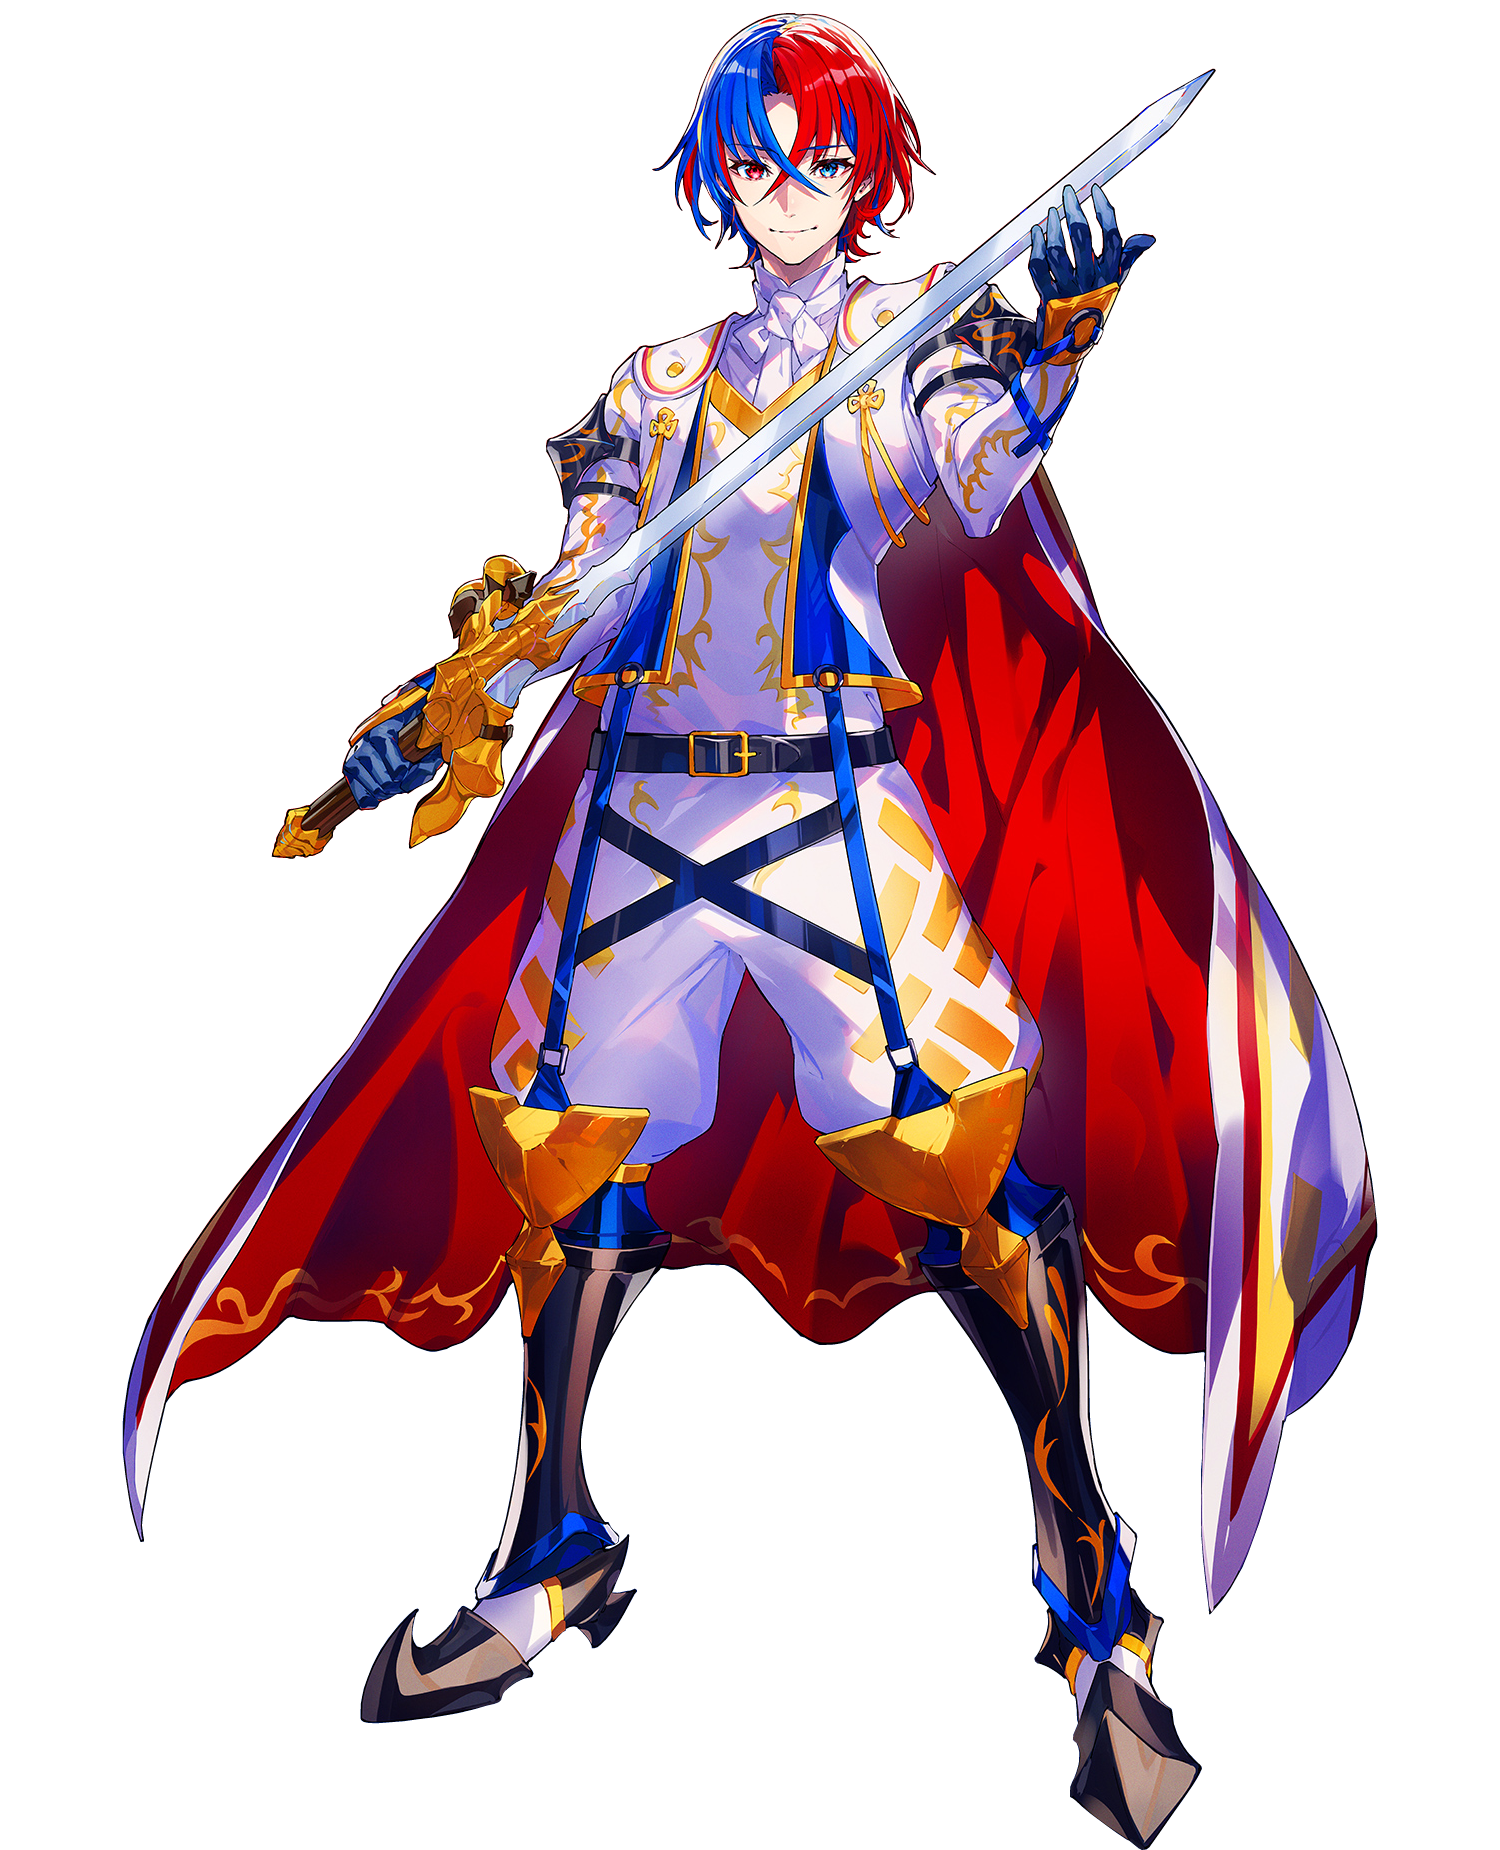 Alear |
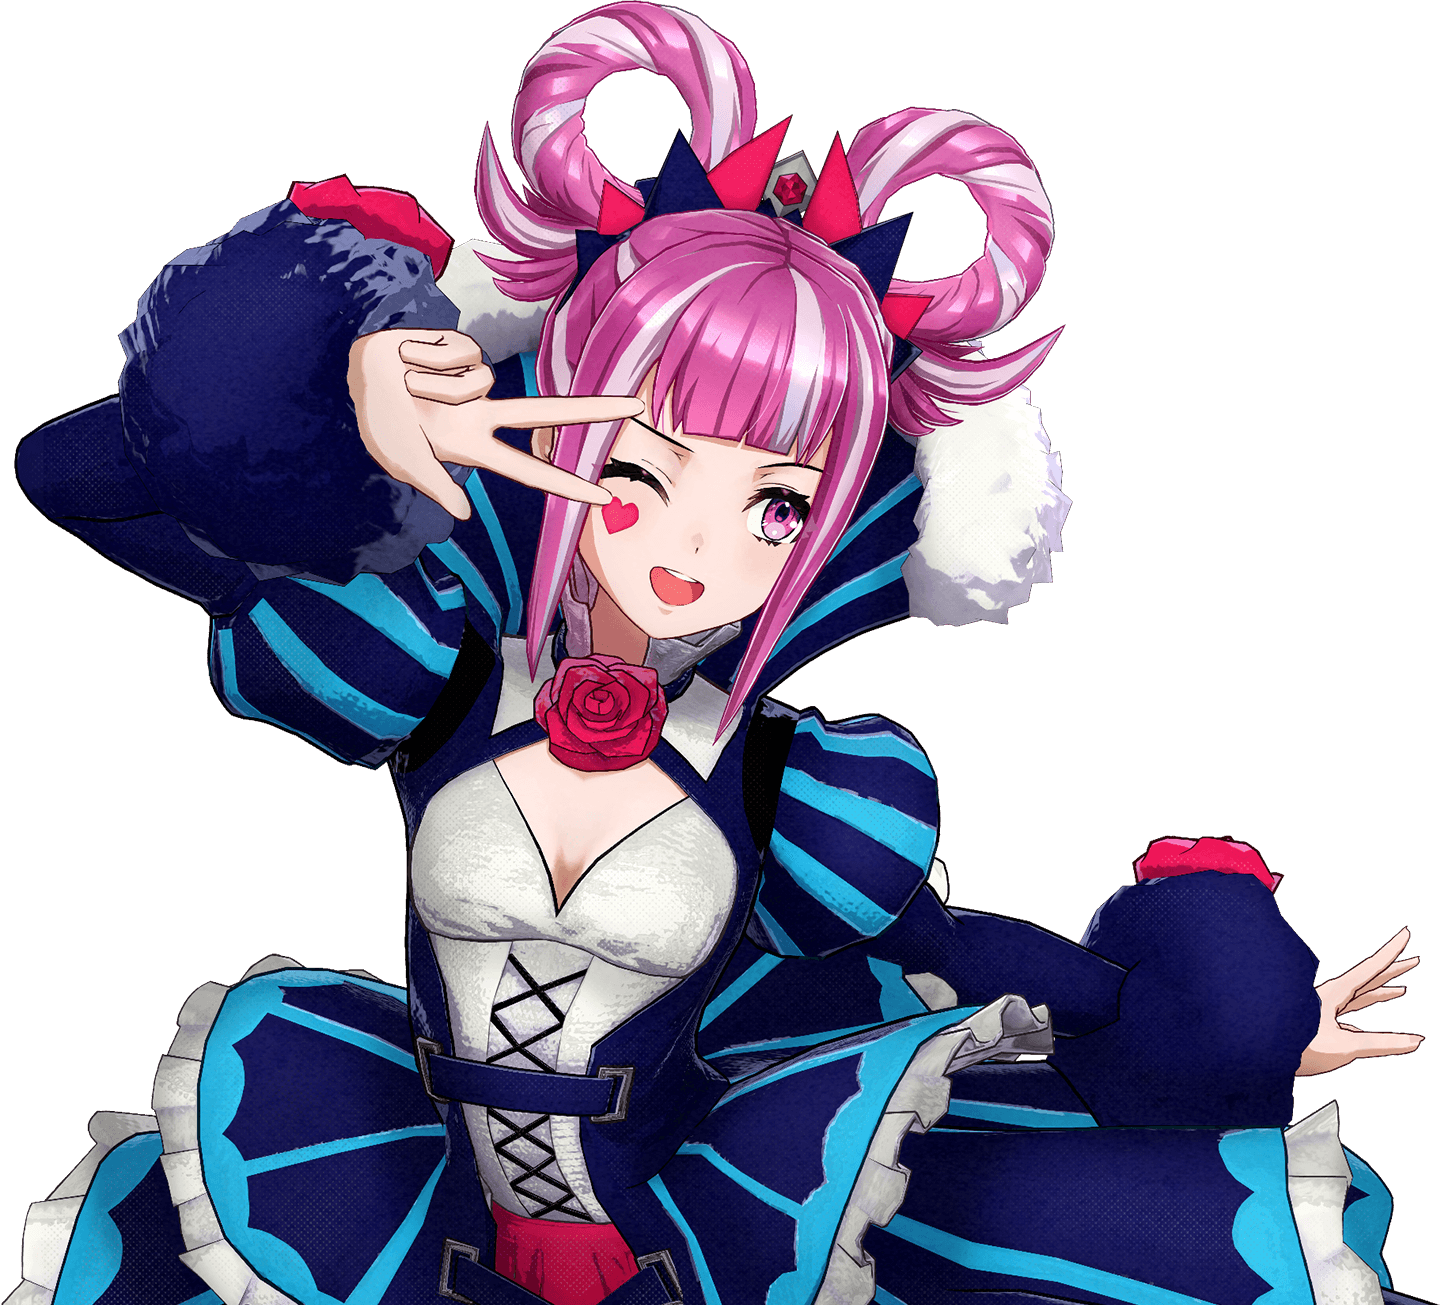 Hortensia | ||||
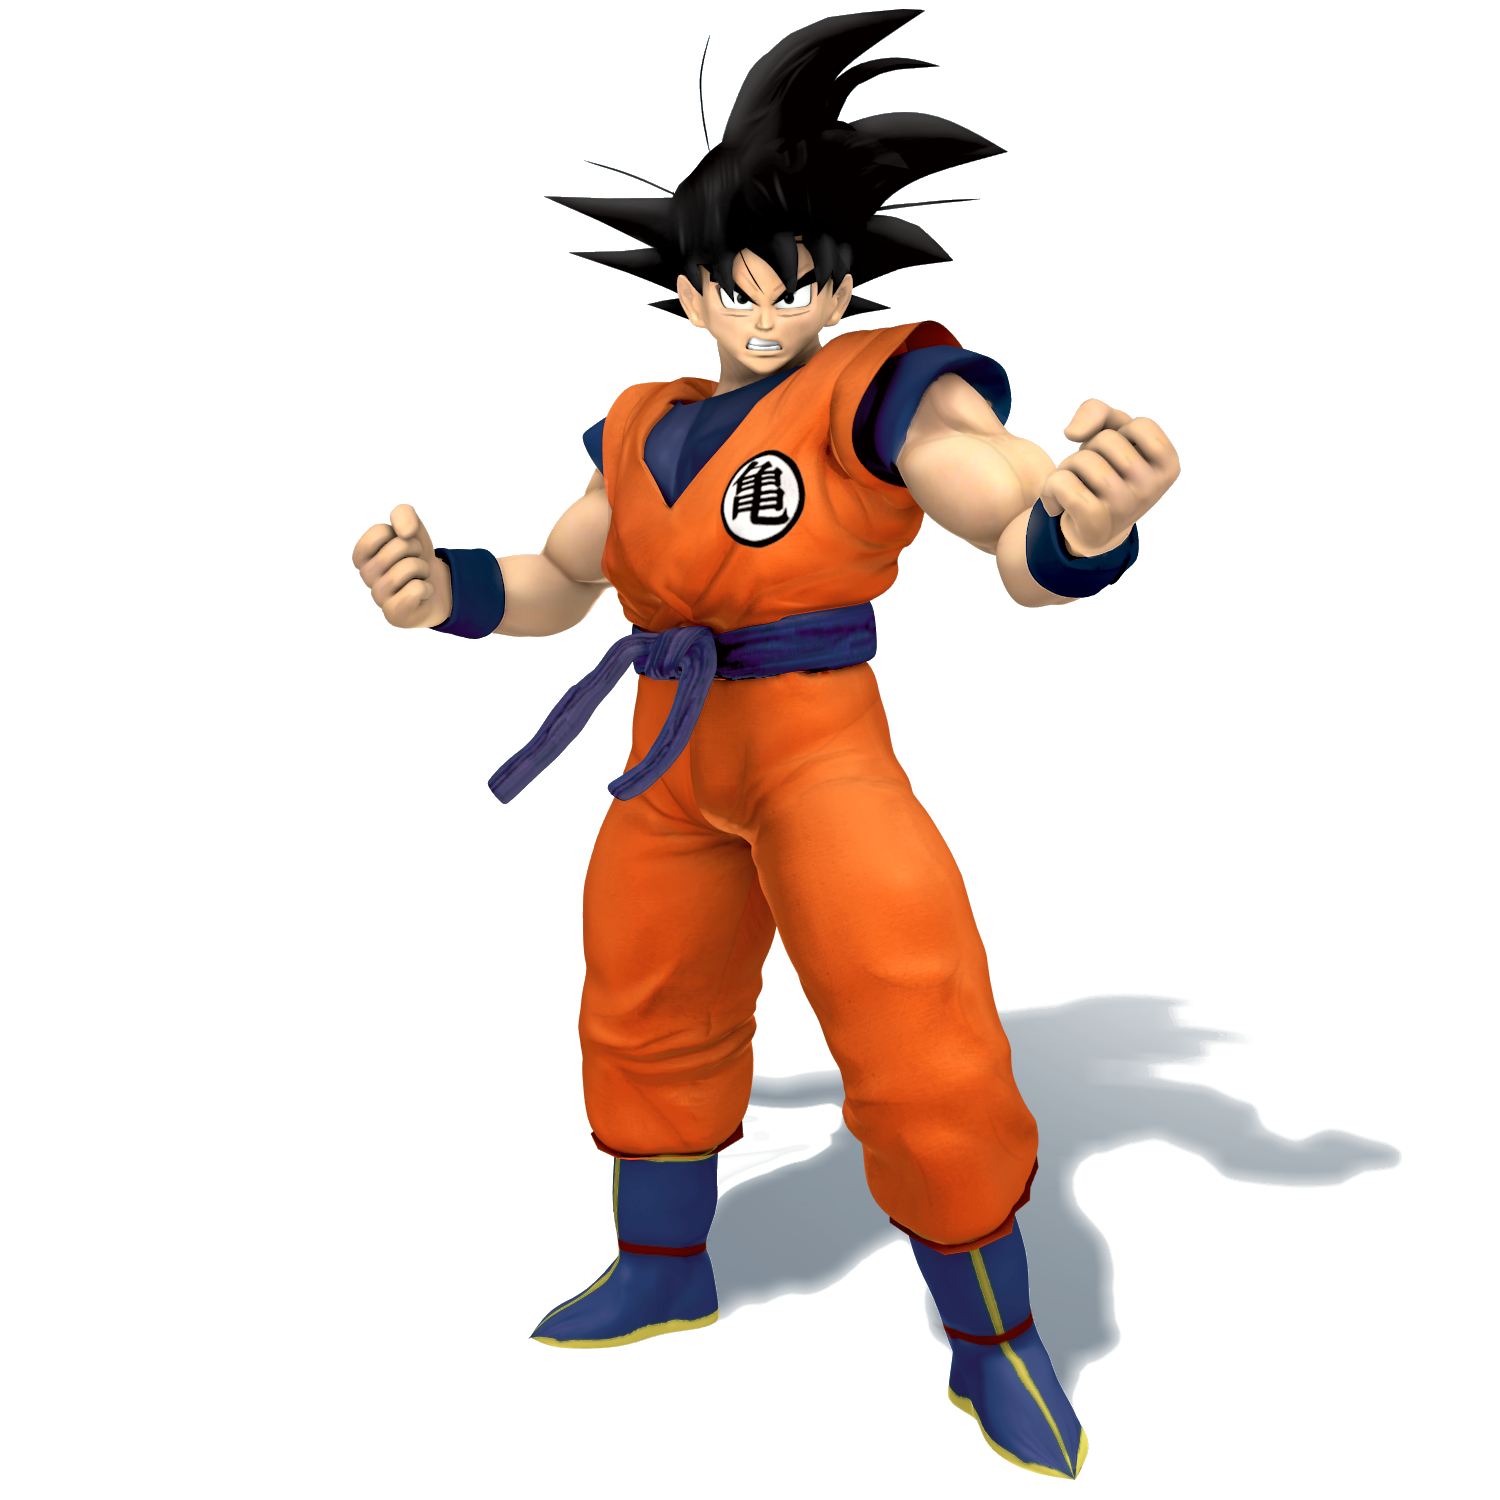 Goku |
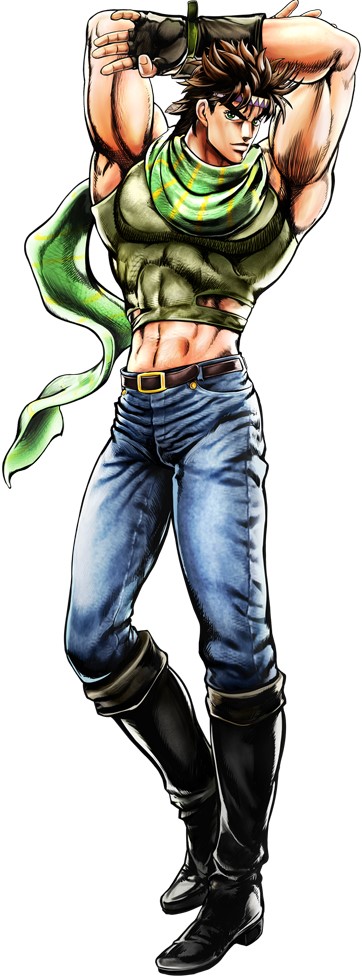 Joseph Joestar |
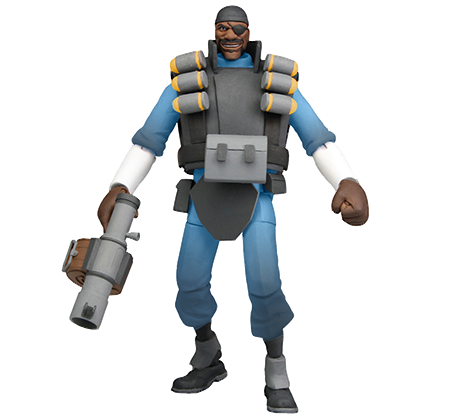 Demoman |
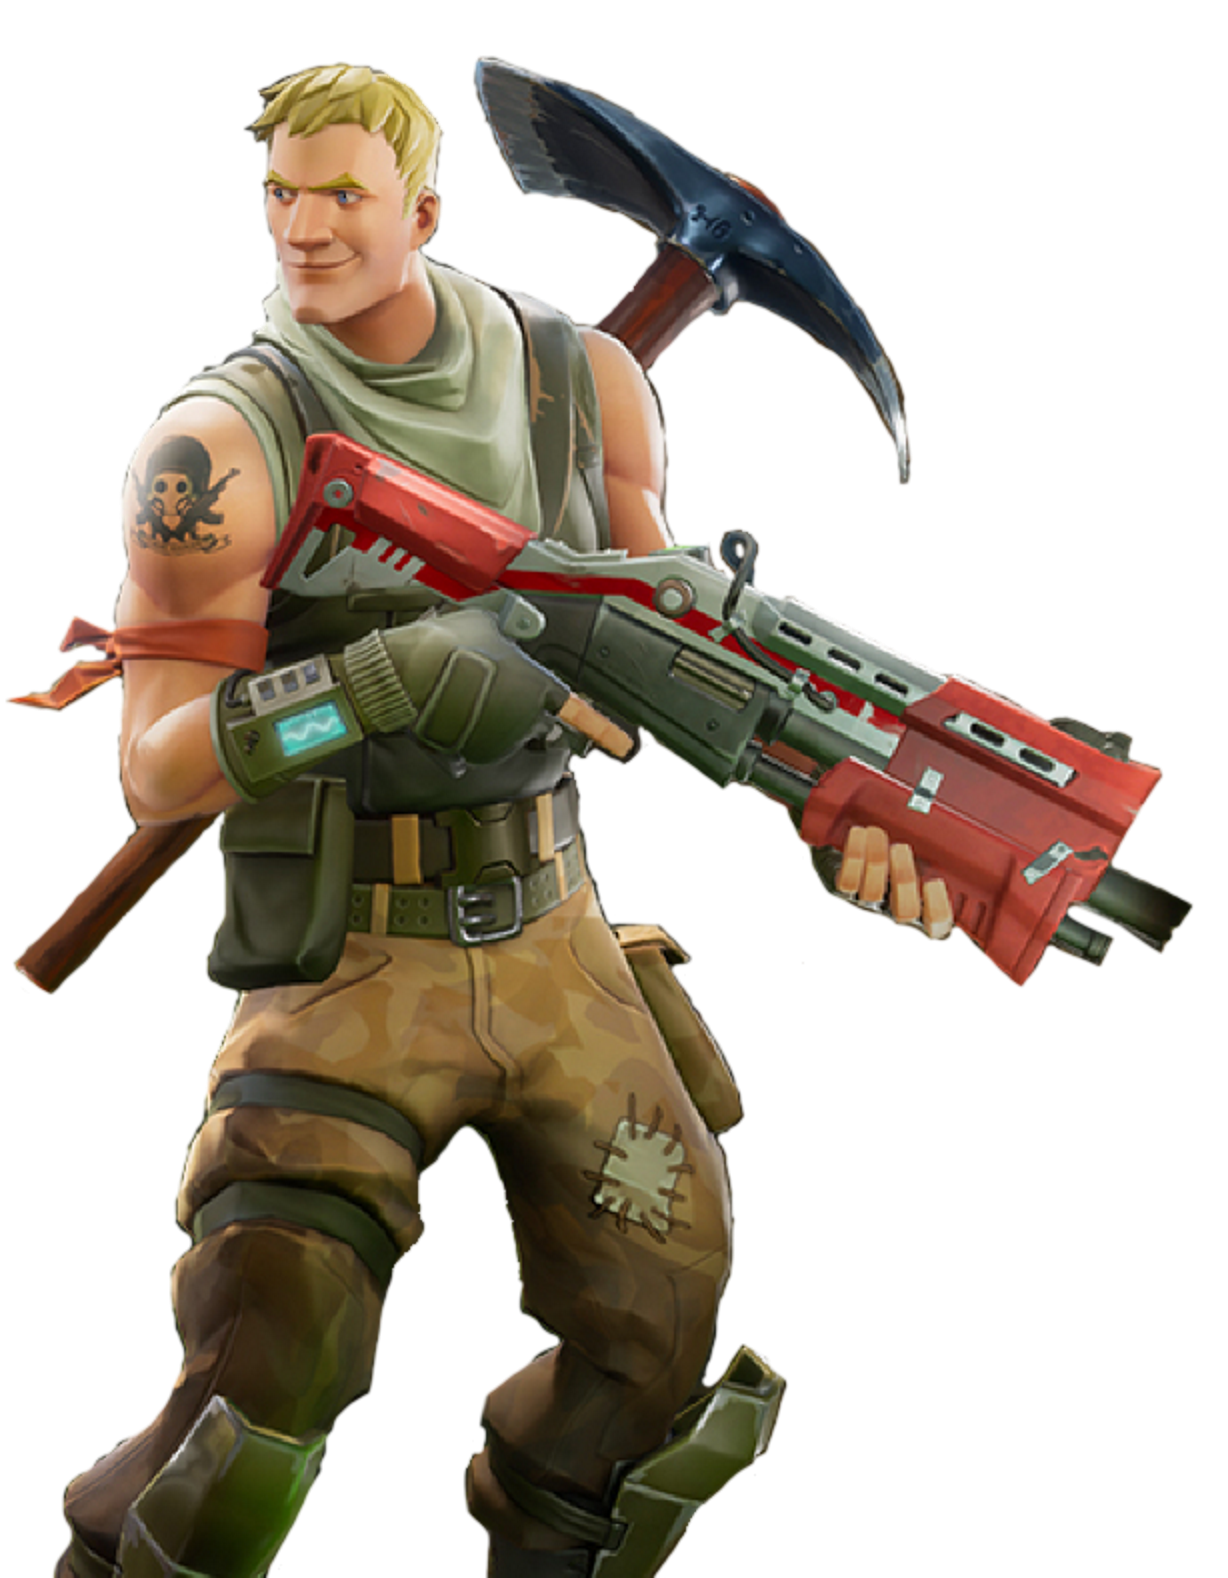 Fortnite Guy |
 Random | |
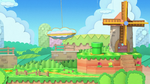
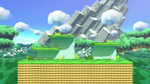
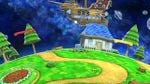
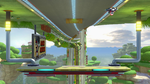
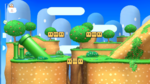
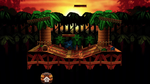
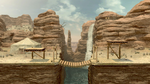
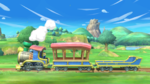
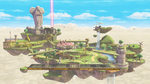
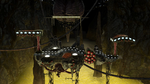
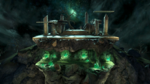
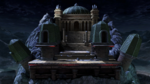
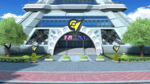
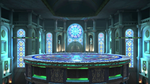
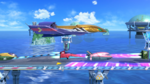
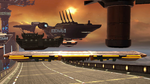
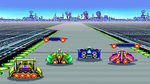
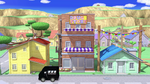
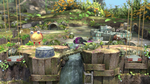
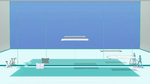
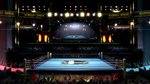
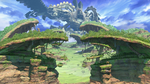
Stages
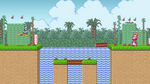
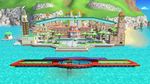
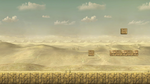
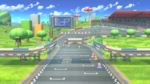
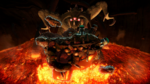
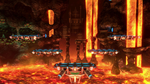
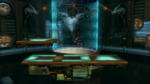
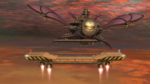
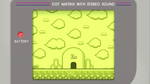
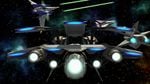
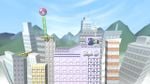
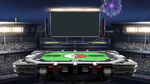
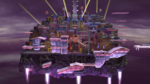
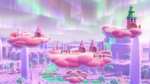
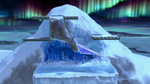
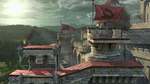
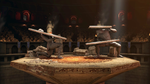
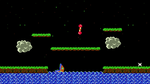
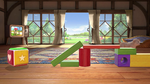
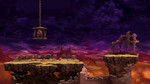
All stages from Ultimate will be returning, with the exception of stages that were previously considered tournament legal, it appears to have been done in order to discourage players from playing competitively. Additionally, Battlefield forms and Ω forms have been removed, instead each stage will have a "Frustration Form" where the stage will tilt and spin randomly. Battlefield and Final Destination themselves are set to the new Frustration Form by default with no option to play on them normally.


Changes from Super Smash Bros. Ultimate
Gameplay changes
- All past controllers have been confirmed compatible with the game, with the exception of the GameCube controller, as the console does not have support for the adapter.
- The NES and SNES controllers released for the Nintendo Switch Online service, while technically compatible, cannot be used due to not enough buttons and lack of an analog stick.
- The charging duration for Smash attacks have been reduced to their pre-Ultimate duration.
- All characters can now Wall-jump.
- Aerials can now be cancelled after 3 frames of contact.
- Stale-move negation has been removed.
- Characters have a 5% chance of tripping during a dash.
- Hitstun is now dependant on weight, where heavier characters now have higher hitstun.
- Shields can now protect against grabs.
- Shields no longer depleat on their own and will only depleat when damaged, thus they can be held indefinitely without breaking.
- Characters now have access to unique diagonal special moves, adding two new special moves for each character.
- All characters now have a 1% chance of using their Final Smash a second time after being used once.
Menu changes
- My Music has been overhauled, now every song in the game can be played on any stage and is no longer restricted to certain universes.
- Item Switch has been removed, items will always appear at a rate that matches the Very High setting from 64 and Melee.
Trivia
- This is the first Smash game to have no veterans aside from the Original 12.