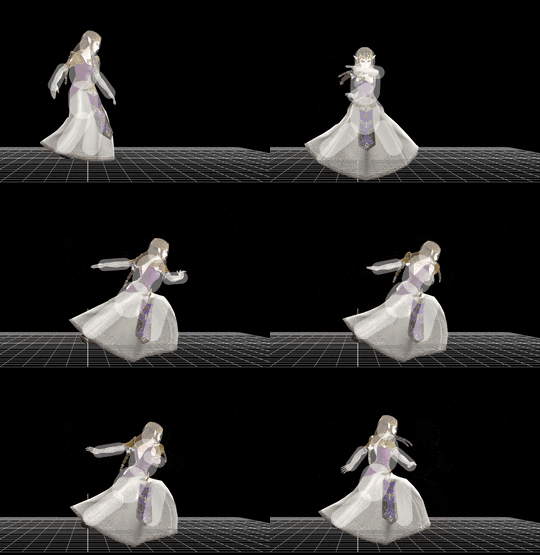
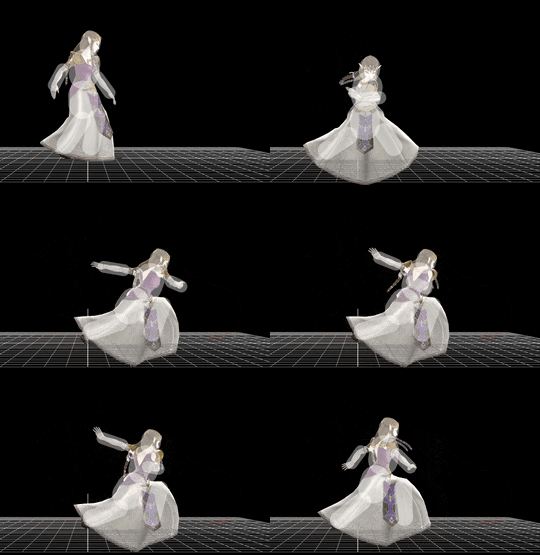
Super Smash Bros. 4

Zelda (SSB4)/Forward tilt

From SmashWiki, the Super Smash Bros. wiki
< Zelda (SSB4)
Revision as of 23:03, July 25, 2024 by Kiedan (talk | contribs)
(diff) ← Older revision | Latest revision (diff) | Newer revision → (diff)
Jump to navigationJump to search
Zelda forward tilt hitbox visualization
ZeldaFTiltUp.gif
ZeldaFTilt.gif
ZeldaFTiltDown.gif
Competitive.png This article or section may require competitive expertise.
You can discuss this issue on the talk page or edit this page to improve it.
Data.png This article or section may require additional technical data.
You can discuss this issue on the talk page or edit this page to improve it.

Update history[edit]

Super Smash Bros. 4 1.1.5

  • Buff Forward tilt startup and ending lag decreased: frame 12 (startup)/39 (ending lag) → 10/37. The Z position was also slightly increased to give it more reach: 3u → 3.5u.

Hitboxes[edit]

This attack can be angled up, forward, or down, but all three have the same properties.

ID Part Damage SD Angle BK KS FKV Radius Bone Offset SDIx T% Clang Rebound Type Effect G A Sound Direct
0 0 12% 0 Sakurai angle 50 88 0 4.0 17 3.5 0.0 0.0 1.0x 1.0x 0% HitboxTableIcon(NoClang).png HitboxTableIcon(Rebound).png Magic (type) Slash (effect) HitboxTableIcon(GroundedTrue).png HitboxTableIcon(AerialTrue).png L Slash SpecialsDirect.png
1 0 10% 0 Sakurai angle 50 88 0 3.5 17 0.0 0.0 0.0 1.0x 1.0x 0% HitboxTableIcon(NoClang).png HitboxTableIcon(Rebound).png Magic (type) Slash (effect) HitboxTableIcon(GroundedTrue).png HitboxTableIcon(AerialTrue).png L Slash SpecialsDirect.png
2 0 10% 0 Sakurai angle 50 88 0 3.0 16 -1.0 0.0 0.0 1.0x 1.0x 0% HitboxTableIcon(NoClang).png HitboxTableIcon(Rebound).png Magic (type) Slash (effect) HitboxTableIcon(GroundedTrue).png HitboxTableIcon(AerialTrue).png M Slash SpecialsDirect.png

Timing[edit]

Hitbox 10-11
Interruptible 39
Animation length 47
FrameIcon(Lag).png FrameIcon(Lag).png FrameIcon(Lag).png FrameIcon(Lag).png FrameIcon(Lag).png FrameIcon(Lag).png FrameIcon(Lag).png FrameIcon(Lag).png FrameIcon(Lag).png FrameIcon(Hitbox).png FrameIcon(Hitbox).png FrameIcon(Lag).png FrameIcon(Lag).png FrameIcon(Lag).png FrameIcon(Lag).png FrameIcon(Lag).png FrameIcon(Lag).png FrameIcon(Lag).png FrameIcon(Lag).png FrameIcon(Lag).png FrameIcon(Lag).png FrameIcon(Lag).png FrameIcon(Lag).png FrameIcon(Lag).png FrameIcon(Lag).png FrameIcon(Lag).png FrameIcon(Lag).png FrameIcon(Lag).png FrameIcon(Lag).png FrameIcon(Lag).png FrameIcon(Lag).png FrameIcon(Lag).png FrameIcon(Lag).png FrameIcon(Lag).png FrameIcon(Lag).png FrameIcon(Lag).png FrameIcon(Lag).png FrameIcon(Lag).png FrameIcon(Interruptible).png FrameIcon(Interruptible).png FrameIcon(Interruptible).png FrameIcon(Interruptible).png FrameIcon(Interruptible).png FrameIcon(Interruptible).png FrameIcon(Interruptible).png FrameIcon(Interruptible).png FrameIcon(Interruptible).png
Legend (1 square = 1 frame)
Lag
Lag time
Hitbox
Hitbox
Interruptibility
Interruptible

Trivia[edit]

  • The hand sourspot uses the strong sound effect of the sweetspot, despite being identical in strength to the other sourspot.