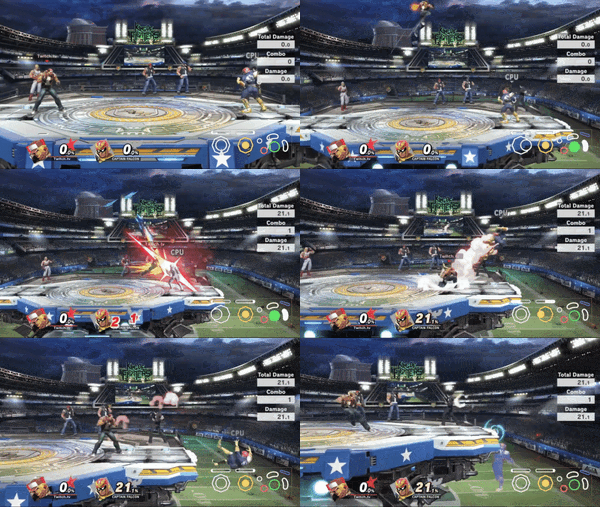
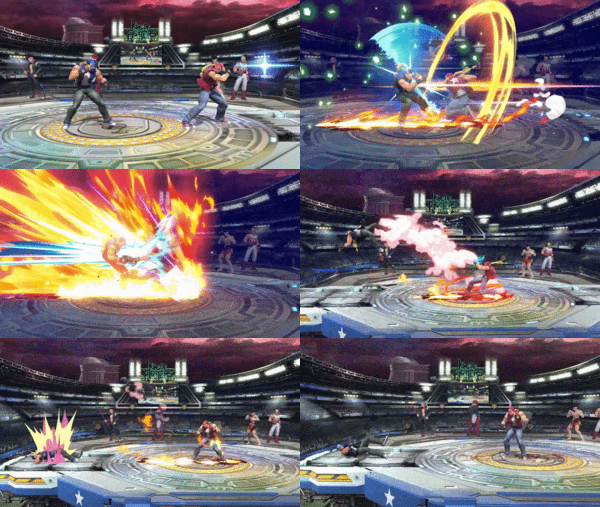
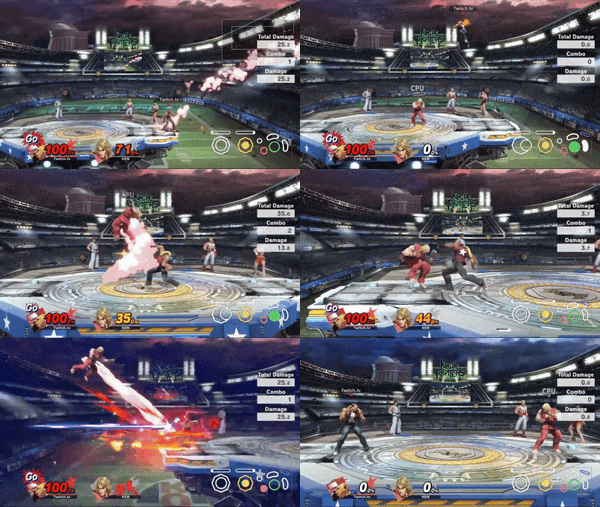
Command-input move
Command Input Special Moves, also known as Command Attacks, are upgraded versions of the special moves of Ryu, Ken, and Terry that requires a specific motion on the control stick and a button press in a specific window of time.
Overview
In traditional fighting games a "command input" is typically defined as any combination of a direction and/or button press that causes a move to be executed. In the Super Smash Bros. series it is used for attacks that require more input than a simple direction + button press. In Ultimate, taunt inputs can be used instead of the control stick.
While the special moves can be activated by simply pressing the B button and holding a direction, they are intentionally slower and weaker than they can be to reward players for using the inputs instead. Command versions of these moves are more complicated to activate, but have the benefit of being faster, more powerful, and sometimes have added effects. There are also some moves that can only be activated via command input, such as Shakunetsu Hadoken, which are often integral to their respective character's gameplay.
There are some advanced techniques that can be utilized with command inputs, such as COIL, charge partitioning, and Kara Canceling.
Moves with Command Inputs
- Hadoken: A blue, single hit fireball and the neutral special of Ryu and Ken. The command version can be accessed by rotating the control stick a quarter-circle towards the opponent, then pressing a button (↓ ↘ → + attack/special). If done correctly, the Hadoken will be faster and deal more damage.
- Tatsumaki Senpukyaku: an airborne, spinning crescent kick and the side special of Ryu and Ken.The command version can be accessed by rotating the control stick a quarter-circle away from the opponent, then pressing a button (↓ ↙ ← + attack/special). If done correctly, the tatsumaki will be more powerful and travel farther.
- Shoryuken: A leaping uppercut and the up special of Ryu and Ken. The command version can be accessed by moving towards the opponent, the tilting the control stick down and forward in a "Z" motion, then pressing a button (→ ↓ ↘ + attack/special). If done correctly, the shoryuken will be more powerful while having more intangibility (frames 1-14 versus frame 5) and lower landing lag (16 frames versus 23 frames).
- Shakunetsu Hadoken: A special variant of the Hadoken exclusive to Ryu. This move can be accessed by rotating the control stick a half-circle towards the opponent, then pressing a button (← ↙ ↓ ↘ → + attack/special). If done correctly, a red, multi hit Hadoken will come out.
- Oosoto Mawashi Geri: An outward roundhouse kick that is exclusive to Ken. This move can be accessed by rotating the control stick a half-circle towards the opponent, then pressing a button (← ↙ ↓ ↘ → + attack/special).
- Nata Otoshi Geri: A swiping crescent kick that is exclusive to Ken. This move can be accessed by a reversed quarter circle motion towards the opponent, then pressing a button (→ ↘ ↓ + attack/special).
- Burning Knuckle: A lunging energy punch and the forward-side special of Terry. The command version can be accessed by rotating the control stick a quarter-circle towards the opponent, then pressing a button (↓ ↘ → + attack/special). If done correctly, the Burning knuckle will be more powerful and travel farther, with a green-yellow trail behind Terry. It should be noted that the input is reversed from his home series as it is normally a quarter-circle away from the opponent.
- Crack Shoot: A spinning heel kick and the back-side special of Terry. The command version can be accessed by rotating the control stick a quarter-circle away from the opponent (↓ ↙ ← + attack/special). If done correctly, the crack shoot will be more powerful and the second hit will deal shield damage.
- Power Dunk: A jumping knee strike and the down special of Terry. The command version can be accessed by moving towards the opponent, the tilting the control stick down and forward in a "Z" motion, then pressing a button (→ ↓ ↘ + attack/special). If done correctly, the power dunk will be more powerful, grant intangibility during its ascent, and enable the last hit to meteor smash.
- Rising Tackle: An upward corkscrew flying kick and the up special of Terry. The command version can be accessed by holding down to charge the attack for a minimum of 24 frames, then quickly pushing up on the control stick and pressing a button (hold ↓ for 24 frames, then ↑+attack/special). This type of input is know colloquially as a "charge motion." If done correctly, the rising tackle will be more powerful, hit more times, and grant intangibility.
- Power Geyser: A Super Special move exclusive to Terry after he reaches 100% or after he reaches below 30 HP. This move can be accessed by a quarter-circle in one direction, then quickly tilting the control stick in the other direction (↓ ↙ ← ↙ → + attack/special). This input is colloquially known as the "Pretzel Motion" due to its knot-like appearance. A simplified version of this input is also available (↓ ← ↓ → + attack/special). If done correctly, Terry will punch the ground and a massive geyser of energy will explode in front of him, dealing incredibly high damage at the cost of a slow start up and high endlag.
- Buster Wolf: A Super Special move exclusive to Terry after he reaches 100% or after he reaches below 30 HP. This move can be accessed by 2 quarter-circle motions towards the opponent (↓ ↘ → ↓ ↘ → + attack/special). A simplified version of this input is also available (↓ → ↓ → + attack/special). If done correctly, Terry will launch forward. If Terry connects with the opponent, they will be grabbed and thrown for incredibly high damage, similar to Lucario's Force Palm. Unlike force palm, there is only a grab hitbox, meaning Buster Wolf is extremely punishable if it misses or is shielded.
Origin
Command inputs can be traced back to the 1987 arcade game Street Fighter. In that game, the player can access the Hadoken, Tatsumaki Senpukyaku, and Shoryuken with their respective inputs. There was a very strict window to activate, but all moves did massive amounts of damage to compensate. Players complained that the activation window was too strict which led to inputs being "eaten" and the controls feeling inconsistent. Capcom listened to these complaints and decided to make special moves easier to perform at the cost of damage for Street Fighter II. Takashi Nishiyama, creator of Street Fighter, also listened to these complaints after moving to SNK and created Fatal Fury. These two games laid the foundation for all fighting games in the future, and the inputs introduced are now commonplace across the genre.
Negative Edge
Negative edge is a mechanic involving any command input special move, which is present in traditional fighting games. To perform, hold the A or B button during an attack, input the special move, and release said button shortly after the attack is over. Essentially, pressing and releasing an attack button can be treated as a half-A press in the context of a command special move. This will always be treated as a tap input, so only the weakest variations of the special moves will occur. This isn't to be confused with buffering, which is where a player holds a button to perform an action on the first possible frame. Negative edge is present in Smash 4 and Ultimate.
Negative edge primarily exists to make combos with special moves easier for players to perform, making it a good technique for new players to utilize when starting out. For example, with Ryu, it's possible to use negative edge to make cancelling his close strong neutral attack into Shoryuken easier. However, as aforementioned, this can only result in a weak Shoryuken. Ergo, learning the inputs without negative edge is important to get full use out of the characters.
Due to negative edge only resulting in weak inputs, it tends to only be optimal in cases where the weak input is necessary. This best applies to situations such as Terry's neutral aerial into Burning Knuckle, which can otherwise be difficult to recover from using off-stage. Additionally, at higher percentages, the strong version can sometimes be too slow to connect reliably. For a more niche case, against characters like Mega Man, Robin, and Ken, there are situations where Terry's up tilt can be cancelled into a weak Crack Shoot and result in a drag down; normally around 75%. Negative edge can be used to consistently get the weaker version, reducing the chance of human error.
Tiger Knee

Tiger Knee is an advanced technique exclusive to Ultimate that involves making use of the a full hop alongside command inputs. The name comes from similar motions in traditional fighting games. While this can be applied to any command special that can be used in the air, it's only viable with Terry, due to Ryu and Ken's special moves manipulating their gravity (eg. Hadoken) or being too committal (eg. Shoryuken). To perform the technique, input a jump alongside a singular A or B press prior to inputting a command special. Due to requiring a jump prior to the final input, it cannot be used alongside a special cancel.
If performed correctly, a jump will occur at the same time as the special move. This has various applications, such as autocanceling Power Dunk[1], getting a higher arc with Crack Shoot, and using Burning Knuckle's aerial variation closer to the ground, allowing it to drift past the ledge. An autocancelled Power Dunk using this technique is even on shield, enabling Terry to mix up with moves like neutral attack. Additionally, it acts as a somewhat committal way to get past projectiles, which can also be applied to Tiger Knee Crack Shoot. Tiger Knee Burning Knuckle allows Terry to get around the grounded version locking him to the ledge, boosting its potential threat range on-stage and making Terry's edgeguarding much less committal.
Command Orientation Input Locking
Command orientation input locking (often abbreviated as COIL, sometimes known as COIL charging) is an advanced technique introduced in Super Smash Bros. Ultimate, exclusive to Terry[2][3]. It involves exploiting a quirk in the way the game reads controller inputs to technically be moving in two directions at the same time. Before performing this technique, make sure the c-stick is set to tilt attacks instead of smash attacks. First, hold the analog stick in a certain direction, then hold the c-stick in the same direction. Then let go of the analog stick while still holding the c-stick. For example, if the technique is done correctly and both sticks are held down and the analog stick is let go, the c-stick will trick the game into think the analog stick is still down. This is useful for characters like Ryu, Ken and Terry, where the first input of a command input or charge motion is available to them at all times, making said inputs easier to perform. Terry especially benefits from this technique by being able to run up to the opponent and perform an invincible Rising Tackle without holding down for 24 frames. The only disadvantage to COIL is that the A button ceases to function while the c-stick is held, making normal attacks unusable.
A variant of this move called Double Tap Coil Charging (DTCOIL) has a slightly different activation method. After holding down on the analog stick, quickly tilt the c-stick twice, making sure only one tilt attack comes out. Two tilt attacks means the activation didn't work. Then continue the technique as normal. If done correctly, the direction will still be charged and the A button will function, circumventing the issue with normal COIL.


