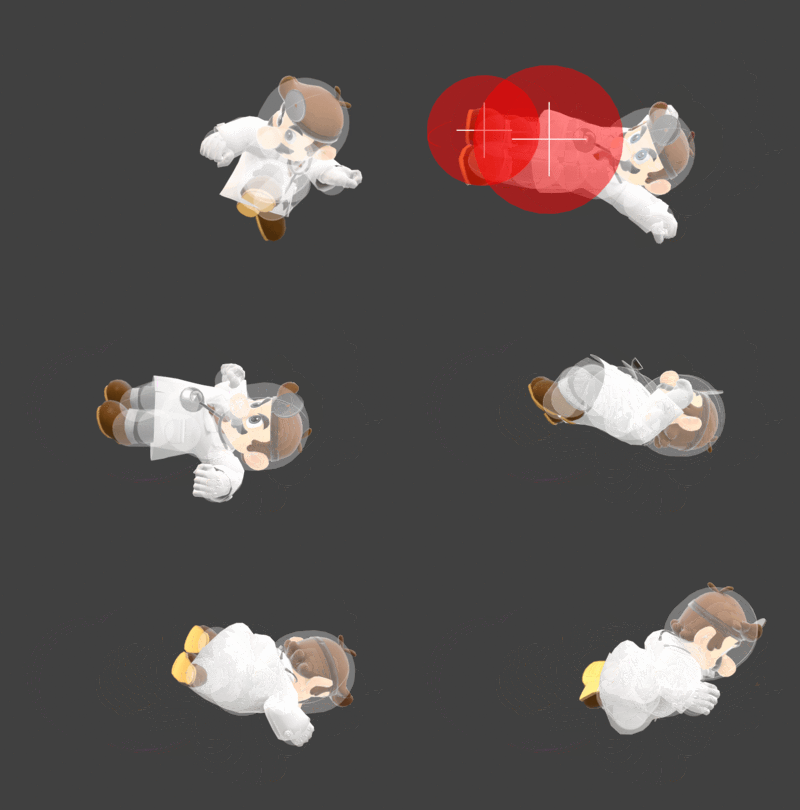
Dr. Mario (SSBU)/Back aerial: Difference between revisions
From SmashWiki, the Super Smash Bros. wiki
Jump to navigationJump to search
| Line 5: | Line 5: | ||
==Hitboxes== | ==Hitboxes== | ||
{{UltimateHitboxTableHeader}} | {{UltimateHitboxTableHeader}} | ||
{{HitboxTableTitle|Clean hit| | {{HitboxTableTitle|Clean hit|50}} | ||
{{UltimateHitboxTableRow | {{UltimateHitboxTableRow | ||
|id=0 | |id=0 | ||
|damage=12.0% | |damage=12.0% | ||
|angle=361 | |angle=361 | ||
|af=4 | |||
|bk=10 | |bk=10 | ||
|ks=95 | |ks=95 | ||
| Line 28: | Line 29: | ||
|damage=12.0% | |damage=12.0% | ||
|angle=361 | |angle=361 | ||
|af=4 | |||
|bk=10 | |bk=10 | ||
|ks=95 | |ks=95 | ||
| Line 42: | Line 44: | ||
|slvl=L | |slvl=L | ||
}} | }} | ||
{{HitboxTableTitle|Late hit| | {{HitboxTableTitle|Late hit|50}} | ||
{{UltimateHitboxTableRow | {{UltimateHitboxTableRow | ||
|id=0 | |id=0 | ||
|damage=7.0% | |damage=7.0% | ||
|angle=361 | |angle=361 | ||
|af=4 | |||
|bk=7 | |bk=7 | ||
|ks=90 | |ks=90 | ||
| Line 65: | Line 68: | ||
|damage=7.0% | |damage=7.0% | ||
|angle=361 | |angle=361 | ||
|af=4 | |||
|bk=7 | |bk=7 | ||
|ks=90 | |ks=90 | ||
| Line 79: | Line 83: | ||
|slvl=M | |slvl=M | ||
}} | }} | ||
{{HitboxTableRowNote|The damage values are untouched before being affected by Dr. Mario's damage multiplier.|50}} | |||
|} | |} | ||
==Timing== | ==Timing== | ||
===Attack=== | ===Attack=== | ||
Revision as of 15:31, January 22, 2022
Overview
Hitboxes
Timing
Attack
| Initial autocancel | 1-5 |
|---|---|
| Clean hit | 6-8 |
| Late hit | 9-13 |
| Ending autocancel | 19- |
| Interruptible | 34 |
| Animation length | 45 |
Landing lag
| Interruptible | 11 |
|---|---|
| Animation length | 89 |
Lag time |
Hitbox |
Hitbox change |
Autocancel |
Interruptible |
|

