Piranha Plant (SSBU)/Final Smash: Difference between revisions
mNo edit summary |
Raul Retana (talk | contribs) m (Added rehit rate and more) |
||
| Line 9: | Line 9: | ||
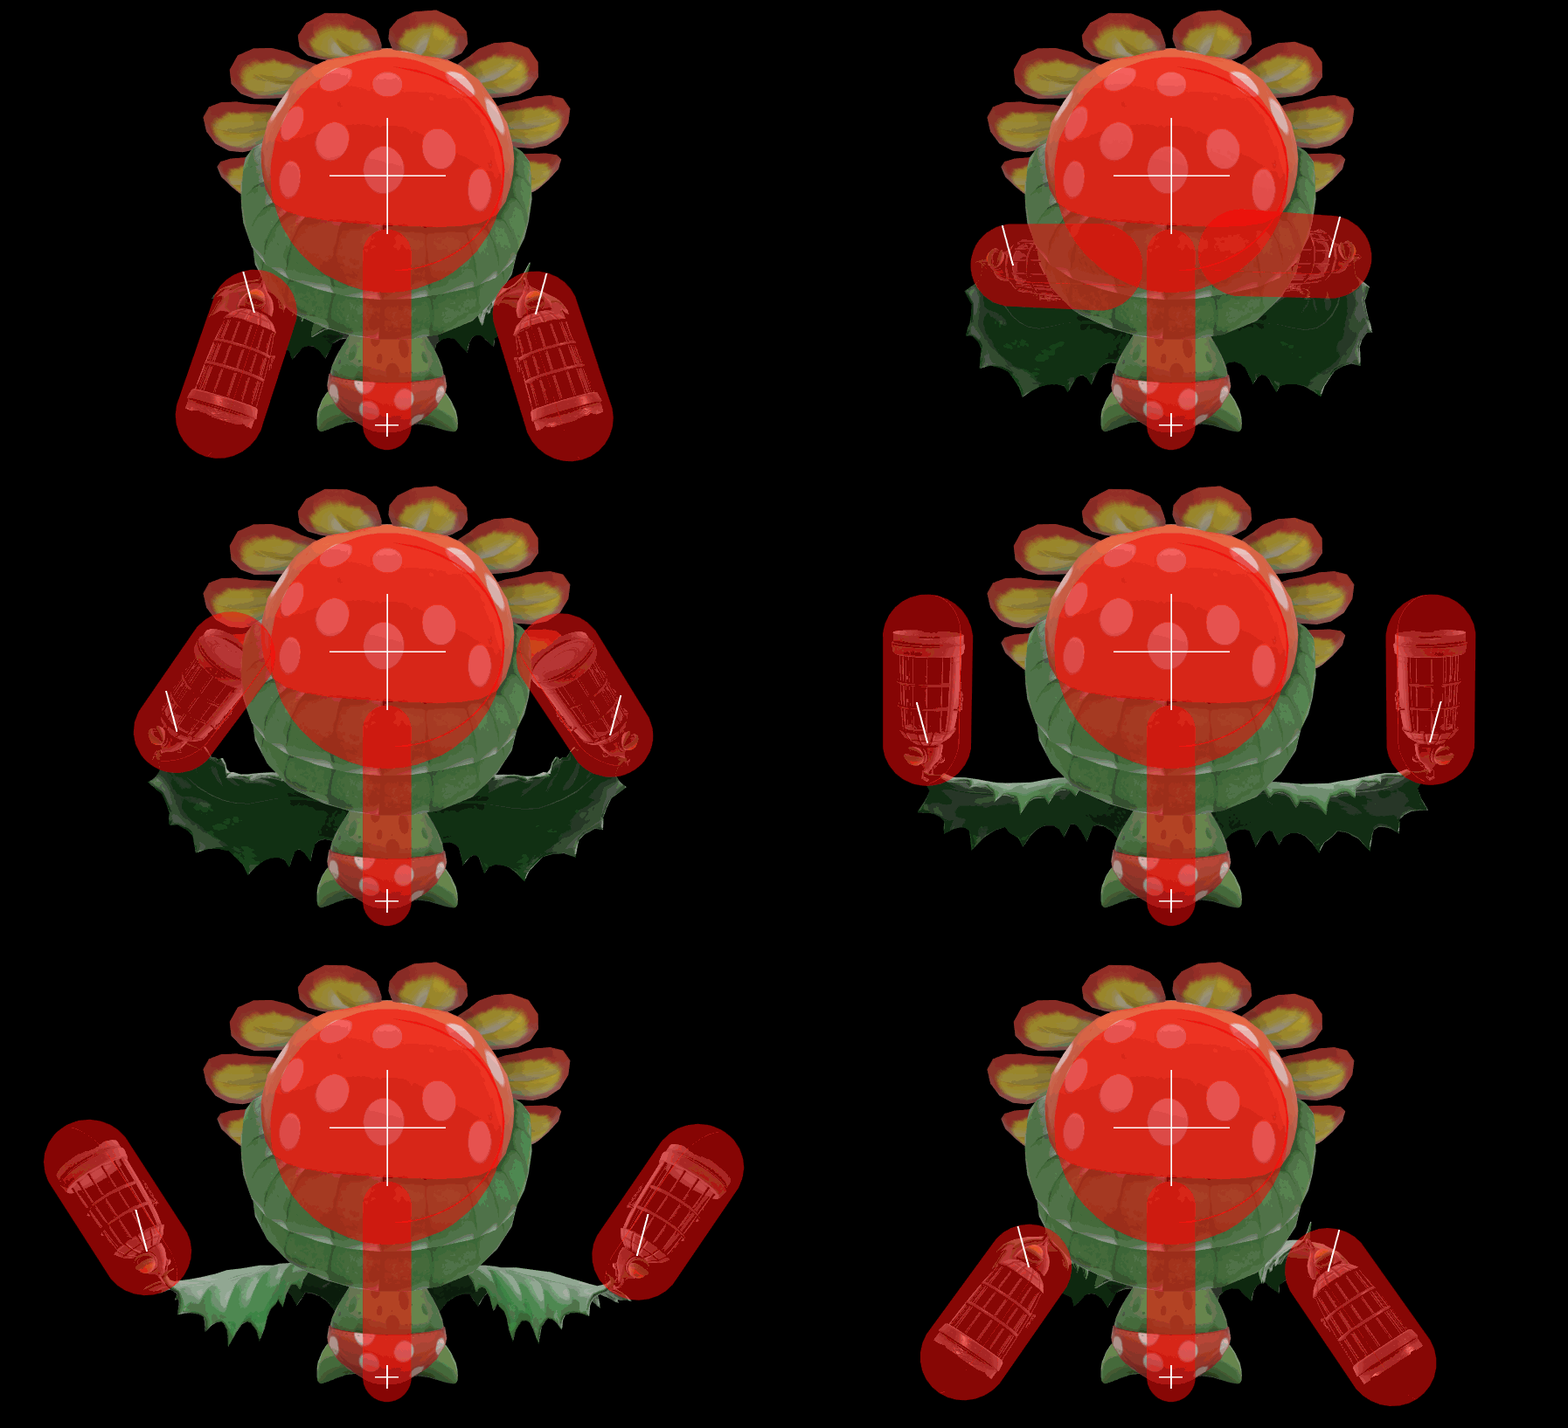
==Hitboxes== | ==Hitboxes== | ||
{{UltimateHitboxTableHeader}} | {{UltimateHitboxTableHeader}} | ||
{{HitboxTableTitle|Swinging cages| | ! {{rollover|Rehit rate|If not 0, hits again every X frames|y}} | ||
{{HitboxTableTitle|Swinging cages|25}} | |||
{{UltimateHitboxTableRow | {{UltimateHitboxTableRow | ||
|id=2 | |id=2 | ||
| Line 32: | Line 33: | ||
|rebound=f | |rebound=f | ||
}} | }} | ||
|1 | |||
{{UltimateHitboxTableRow | {{UltimateHitboxTableRow | ||
|id=3 | |id=3 | ||
| Line 41: | Line 43: | ||
|fkv=0 | |fkv=0 | ||
|r=25.0 | |r=25.0 | ||
|bn= | |bn=lowermouth | ||
|xpos=0.0 | |xpos=0.0 | ||
|ypos=0.0 | |ypos=0.0 | ||
| Line 54: | Line 56: | ||
|rebound=f | |rebound=f | ||
}} | }} | ||
|1 | |||
{{UltimateHitboxTableRow | {{UltimateHitboxTableRow | ||
|id=0 | |id=0 | ||
| Line 63: | Line 66: | ||
|fkv=0 | |fkv=0 | ||
|r=9.0 | |r=9.0 | ||
|bn= | |bn=ironl2 | ||
|xpos=0.0 to 22.0 | |xpos=0.0 to 22.0 | ||
|ypos=0.0 | |ypos=0.0 | ||
| Line 76: | Line 79: | ||
|rebound=f | |rebound=f | ||
}} | }} | ||
|60 | |||
{{UltimateHitboxTableRow | {{UltimateHitboxTableRow | ||
|id=1 | |id=1 | ||
| Line 85: | Line 89: | ||
|fkv=0 | |fkv=0 | ||
|r=9.0 | |r=9.0 | ||
|bn= | |bn=ironr2 | ||
|xpos=0.0 to 22.0 | |xpos=0.0 to 22.0 | ||
|ypos=0.0 | |ypos=0.0 | ||
| Line 98: | Line 102: | ||
|rebound=f | |rebound=f | ||
}} | }} | ||
{{HitboxTableTitle|Landing| | |60 | ||
{{HitboxTableTitle|Landing|25}} | |||
{{UltimateHitboxTableRow | {{UltimateHitboxTableRow | ||
|id=4 | |id=4 | ||
| Line 118: | Line 123: | ||
|sfx=Kick | |sfx=Kick | ||
|slvl=L | |slvl=L | ||
}} | }} | ||
|0 | |||
{{UltimateHitboxTableRow | {{UltimateHitboxTableRow | ||
|id=5 | |id=5 | ||
| Line 140: | Line 144: | ||
|sfx=Kick | |sfx=Kick | ||
|slvl=L | |slvl=L | ||
}} | }} | ||
{{HitboxTableTitle|Fire breath 1 (Earliest)| | |0 | ||
{{HitboxTableTitle|Fire breath 1 (Earliest)|25}} | |||
{{UltimateHitboxTableRow | {{UltimateHitboxTableRow | ||
|id=2 | |id=2 | ||
|damage=3.0% | |damage=3.0% | ||
|angle=45 | |angle=45 | ||
| Line 163: | Line 165: | ||
|sfx=Fire | |sfx=Fire | ||
|slvl=M | |slvl=M | ||
}} | }} | ||
{{HitboxTableTitle|Fire breath 1 (Early)| | |8 | ||
{{HitboxTableTitle|Fire breath 1 (Early)|25}} | |||
{{UltimateHitboxTableRow | {{UltimateHitboxTableRow | ||
|id=2 | |id=2 | ||
|damage=3.0% | |damage=3.0% | ||
|angle=45 | |angle=45 | ||
| Line 186: | Line 186: | ||
|sfx=Fire | |sfx=Fire | ||
|slvl=M | |slvl=M | ||
}} | }} | ||
{{HitboxTableTitle|Fire breath 1 (Mid 1)| | |8 | ||
{{HitboxTableTitle|Fire breath 1 (Mid 1)|25}} | |||
{{UltimateHitboxTableRow | {{UltimateHitboxTableRow | ||
|id=2 | |id=2 | ||
|damage=3.0% | |damage=3.0% | ||
|angle=45 | |angle=45 | ||
| Line 209: | Line 207: | ||
|sfx=Fire | |sfx=Fire | ||
|slvl=M | |slvl=M | ||
}} | }} | ||
{{HitboxTableTitle|Fire breath 1 (Mid 2)| | |8 | ||
{{HitboxTableTitle|Fire breath 1 (Mid 2)|25}} | |||
{{UltimateHitboxTableRow | {{UltimateHitboxTableRow | ||
|id=2 | |id=2 | ||
|damage=3.0% | |damage=3.0% | ||
|angle=45 | |angle=45 | ||
| Line 232: | Line 228: | ||
|sfx=Fire | |sfx=Fire | ||
|slvl=M | |slvl=M | ||
}} | }} | ||
{{HitboxTableTitle|Fire breath 1 (Late)| | |8 | ||
{{HitboxTableTitle|Fire breath 1 (Late)|25}} | |||
{{UltimateHitboxTableRow | {{UltimateHitboxTableRow | ||
|id=2 | |id=2 | ||
|damage=3.0% | |damage=3.0% | ||
|angle=45 | |angle=45 | ||
| Line 255: | Line 249: | ||
|sfx=Fire | |sfx=Fire | ||
|slvl=M | |slvl=M | ||
}} | }} | ||
{{HitboxTableTitle|Fire breath 1 (Latest)| | |8 | ||
{{HitboxTableTitle|Fire breath 1 (Latest)|25}} | |||
{{UltimateHitboxTableRow | {{UltimateHitboxTableRow | ||
|id=2 | |id=2 | ||
|damage=3.0% | |damage=3.0% | ||
|angle=45 | |angle=45 | ||
| Line 278: | Line 270: | ||
|sfx=Fire | |sfx=Fire | ||
|slvl=M | |slvl=M | ||
}} | }} | ||
{{HitboxTableTitle|Fire breath 2 (Earliest)| | |8 | ||
{{HitboxTableTitle|Fire breath 2 (Earliest)|25}} | |||
{{UltimateHitboxTableRow | {{UltimateHitboxTableRow | ||
|id=3 | |id=3 | ||
|part=1 | |part=1 | ||
|damage=3.0% | |damage=3.0% | ||
|angle=45 | |angle=45 | ||
| Line 302: | Line 292: | ||
|sfx=Fire | |sfx=Fire | ||
|slvl=M | |slvl=M | ||
}} | }} | ||
{{HitboxTableTitle|Fire breath 2 (Early)| | |8 | ||
{{HitboxTableTitle|Fire breath 2 (Early)|25}} | |||
{{UltimateHitboxTableRow | {{UltimateHitboxTableRow | ||
|id=3 | |id=3 | ||
|part=1 | |part=1 | ||
|damage=3.0% | |damage=3.0% | ||
|angle=45 | |angle=45 | ||
| Line 326: | Line 314: | ||
|sfx=Fire | |sfx=Fire | ||
|slvl=M | |slvl=M | ||
}} | }} | ||
{{HitboxTableTitle|Fire breath 2 (Mid 1)| | |8 | ||
{{HitboxTableTitle|Fire breath 2 (Mid 1)|25}} | |||
{{UltimateHitboxTableRow | {{UltimateHitboxTableRow | ||
|id=3 | |id=3 | ||
|part=1 | |part=1 | ||
|damage=3.0% | |damage=3.0% | ||
|angle=45 | |angle=45 | ||
| Line 350: | Line 336: | ||
|sfx=Fire | |sfx=Fire | ||
|slvl=M | |slvl=M | ||
}} | }} | ||
{{HitboxTableTitle|Fire breath 2 (Mid 2)| | |8 | ||
{{HitboxTableTitle|Fire breath 2 (Mid 2)|25}} | |||
{{UltimateHitboxTableRow | {{UltimateHitboxTableRow | ||
|id=3 | |id=3 | ||
|part=1 | |part=1 | ||
|damage=3.0% | |damage=3.0% | ||
|angle=45 | |angle=45 | ||
| Line 374: | Line 358: | ||
|sfx=Fire | |sfx=Fire | ||
|slvl=M | |slvl=M | ||
}} | }} | ||
{{HitboxTableTitle|Fire breath 2 (Late)| | |8 | ||
{{HitboxTableTitle|Fire breath 2 (Late)|25}} | |||
{{UltimateHitboxTableRow | {{UltimateHitboxTableRow | ||
|id=3 | |id=3 | ||
|part=1 | |part=1 | ||
|damage=3.0% | |damage=3.0% | ||
|angle=45 | |angle=45 | ||
| Line 398: | Line 380: | ||
|sfx=Fire | |sfx=Fire | ||
|slvl=M | |slvl=M | ||
}} | }} | ||
{{HitboxTableTitle|Fire breath 2 (Latest)| | |8 | ||
{{HitboxTableTitle|Fire breath 2 (Latest)|25}} | |||
{{UltimateHitboxTableRow | {{UltimateHitboxTableRow | ||
|id=3 | |id=3 | ||
|part=1 | |part=1 | ||
|damage=3.0% | |damage=3.0% | ||
|angle=45 | |angle=45 | ||
| Line 422: | Line 402: | ||
|sfx=Fire | |sfx=Fire | ||
|slvl=M | |slvl=M | ||
}} | }} | ||
{{HitboxTableTitle|Finishing slam| | |8 | ||
{{HitboxTableTitle|Finishing slam|25}} | |||
{{UltimateHitboxTableRow | {{UltimateHitboxTableRow | ||
|id=2 | |id=2 | ||
| Line 433: | Line 412: | ||
|ks=100 | |ks=100 | ||
|fkv=0 | |fkv=0 | ||
|r= | |r=20.0 | ||
|bn=top | |bn=top | ||
|xpos=0.0 | |xpos=0.0 | ||
| Line 445: | Line 424: | ||
|slvl=L | |slvl=L | ||
}} | }} | ||
|0 | |||
{{UltimateHitboxTableRow | {{UltimateHitboxTableRow | ||
|id=3 | |id=3 | ||
| Line 452: | Line 432: | ||
|ks=100 | |ks=100 | ||
|fkv=0 | |fkv=0 | ||
|r= | |r=20.0 | ||
|bn=top | |bn=top | ||
|xpos=0.0 | |xpos=0.0 | ||
| Line 464: | Line 444: | ||
|slvl=L | |slvl=L | ||
}} | }} | ||
|0 | |||
|} | |} | ||
Revision as of 19:45, July 25, 2020
Overview
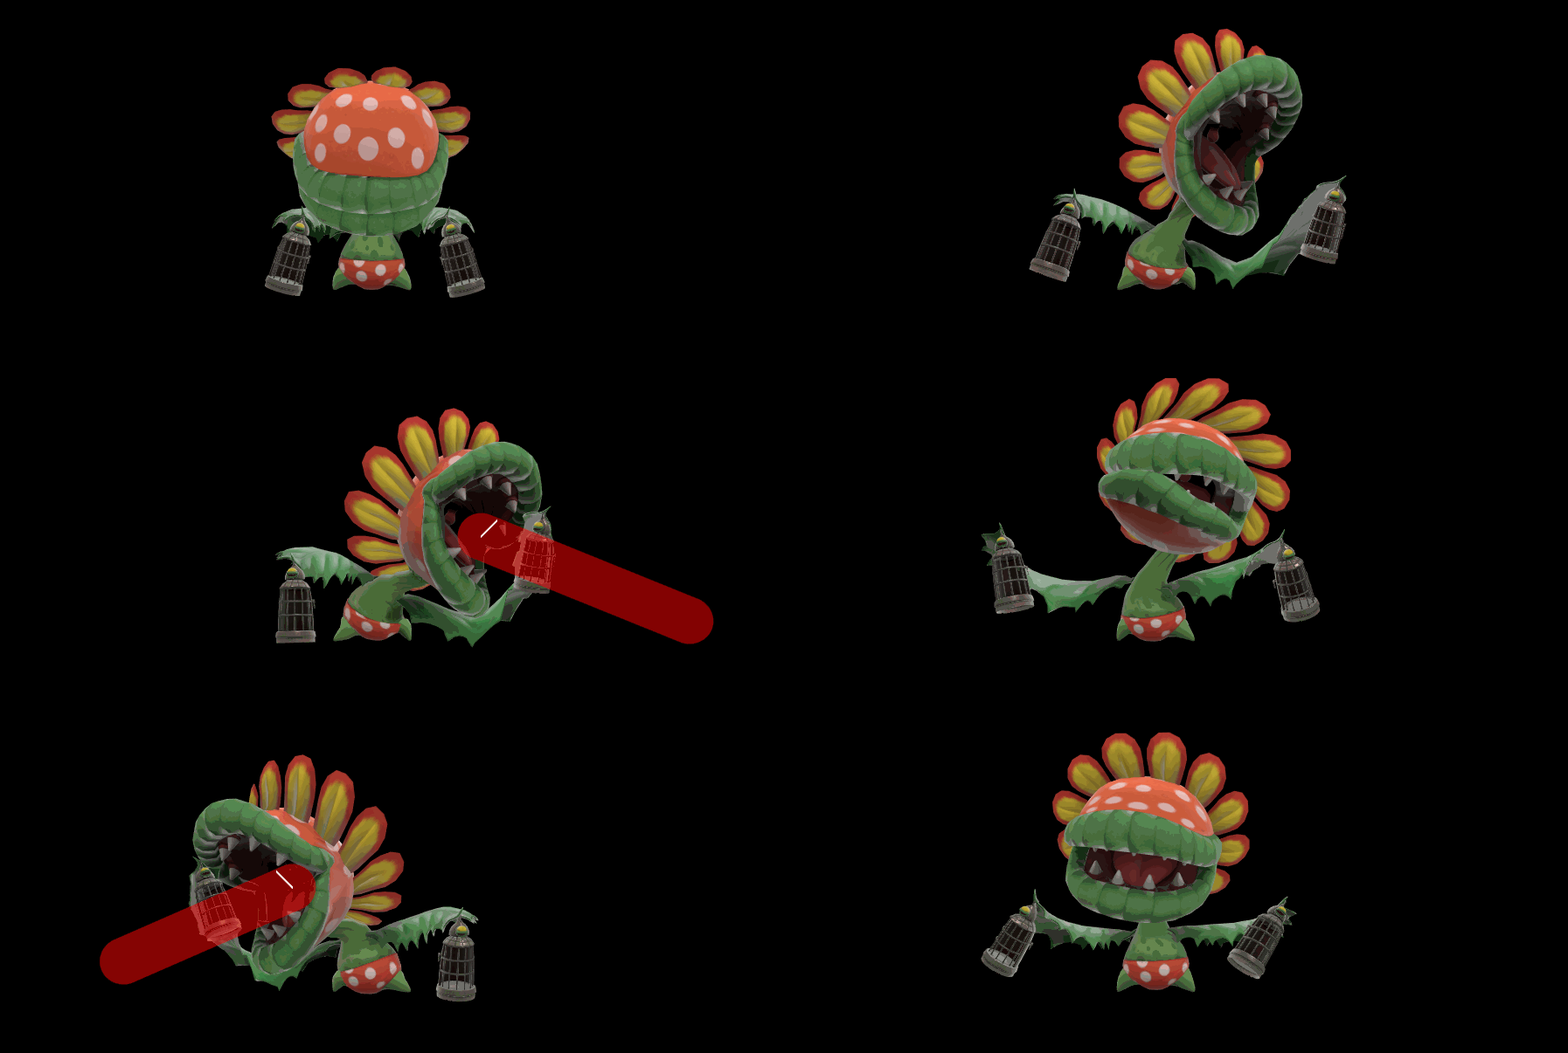
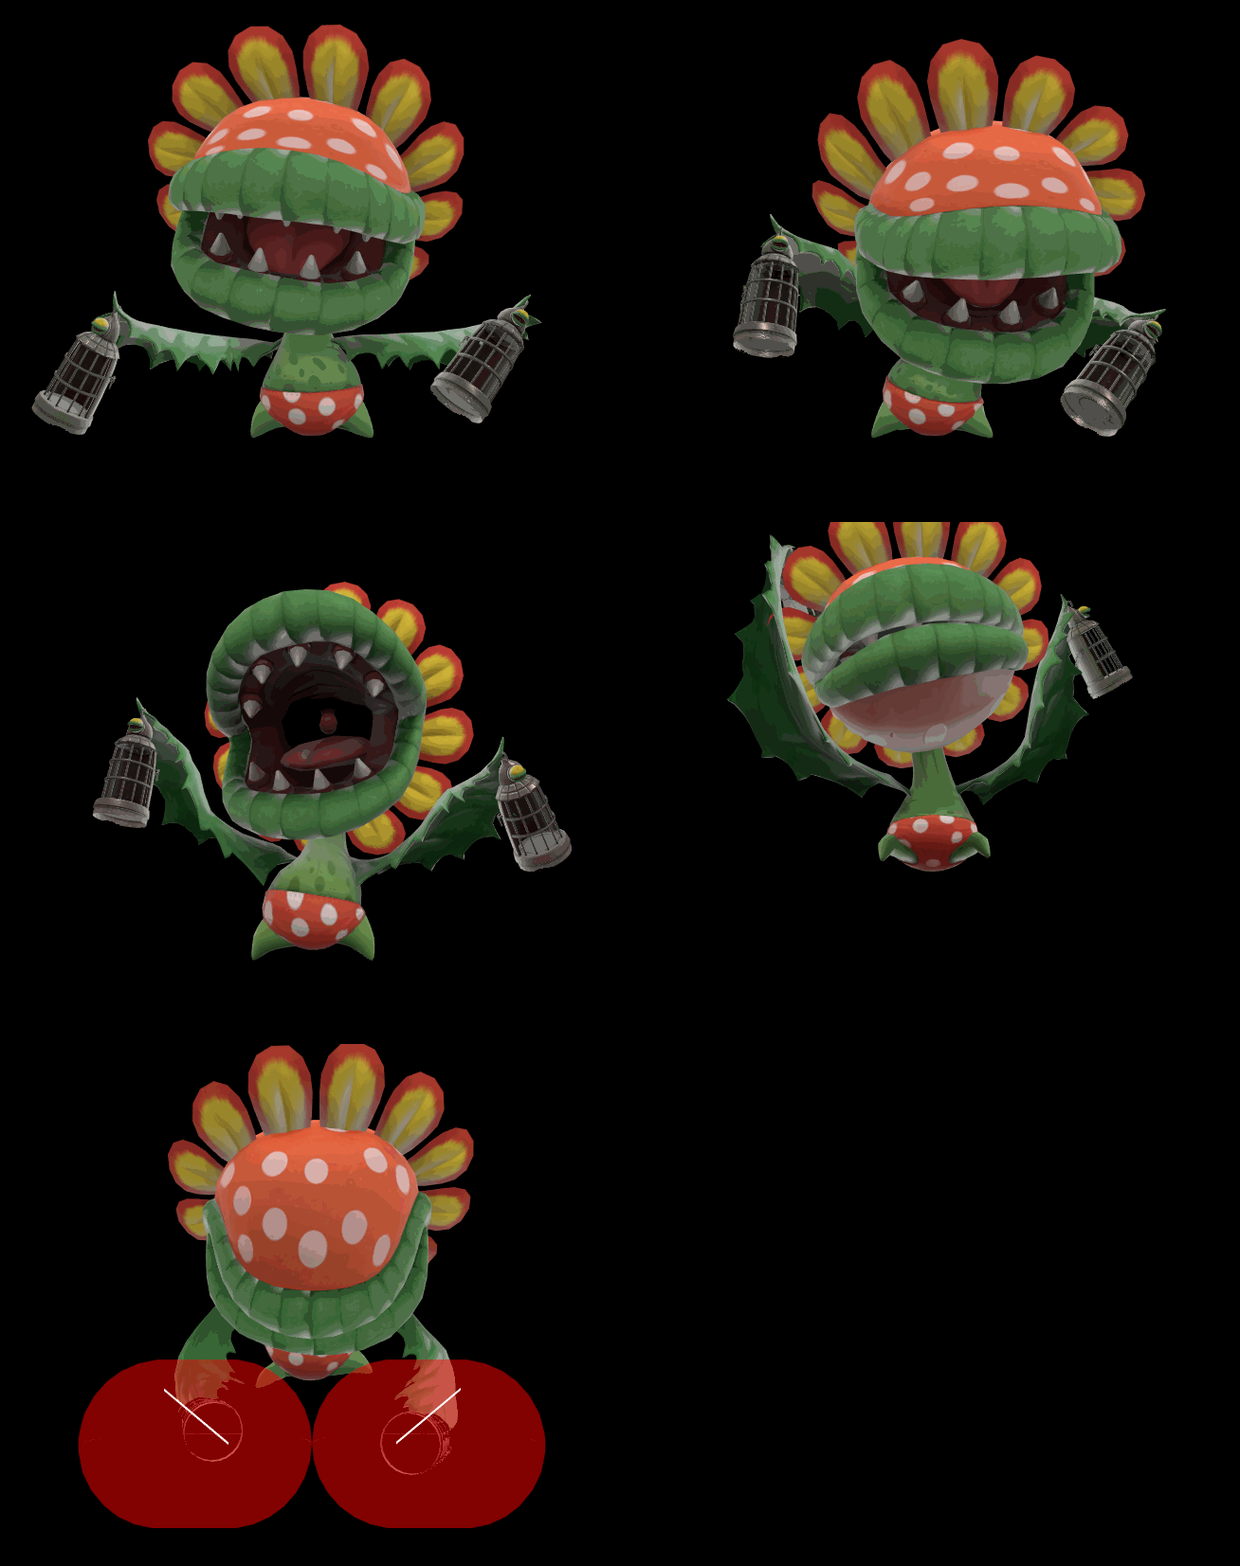
Piranha Plant summons Petey Piranha, who utilizes his cages from Super Smash Bros. Brawl as his primary method of attacking. Once Petey Piranha is summoned, he will begin to move either left or right via short jumps. The player is able to control Petey's movement with the control stick, and jumping causes Petey to perform a significantly slower but higher jump, which can damage opponents upon landing. When an opponent touches Petey or the cages, they'll get trapped inside. Each cage can only hold one character, so a maximum of two players can be caught by Petey. Once Petey's time is up, he will breath fire right then left, damaging caged opponents and others caught within the fire, then slam the cages downwards, and leave by jumping towards the top of the screen. Piranha Plant remains playable once the summoning animation finishes, allowing Piranha Plant to get opponents into Petey's cages itself, and even combo off the Final Smash's finishing blow. Petey can jump offstage and thus end the Final Smash prematurely, however caught opponents will gain an upwards boost, allowing them to recover easily, making going for suicide kills worthless. It is also possible to simply outrun Petey Piranha on a big enough stage, and dodge the entirety of his attacks due to his slow speed overall, thus making this Final Smash much more effective on smaller stages with little room to escape.
Hitboxes
|


