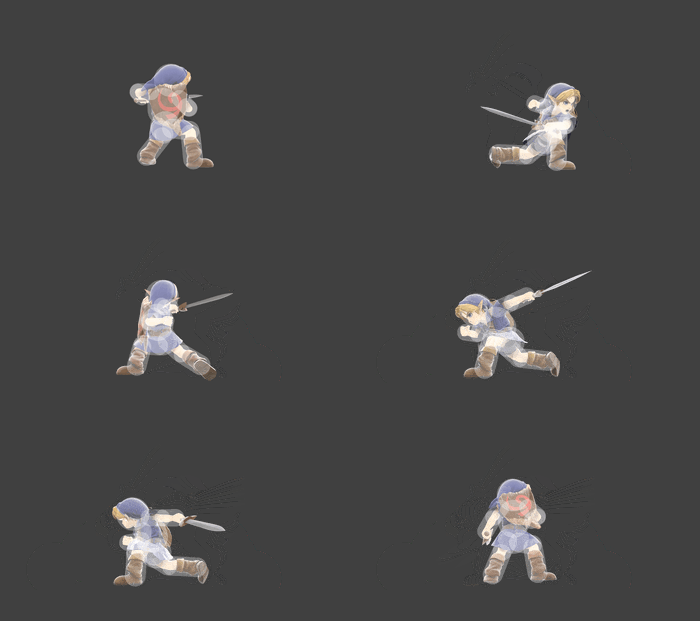
Young Link (SSBU)/Down smash: Difference between revisions
From SmashWiki, the Super Smash Bros. wiki
Jump to navigationJump to search
(New Page: {{ArticleIcons|ssbu=y}} thumb|500px|Hitbox visualization showing Young Link's down smash. {{competitive expertise}} ==Overview== ==Hitboxes== {{Ultimate...) |
No edit summary |
||
| Line 1: | Line 1: | ||
{{ArticleIcons|ssbu=y}} | {{ArticleIcons|ssbu=y}} | ||
[[File:YoungLinkDSmashSSBU.gif|thumb| | [[File:YoungLinkDSmashSSBU.gif|thumb|350px|Hitbox visualization showing Young Link's down smash.]] | ||
{{competitive expertise}} | {{competitive expertise}} | ||
==Overview== | ==Overview== | ||
==Hitboxes== | ==Hitboxes== | ||
{{UltimateHitboxTableHeader}} | {{UltimateHitboxTableHeader}} | ||
{{HitboxTableTitle|Hit 1| | {{HitboxTableTitle|Hit 1|50}} | ||
{{UltimateHitboxTableRow | {{UltimateHitboxTableRow | ||
|id=0 | |id=0 | ||
| Line 66: | Line 66: | ||
|slvl=L | |slvl=L | ||
}} | }} | ||
{{HitboxTableTitle|Hit 2| | {{HitboxTableTitle|Hit 2|50}} | ||
{{UltimateHitboxTableRow | {{UltimateHitboxTableRow | ||
|id=0 | |id=0 | ||
Latest revision as of 16:00, January 24, 2022
Overview[edit]
Hitboxes[edit]
Timing[edit]
| Charges between | 3-4 |
|---|---|
| Hit 1 | 9-10 |
| Hit 2 | 21-22 |
| Interruptible | 50 |
| Animation length | 59 |
Lag time |
Charge interval |
Hitbox |
Interruptible |
|

