Super Smash Bros. Ultimate

Lucas (SSBU)/Down smash: Difference between revisions

From SmashWiki, the Super Smash Bros. wiki
Jump to navigationJump to search
mNo edit summary
Tag: Mobile edit
Line 4: Line 4:
==Overview==
==Overview==
{{competitive expertise}}
Lucas does 3 hits of psi energy, the move is pretty slow, having 20 frames to start up, and it also has a lot of total frames, being interruptable at frame 60, however, the move is balanced out by being very strong, K.Oing at pretty early %, also, the move is very big, being one of the easiest 2 frames to hit in the game, and despite his high amount of total frames, the move's final hit comming out later combined whit the fact that all 3 hits on shield is a true blockstring, the move is -12 on shield which is pretty good.
Whit all of those streinghts, this move is often considered one of the best down smashes in the game


==Hitboxes==
==Hitboxes==

Revision as of 16:32, December 13, 2024

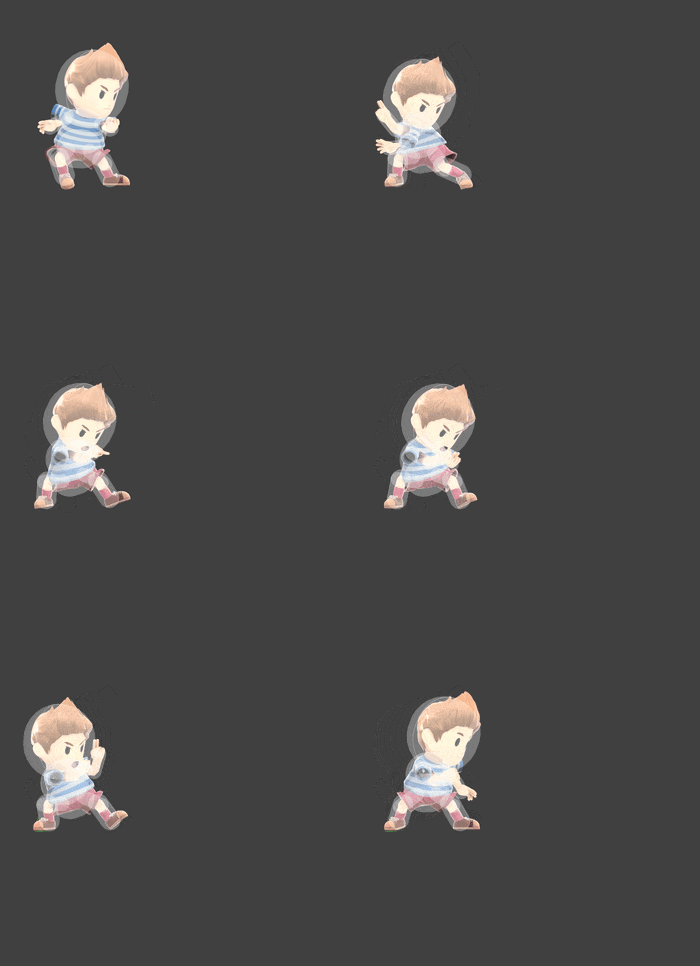
Hitbox visualization showing Lucas's down smash.

Overview

Competitive.png This article or section may require competitive expertise.
You can discuss this issue on the talk page or edit this page to improve it.

Lucas does 3 hits of psi energy, the move is pretty slow, having 20 frames to start up, and it also has a lot of total frames, being interruptable at frame 60, however, the move is balanced out by being very strong, K.Oing at pretty early %, also, the move is very big, being one of the easiest 2 frames to hit in the game, and despite his high amount of total frames, the move's final hit comming out later combined whit the fact that all 3 hits on shield is a true blockstring, the move is -12 on shield which is pretty good.


Whit all of those streinghts, this move is often considered one of the best down smashes in the game

Hitboxes

ID Part Rehit rate Damage SD Angle Angle type BK KS FKV Set weight Radius Bone Offset SDI× T% Clang Rebound Effect Type G A Sound Direct Hit bits Hit part Blockable Reflectable Absorbable Flinchless No GFX Heedless
Hit 1
0 0 8 17.0% -10.0 Sakurai angle Forward 43 90 0 HitboxTableIcon(False).png 8.0 top 0.0 2.5 8.0 1.0× 1.0× 0% HitboxTableIcon(NoClang).png HitboxTableIcon(NoRebound).png Electric (effect) PK (type) HitboxTableIcon(GroundedTrue).png HitboxTableIcon(AerialTrue).png L Magic SpecialsDirect.png All All HitboxTableIcon(Blockable).png HitboxTableIcon(Unreflectable).png HitboxTableIcon(Unabsorbable).png HitboxTableIcon(False).png HitboxTableIcon(False).png HitboxTableIcon(False).png
Hit 2
0 0 9 14.0% -8.0 Sakurai angle Forward 30 90 0 HitboxTableIcon(False).png 9.8 top 3.3 2.5 8.5 1.0× 1.0× 0% HitboxTableIcon(NoClang).png HitboxTableIcon(NoRebound).png Electric (effect) PK (type) HitboxTableIcon(GroundedTrue).png HitboxTableIcon(AerialTrue).png L Magic SpecialsDirect.png All All HitboxTableIcon(Blockable).png HitboxTableIcon(Unreflectable).png HitboxTableIcon(Unabsorbable).png HitboxTableIcon(False).png HitboxTableIcon(False).png HitboxTableIcon(False).png
Hit 3
0 0 9 11.0% -6.0 Sakurai angle Forward 20 90 0 HitboxTableIcon(False).png 12.0 top -5.6 2.5 8.0 1.0× 1.0× 0% HitboxTableIcon(NoClang).png HitboxTableIcon(NoRebound).png Electric (effect) PK (type) HitboxTableIcon(GroundedTrue).png HitboxTableIcon(AerialTrue).png L Magic SpecialsDirect.png All All HitboxTableIcon(Blockable).png HitboxTableIcon(Unreflectable).png HitboxTableIcon(Unabsorbable).png HitboxTableIcon(False).png HitboxTableIcon(False).png HitboxTableIcon(False).png

Timing

Charges between 5-6
Hit 1 20-22
Hit 2 29-31
Hit 3 39-41
Interruptible 60
Animation length 73
FrameIcon(Lag).png FrameIcon(Lag).png FrameIcon(Lag).png FrameIcon(Lag).png FrameIcon(LagChargeS).png FrameIcon(LagChargeE).png FrameIcon(Lag).png FrameIcon(Lag).png FrameIcon(Lag).png FrameIcon(Lag).png FrameIcon(Lag).png FrameIcon(Lag).png FrameIcon(Lag).png FrameIcon(Lag).png FrameIcon(Lag).png FrameIcon(Lag).png FrameIcon(Lag).png FrameIcon(Lag).png FrameIcon(Lag).png FrameIcon(Hitbox).png FrameIcon(Hitbox).png FrameIcon(Hitbox).png FrameIcon(Lag).png FrameIcon(Lag).png FrameIcon(Lag).png FrameIcon(Lag).png FrameIcon(Lag).png FrameIcon(Lag).png FrameIcon(Hitbox).png FrameIcon(Hitbox).png FrameIcon(Hitbox).png FrameIcon(Lag).png FrameIcon(Lag).png FrameIcon(Lag).png FrameIcon(Lag).png FrameIcon(Lag).png FrameIcon(Lag).png FrameIcon(Lag).png FrameIcon(Hitbox).png FrameIcon(Hitbox).png FrameIcon(Hitbox).png FrameIcon(Lag).png FrameIcon(Lag).png FrameIcon(Lag).png FrameIcon(Lag).png FrameIcon(Lag).png FrameIcon(Lag).png FrameIcon(Lag).png FrameIcon(Lag).png FrameIcon(Lag).png FrameIcon(Lag).png FrameIcon(Lag).png FrameIcon(Lag).png FrameIcon(Lag).png FrameIcon(Lag).png FrameIcon(Lag).png FrameIcon(Lag).png FrameIcon(Lag).png FrameIcon(Lag).png FrameIcon(Interruptible).png FrameIcon(Interruptible).png FrameIcon(Interruptible).png FrameIcon(Interruptible).png FrameIcon(Interruptible).png FrameIcon(Interruptible).png FrameIcon(Interruptible).png
Legend (1 square = 1 frame)
Lag
Lag time
ChargeCharge
Charge interval
Hitbox
Hitbox
Interruptibility
Interruptible

Trivia

  • The hitbox does not actually have any gaps between hits; instead, during the "inactive" frames, its hit bits are changed to be unable to hit fighters. This was implemented in Smash 4 to prevent the move from hitting more than once without giving it a consistently active hitbox against opponents; in Ultimate, however, it was given a rehit rate, allowing it to still function like a traditional multi-hit move.