Yoshi (SSBM)/Hitboxes: Difference between revisions
From SmashWiki, the Super Smash Bros. wiki
Jump to navigationJump to search
mNo edit summary |
Mariogeek2 (talk | contribs) (Added normals' names, "need additional images" banner, rows for ledge attacks, and the "hitbox repositories" category.) |
||
| (One intermediate revision by one other user not shown) | |||
| Line 1: | Line 1: | ||
{{ArticleIcons|ssbm=y}} | {{ArticleIcons|ssbm=y}} | ||
{{image|Missing Yoshi's edge attacks}} | |||
==Hitboxes== | ==Hitboxes== | ||
| Line 7: | Line 8: | ||
!Hitbox | !Hitbox | ||
|- | |- | ||
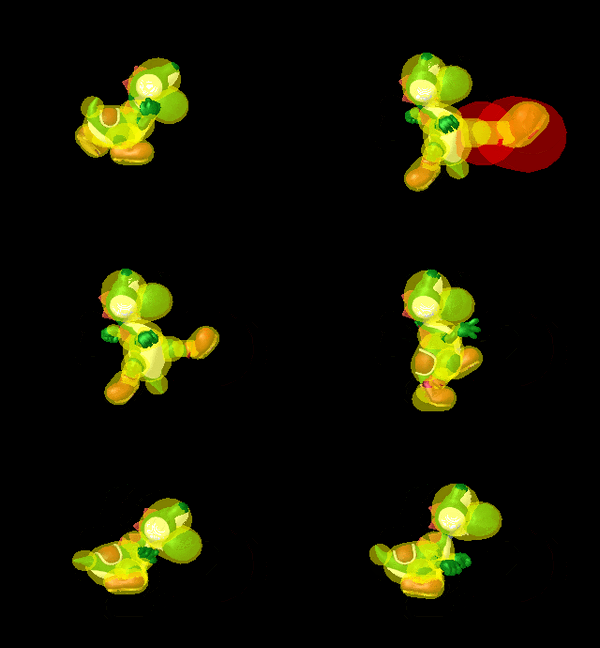
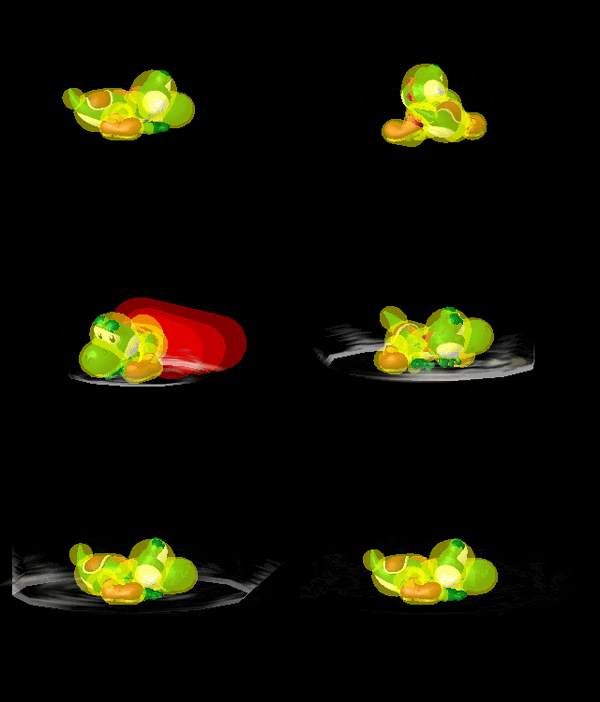
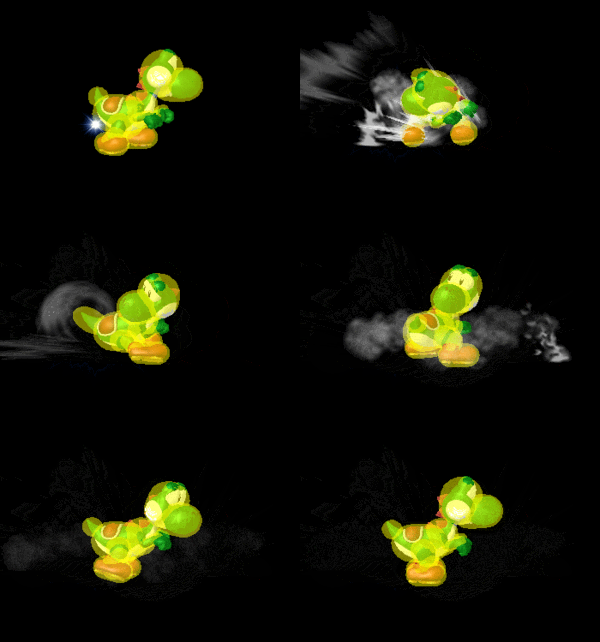
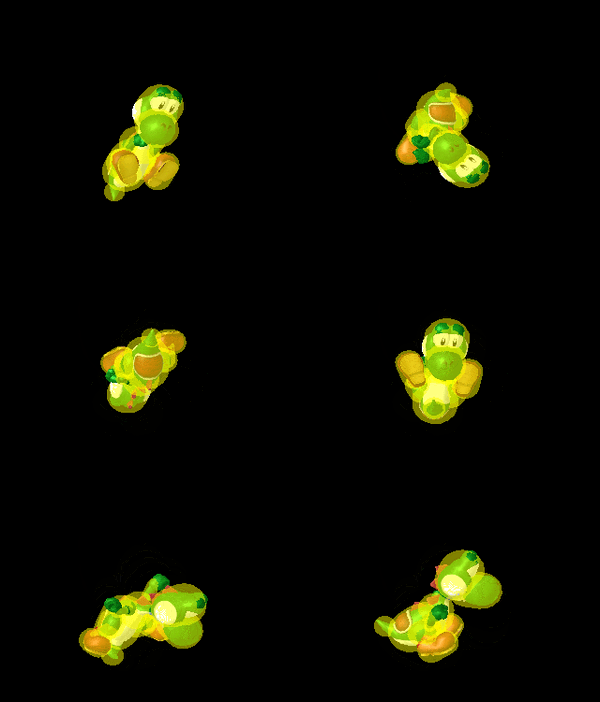
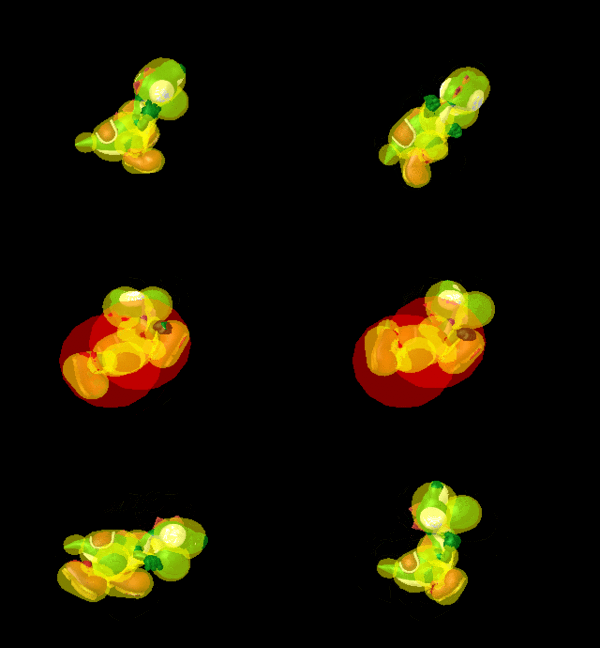
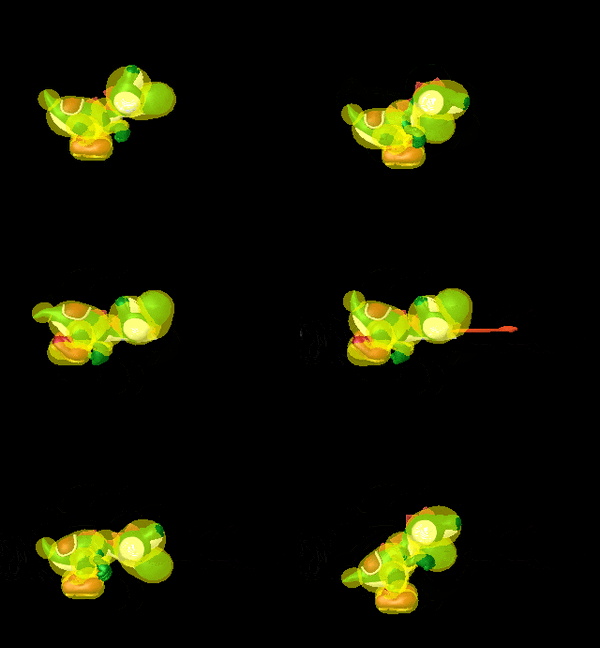
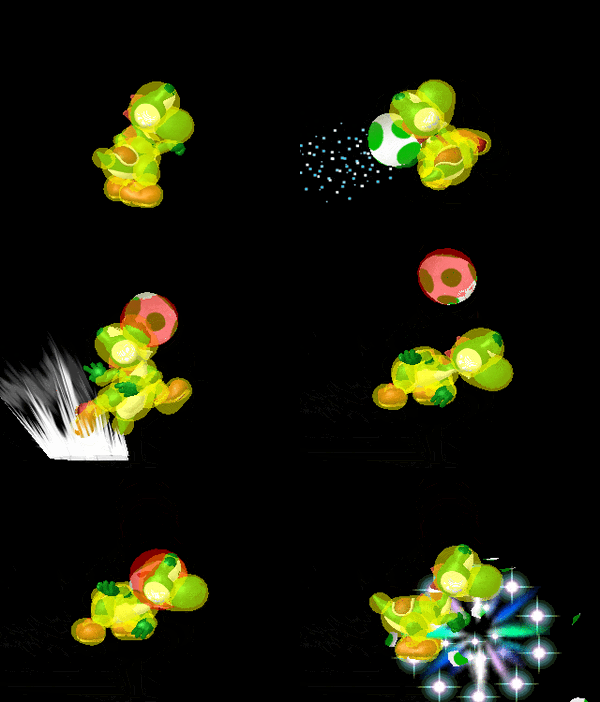
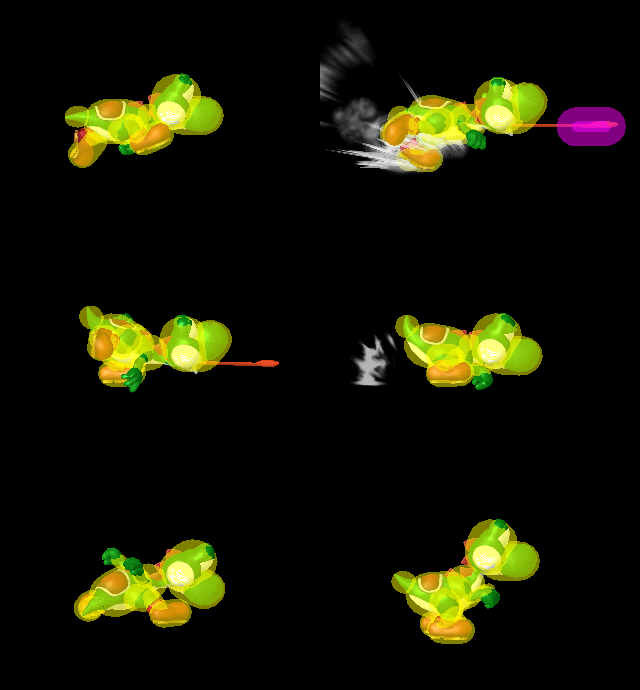
|Neutral attack 1|| ||[[File:YoshiJab1SSBM.gif|300px]] | |Neutral attack 1||Left Kick||[[File:YoshiJab1SSBM.gif|300px]] | ||
|- | |- | ||
|Neutral attack 2|| ||[[File:YoshiJab2SSBM.gif|300px]] | |Neutral attack 2||Right Kick||[[File:YoshiJab2SSBM.gif|300px]] | ||
|- | |- | ||
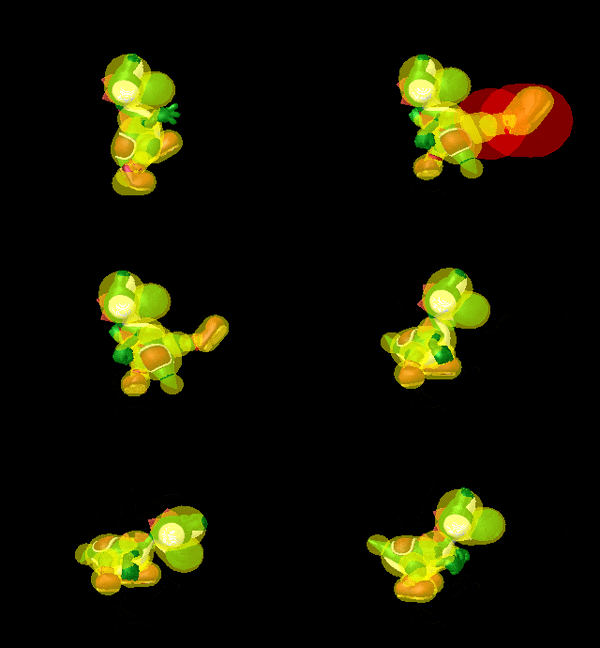
|Forward tilt|| ||[[File:YoshiForwardTiltSSBM.gif|300px]] | |Forward tilt||Dino Kick||[[File:YoshiForwardTiltSSBM.gif|300px]] | ||
|- | |- | ||
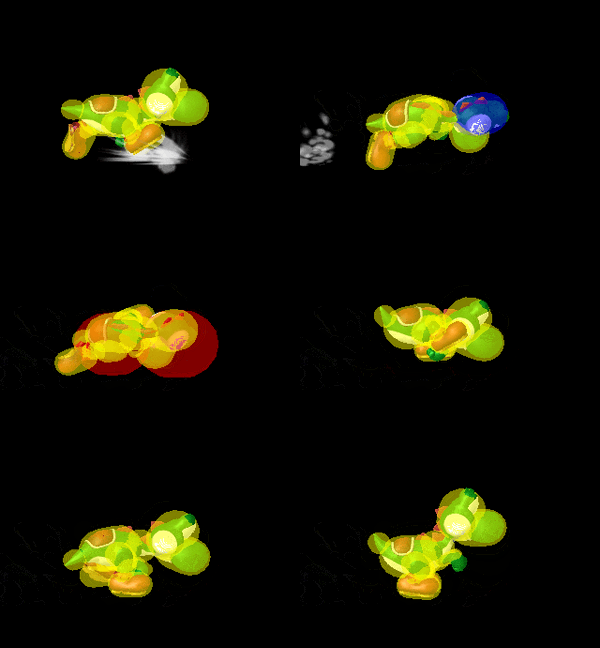
|Up tilt|| ||[[File:YoshiUTiltSSBM.gif|300px]] | |Up tilt||Tail Snap||[[File:YoshiUTiltSSBM.gif|300px]] | ||
|- | |- | ||
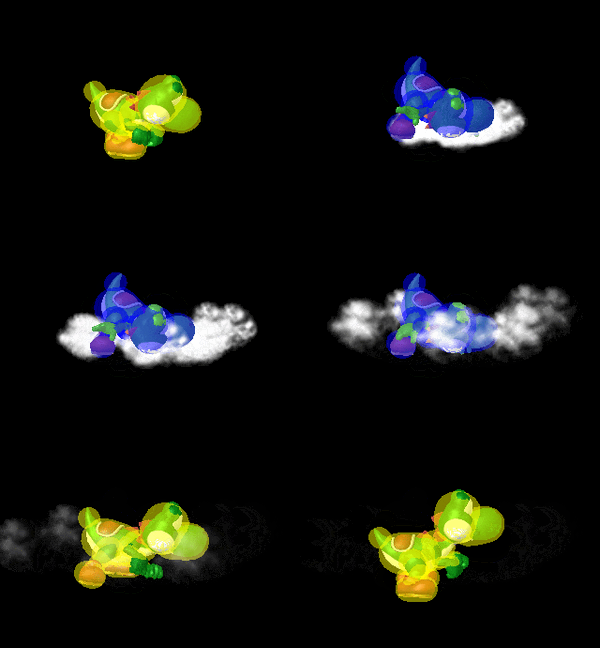
|Down tilt|| ||[[File:YoshiDTiltSSBM.gif|300px]] | |Down tilt||Tail Sweep||[[File:YoshiDTiltSSBM.gif|300px]] | ||
|- | |- | ||
|Dash attack|| ||[[File:YoshiDashAttackSSBM.gif|300px]] | |Dash attack||Noggin Knock||[[File:YoshiDashAttackSSBM.gif|300px]] | ||
|- | |- | ||
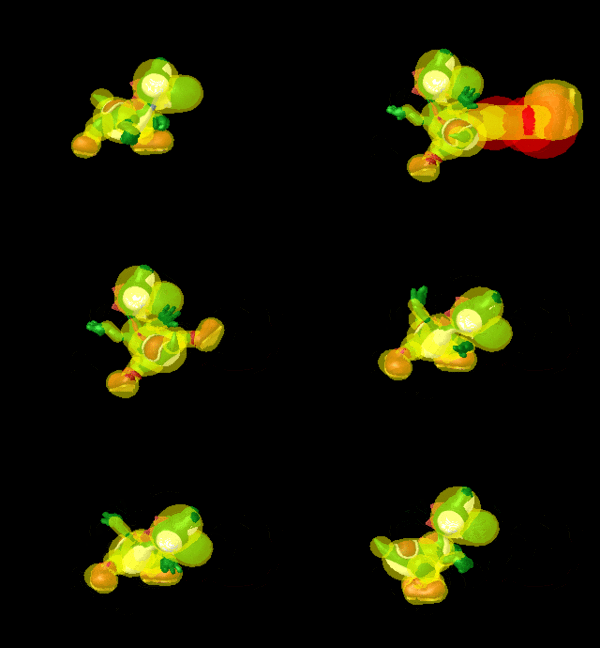
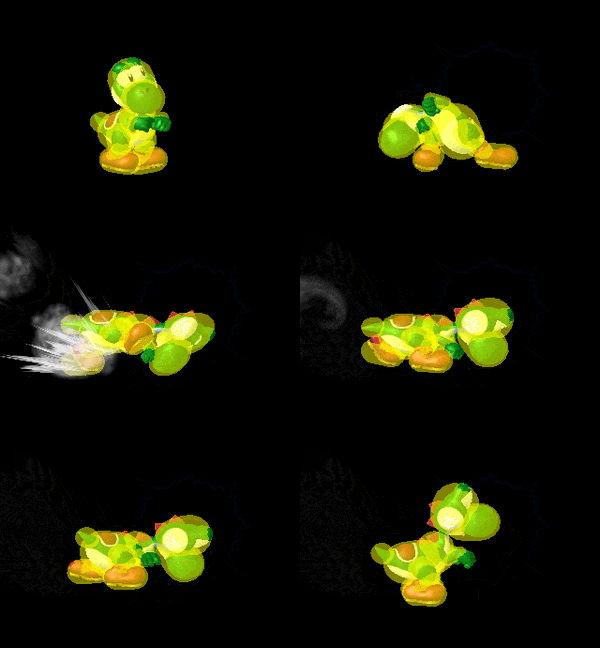
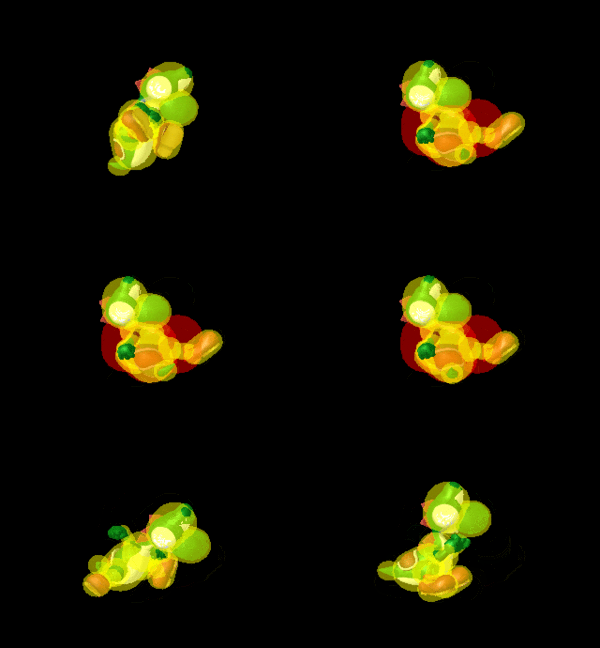
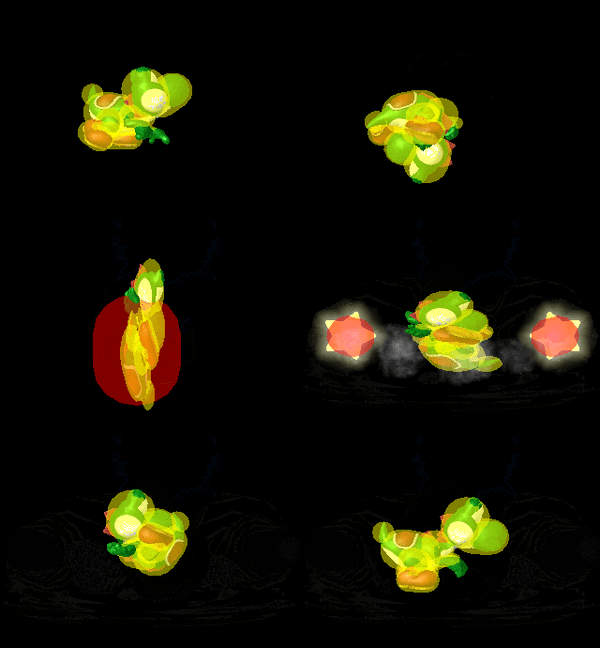
|Forward smash|| ||[[File:YoshiFSmashSSBM.gif|300px]] | |Forward smash||Noggin Floggin'||[[File:YoshiFSmashSSBM.gif|300px]] | ||
|- | |- | ||
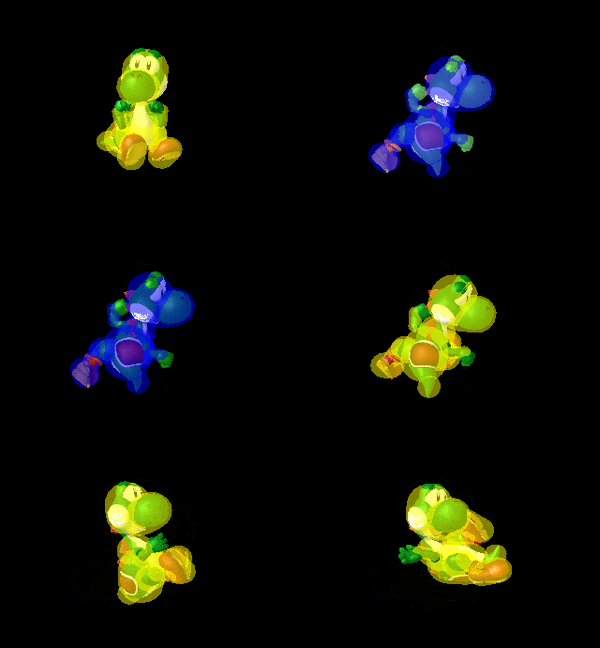
|Up smash|| ||[[File:YoshiUSmashSSBM.gif|300px]] | |Up smash||Jumping Headbutt||[[File:YoshiUSmashSSBM.gif|300px]] | ||
|- | |- | ||
|Down smash|| ||[[File:YoshiDSmashSSBM.gif|300px]] | |Down smash||Double Tail Whip||[[File:YoshiDSmashSSBM.gif|300px]] | ||
|- | |- | ||
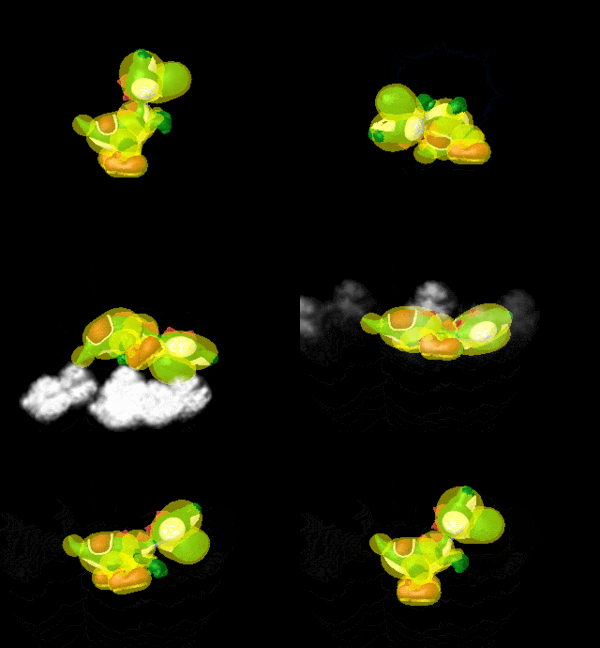
|Neutral aerial|| ||[[File:YoshiNAirSSBM.gif|300px]] | |Neutral aerial||Yoshi's Kick||[[File:YoshiNAirSSBM.gif|300px]] | ||
|- | |- | ||
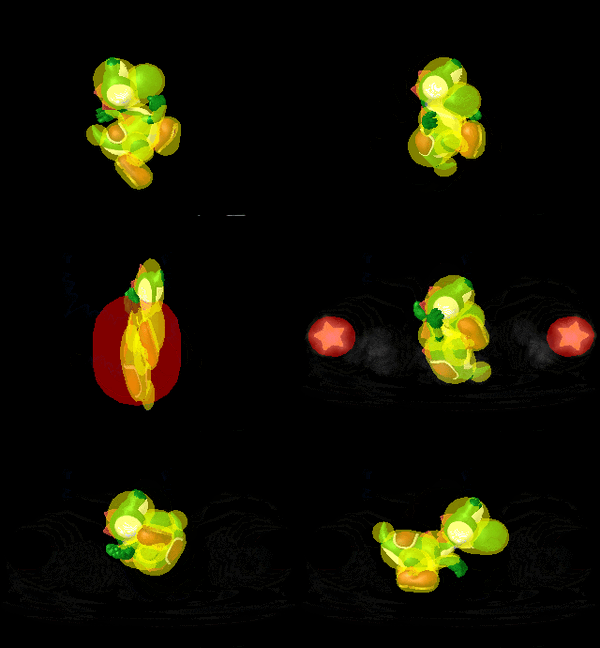
|Forward aerial|| ||[[File:YoshiFAirSSBM.gif|300px]] | |Forward aerial||Noggin Dunk||[[File:YoshiFAirSSBM.gif|300px]] | ||
|- | |- | ||
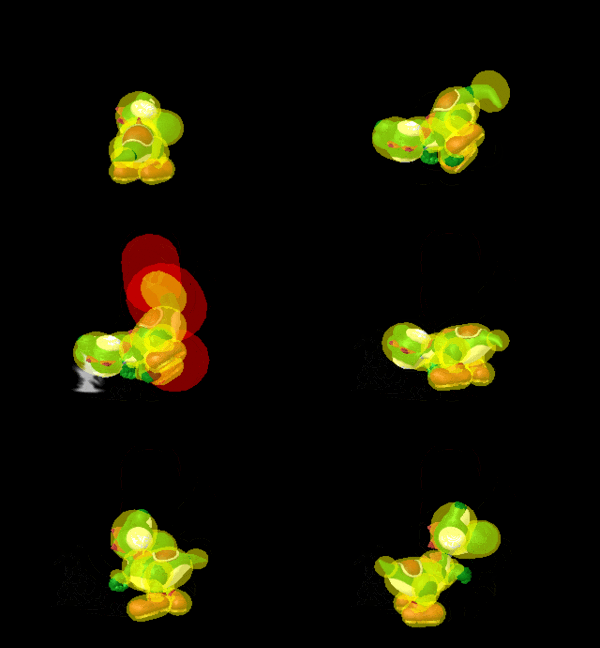
|Back aerial|| ||[[File:YoshiBAirSSBM.gif|300px]] | |Back aerial||Tail Wag||[[File:YoshiBAirSSBM.gif|300px]] | ||
|- | |- | ||
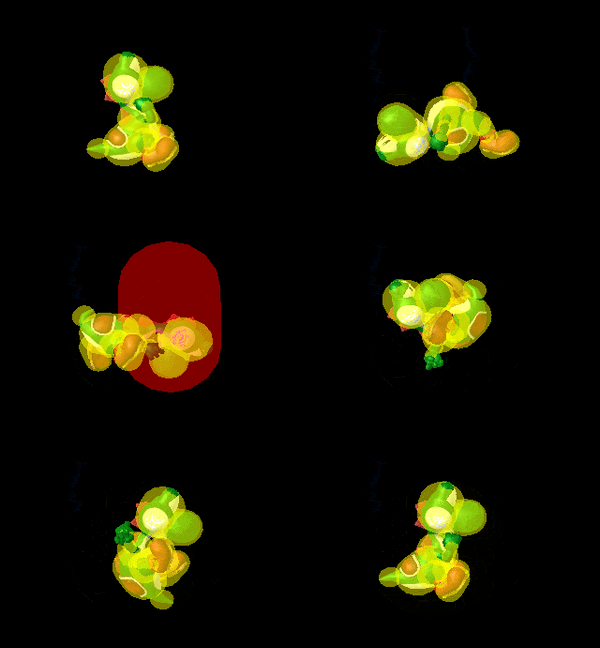
|Up aerial|| ||[[File:YoshiUAirSSBM.gif|300px]] | |Up aerial||Dino Flip||[[File:YoshiUAirSSBM.gif|300px]] | ||
|- | |- | ||
|Down aerial|| ||[[File:YoshiDAirSSBM.gif|300px]] | |Down aerial||Flutter Kick||[[File:YoshiDAirSSBM.gif|300px]] | ||
|- | |- | ||
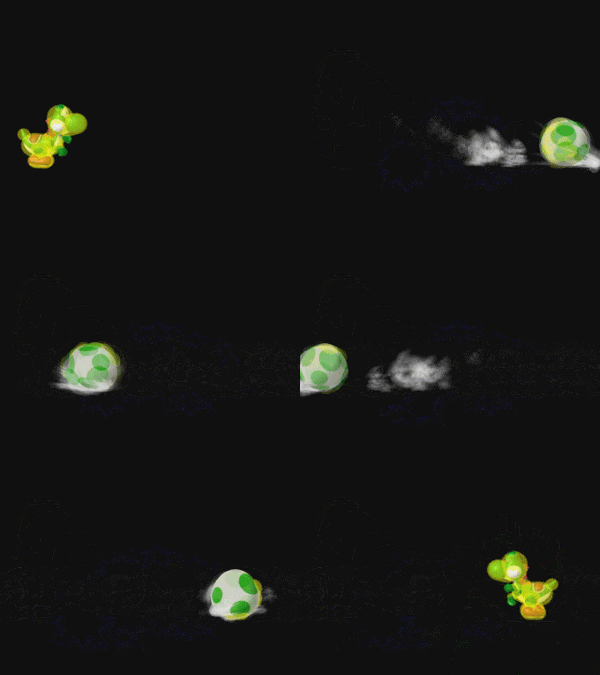
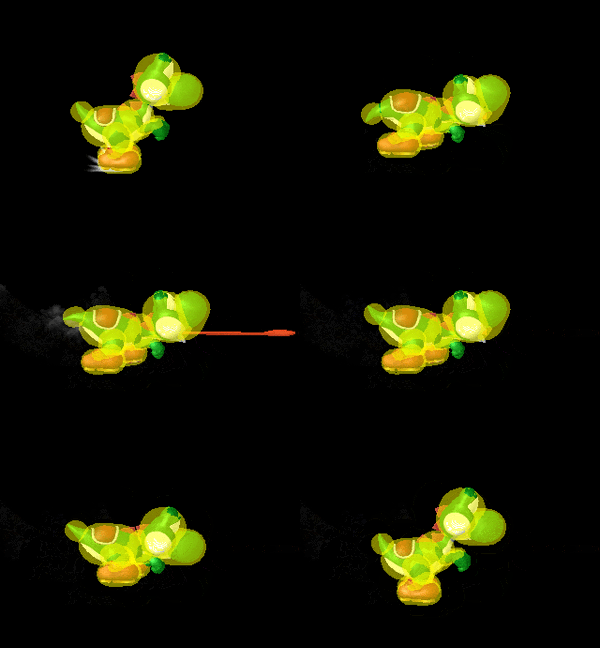
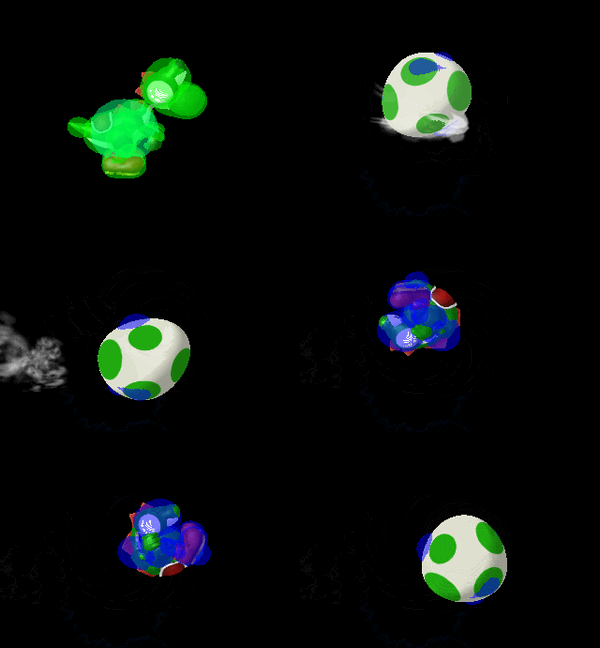
|Neutral special||Egg Lay||[[File:YoshiEggLaySSBM.gif|300px]] | |Neutral special||Egg Lay||[[File:YoshiEggLaySSBM.gif|300px]] | ||
| Line 45: | Line 46: | ||
|Down special (aerial)||Yoshi Bomb||[[File:YoshiYoshiBombAerialSSBM.gif|300px]] | |Down special (aerial)||Yoshi Bomb||[[File:YoshiYoshiBombAerialSSBM.gif|300px]] | ||
|- | |- | ||
|Grab||||[[File:YoshiGrabSSBM.gif|300px]] | |Grab||Sticky Tongue||[[File:YoshiGrabSSBM.gif|300px]] | ||
|- | |- | ||
|Dash grab||||[[File: | |Dash grab||Sticky Tongue||[[File:YoshiDashGrabSSBM.gif|300px]] | ||
|- | |- | ||
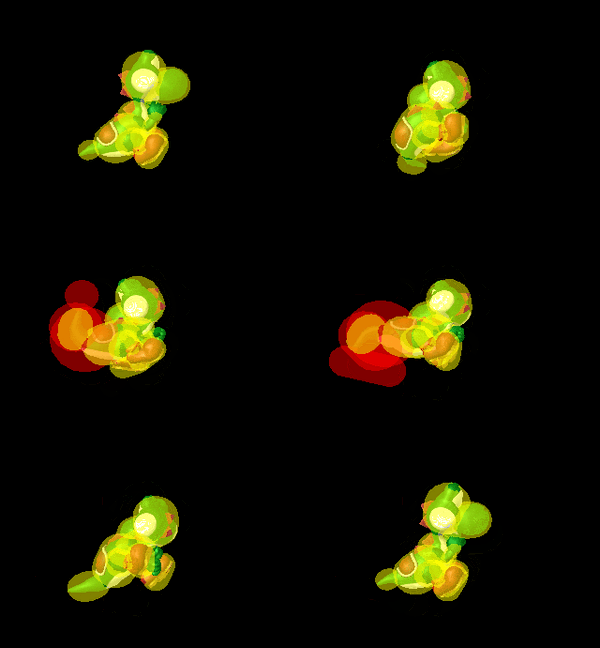
|Forward roll||||[[File:YoshiForwardRollSSBM.gif|300px]] | |Forward roll||||[[File:YoshiForwardRollSSBM.gif|300px]] | ||
| Line 56: | Line 57: | ||
|- | |- | ||
|Air dodge||||[[File:YoshiAirDodgeSSBM.gif|300px]] | |Air dodge||||[[File:YoshiAirDodgeSSBM.gif|300px]] | ||
|- | |||
|Ledge attack (fast)|||| | |||
|- | |||
|Ledge attack (slow)|||| | |||
|} | |} | ||
[[Category:Hitbox repositories]] | |||
[[Category:Yoshi (SSBM)]] | [[Category:Yoshi (SSBM)]] | ||
[[Category:Hitboxes (SSBM)]] | [[Category:Hitboxes (SSBM)]] | ||

