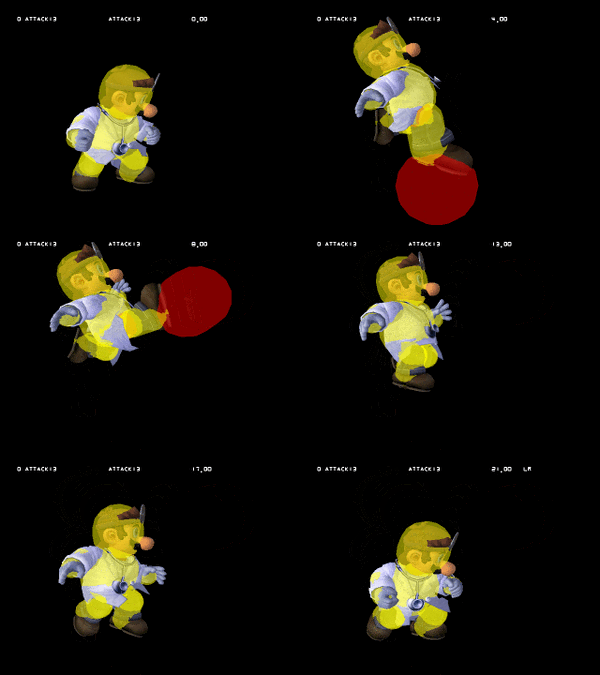
Dr. Mario (SSBM)/Neutral attack/Hit 3: Difference between revisions
From SmashWiki, the Super Smash Bros. wiki
Jump to navigationJump to search
Mariogeek2 (talk | contribs) (→Timing: Fixed attack timing, according to https://melee-framedata.theshoemaker.de/drmario/jab.html and https://meleeframedata.com/dr._mario) |
No edit summary |
||
| Line 1: | Line 1: | ||
{{ArticleIcons|ssbm=y}} | {{ArticleIcons|ssbm=y}} | ||
[[File:DrMarioJab3SSBM.gif|thumb|300px|Hitbox visualization showing Dr. Mario's third jab.]] | |||
==Overview== | |||
{{competitive expertise}} | {{competitive expertise}} | ||
==Hitboxes== | ==Hitboxes== | ||
{{MeleeHitboxTableHeader}} | {{MeleeHitboxTableHeader}} | ||
Latest revision as of 22:45, August 18, 2024
Overview[edit]
Hitboxes[edit]
| ID | Part | Damage | SD | Angle | BK | KS | FKV | Radius | Bone | Offset | Clang | Rebound | Effect | G | A | Sound | ||
|---|---|---|---|---|---|---|---|---|---|---|---|---|---|---|---|---|---|---|
| 0 | 0 | 6% | 0 | 18 | 100 | 0 | 4.2966 | 70 | 4.6872 | 0.0 | 0.0 | |||||||
| 1 | 0 | 6% | 0 | 18 | 100 | 0 | 1.5624 | 69 | 1.1718 | 0.0 | 0.0 | |||||||
Timing[edit]
| Hitboxes | 4-8 |
|---|---|
| Animation length | 21 |
Lag time |
Hitbox |
|

