Richter (SSBU)/Up special: Difference between revisions
From SmashWiki, the Super Smash Bros. wiki
Jump to navigationJump to search
Roadrunnerto (talk | contribs) mNo edit summary |
No edit summary |
||
| Line 1: | Line 1: | ||
{{ArticleIcons|ssbu=y}} | {{ArticleIcons|ssbu=y}} | ||
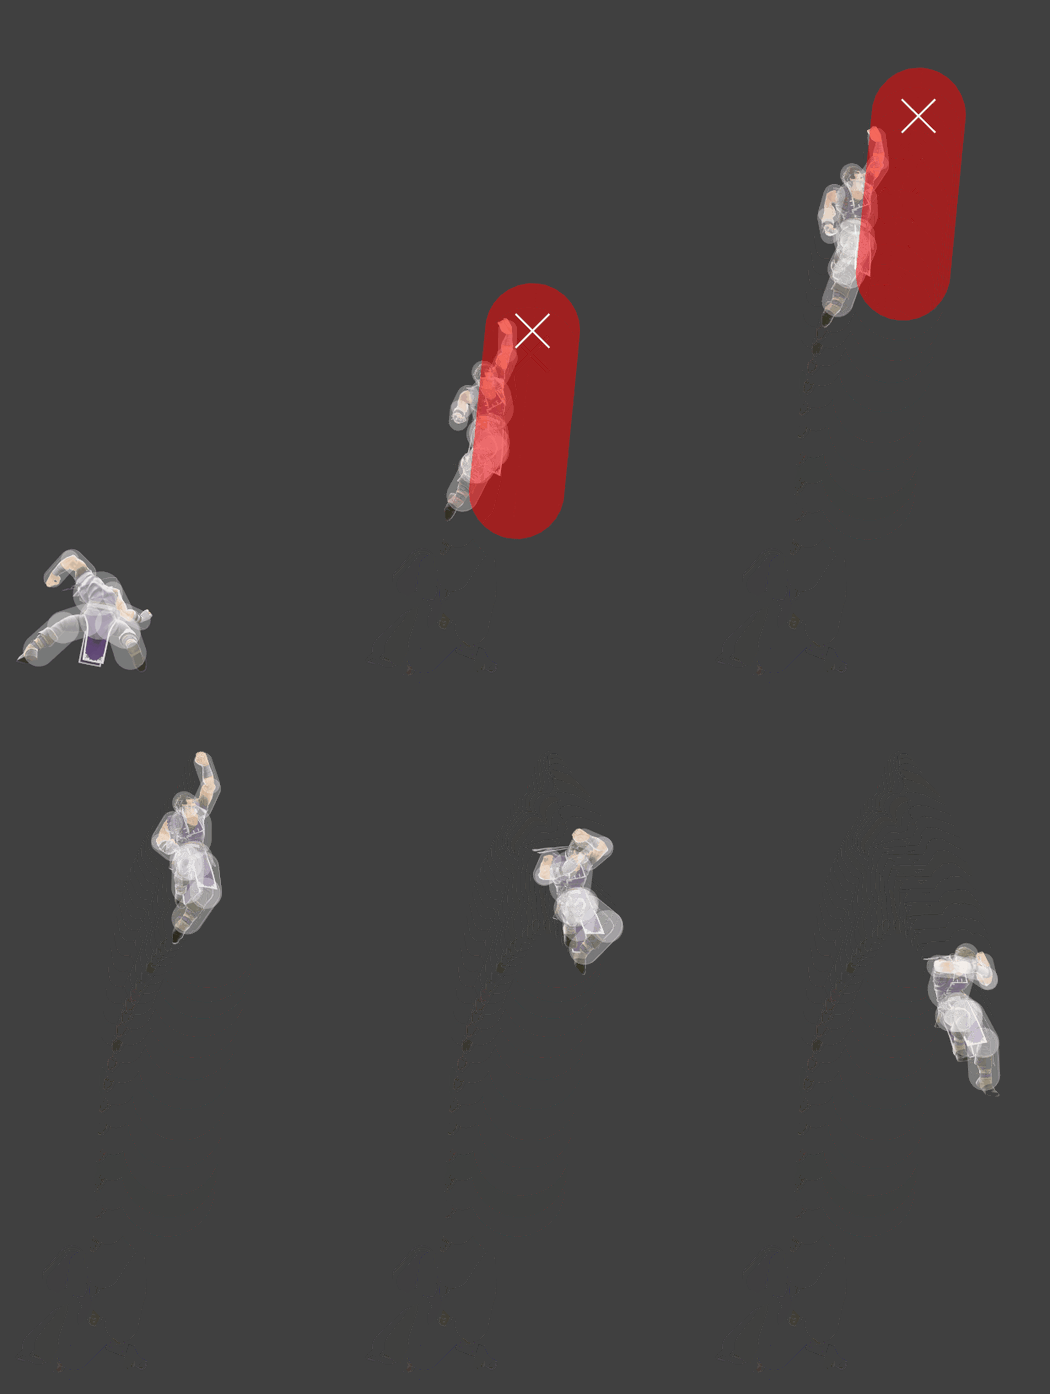
[[File:RichterUpSpecialAerial.gif|thumb| | [[File:RichterUpSpecialAerial.gif|thumb|350px|Hitbox visualization showing Richter's up special, Uppercut.]] | ||
{{competitive expertise}} | {{competitive expertise}} | ||
==Overview== | ==Overview== | ||
| Line 8: | Line 8: | ||
==Hitboxes== | ==Hitboxes== | ||
{{UltimateHitboxTableHeader}} | {{UltimateHitboxTableHeader}} | ||
{{HitboxTableTitle|Hit 1|50}} | |||
{{HitboxTableTitle|Hit 1| | |||
{{UltimateHitboxTableRow | {{UltimateHitboxTableRow | ||
|id=0 | |id=0 | ||
|damage=2.0% | |damage=2.0% | ||
|af=3 | |||
|setweight=t | |||
|angle=95 | |angle=95 | ||
|bk=0 | |bk=0 | ||
| Line 30: | Line 31: | ||
|rebound=f | |rebound=f | ||
}} | }} | ||
{{HitboxTableTitle|Multithits|50}} | |||
{{HitboxTableTitle|Multithits| | |||
{{UltimateHitboxTableRow | {{UltimateHitboxTableRow | ||
|id=0 | |id=0 | ||
|af=3 | |||
|setweight=t | |||
|rehit=3 | |||
|damage=1.5% | |damage=1.5% | ||
|rehit=3 | |rehit=3 | ||
| Line 54: | Line 57: | ||
|rebound=f | |rebound=f | ||
}} | }} | ||
{{HitboxTableTitle|Final hit|50}} | |||
{{HitboxTableTitle|Final hit| | |||
{{UltimateHitboxTableRow | {{UltimateHitboxTableRow | ||
|id=1 | |id=1 | ||
| Line 61: | Line 63: | ||
|damage=6.0% | |damage=6.0% | ||
|angle=61 | |angle=61 | ||
|af=3 | |||
|bk=85 | |bk=85 | ||
|ks=86 | |ks=86 | ||
| Line 78: | Line 81: | ||
|rebound=f | |rebound=f | ||
}} | }} | ||
|} | |} | ||
Revision as of 19:15, January 24, 2022
Overview
Update History
 Uppercut's hitbox stretches farther vertically (Y offset: 23u—6u → 26u—6u), increasing its range above Richter.
Hitboxes
Timing
Attack
| Intangibility | 5-6 |
|---|---|
| Hit 1 | 6 |
| Multihits | 9-20 |
| Final hit | 21 |
| Animation length | 47 |
Lag time |
Hitbox |
Hitbox change |
Vulnerable |
Intangible |
|

