Samus (SSBM)/Up tilt: Difference between revisions
From SmashWiki, the Super Smash Bros. wiki
Jump to navigationJump to search
No edit summary |
|||
| Line 3: | Line 3: | ||
{{competitive expertise}} | {{competitive expertise}} | ||
==Overview== | ==Overview== | ||
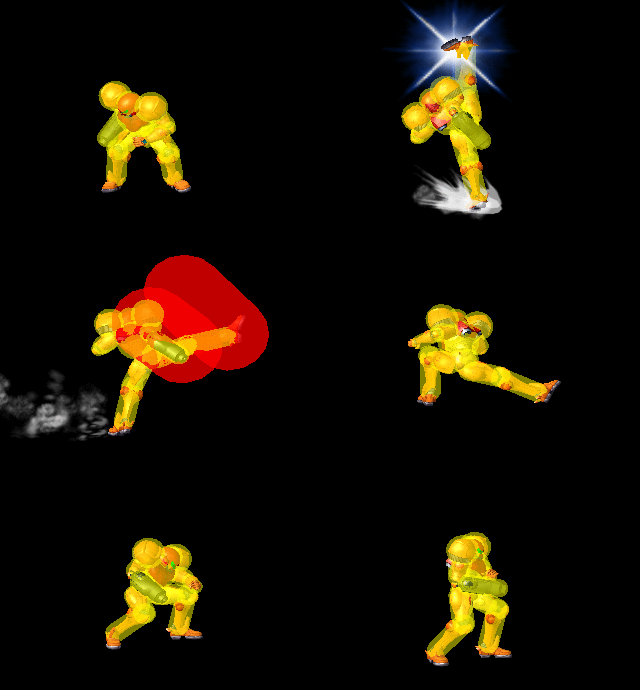
A fairly tall and long reaching axe-kick that serves as one of Samus's most versatile grounded moves. This attack has different properties against airborne and grounded opponents: against the former it launches them away at a low-horizontal angle, making it an effective KO and edgeguarding tool; against the latter it is a [[Meteor Smash]], easily combo'ing into her Smash Attacks and [[Neutral Air]] at various percents. With decent vertical and horizontal reach it makes for a good, albeit somewhat slow poke and a moderately effective anti-air. It can also reach through some low side-platforms, such as on [[Fountain of Dreams]] and [[Yoshi's Story]], giving it some niche applications for platform tech chasing. | |||
==Hitboxes== | ==Hitboxes== | ||
{{MeleeHitboxTableHeader}} | {{MeleeHitboxTableHeader}} | ||
Revision as of 09:01, January 12, 2022
Overview
A fairly tall and long reaching axe-kick that serves as one of Samus's most versatile grounded moves. This attack has different properties against airborne and grounded opponents: against the former it launches them away at a low-horizontal angle, making it an effective KO and edgeguarding tool; against the latter it is a Meteor Smash, easily combo'ing into her Smash Attacks and Neutral Air at various percents. With decent vertical and horizontal reach it makes for a good, albeit somewhat slow poke and a moderately effective anti-air. It can also reach through some low side-platforms, such as on Fountain of Dreams and Yoshi's Story, giving it some niche applications for platform tech chasing.
Hitboxes
Timing
| Hitbox | 14-17 |
|---|---|
| Interruptible | 35 |
| Animation length | 39 |
Lag time |
Hitbox |
Interruptible |

