Sephiroth (SSBU)/Neutral special: Difference between revisions
From SmashWiki, the Super Smash Bros. wiki
Jump to navigationJump to search
Raul Retana (talk | contribs) m (Added rehit rate) |
Raul Retana (talk | contribs) mNo edit summary |
||
| Line 8: | Line 8: | ||
===Flare=== | ===Flare=== | ||
{{UltimateHitboxTableHeader}} | {{UltimateHitboxTableHeader}} | ||
{{HitboxTableTitle|Early fireball| | {{HitboxTableTitle|Early fireball|24}} | ||
{{UltimateHitboxTableRow | {{UltimateHitboxTableRow | ||
|id=0 | |id=0 | ||
| Line 32: | Line 32: | ||
|direct=f | |direct=f | ||
}} | }} | ||
{{HitboxTableTitle|Mid fireball| | {{HitboxTableTitle|Mid fireball|24}} | ||
{{UltimateHitboxTableRow | {{UltimateHitboxTableRow | ||
|id=0 | |id=0 | ||
| Line 56: | Line 56: | ||
|direct=f | |direct=f | ||
}} | }} | ||
{{HitboxTableTitle|Late fireball| | {{HitboxTableTitle|Late fireball|24}} | ||
{{UltimateHitboxTableRow | {{UltimateHitboxTableRow | ||
|id=0 | |id=0 | ||
| Line 80: | Line 80: | ||
|direct=f | |direct=f | ||
}} | }} | ||
{{HitboxTableTitle|Latest fireball| | {{HitboxTableTitle|Latest fireball|24}} | ||
{{UltimateHitboxTableRow | {{UltimateHitboxTableRow | ||
|id=0 | |id=0 | ||
| Line 127: | Line 127: | ||
|direct=f | |direct=f | ||
}} | }} | ||
{{HitboxTableRowNote|The fireball uses weight-independent knockback.| | {{HitboxTableRowNote|The fireball uses weight-independent knockback.|24}} | ||
|} | |} | ||
| Line 133: | Line 133: | ||
{{UltimateHitboxTableHeader}} | {{UltimateHitboxTableHeader}} | ||
!{{rollover|Rehit rate|If not 0, hits again every X frames|y}} | !{{rollover|Rehit rate|If not 0, hits again every X frames|y}} | ||
{{HitboxTableTitle|Fireball| | {{HitboxTableTitle|Fireball|25}} | ||
{{UltimateHitboxTableRow | {{UltimateHitboxTableRow | ||
|id=0 | |id=0 | ||
| Line 158: | Line 158: | ||
}} | }} | ||
|0 | |0 | ||
{{HitboxTableTitle|Early multihits| | {{HitboxTableTitle|Early multihits|25}} | ||
{{UltimateHitboxTableRow | {{UltimateHitboxTableRow | ||
|id=0 | |id=0 | ||
| Line 185: | Line 185: | ||
}} | }} | ||
|3 | |3 | ||
{{HitboxTableTitle|Late multihits| | {{HitboxTableTitle|Late multihits|25}} | ||
{{UltimateHitboxTableRow | {{UltimateHitboxTableRow | ||
|id=0 | |id=0 | ||
| Line 212: | Line 212: | ||
}} | }} | ||
|3 | |3 | ||
{{HitboxTableTitle|Final hit| | {{HitboxTableTitle|Final hit|25}} | ||
{{UltimateHitboxTableRow | {{UltimateHitboxTableRow | ||
|id=0 | |id=0 | ||
| Line 239: | Line 239: | ||
}} | }} | ||
|0 | |0 | ||
{{HitboxTableRowNote|The fireball and the early and late multihits use weight-independent knockback.| | {{HitboxTableRowNote|The fireball and the early and late multihits use weight-independent knockback.|25}} | ||
|} | |} | ||
Revision as of 05:44, December 21, 2020

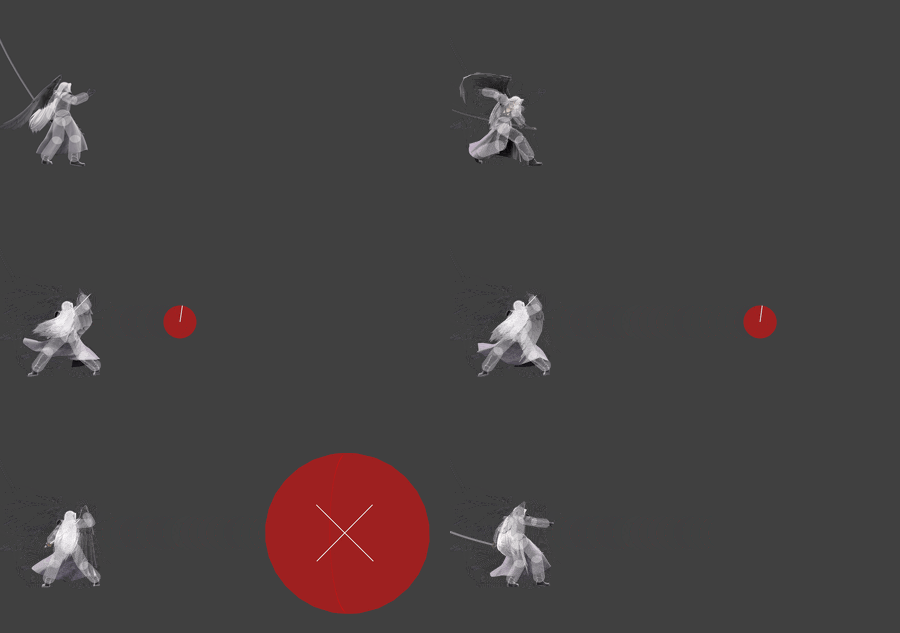
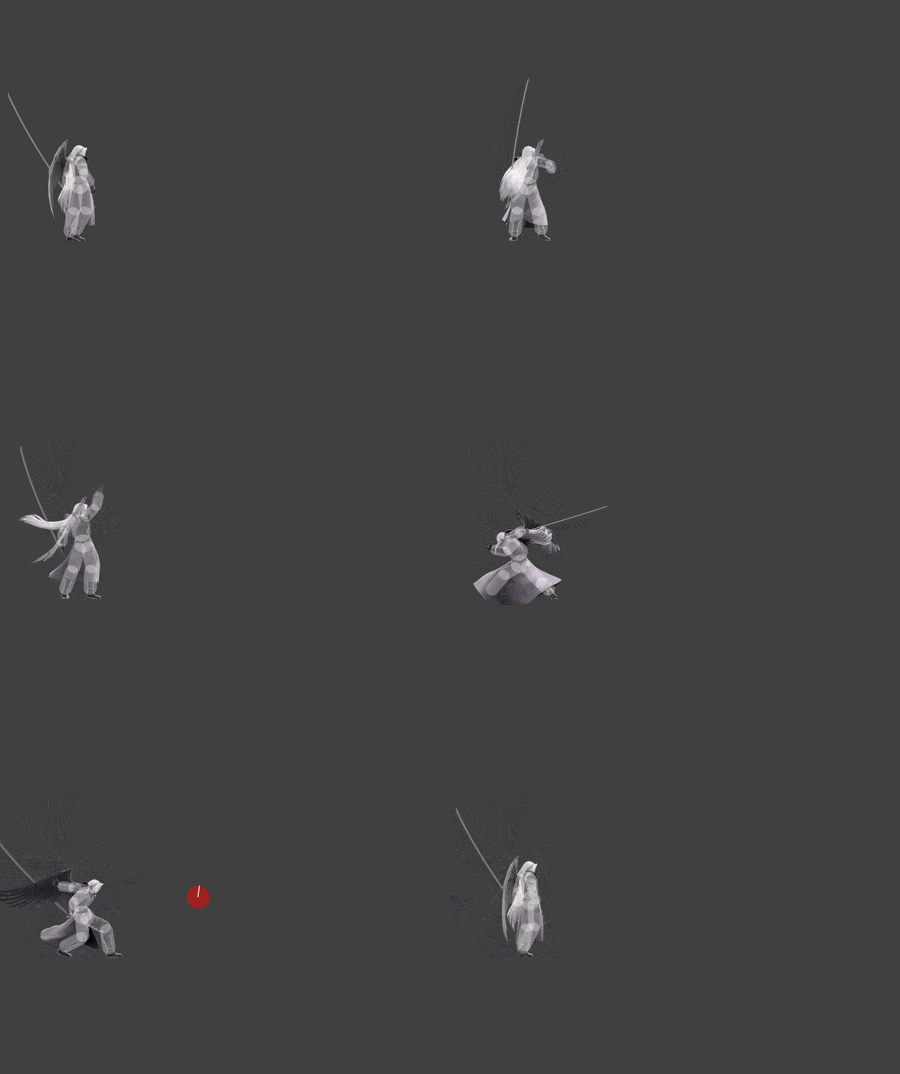
Hitbox visualization showing Sephiroth's neutral special, Flare.

Hitbox visualization showing Sephiroth's neutral special, Megaflare.

Hitbox visualization showing Sephiroth's neutral special, Gigaflare.
Overview
Hitboxes
Flare
Megaflare
Gigaflare
Timing
Flare
Data is from release. Bursts on frame 3 after contact.
| Fireball (early, mid, late, latest) | 22-27, 28-34, 35-39, 40-95 |
|---|---|
| Burst | 98-101 |
| Interruptible | 65 |
| Animation length | 102 |
Megaflare
Data is from release. Bursts on frame 10 after contact.
| Fireball | 21-48 |
|---|---|
| Burst (early multi, late multi, final) | 58-59, 60-66, 67-68 |
| Interruptible | 73 |
| Animation length | 97 |
Gigaflare
Bursts on frame 7 after contact.
| Fireball | 130-176 |
|---|---|
| Burst (early multi, late multi, final) | 183-184, 185-200, 201-202 |
| Interruptible | 182 |
| Animation length | 232 |
Lag time |
Hitbox |
Hitbox change |
Prop event |
Interruptible |
|
