Category:Hitbox images (Bowser SSBM)
From SmashWiki, the Super Smash Bros. wiki
Jump to navigationJump to search
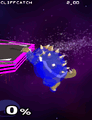
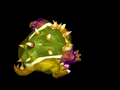
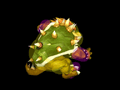
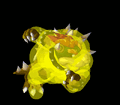
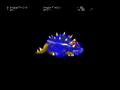
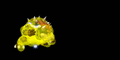
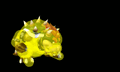
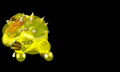
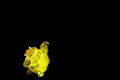
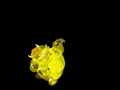
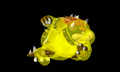
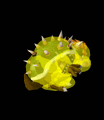
Hitbox images for Bowser in Melee.
Media in category "Hitbox images (Bowser SSBM)"
The following 40 files are in this category, out of 40 total.
 Bowser SSBM invincible ledgehopstall early 80ms.gif 340 × 444; 1.2 MB
 Bowser SSBM invincible ledgehopstall late 80ms.gif 340 × 444; 1.4 MB
 BowserAerialKoopaKlawForwardThrowSSBM.gif 381 × 286; 1.38 MB
 BowserAerialKoopaKlawPummelSSBM.gif 384 × 288; 1.1 MB
 BowserAirDodgeSSBM.gif 400 × 350; 447 KB
 BowserBackRollSSBM.gif 482 × 241; 642 KB
 BowserBAirSSBM.gif 500 × 350; 938 KB
 BowserBowserBombAerialSSBM.gif 500 × 425; 1.58 MB
 BowserBowserBombSSBM.gif 500 × 400; 1.83 MB
 BowserDAirSSBM.gif 400 × 400; 1.16 MB
 BowserDashAttackSSBM.gif 600 × 300; 814 KB
 BowserDashGrabSSBM.gif 500 × 300; 740 KB
 BowserDownAerialLandingSSBM.gif 397 × 298; 1.32 MB
 BowserDSmashSSBM.gif 500 × 300; 720 KB
 BowserDTiltSSBM.gif 500 × 300; 835 KB
 BowserFAirSSBM.gif 500 × 479; 872 KB
 BowserFireBreathSSBM.gif 630 × 340; 2.2 MB
 BowserFloorAttackBackSSBM.gif 640 × 480; 707 KB
 BowserFloorAttackFrontSSBM.gif 640 × 480; 740 KB
 BowserForwardRollSSBM.gif 600 × 300; 429 KB
 BowserFSmashSSBM.gif 500 × 300; 953 KB
 BowserFTiltDownSSBM.gif 500 × 300; 644 KB
 BowserFTiltSSBM.gif 500 × 300; 702 KB
 BowserFTiltUpSSBM.gif 500 × 300; 686 KB
 BowserGrabSSBM.gif 500 × 300; 550 KB
 BowserJab1SSBM.gif 500 × 300; 332 KB
 BowserJab2SSBM.gif 500 × 300; 439 KB
 BowserKoopaKlawAerialSSBM.gif 490 × 300; 1.04 MB
 BowserKoopaKlawForwardThrowSSBM.gif 381 × 286; 1.65 MB
 BowserKoopaKlawPummelSSBM.gif 375 × 281; 1.18 MB
 BowserKoopaKlawSSBM.gif 600 × 300; 1.03 MB
 BowserLedgeAttackFastSSBM.gif 452 × 301; 768 KB
 BowserLedgeAttackSlowSSBM.gif 341 × 256; 1,015 KB
 BowserNAirSSBM.gif 500 × 350; 574 KB
 BowserSpotDodgeSSBM.gif 500 × 300; 590 KB
 BowserUAirSSBM.gif 400 × 460; 903 KB
 BowserUSmashSSBM.gif 350 × 398; 908 KB
 BowserUTiltSSBM.gif 400 × 350; 797 KB
 BowserWhirlingFortressAerialSSBM.gif 500 × 300; 1.68 MB
 BowserWhirlingFortressSSBM.gif 470 × 376; 1.28 MB


