Super Smash Bros. Ultimate

Ice Climbers (SSBU)/Neutral attack/Hit 1

From SmashWiki, the Super Smash Bros. wiki
< Ice Climbers (SSBU)‎ | Neutral attack
Revision as of 15:46, May 7, 2024 by Yo'ster (talk | contribs) (→‎Overview: Normals link isn't what I thought.)
Jump to navigationJump to search
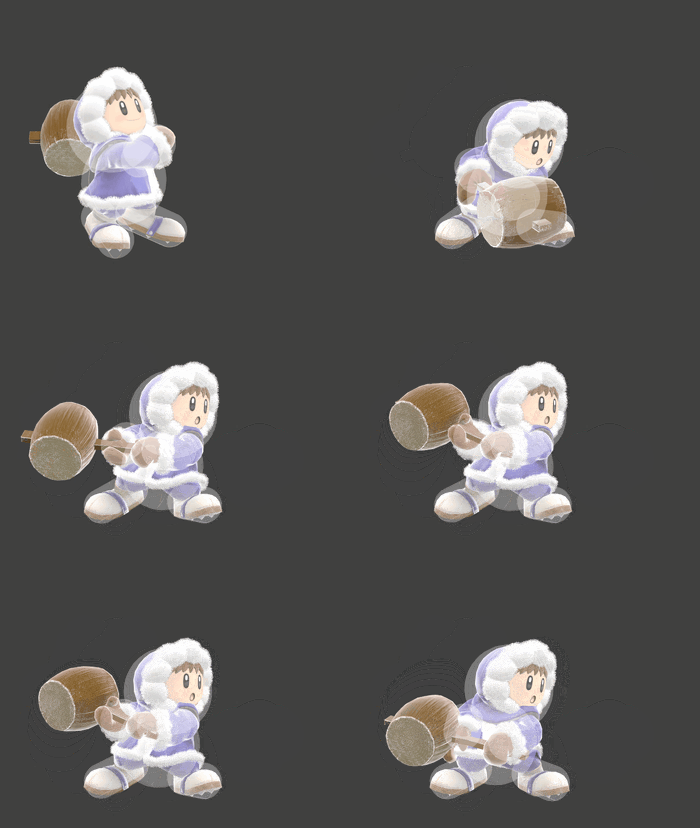
Hitbox visualization showing Popo's first jab.
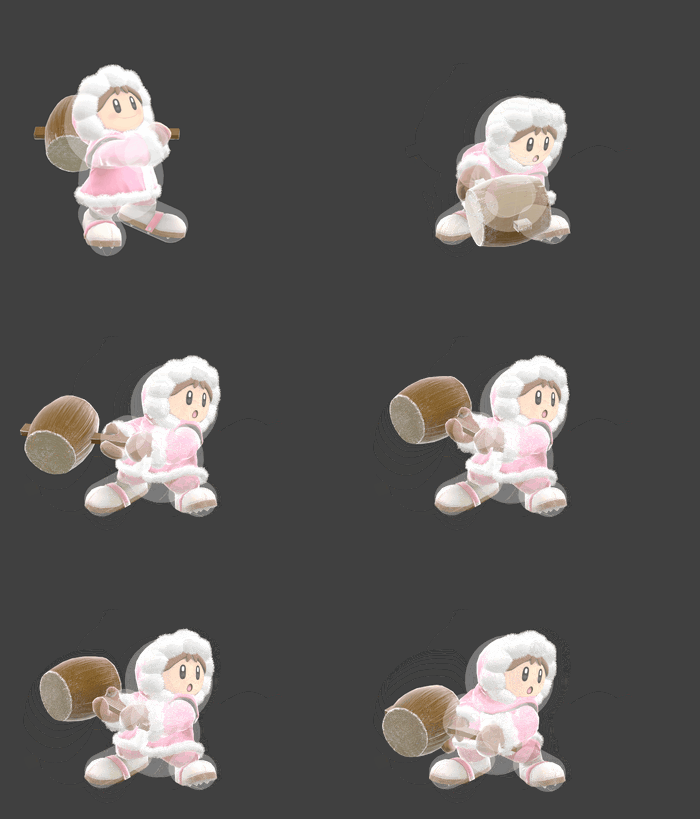
Hitbox visualization showing Nana's first jab.

Overview

Each of the duo performs an inward mallet swing, followed by an outward one. Its speed and range are about average for a jab, but with both climbers, its damage is higher than most. The extra delayed hits from the 2nd Climber buy extra time for their leader to move afterward. Depending on how much the 2nd Climber's attack is delayed (via desyncing) this can make the move much safer than it would be otherwise, and even grants it a touch of combo potential without desyncs. This however, is extremely limited, as the low launch angle gives opponents an opportunity to tech, and the only move with enough speed and range to followup is dash attack. What's more, this still requires a very low percentage and precise timing, unless the opponent is struck from a situational angle.

Though a jab of this caliber wouldn't be anything special on most fighters, (even if a lone fighter used both jabs at once) it's a bit better for the Ice Climbers specifically, as its properties synergize with their other normals by providing a handful of desyncing potential. As the down time from dropping shield or an initial dash can cause a buffered neutral attack to only come out from one of them, or make one Climber perform both hits of their jab, while the other only hits once.

By dropping shield and pressing A for a split second right after, only the lead climber will jab, allowing the partner access to nearly any followup, including potential zero-to-death combos, or a simple smash attack to unexpectedly take a stock. This however, is situational to setup due to the extra 11 frames needed to drop shield and their jab's poor range.

One of the duo can also be made to jab by very briefly pressing A after an initial dash, and is slightly easier to time if dashing back and forth or turning around. By following this with an input for a short-hop forward aerial, such a move will be performed by one, while the other finishes their jab. This can be used onstage as a combo starter, or to spike an opponent at the ledge. This setup can occasionally lead to KOs, but the knockback scaling of the jab will usually cause too much knockback to lead to a forward aerial by the time it would be able to knock out its target. Larger or heavier fighters may be more suceptible to this combo for a wider percent range, but the lower knockback and bigger hurtboxes of these fighters can cause them to be hit with the forward-air's sourspot. Even with the inconsistencies of this technique, it still has its uses for setting up edgeguards and gimping opponents with subpar recoveries.

While their neutral attack is serviceable as a pair, it becomes one of the worst in the game upon isolation. As its power, safety, and activity are nearly cut in half, and what little combo potential and utility the move once had is completely missing. But as long as both are available, the Ice Climbers' jab is among the upper half of the cast's, and a decent move overall.

Hitboxes

ID Part Rehit rate Damage SD Angle Angle type BK KS FKV Set weight Radius Bone Offset SDI× T% Clang Rebound Effect Type G A Sound Direct Hit bits Hit part Blockable Reflectable Absorbable Flinchless No GFX Heedless Hitstun
Leader
0 0 0 2.0% 0 Sakurai angle Forward 20 25 0 HitboxTableIcon(False).png 2.0 top 0.0 5.0 6.0 1.3× 1.0× 0% HitboxTableIcon(Clang).png HitboxTableIcon(Rebound).png Normal (effect) Hammer (type) HitboxTableIcon(GroundedTrue).png HitboxTableIcon(AerialTrue).png S Punch SpecialsDirect.png All All HitboxTableIcon(Blockable).png HitboxTableIcon(Unreflectable).png HitboxTableIcon(Unabsorbable).png HitboxTableIcon(False).png HitboxTableIcon(False).png HitboxTableIcon(False).png +2 frames
1 0 0 2.0% 0 Sakurai angle Forward 20 25 0 HitboxTableIcon(False).png 2.2 top 0.0 5.0 9.0 1.3× 1.0× 0% HitboxTableIcon(Clang).png HitboxTableIcon(Rebound).png Normal (effect) Hammer (type) HitboxTableIcon(GroundedTrue).png HitboxTableIcon(AerialTrue).png S Punch SpecialsDirect.png All All HitboxTableIcon(Blockable).png HitboxTableIcon(Unreflectable).png HitboxTableIcon(Unabsorbable).png HitboxTableIcon(False).png HitboxTableIcon(False).png HitboxTableIcon(False).png +2 frames
2 0 0 2.0% 0 AngleIcon180.png Forward 20 15 0 HitboxTableIcon(False).png 2.4 top 0.0 5.0 12.3 1.3× 1.0× 0% HitboxTableIcon(Clang).png HitboxTableIcon(Rebound).png Normal (effect) Hammer (type) HitboxTableIcon(GroundedTrue).png HitboxTableIcon(AerialTrue).png S Punch SpecialsDirect.png Fighter only All HitboxTableIcon(Blockable).png HitboxTableIcon(Unreflectable).png HitboxTableIcon(Unabsorbable).png HitboxTableIcon(False).png HitboxTableIcon(False).png HitboxTableIcon(False).png +2 frames
3 0 0 2.0% 0 Sakurai angle Forward 20 15 0 HitboxTableIcon(False).png 2.4 top 0.0 5.0 12.3 1.3× 1.0× 0% HitboxTableIcon(Clang).png HitboxTableIcon(Rebound).png Normal (effect) Hammer (type) HitboxTableIcon(GroundedTrue).png HitboxTableIcon(AerialTrue).png S Punch SpecialsDirect.png All All HitboxTableIcon(Blockable).png HitboxTableIcon(Unreflectable).png HitboxTableIcon(Unabsorbable).png HitboxTableIcon(False).png HitboxTableIcon(False).png HitboxTableIcon(False).png +2 frames
Partner
0 0 0 1.5% 0 Sakurai angle Forward 20 25 0 HitboxTableIcon(False).png 1.8 top 3.0 to -3.0 5.0 7.0 1.3× 1.0× 0% HitboxTableIcon(Clang).png HitboxTableIcon(Rebound).png Normal (effect) Hammer (type) HitboxTableIcon(GroundedTrue).png HitboxTableIcon(AerialTrue).png S Punch SpecialsDirect.png All All HitboxTableIcon(Blockable).png HitboxTableIcon(Unreflectable).png HitboxTableIcon(Unabsorbable).png HitboxTableIcon(False).png HitboxTableIcon(False).png HitboxTableIcon(False).png
1 0 0 1.5% 0 Sakurai angle Forward 20 25 0 HitboxTableIcon(False).png 2.0 top 3.0 to -3.0 5.0 10.0 1.3× 1.0× 0% HitboxTableIcon(Clang).png HitboxTableIcon(Rebound).png Normal (effect) Hammer (type) HitboxTableIcon(GroundedTrue).png HitboxTableIcon(AerialTrue).png S Punch SpecialsDirect.png All All HitboxTableIcon(Blockable).png HitboxTableIcon(Unreflectable).png HitboxTableIcon(Unabsorbable).png HitboxTableIcon(False).png HitboxTableIcon(False).png HitboxTableIcon(False).png
2 0 0 1.5% 0 AngleIcon180.png Forward 20 15 0 HitboxTableIcon(False).png 2.3 top 3.0 to -3.0 5.0 13.0 1.3× 1.0× 0% HitboxTableIcon(Clang).png HitboxTableIcon(Rebound).png Normal (effect) Hammer (type) HitboxTableIcon(GroundedTrue).png HitboxTableIcon(AerialTrue).png S Punch SpecialsDirect.png Fighter only All HitboxTableIcon(Blockable).png HitboxTableIcon(Unreflectable).png HitboxTableIcon(Unabsorbable).png HitboxTableIcon(False).png HitboxTableIcon(False).png HitboxTableIcon(False).png
3 0 0 1.5% 0 Sakurai angle Forward 20 15 0 HitboxTableIcon(False).png 2.3 top 3.0 to -3.0 5.0 13.0 1.3× 1.0× 0% HitboxTableIcon(Clang).png HitboxTableIcon(Rebound).png Normal (effect) Hammer (type) HitboxTableIcon(GroundedTrue).png HitboxTableIcon(AerialTrue).png S Punch SpecialsDirect.png All All HitboxTableIcon(Blockable).png HitboxTableIcon(Unreflectable).png HitboxTableIcon(Unabsorbable).png HitboxTableIcon(False).png HitboxTableIcon(False).png HitboxTableIcon(False).png

Timing

Hitboxes 4-5
Continuability Held on hit or tapped 10-30
Held without hitting 13
Interruptible 28
Animation length 43
FrameIcon(Lag).png FrameIcon(Lag).png FrameIcon(Lag).png FrameIcon(Hitbox).png FrameIcon(Hitbox).png FrameIcon(Lag).png FrameIcon(Lag).png FrameIcon(Lag).png FrameIcon(LagContinuableS).png FrameIcon(LagContinuableE).png FrameIcon(Lag).png FrameIcon(LagContinuableS).png FrameIcon(LagContinuableE).png FrameIcon(Lag).png FrameIcon(Lag).png FrameIcon(Lag).png FrameIcon(Lag).png FrameIcon(Lag).png FrameIcon(Lag).png FrameIcon(Lag).png FrameIcon(Lag).png FrameIcon(Lag).png FrameIcon(Lag).png FrameIcon(Lag).png FrameIcon(Lag).png FrameIcon(Lag).png FrameIcon(Lag).png FrameIcon(Interruptible).png FrameIcon(Interruptible).png FrameIcon(Interruptible).png FrameIcon(Interruptible).png FrameIcon(Interruptible).png FrameIcon(Interruptible).png FrameIcon(Interruptible).png FrameIcon(Interruptible).png FrameIcon(Interruptible).png FrameIcon(Interruptible).png FrameIcon(Interruptible).png FrameIcon(Interruptible).png FrameIcon(Interruptible).png FrameIcon(Interruptible).png FrameIcon(Interruptible).png FrameIcon(Interruptible).png
FrameIcon(Blank).png FrameIcon(Blank).png FrameIcon(Blank).png FrameIcon(Blank).png FrameIcon(Blank).png FrameIcon(Blank).png FrameIcon(Blank).png FrameIcon(Blank).png FrameIcon(Blank).png FrameIcon(Continuable).png FrameIcon(Continuable).png FrameIcon(Continuable).png FrameIcon(Continuable).png FrameIcon(Continuable).png FrameIcon(Continuable).png FrameIcon(Continuable).png FrameIcon(Continuable).png FrameIcon(Continuable).png FrameIcon(Continuable).png FrameIcon(Continuable).png FrameIcon(Continuable).png FrameIcon(Continuable).png FrameIcon(Continuable).png FrameIcon(Continuable).png FrameIcon(Continuable).png FrameIcon(Continuable).png FrameIcon(Continuable).png FrameIcon(Continuable).png FrameIcon(Continuable).png FrameIcon(Continuable).png FrameIcon(Blank).png FrameIcon(Blank).png FrameIcon(Blank).png FrameIcon(Blank).png FrameIcon(Blank).png FrameIcon(Blank).png FrameIcon(Blank).png FrameIcon(Blank).png FrameIcon(Blank).png FrameIcon(Blank).png FrameIcon(Blank).png FrameIcon(Blank).png FrameIcon(Blank).png
Legend (1 square = 1 frame)
Lag
Lag time
Hitbox
Hitbox
FrameIcon(Continuable).png
Continuable
FrameIcon(BlankContinuableS).pngFrameIcon(BlankContinuableE).png
Earliest continuable point
Interruptibility
Interruptible