Zelda (SSB4)/Hitboxes
From SmashWiki, the Super Smash Bros. wiki
Jump to navigationJump to search
| Move | Name | Hitbox |
|---|---|---|
| Neutral attack | 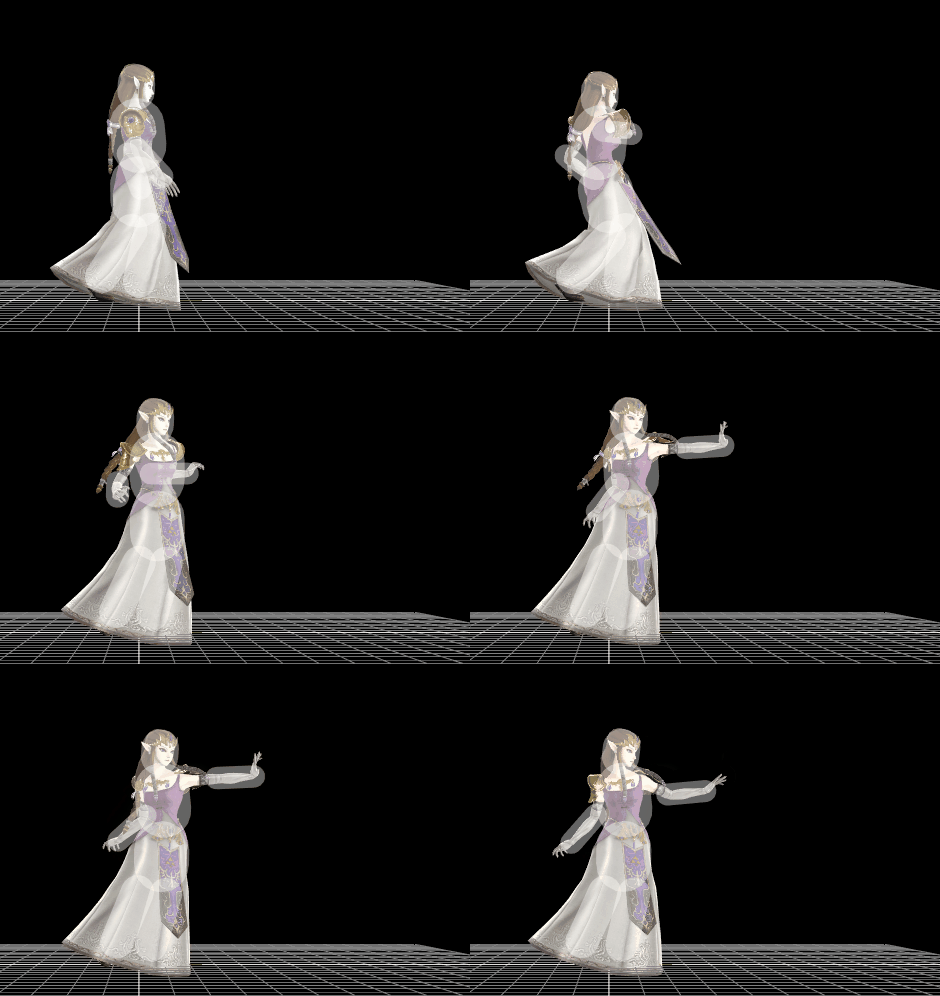
| |
| Forward tilt | 
| |
| Forward tilt (angled up) | 
| |
| Forward tilt (angled down) | 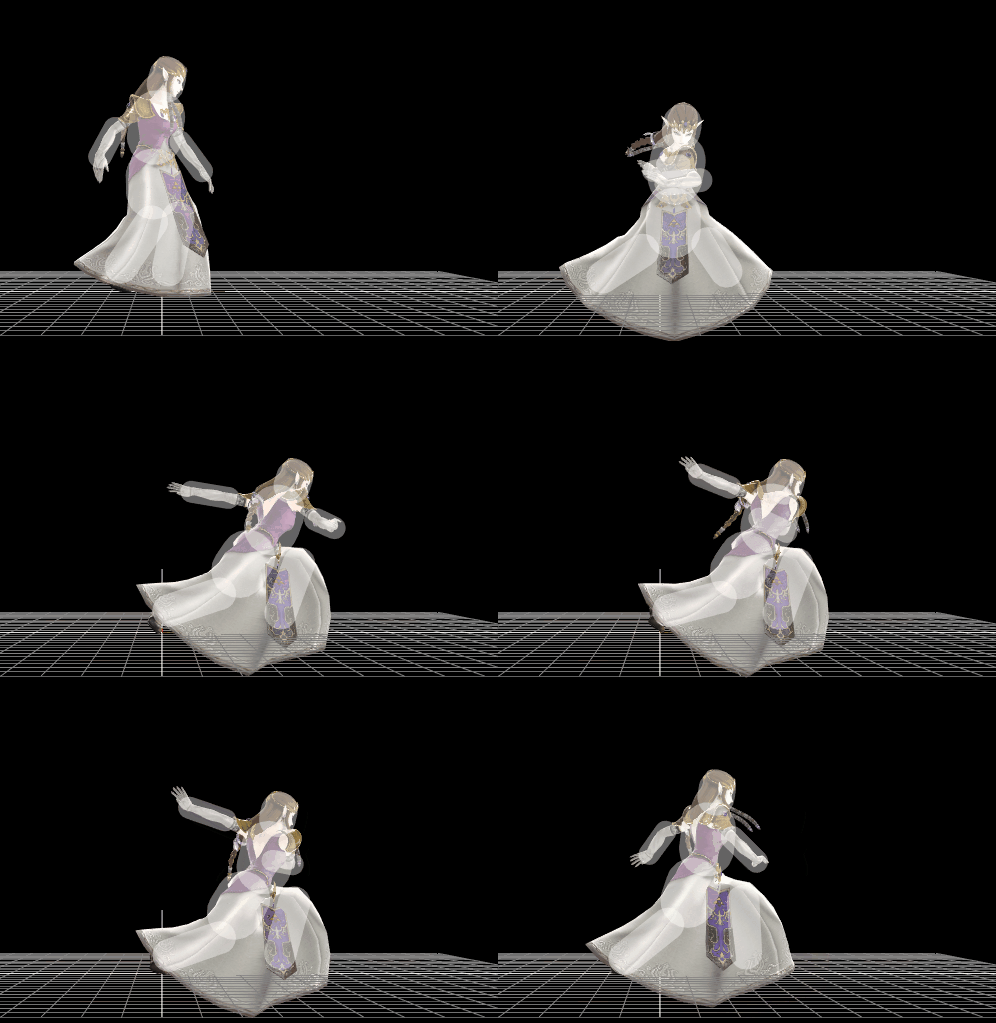
| |
| Up tilt | 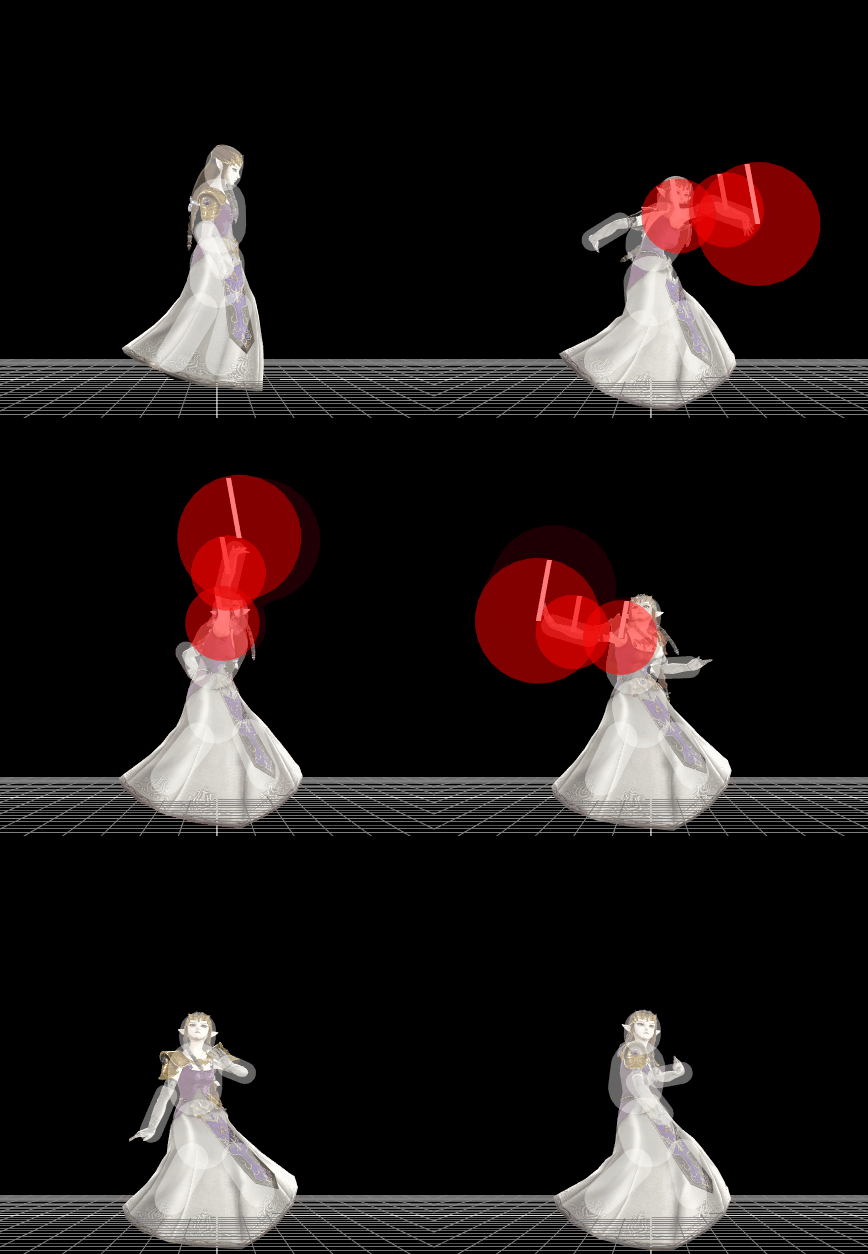
| |
| Down tilt | 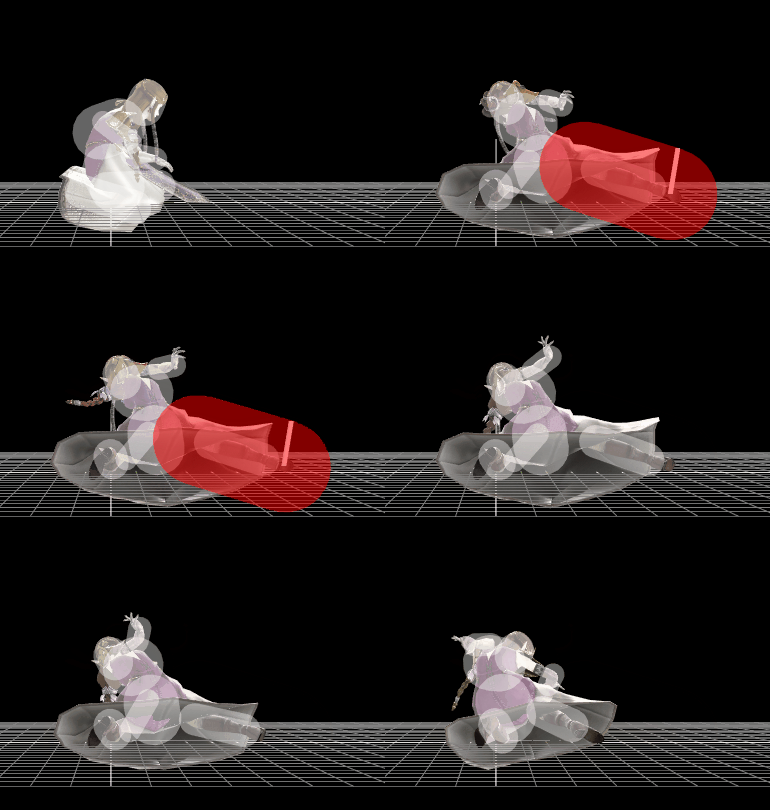
| |
| Dash attack | 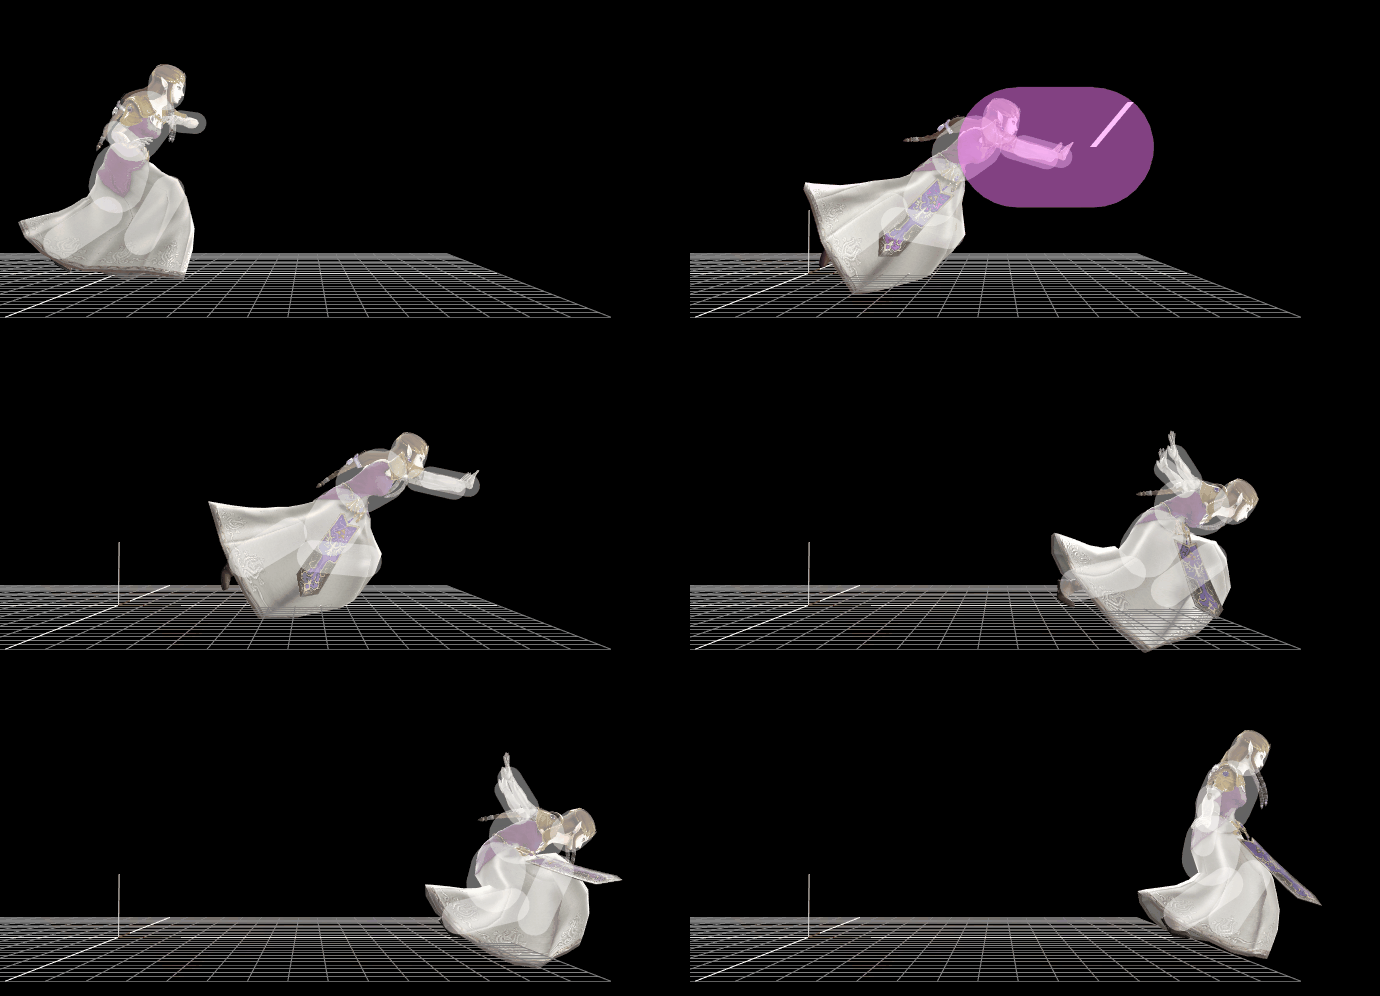
| |
| Forward smash | 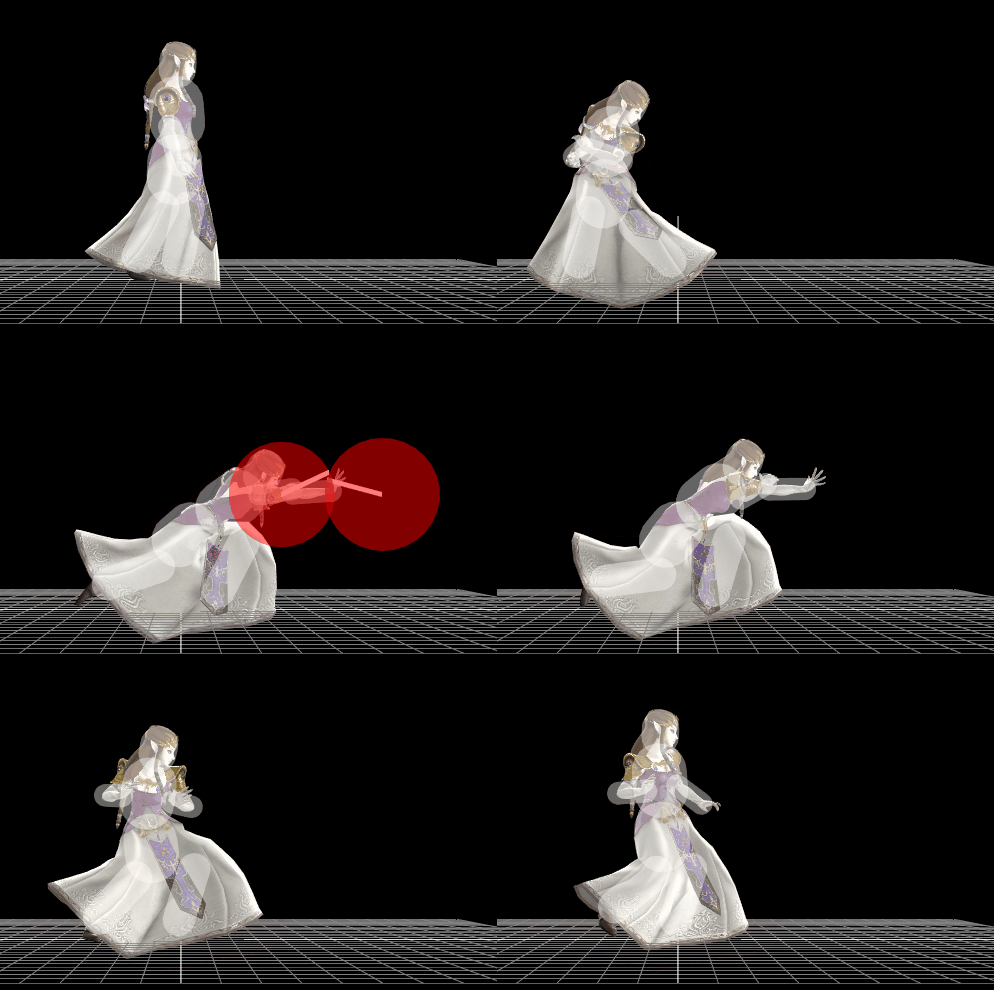
| |
| Up smash | 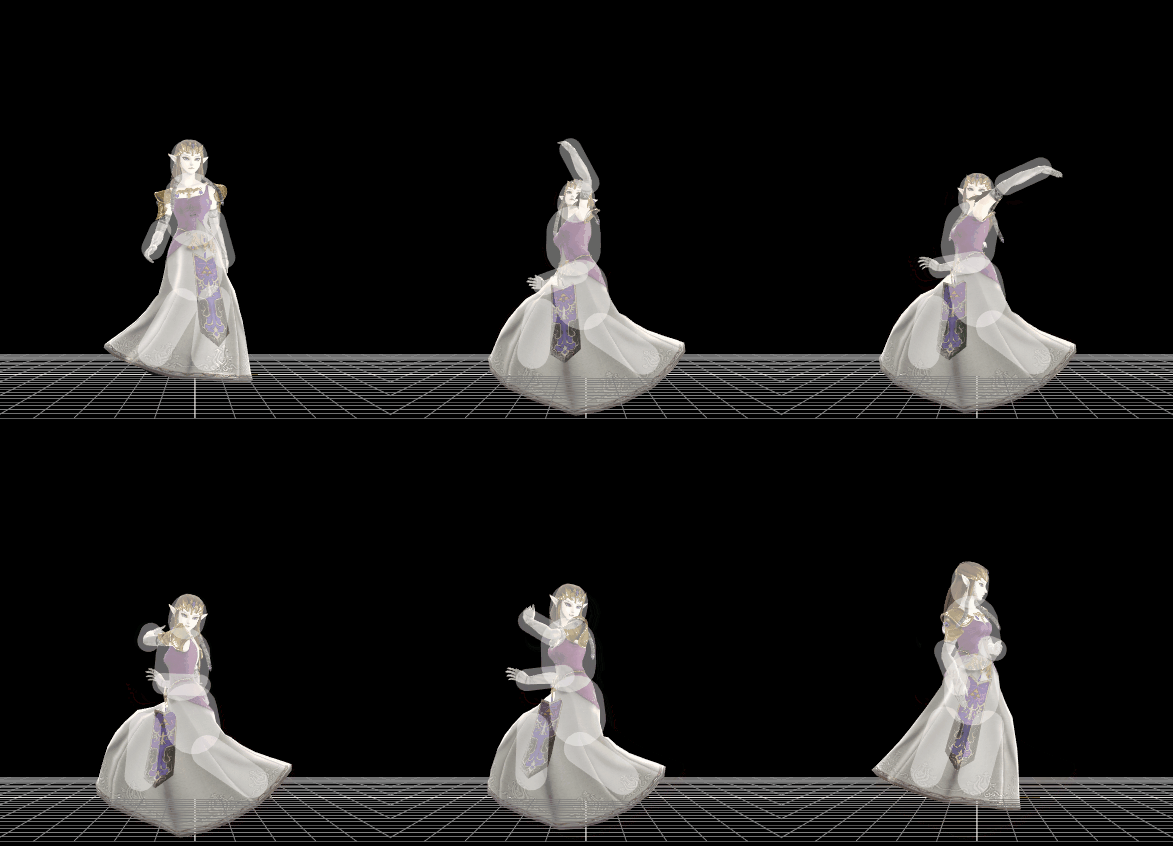
| |
| Down smash | 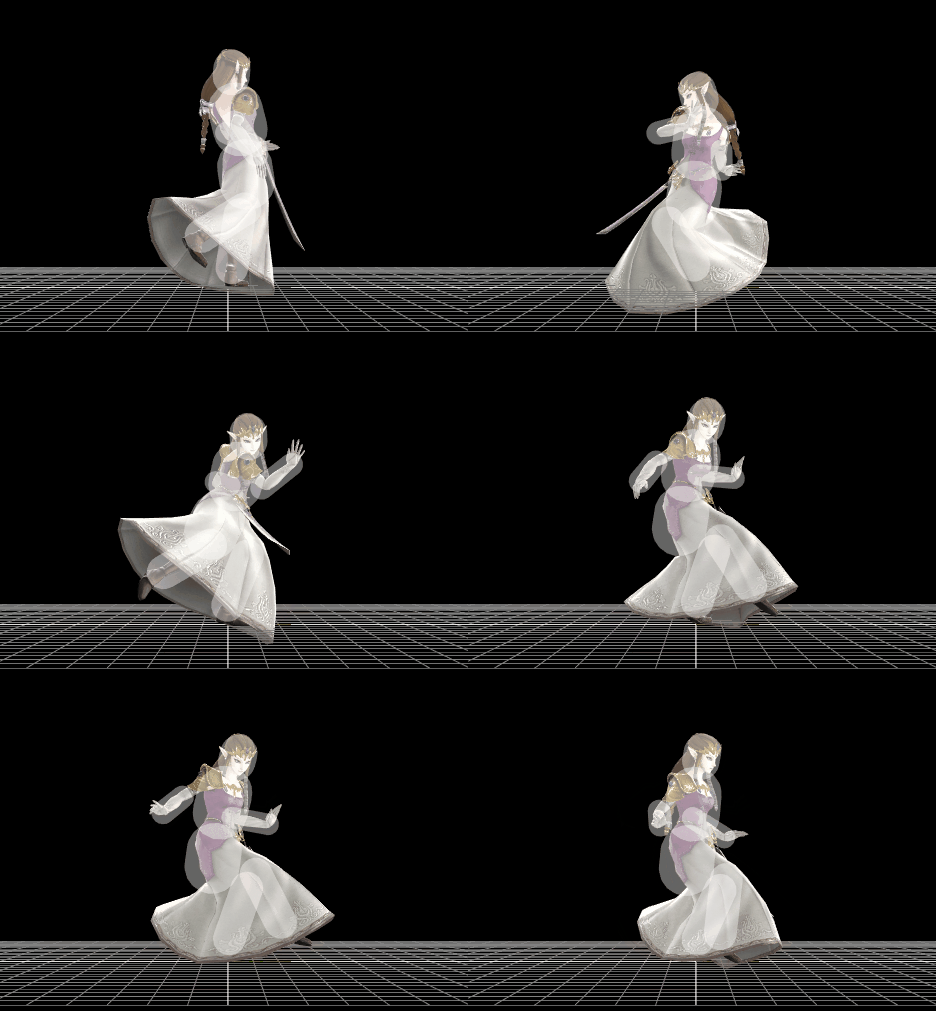
| |
| Neutral aerial | 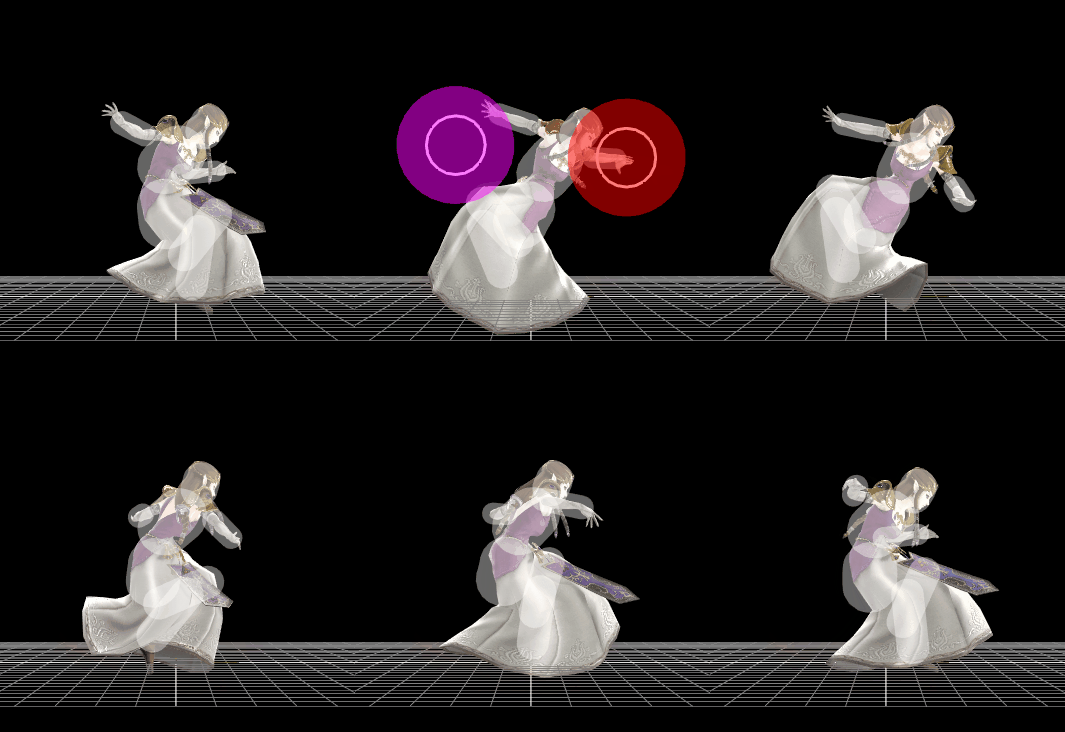
| |
| Forward aerial | 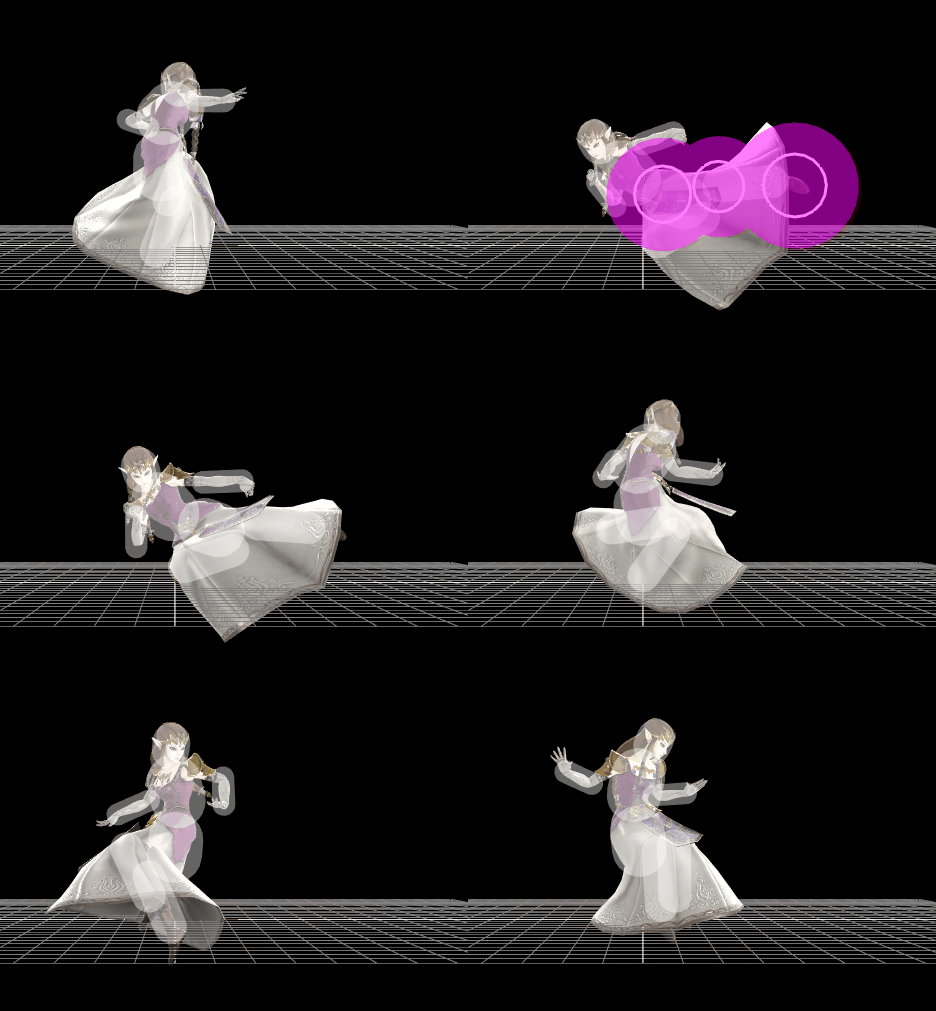
| |
| Back aerial | 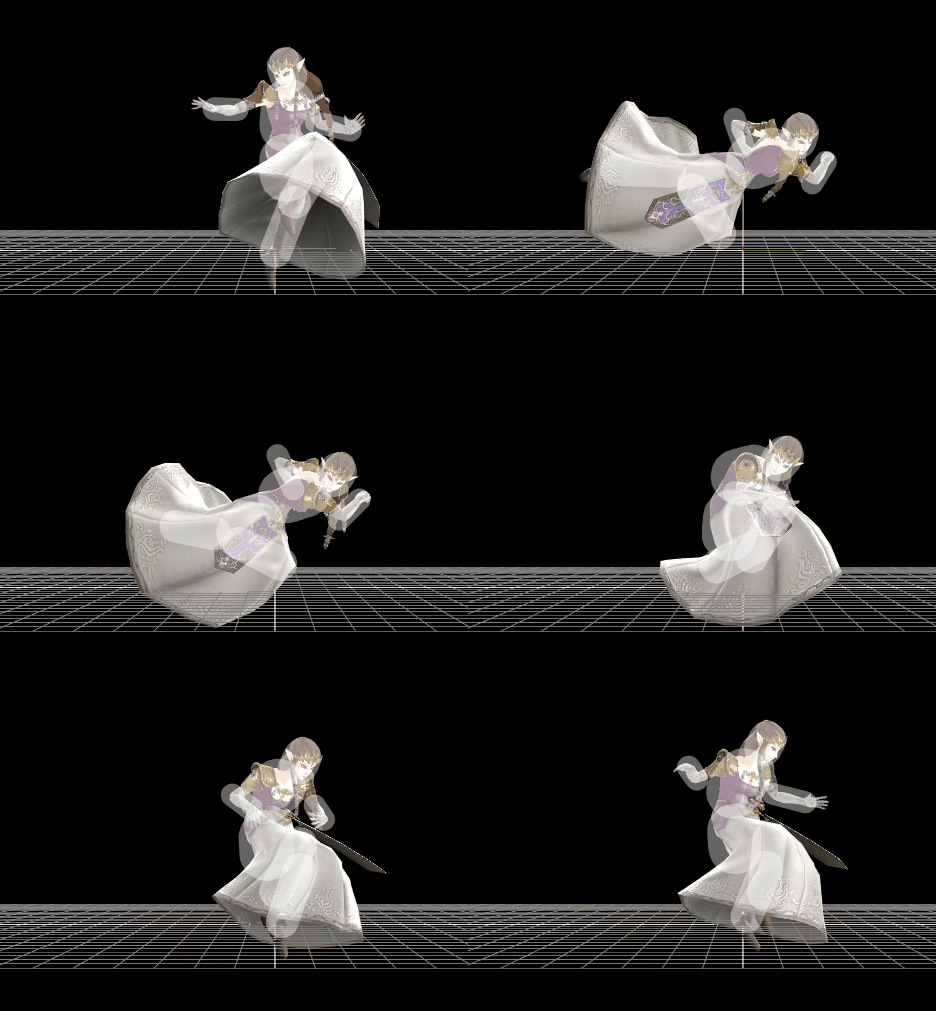
| |
| Up aerial | 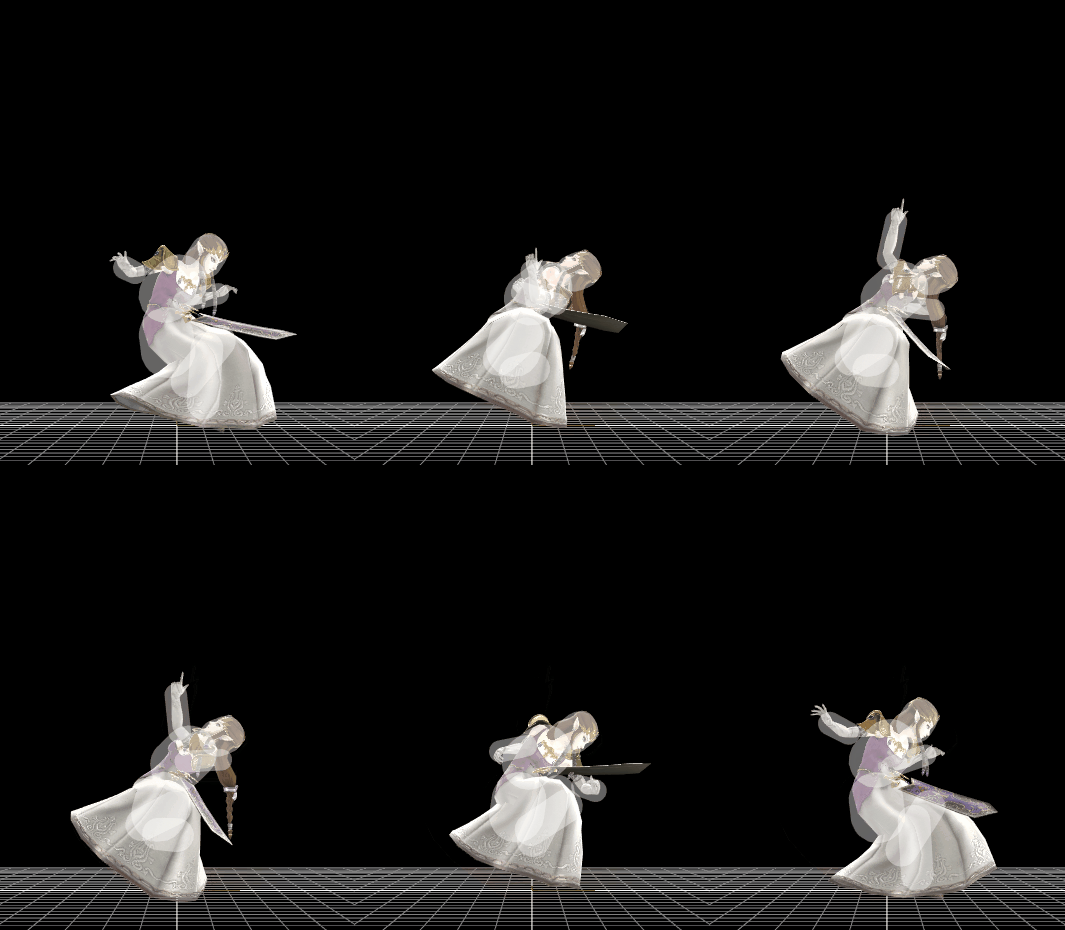
| |
| Down aerial | 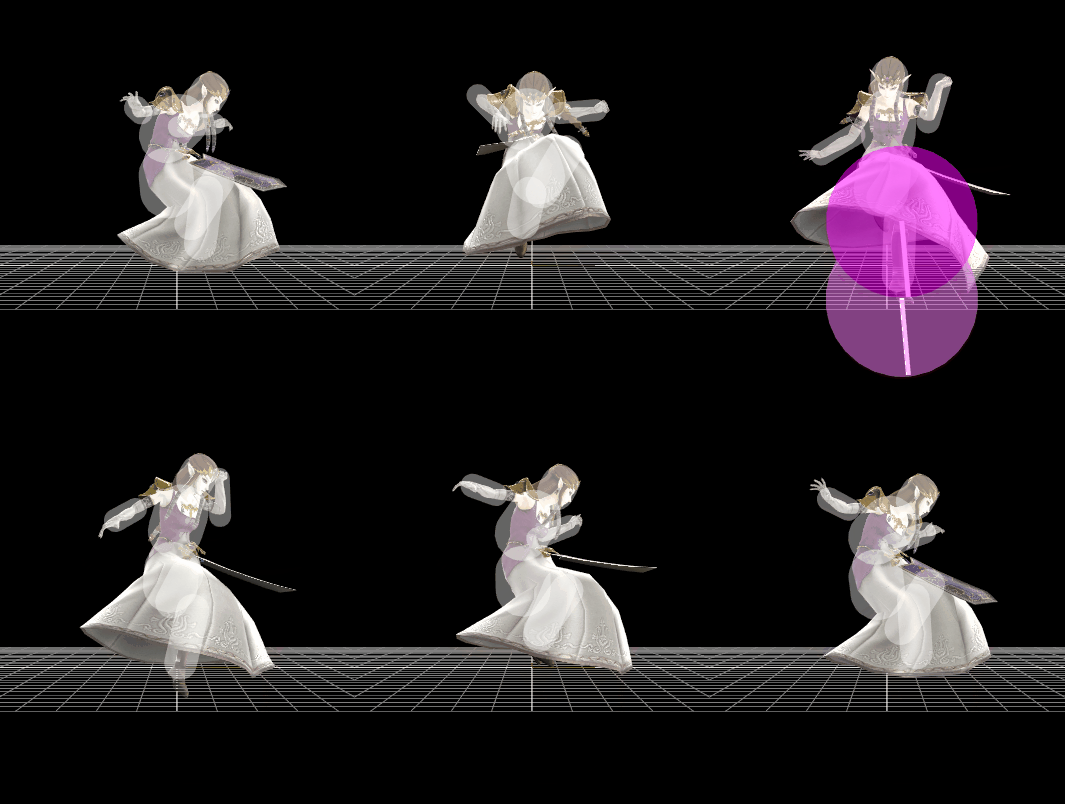
| |
| Neutral special | Nayru's Love | 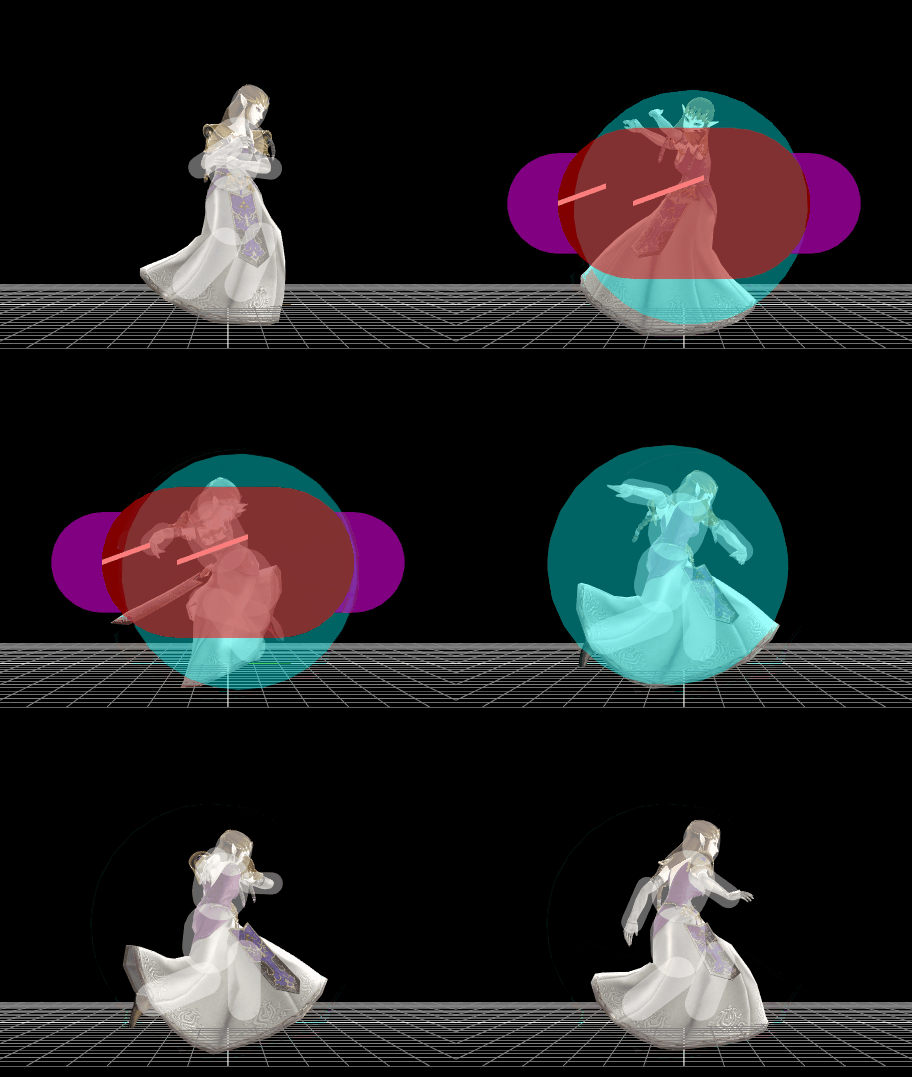
|
| Side special | Din's Fire | (unavailable) |
| Up special 1 (grounded) | Farore's Wind | 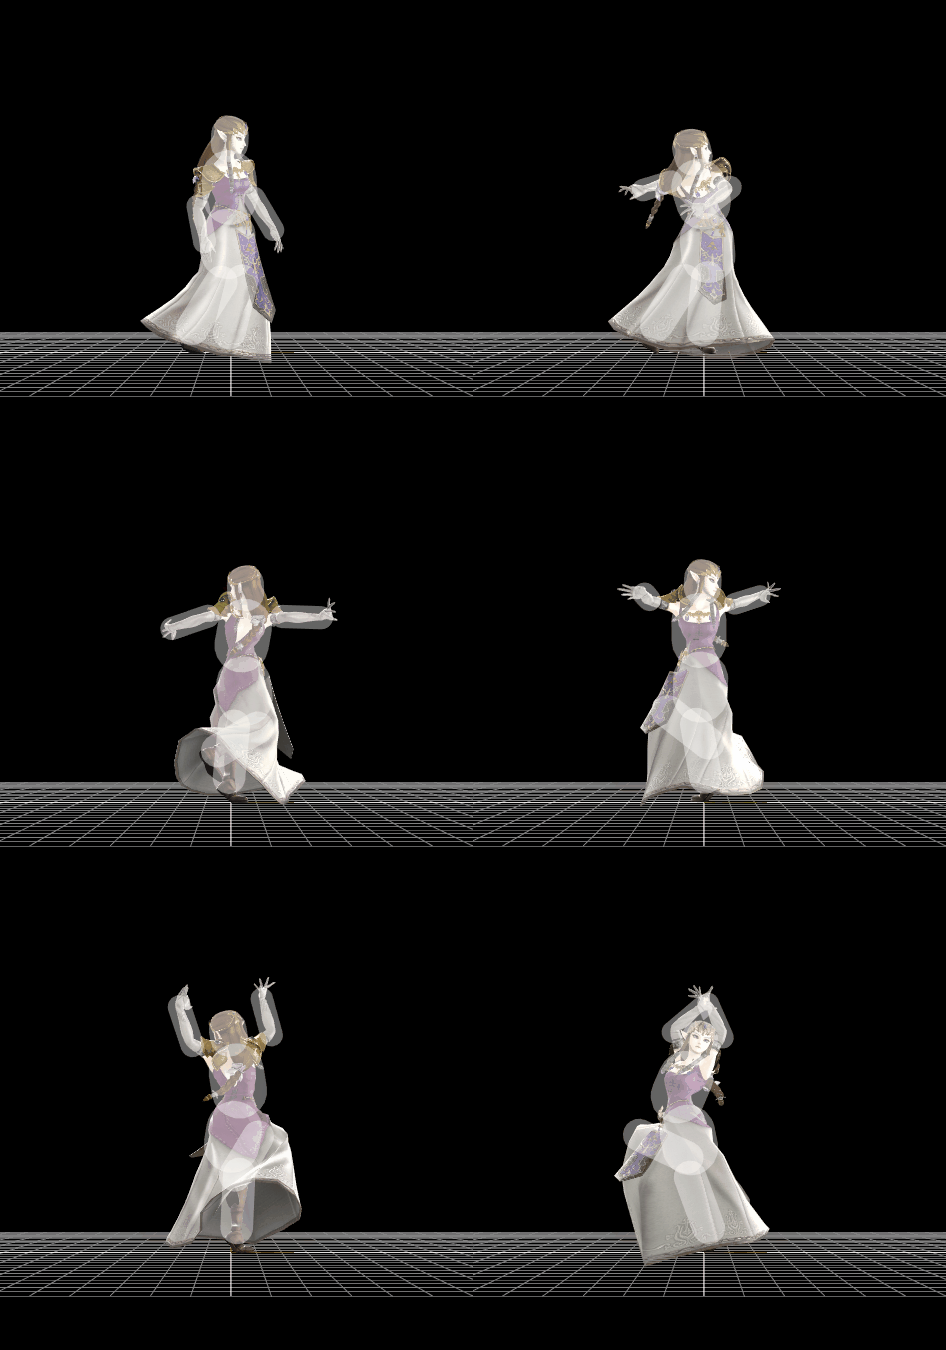
|
| Up special 2 (grounded) | Farore's Wind | 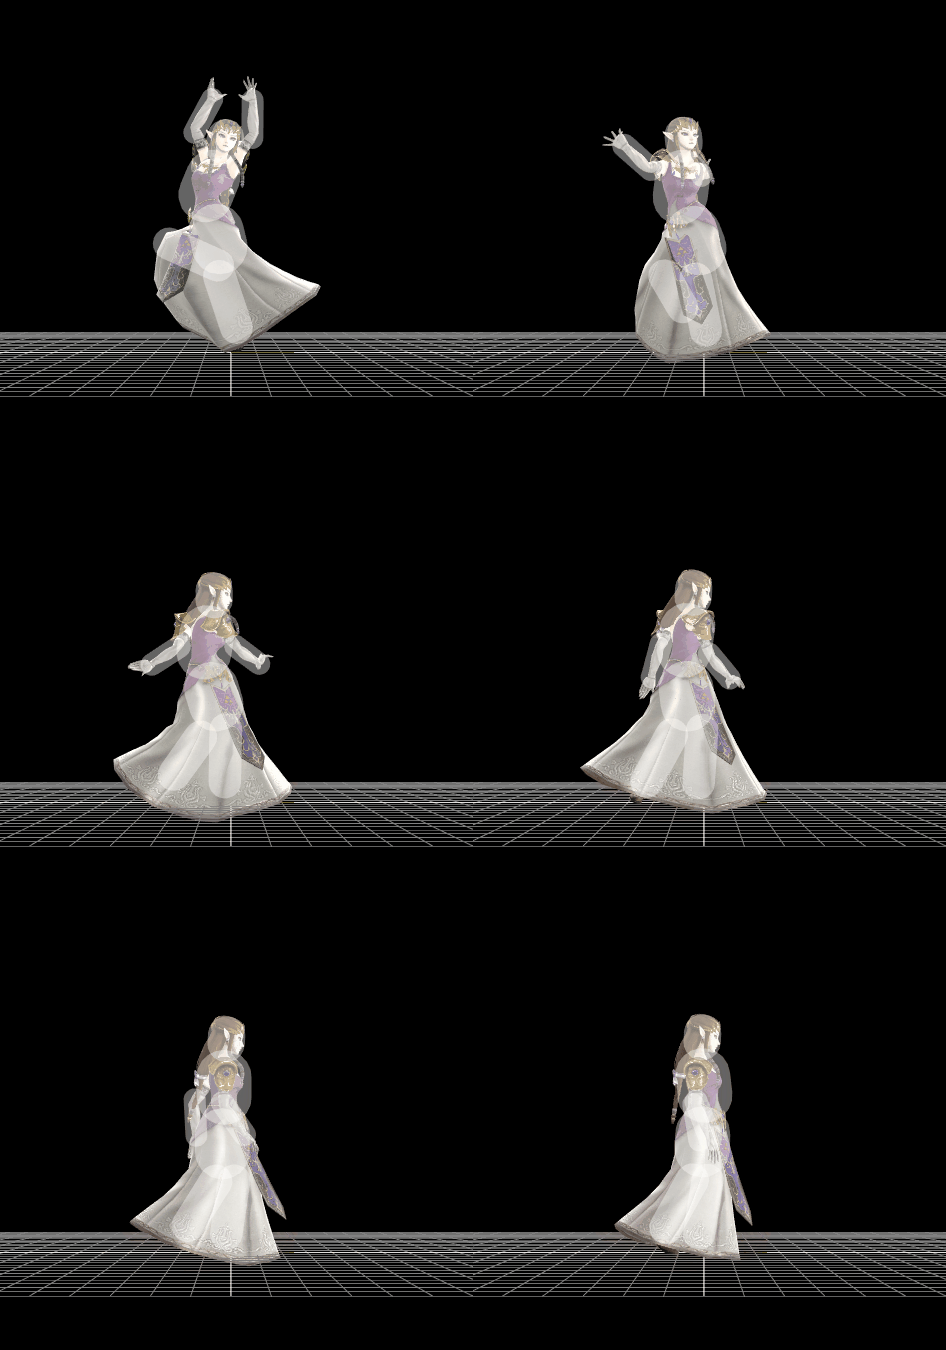
|
| Up special 1 (aerial) | Farore's Wind | 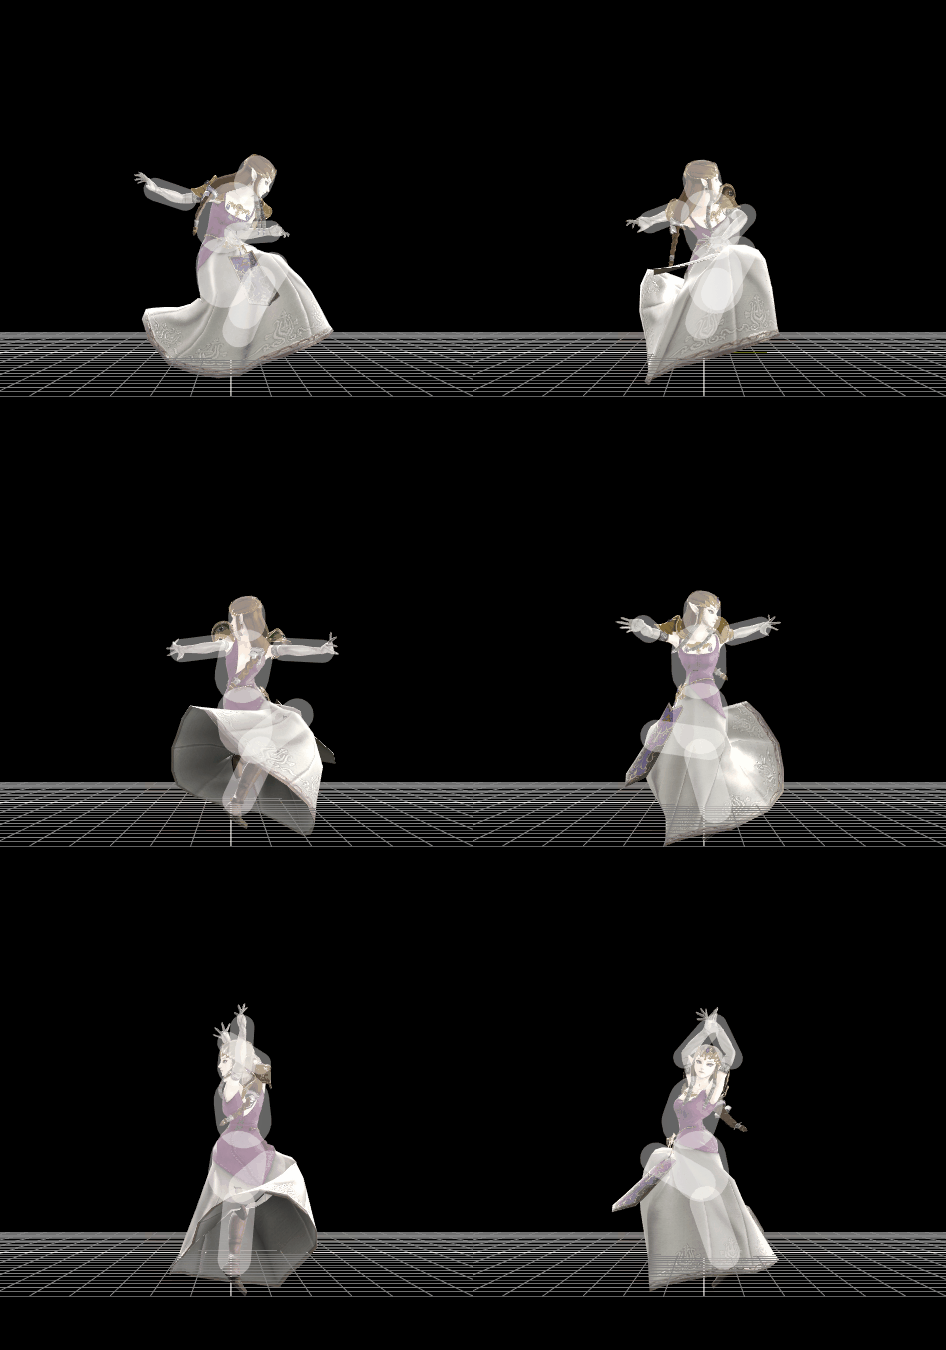
|
| Up special 2 (aerial) | Farore's Wind | 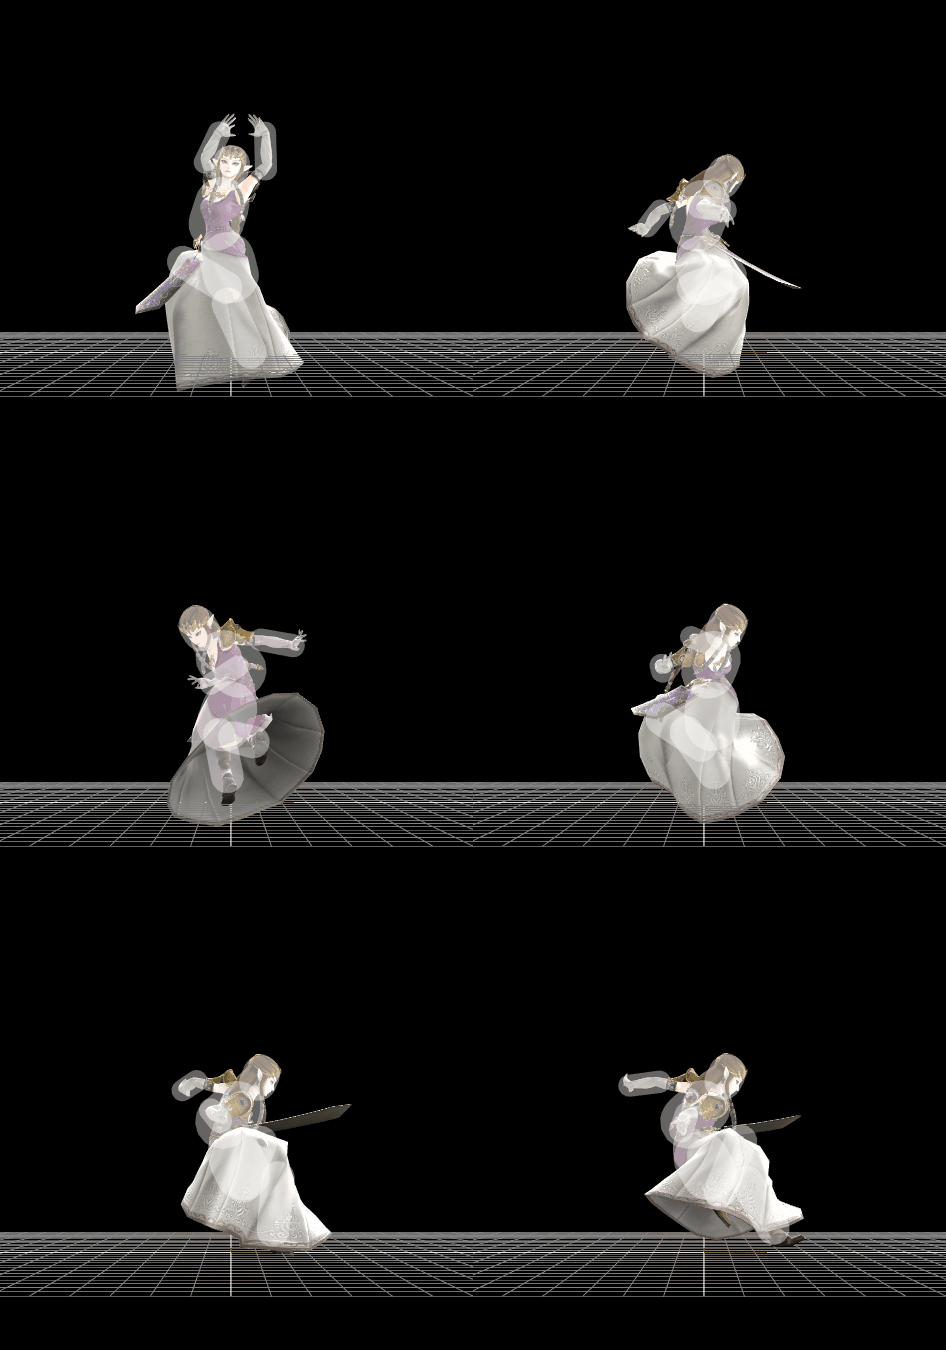
|
| Down special (no charge) | Phantom Slash | 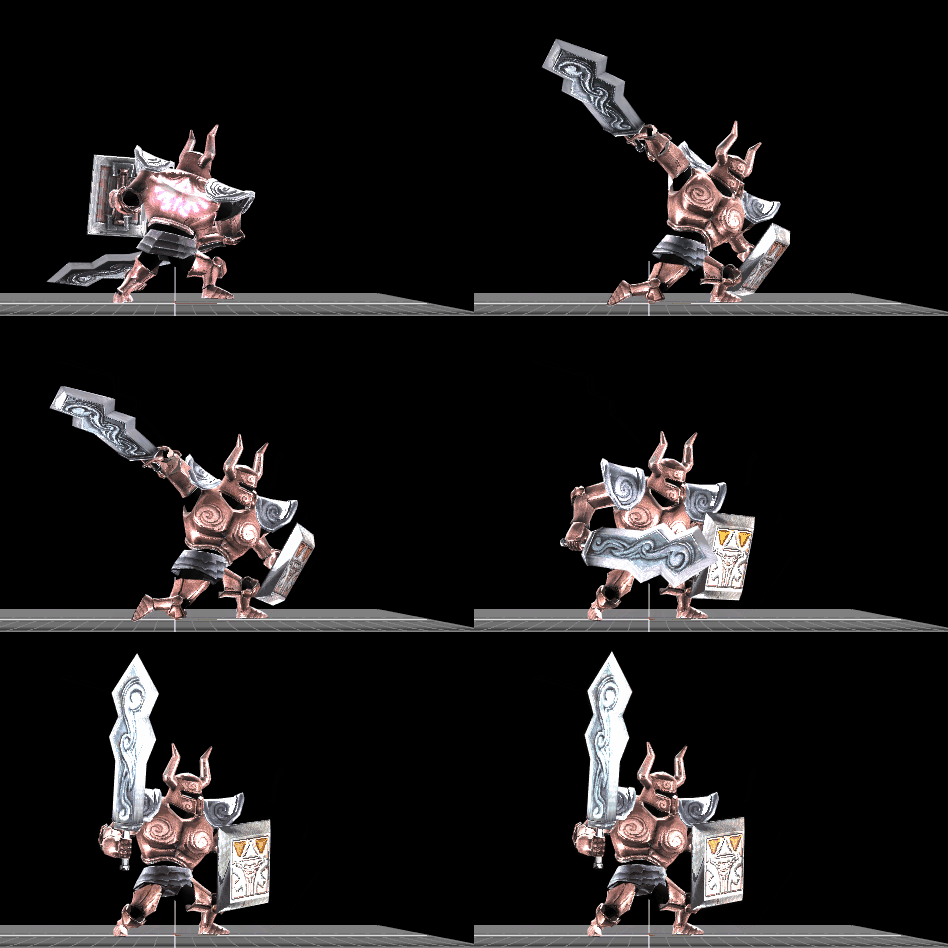
|
| Down special (mid charge) | Phantom Slash | 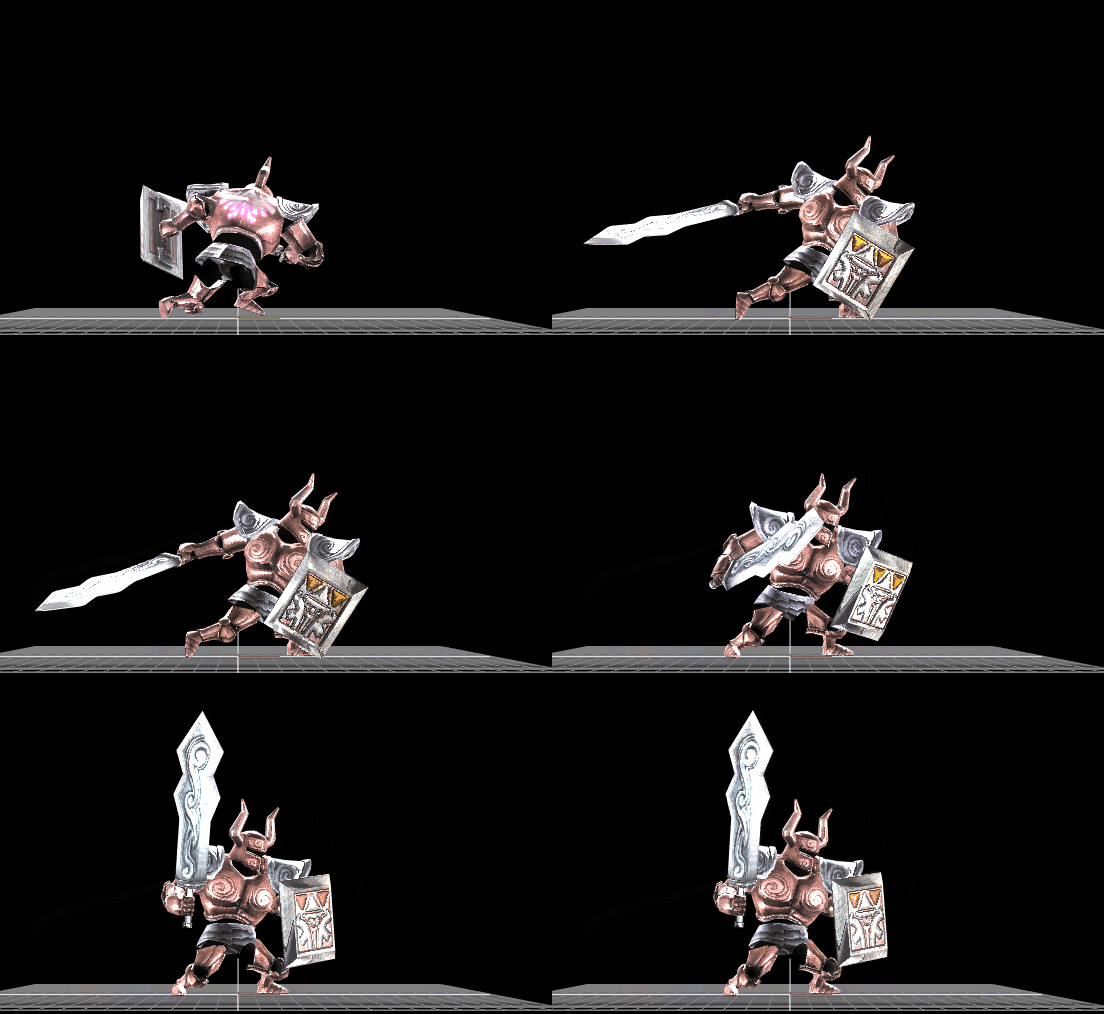
|
| Down special (full charge) | Phantom Slash | 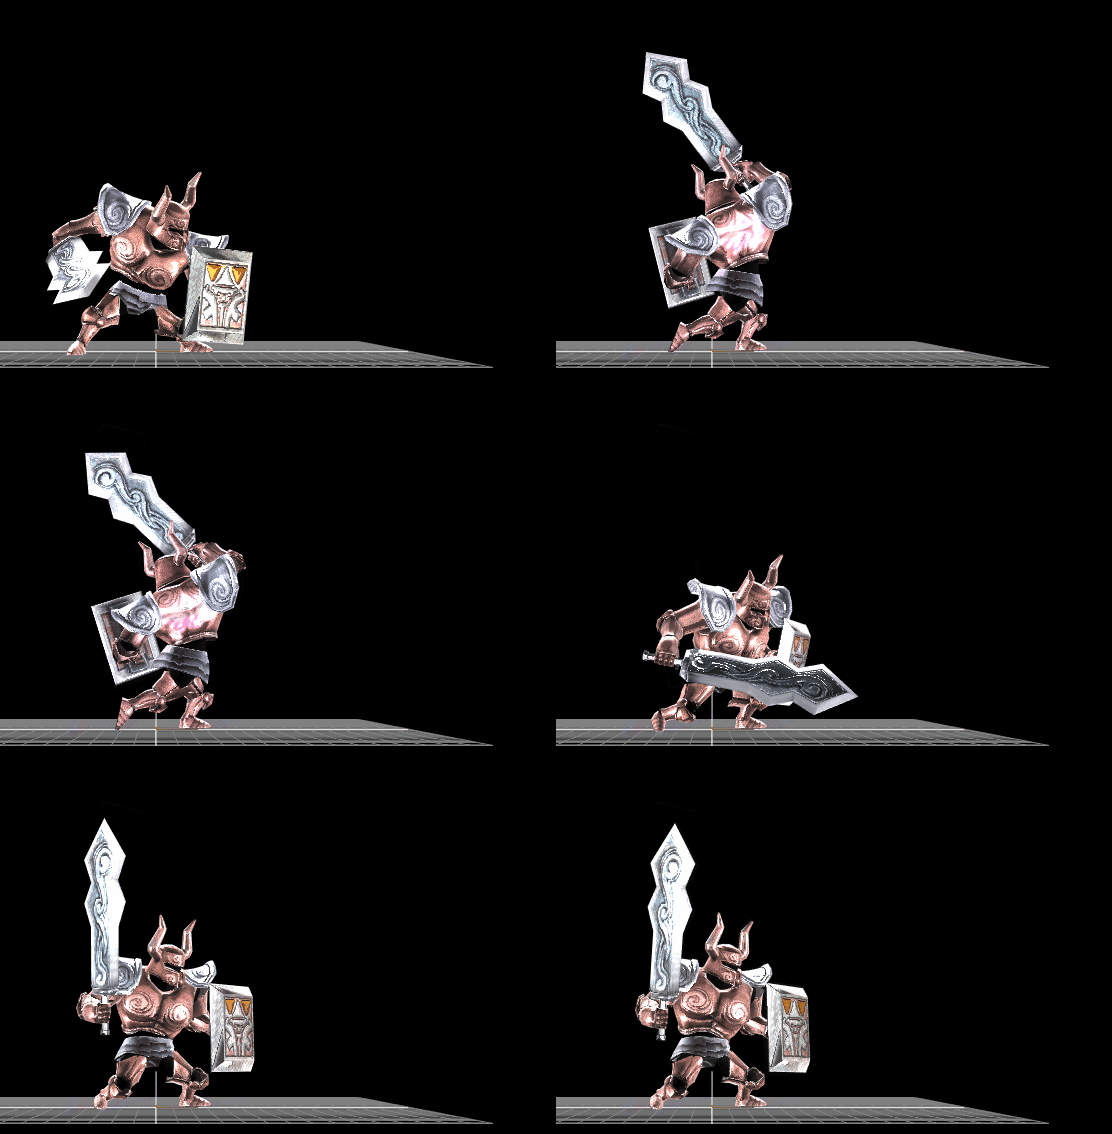
|
| Grab | 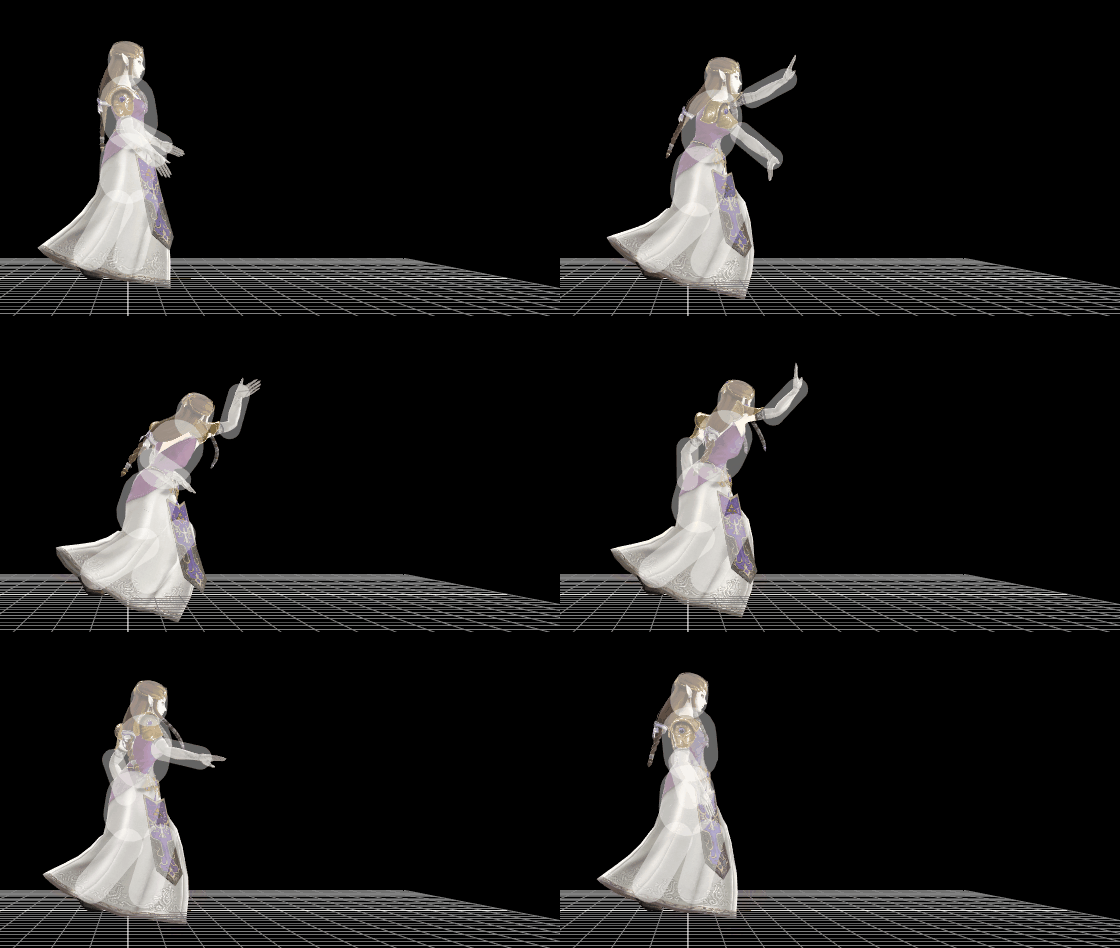
| |
| Dash grab | 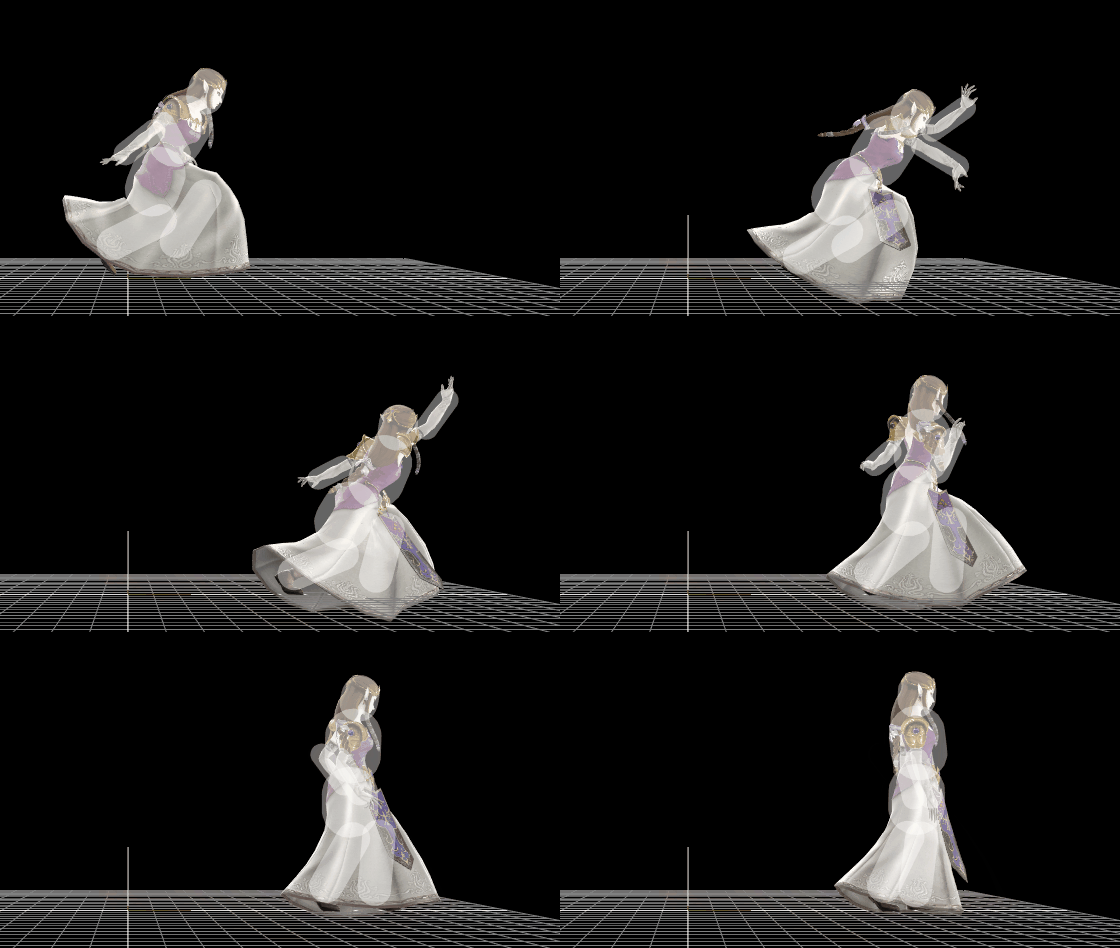
| |
| Pivot grab | 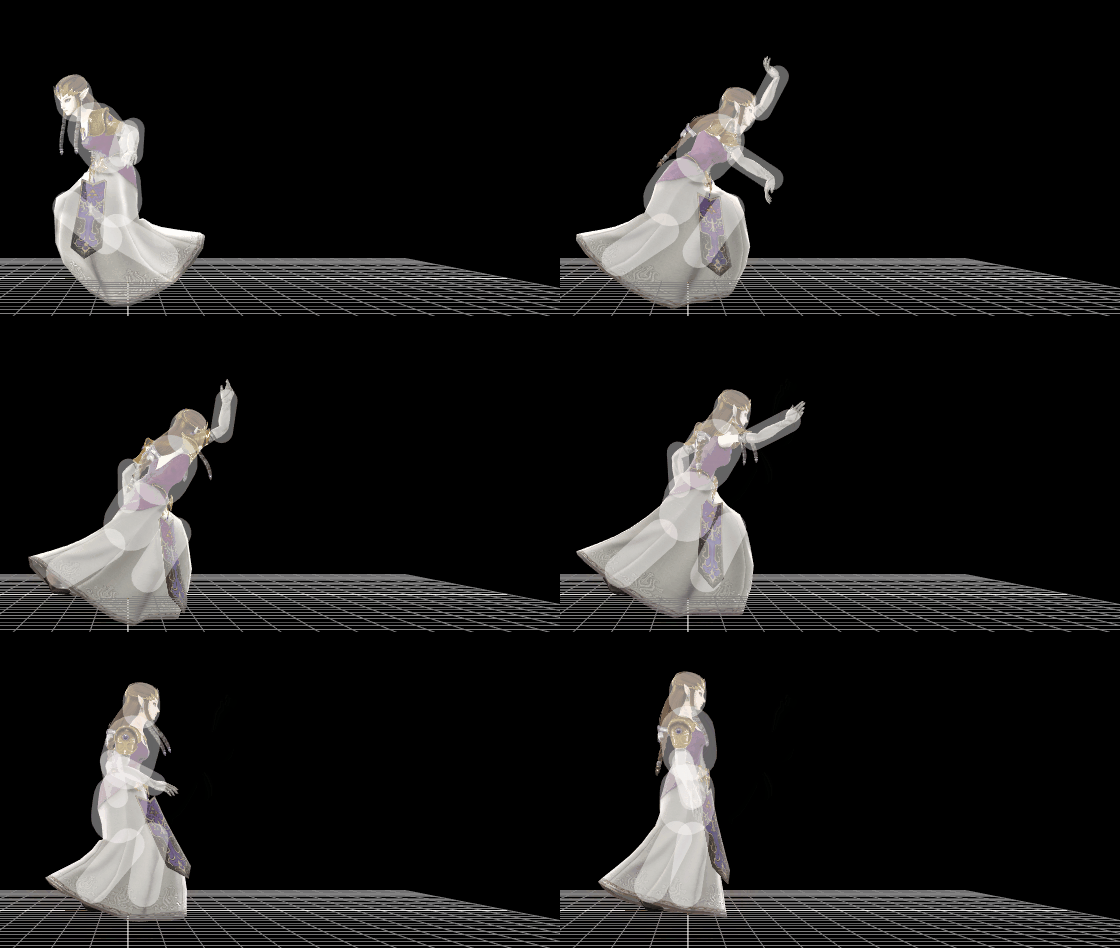
| |
| Pummel | 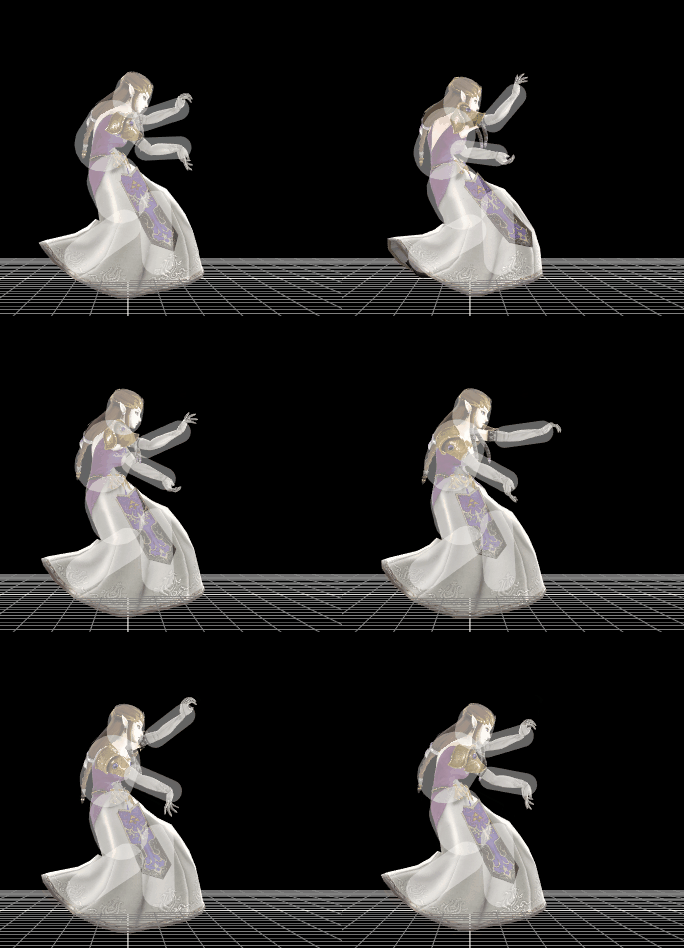
| |
| Forward throw (collateral) | 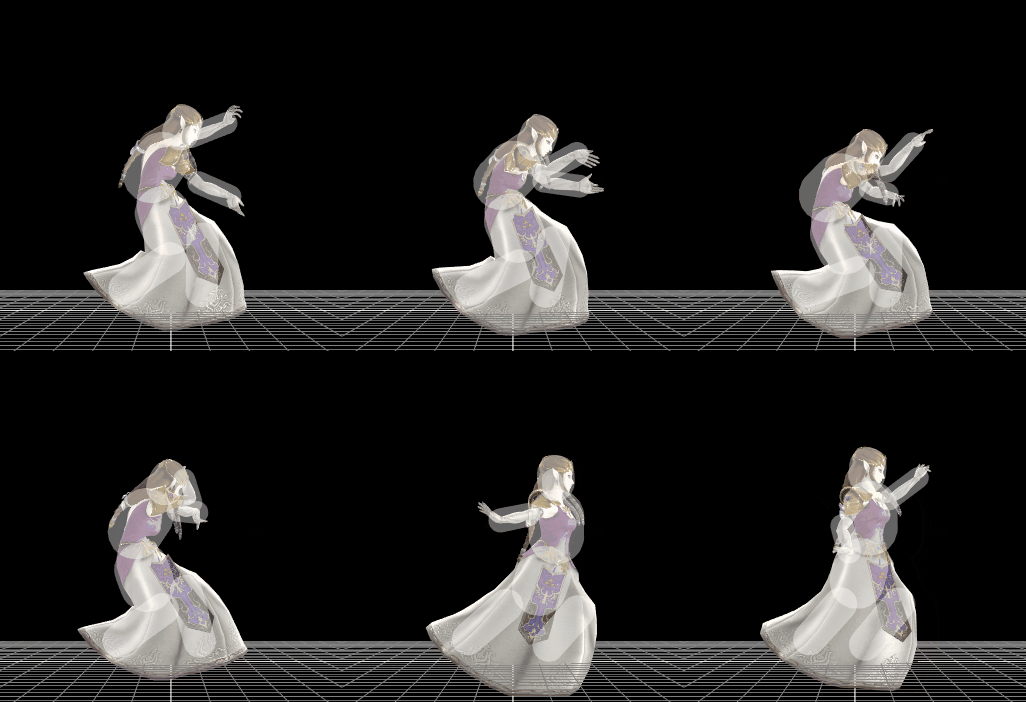
| |
| Back throw (collateral) | 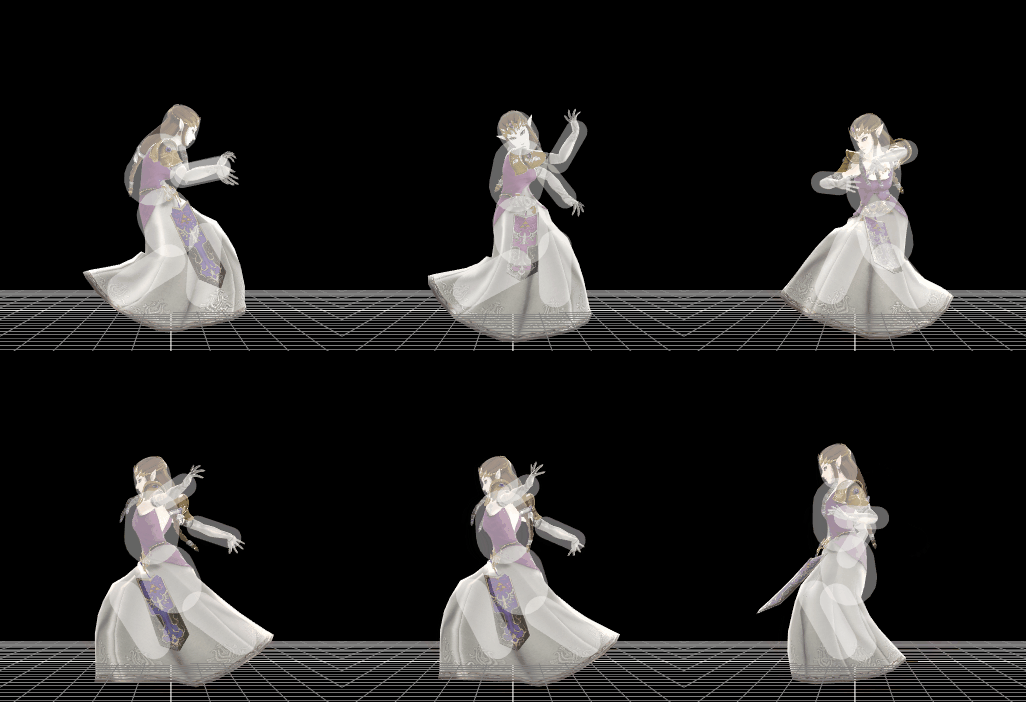
| |
| Up throw (collateral) | 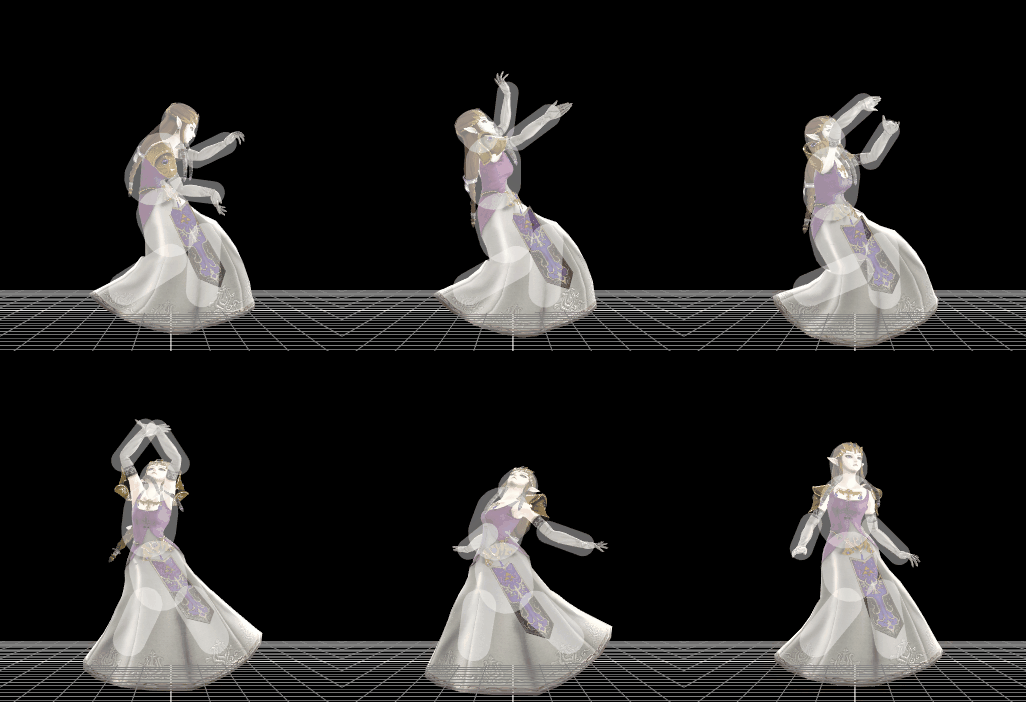
| |
| Down throw (collateral) | 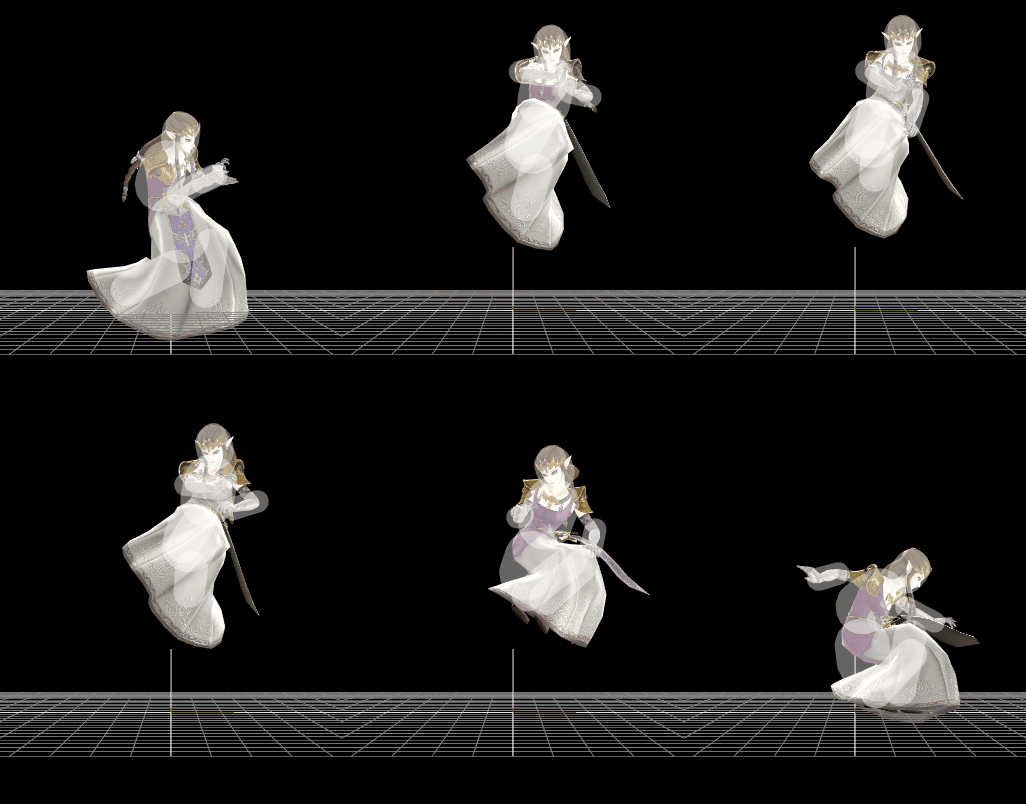
|
