OverviewEdit
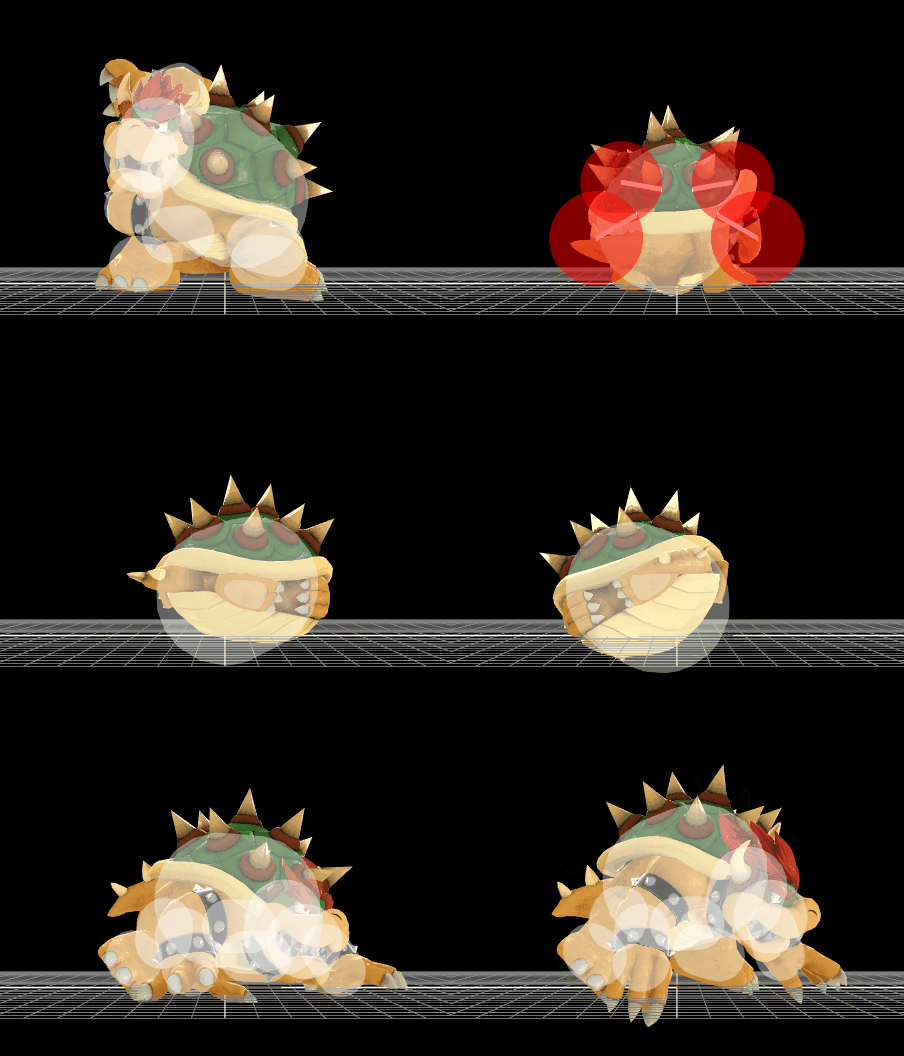
Bowser retreats into his shell and spins around, hitting opponents up to seven times with his spikes. It has decent startup (frame 10), deals 16% total damage and all hits cover both of Bowser's sides, making it useful for getting many opponents off him at a time or catching rolls. It also possesses decent power, KOing near the edge at around 95% uncharged. However, the move bears a noticeable weakness in its ending lag (40 frames), and small characters can potentially escape out of the move at high percentages with SDI due to only the first hit having set knockback. This property also makes its KO ability inconsistent, as the opponent might be dragged behind Bowser before the last hit and thus be launched in the opposite direction, and the move is significantly easier to survive in said situation, not KOing until around 140% from center stage. Moreover, Whirling Fortress is usually favored as an anti-pressure option due to coming out faster (on frame 6), being usable both out of a dash and out of shield, and allowing Bowser to move horizontally, while he has safer and more consistent finishers in his aerial attacks (especially when comboed into from an up throw) and Flying Slam. Due to this, Bowser's down smash is more of a situational move.
Update historyEdit
Bowser's down smash has only been altered in patch 1.1.0, which made the last hit's launch angle more horizontal. This change is neither a significant improvement nor a significant hindrance; it allows the move to KO earlier near edges, but makes its KO ability less consistent elsewere on the stage.
- Hit 7 angle: 60° → 48°.
HitboxesEdit
TimingEdit
| Charges between | 4-5 |
|---|---|
| Limbs intangibility | 11-47 |
| Hit 1 | 10 |
| Hits 2-6 | 14-15, 17-18, 20-21, 23-24, 26-27 |
| Hit 7 | 31 |
| Interruptible | 72 |
| Animation length | 78 |
| Hitboxes | ||||||||||||||||||||||||||||||||||||||||||||||||||||||||||||||||||||||||||||||
| Limbs |
| Lag time |
Charge interval |
Hitbox |
Vulnerable |
Intangible |
Interruptible |
|
