Welcome to SmashWiki! Log in or create an account and join the community, and don't forget to read this first!
Notices
The Skill parameter has been removed from Smasher infoboxes, and in its place are the new "Best historical ranking" and "Best tournament result" parameters. SmashWiki needs help adding these new parameters to Smasher infoboxes, refer to the guidelines here for what should be included in these new parameters.
When adding results to Smasher pages, include each tournament's entrant number in addition to the player's placement, and use the {{Trn}} template with the matching game specified. Please also fix old results on Smasher pages that do not abide to this standard. Refer to our Smasher article guidelines to see how results tables should be formatted.
Check out our project page for ongoing projects that SmashWiki needs help with.
Super Smash Bros. Brawl

Bowser (SSBB)/Hitboxes

From SmashWiki, the Super Smash Bros. wiki
Jump to navigationJump to search
Hitbox Article.png This is a hitbox repository. Hitbox Article.png
Click on any image to view full size.
Hurtboxes
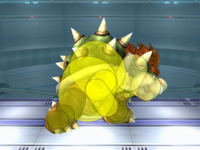
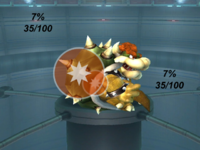
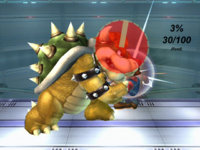
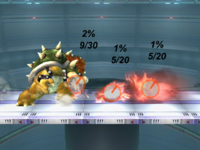
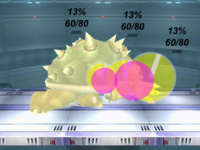
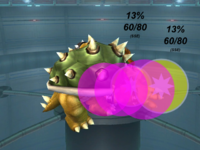
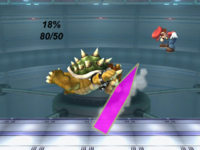
BowserSSBBHurtboxes.png
Bowser's Hitboxes
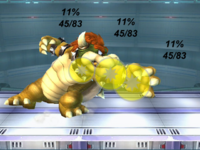
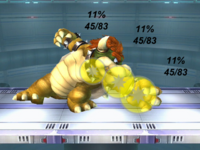
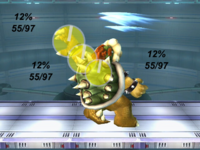
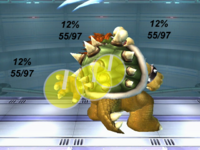
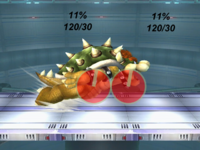
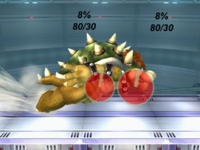
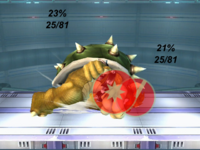
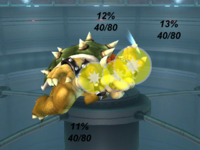
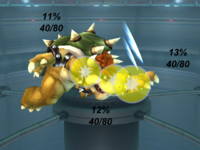
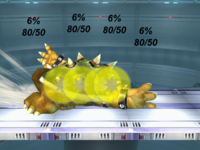
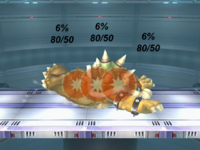
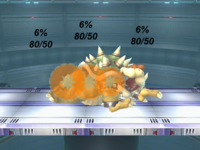
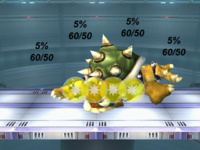
Neutral
(Double Claw)
BowserSSBBNeutral(hit1).png
Hit 1
BowserSSBBNeutral(hit2).png
Hit 2
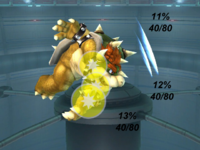
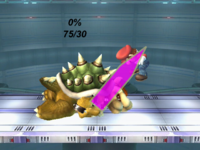
F-Tilt
(Backhand Knuckle)
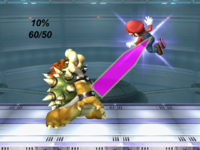
BowserSSBBFTilt(angledup).png
Angled Up
BowserSSBBFTilt(angledside).png
Angled Side
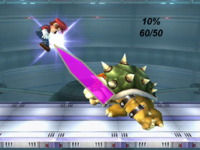
BowserSSBBFTilt(angleddown).png
Angled Down
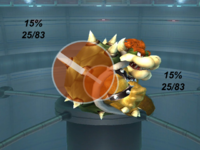
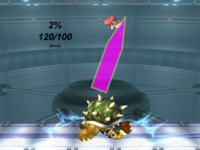
U-Tilt
(Vertical Claw)
BowserSSBBUTilt(part1).png BowserSSBBUTilt(part2).png
BowserSSBBUTilt(part3).png BowserSSBBUTilt(part4).png
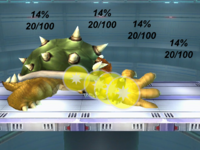
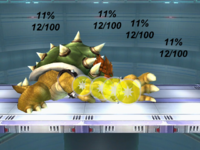
D-Tilt
(Craw Trip)
BowserSSBBDTilt(hit1).png BowserSSBBDTilt(hit2).png
Dash
(Body Slam)
BowserSSBBDash(clean).png
Clean
BowserSSBBDash(late).png
Late
U-Smash
(Shell Slam)
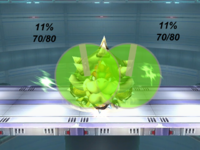
BowserSSBBUSmash(cleanstart).png
Clean (start)
BowserSSBBUSmash(cleanend).png
Clean (end)
BowserSSBBUSmash(late).png
Late
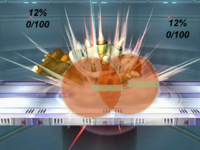
D-Smash
(Shell Blender)
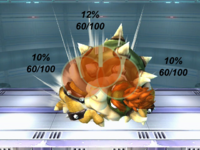
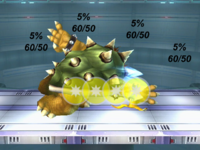
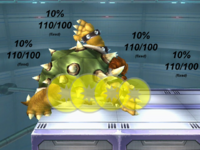
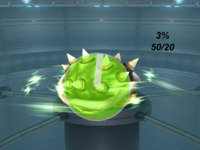
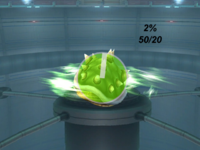
BowserSSBBDSmash(hits1-6).png
Hits 1-6
BowserSSBBDSmash(hit7).png
Hit 7
F-Smash
(Horn Lunge)
BowserSSBBFSmash(hit1).png
Hit 1
BowserSSBBFSmash(hit2).png
Hit 2
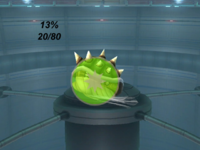
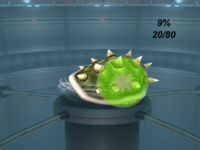
Nair
(Shell Spin)
BowserSSBBNair(clean).png
Clean
BowserSSBBNair(late).png
Late
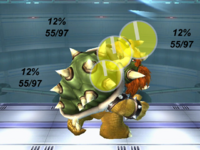
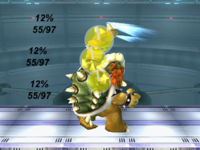
Fair
(Air Claw)
BowserSSBBFair(part1).png BowserSSBBFair(part2).png
BowserSSBBFair(part3).png BowserSSBBFair(part4).png
Bair
(Shell Bulge)
BowserSSBBBair(clean).png
Clean
BowserSSBBBair(late).png
Late
Uair
(Upper Headbutt)
BowserSSBBUair(start).png BowserSSBBUair(mid).png BowserSSBBUair(end).png
Dair
(Inverted Spin)
BowserSSBBDair(hits1-8).png
Hits 1-8
BowserSSBBDair(hit9).png
Hit 9
BowserSSBBDair(landing).png
Landing
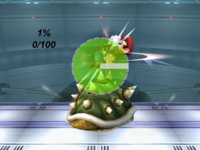
Shield BowserSSBBShield.png
Grab BowserSSBBGrab(standing).png
Standing
BowserSSBBGrab(running).png
Running
BowserSSBBGrab(pivot).png
Pivot
Pummel
(Headbutt)
BowserSSBBPummel.png
F-Throw
(Big Heave)
BowserSSBBFThrow.png
B-Throw
(Big Hurl)
BowserSSBBBThrow.png
U-Throw
(Spike Slice)
BowserSSBBUThrow(hits1-8).png
Hits 1-8
BowserSSBBUThrow(throw).png
Throw
D-Throw
(Flatten)
BowserSSBBDThrow(hit1).png
Hit 1
BowserSSBBDThrow(throw).png
Throw
Floor (back)
(Claw Spin)
BowserSSBBFloor(backhit1).png
Hit 1
BowserSSBBFloor(backhit2).png
Hit 2
Floor (front)
(Worm)
BowserSSBBFloor(fronthit1).png
Hit 1
BowserSSBBFloor(fronthit2).png
Hit 2
Floor (trip)
(Floor Spin)
BowserSSBBFloor(triphit1).png
Hit 1
BowserSSBBFloor(triphit2).png
Hit 2
Edge (<100%)
(Quick Spin)
BowserSSBBEdge(faststart).png BowserSSBBEdge(fastend).png
Edge (100%+)
(Slow Swipe)
BowserSSBBEdge(slow).png
Neutral Special
(Fire Breath)
BowserSSBBNS.png
Side Special
(Flying Slam)
BowserSSBBSS(groundgrab).png
Ground grab
BowserSSBBSS(airgrab).png
Air grab
BowserSSBBSS(throw).png
Throw
Up Special
(Whirling Fortress)
BowserSSBBUS(groundhit1).png
Hit 1 (ground)
BowserSSBBUS(groundhit2).png
Hit 2 (ground)
BowserSSBBUS(groundhit3).png
Hit 3 (ground)
BowserSSBBUS(airhit1).png
Hit 1 (air)
BowserSSBBUS(airhit2).png
Hit 2 (air)
BowserSSBBUS(airhit3).png
Hit 3 (air)
Down Special
(Bowser Bomb)
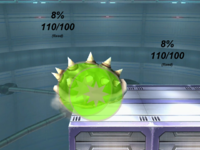
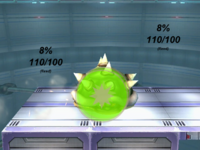
BowserSSBBDS(hop).png
Hop
BowserSSBBDS(drop).png
Drop
BowserSSBBDS(landing).png
Landing

Notes

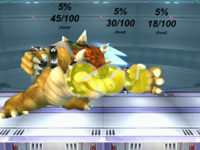
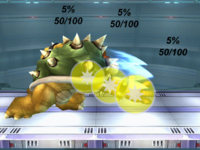
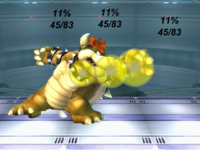
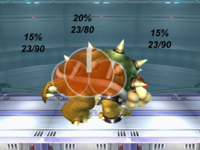
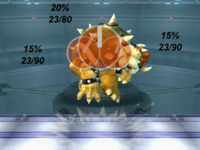
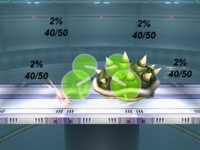
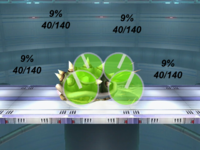
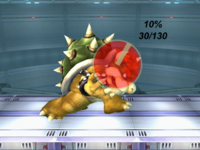
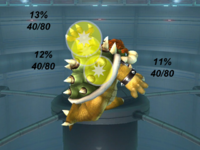
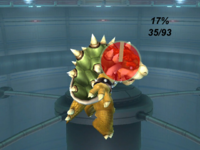
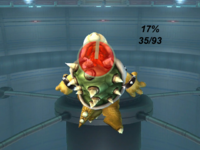
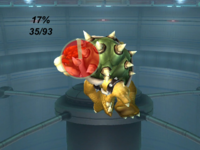
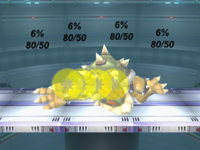
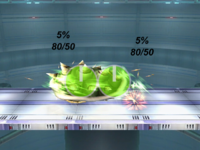
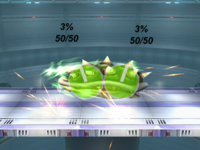
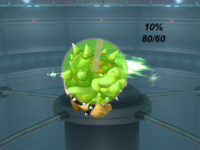
  • The angle of a hitbox is displayed as a line. Note that all angles are based on what side of the attacker the target is on - if the target is on the opposite side of the attacker, they will fly in the opposite direction (but at the same angle). Most presented angles assume the target is on the right of the attacker, unless the attack is obviously on the attacker's left.
  • A transcendent hitbox is denoted by a dashed border.
  • The colour of a hitbox is its type; the colour of its angle indicator and border is its effect.
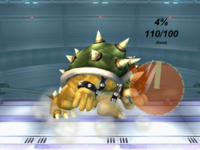
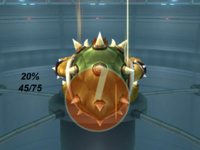
  • The numbers represent each hitbox's damage and knockback (base knockback/knockback scaling), as well as whether the knockback is fixed.