Pikachu (SSBM)/Down smash: Difference between revisions
No edit summary |
(→Overview: Hitbox image added) Tag: Mobile edit |
||
| Line 1: | Line 1: | ||
{{ArticleIcons|ssbm=y}} | {{ArticleIcons|ssbm=y}} | ||
==Overview== | ==Overview== | ||
[[File:PikachuDSmashSSBM.gif|thumb|The hitbox of Pikachu’s d-smash.]] | |||
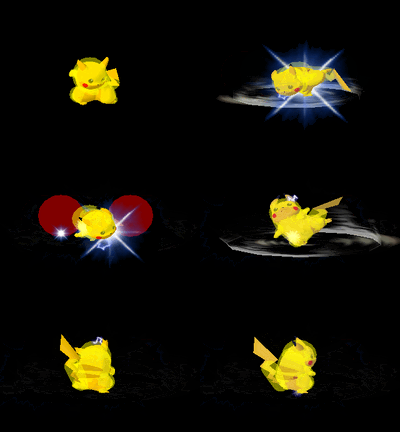
Pikachu's down-smash is similar to [[Peach (SSBM)/Down_smash|Peach's down-smash]] as both attacks have multiple hits and are very effective against characters with large hurtboxes and/or those who are very resistant to knockback, both of which traits make it really easy for all hits to connect with the opponent. Giga Bowser, having the largest hurtbox of all the characters in ''Melee'', is extremely vulnerable to Pikachu's down smash, as his heavy weight will keep him from flying away at low percentages which allows all six hits to connect and inflict heavy damage in a very short amount of time. Both metal and giant characters are also extremely vulnerable to Pikachu's down smash as their heavy weight will keep them from being knocked away by the attack at low percentages. | Pikachu's down-smash is similar to [[Peach (SSBM)/Down_smash|Peach's down-smash]] as both attacks have multiple hits and are very effective against characters with large hurtboxes and/or those who are very resistant to knockback, both of which traits make it really easy for all hits to connect with the opponent. Giga Bowser, having the largest hurtbox of all the characters in ''Melee'', is extremely vulnerable to Pikachu's down smash, as his heavy weight will keep him from flying away at low percentages which allows all six hits to connect and inflict heavy damage in a very short amount of time. Both metal and giant characters are also extremely vulnerable to Pikachu's down smash as their heavy weight will keep them from being knocked away by the attack at low percentages. | ||
Revision as of 08:18, August 24, 2024
Overview
Pikachu's down-smash is similar to Peach's down-smash as both attacks have multiple hits and are very effective against characters with large hurtboxes and/or those who are very resistant to knockback, both of which traits make it really easy for all hits to connect with the opponent. Giga Bowser, having the largest hurtbox of all the characters in Melee, is extremely vulnerable to Pikachu's down smash, as his heavy weight will keep him from flying away at low percentages which allows all six hits to connect and inflict heavy damage in a very short amount of time. Both metal and giant characters are also extremely vulnerable to Pikachu's down smash as their heavy weight will keep them from being knocked away by the attack at low percentages.
Hitboxes
Timing
| Charges between | 5-6 |
|---|---|
| Hits 1-6 | 7-8, 10-11, 13-14, 16-17, 19-20, 22-23 |
| Hit 7 | 25 |
| Interruptible | 51 |
| Animation length | 54 |
Lag time |
Charge interval |
Hitbox |
Interruptible |
