Luigi (SSBM)/Dash attack: Difference between revisions
From SmashWiki, the Super Smash Bros. wiki
Jump to navigationJump to search
m (Toning down wording) |
No edit summary |
||
| Line 2: | Line 2: | ||
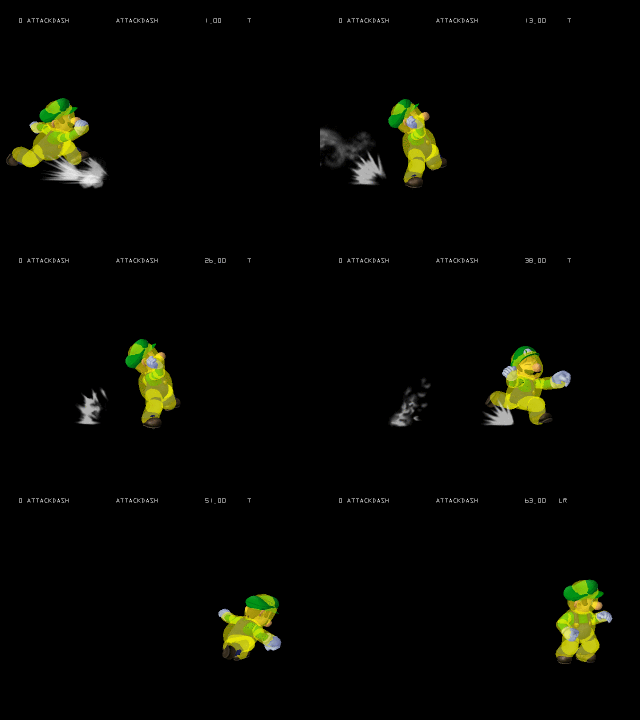
[[File:LuigiDashAttackSSBM.gif|thumb|400px|Hitbox visualization showing Luigi's dash attack.]] | [[File:LuigiDashAttackSSBM.gif|thumb|400px|Hitbox visualization showing Luigi's dash attack.]] | ||
==Overview== | ==Overview== | ||
Luigi dashes forward while throwing several weak punches. While the move is fast and slightly disjointed, its damage output is only decent if all the hits connect. The extremely high end lag and low hitstun makes the move extremely unsafe on hit, allowing Luigi to be easily punished or grabbed. This leaves the move with practically no usage in serious settings. | Luigi dashes forward while throwing several weak punches. While the move is fast and slightly disjointed, its damage output is only decent if all the hits connect. The extremely high end lag and low hitstun makes the move extremely unsafe on hit, allowing Luigi to be easily punished or grabbed. This leaves the move with practically no usage in serious settings. One reason this move is bad is because its final hit is just missing. This was later fixed in Brawl, which also changed the weak punches to have set knockback so it could connect into the final hit more easily. | ||
==Hitboxes== | ==Hitboxes== | ||
Revision as of 15:59, May 10, 2023
Overview
Luigi dashes forward while throwing several weak punches. While the move is fast and slightly disjointed, its damage output is only decent if all the hits connect. The extremely high end lag and low hitstun makes the move extremely unsafe on hit, allowing Luigi to be easily punished or grabbed. This leaves the move with practically no usage in serious settings. One reason this move is bad is because its final hit is just missing. This was later fixed in Brawl, which also changed the weak punches to have set knockback so it could connect into the final hit more easily.
Hitboxes
| ID | Part | Damage | SD | Angle | BK | KS | FKV | Radius | Bone | Offset | Clang | Rebound | Effect | G | A | Sound | ||
|---|---|---|---|---|---|---|---|---|---|---|---|---|---|---|---|---|---|---|
| Hits 1-6 | ||||||||||||||||||
| 0 | 0 | 2% | 0 | 2 | 100 | 0 | 3.906 | 0 | 0.0 | 7.812 | 7.812 | |||||||
| 1 | 0 | 2% | 0 | 2 | 100 | 0 | 3.1248 | 5 | 0.0 | 0.0 | 0.0 | |||||||
Timing
| Hitboxes | 4, 10, 16, 22, 29, 37 |
|---|---|
| Interruptible | 59 |
| Animation length | 63 |
Lag time |
Hitbox |
Interruptible |
|
