Roy (SSBU)/Hitboxes: Difference between revisions
From SmashWiki, the Super Smash Bros. wiki
Jump to navigationJump to search
m (Text replacement - "}} {|class="wikitable sortable"" to "}} ==Hitboxes== {|class="wikitable sortable"") |
|||
| Line 11: | Line 11: | ||
|Forward tilt || Sharp Edge || [[File:RoyFTiltSSBU.gif|500px]] | |Forward tilt || Sharp Edge || [[File:RoyFTiltSSBU.gif|500px]] | ||
|- | |- | ||
|Up tilt || || [[File:RoyUTiltSSBU.gif|500px]] | |Up tilt || Anti-air Slash || [[File:RoyUTiltSSBU.gif|500px]] | ||
|- | |- | ||
|Down tilt|| Low Stab || [[File:RoyDTiltSSBU.gif|500px]] | |Down tilt|| Low Stab || [[File:RoyDTiltSSBU.gif|500px]] | ||
|- | |- | ||
|Dash attack|| | |Dash attack|| Raid Down || [[File:RoyDashAttackSSBU.gif|500px]] | ||
|- | |- | ||
|Forward smash|| || [[File:RoyFSmashSSBU.gif|500px]] | |Forward smash|| Power Slash || [[File:RoyFSmashSSBU.gif|500px]] | ||
|- | |- | ||
|Up smash || Flame Sword || [[File:RoyUSmashSSBU.gif|500px]] | |Up smash || Flame Sword || [[File:RoyUSmashSSBU.gif|500px]] | ||
|- | |- | ||
|Down smash || || [[File:RoyDSmashSSBU.gif|500px]] | |Down smash || Whirl Wind|| [[File:RoyDSmashSSBU.gif|500px]] | ||
|- | |- | ||
|Neutral aerial || Double Slash || [[File:RoyNAirSSBU.gif|500px]] | |Neutral aerial || Double Slash || [[File:RoyNAirSSBU.gif|500px]] | ||
|- | |- | ||
|Forward aerial|| | |Forward aerial|| Flag Cut || [[File:RoyFAirSSBU.gif|500px]] | ||
|- | |- | ||
|Back aerial|| | |Back aerial|| About Face || [[File:RoyBAirSSBU.gif|500px]] | ||
|- | |- | ||
|Up aerial || || [[File:RoyUAirSSBU.gif|500px]] | |Up aerial || Luna Slash|| [[File:RoyUAirSSBU.gif|500px]] | ||
|- | |- | ||
|Down aerial || Half Moon || [[File:RoyDAirSSBU.gif|500px]] | |Down aerial || Half Moon || [[File:RoyDAirSSBU.gif|500px]] | ||
| Line 69: | Line 69: | ||
|Pivot grab || || [[File:RoyPivotGrabSSBU.gif|500px]] | |Pivot grab || || [[File:RoyPivotGrabSSBU.gif|500px]] | ||
|- | |- | ||
|Pummel || || [[File:RoyPummelSSBU.gif|500px]] | |Pummel || Grab Kneebutt || [[File:RoyPummelSSBU.gif|500px]] | ||
|- | |- | ||
|Forward throw || || [[File:RoyFThrowSSBU.gif|500px]] | |Forward throw || Elbowbutt || [[File:RoyFThrowSSBU.gif|500px]] | ||
|- | |- | ||
|Back throw || || [[File:RoyBThrowSSBU.gif|500px]] | |Back throw || Leg Hooker || [[File:RoyBThrowSSBU.gif|500px]] | ||
|- | |- | ||
|Up throw || || [[File:RoyUThrowSSBU.gif|500px]] | |Up throw || Casting || [[File:RoyUThrowSSBU.gif|500px]] | ||
|- | |- | ||
|Down throw || Slam || [[File:RoyDThrowSSBU.gif|500px]] | |Down throw || Slam || [[File:RoyDThrowSSBU.gif|500px]] | ||
Revision as of 01:17, October 3, 2022
Hitboxes
| Move | Name | Hitbox |
|---|---|---|
| Neutral attack | Slash | 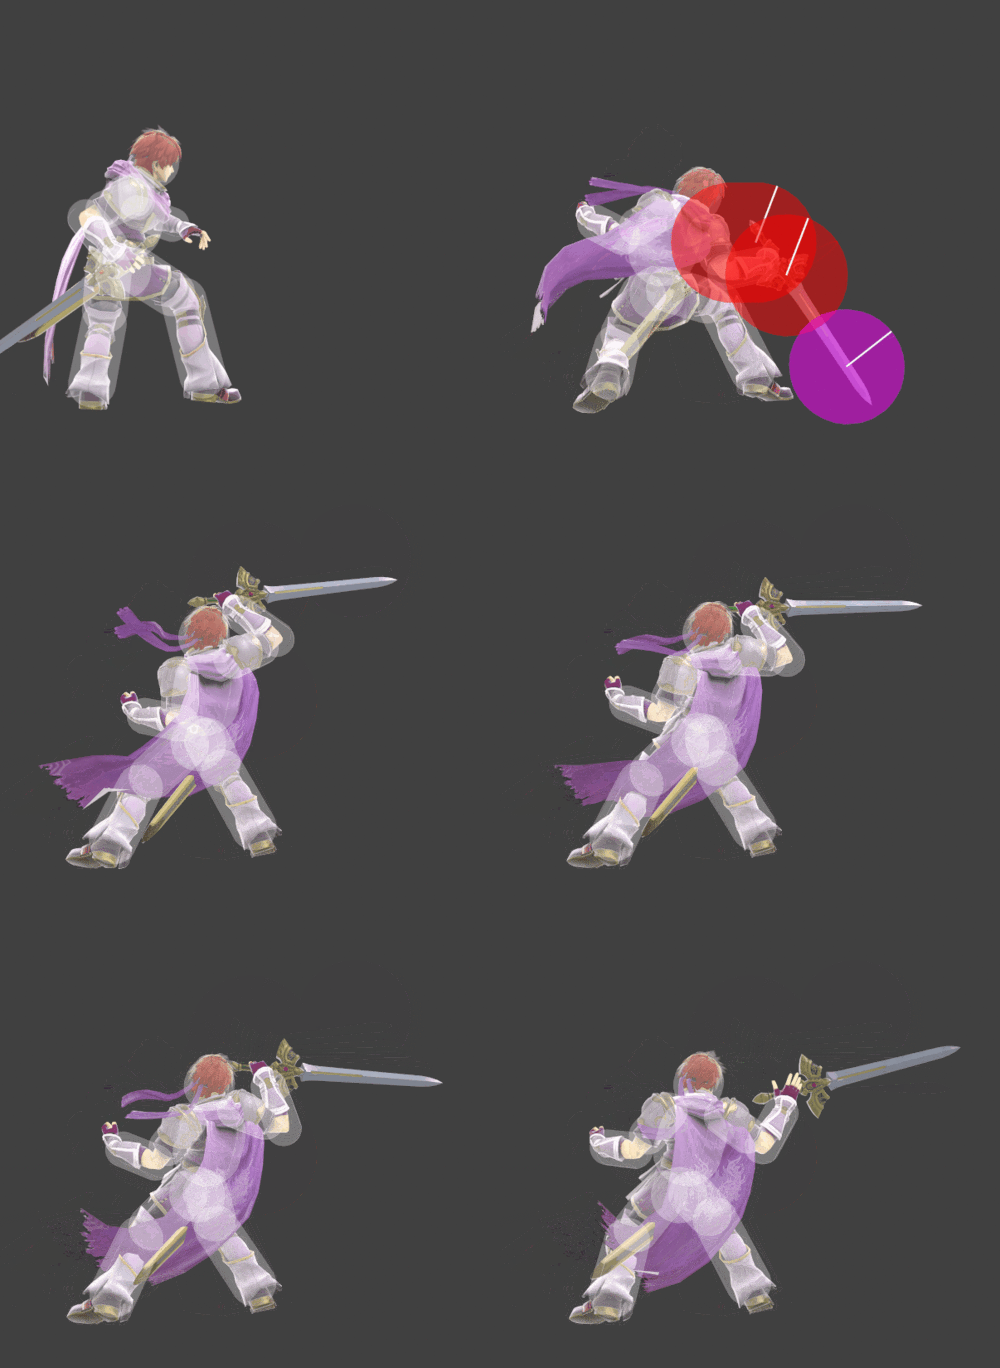
|
| Forward tilt | Sharp Edge | 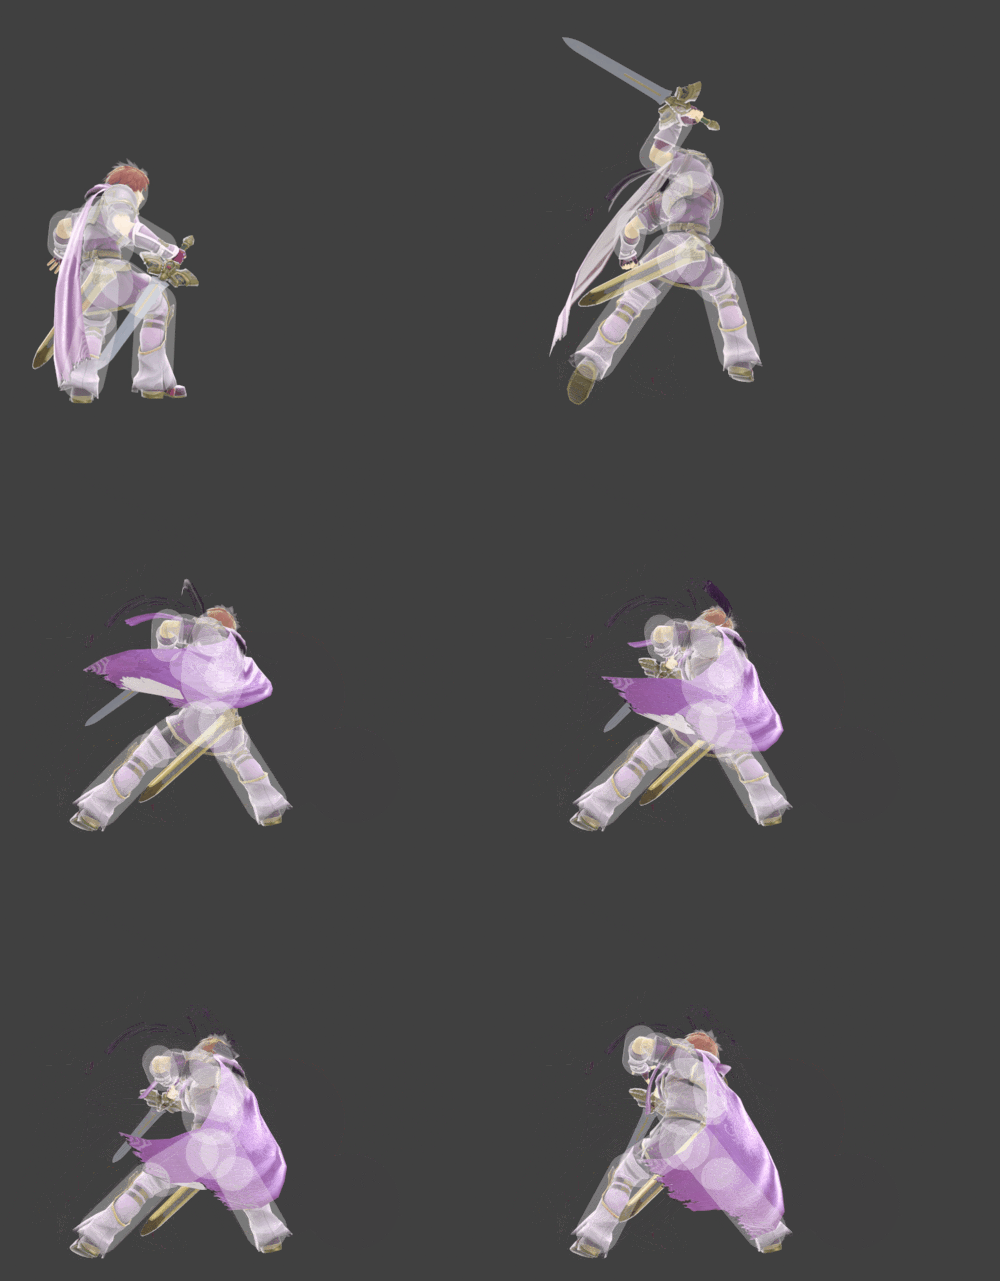
|
| Up tilt | Anti-air Slash | 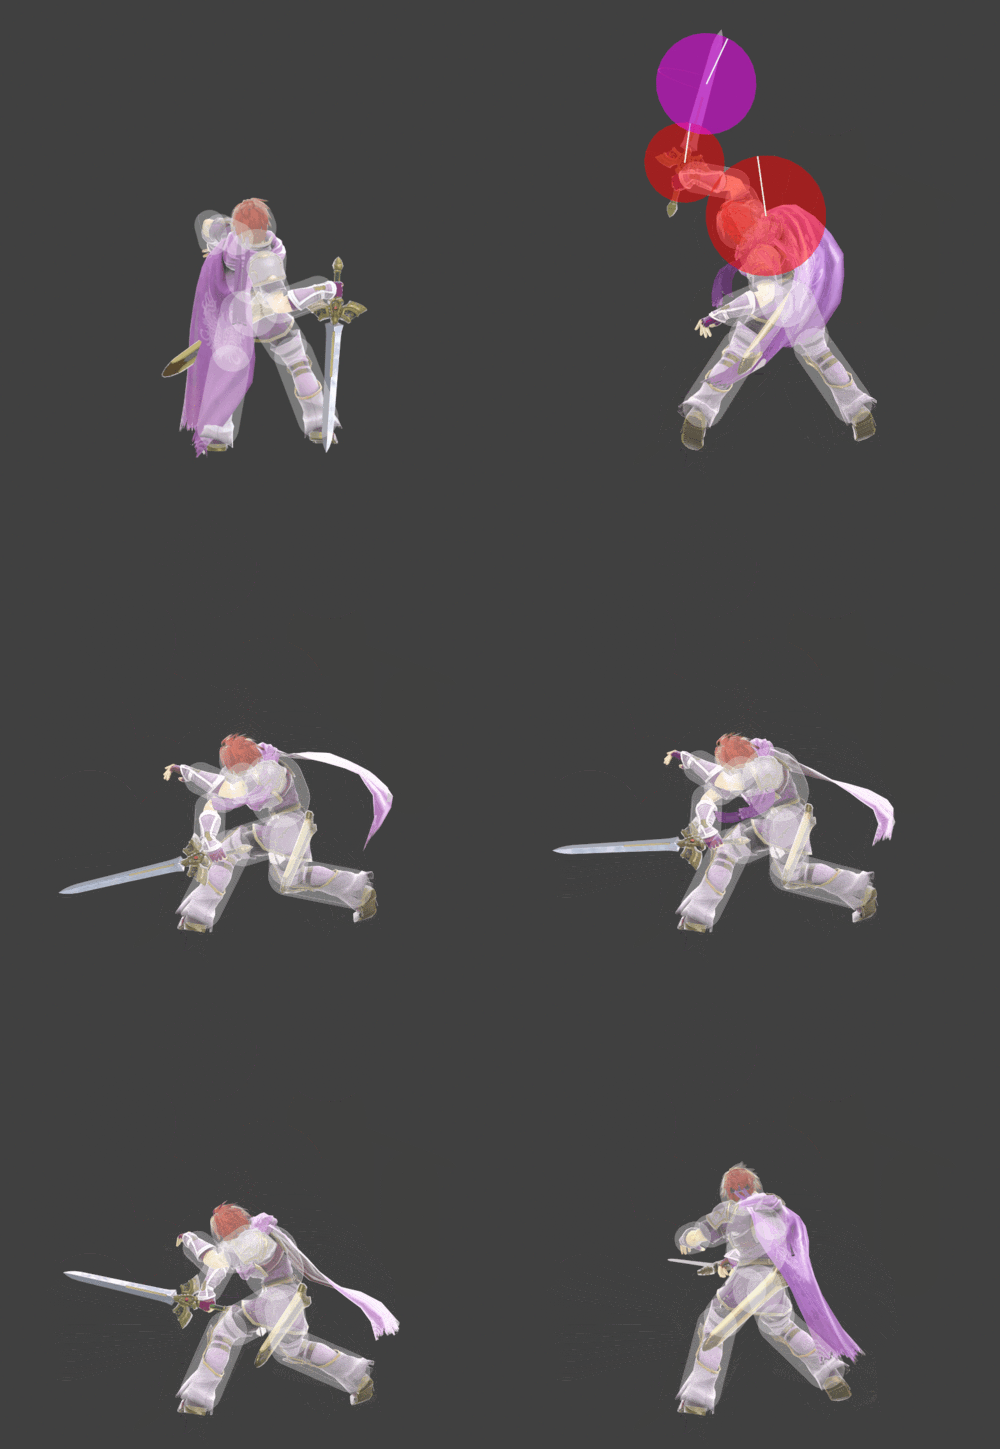
|
| Down tilt | Low Stab | 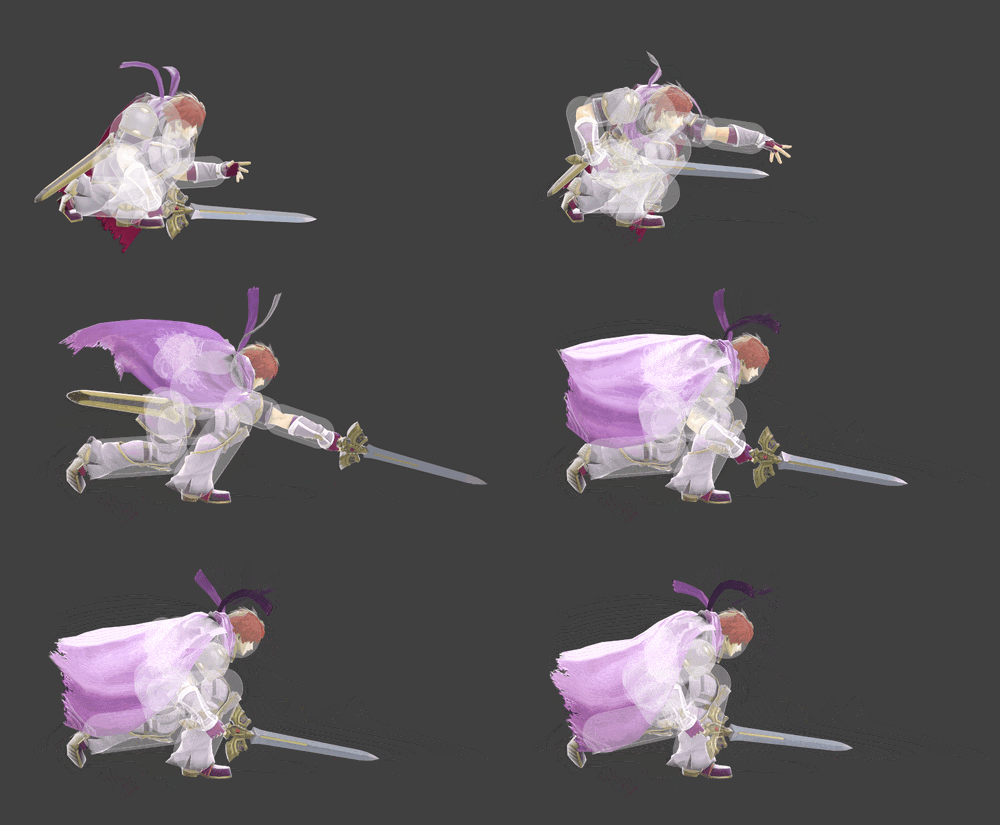
|
| Dash attack | Raid Down | 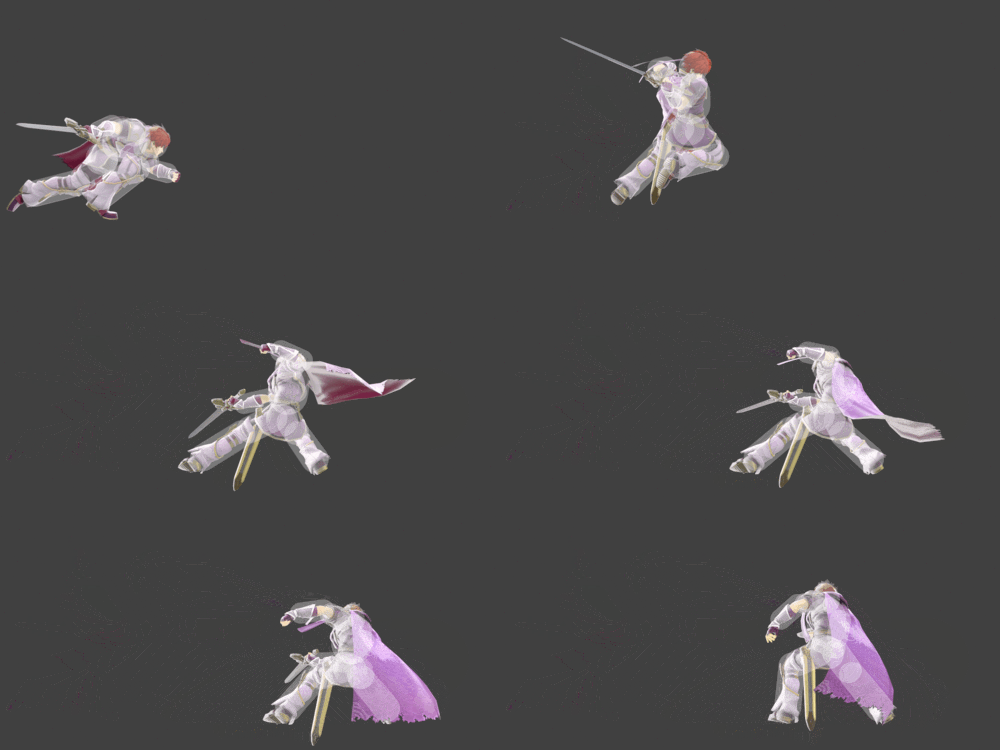
|
| Forward smash | Power Slash | 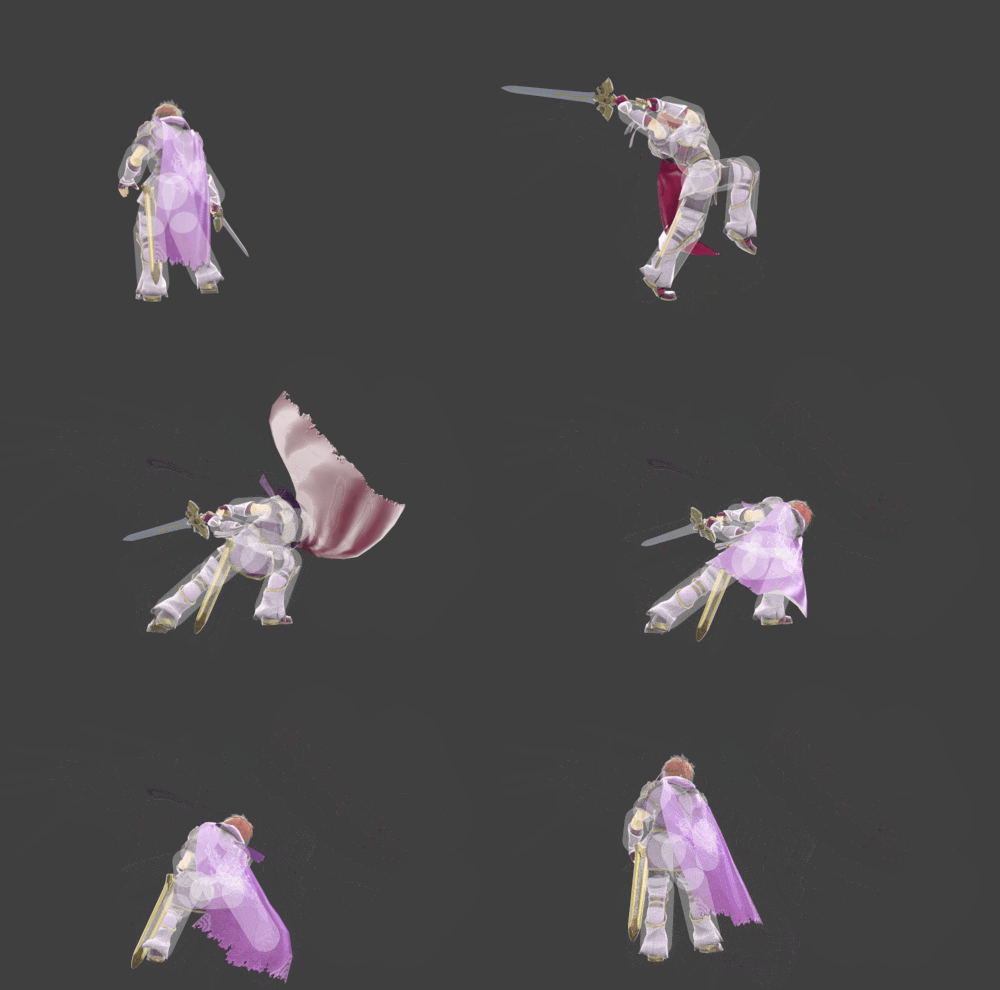
|
| Up smash | Flame Sword | 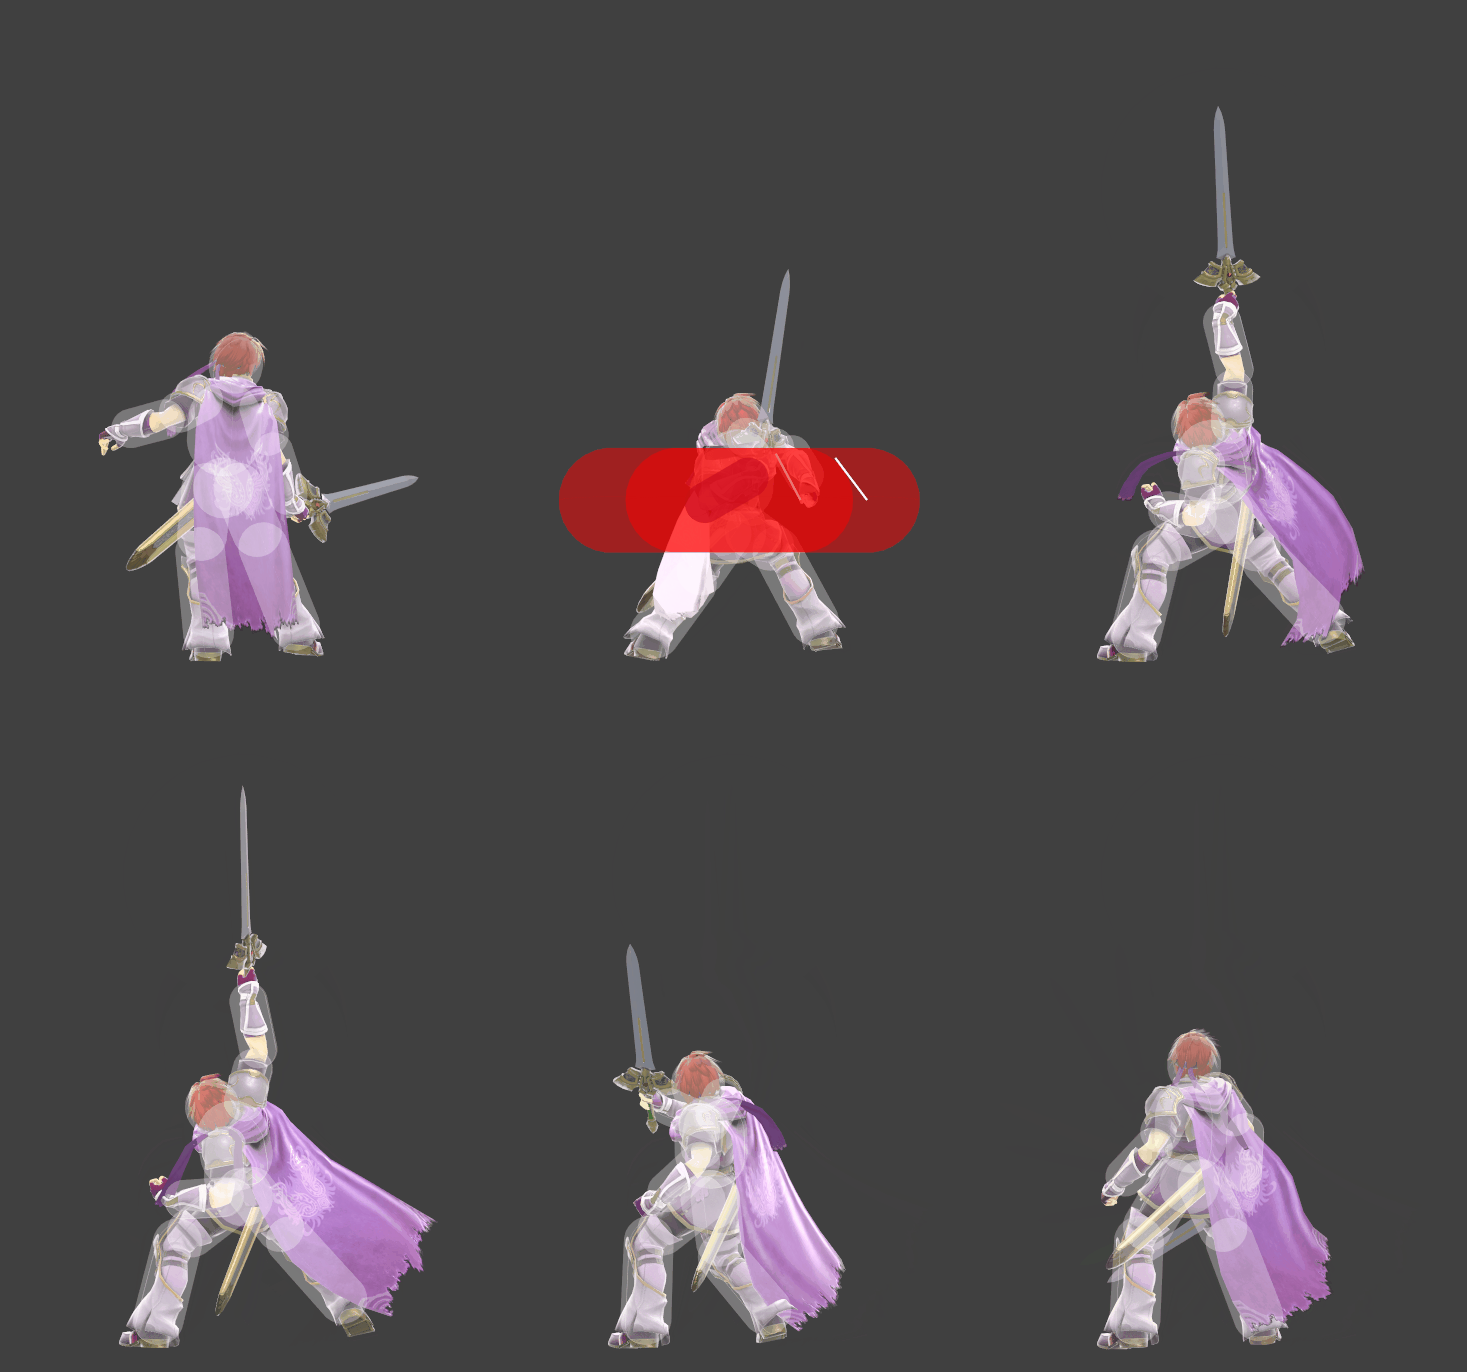
|
| Down smash | Whirl Wind | 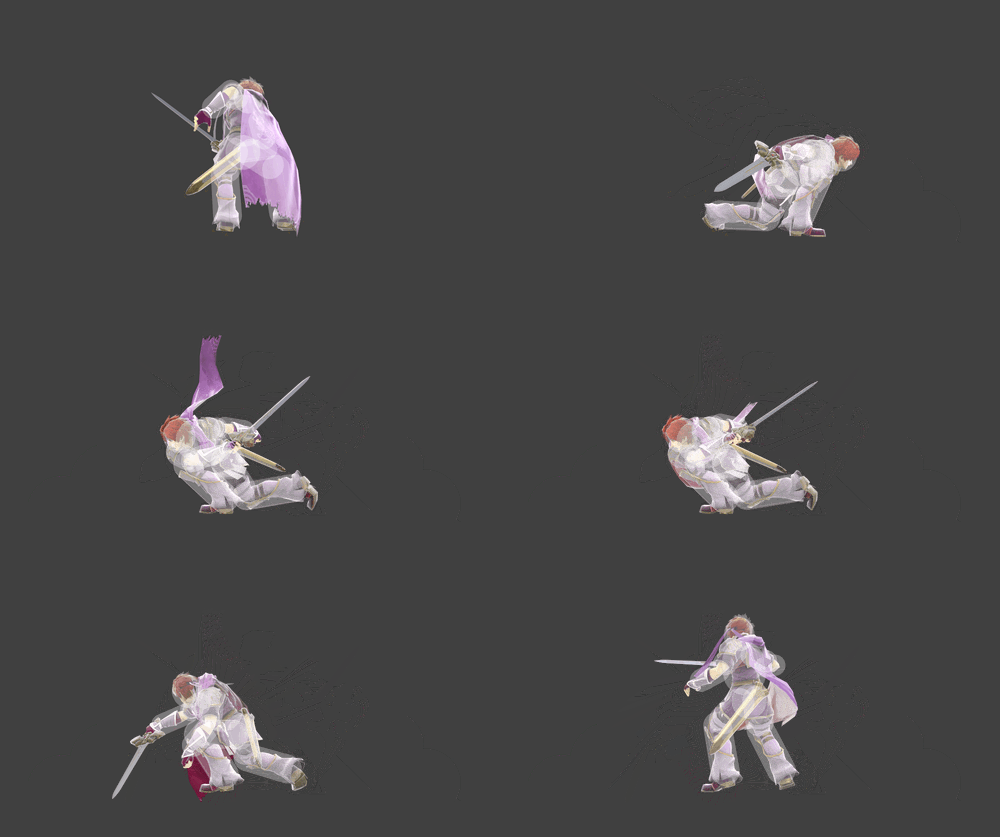
|
| Neutral aerial | Double Slash | 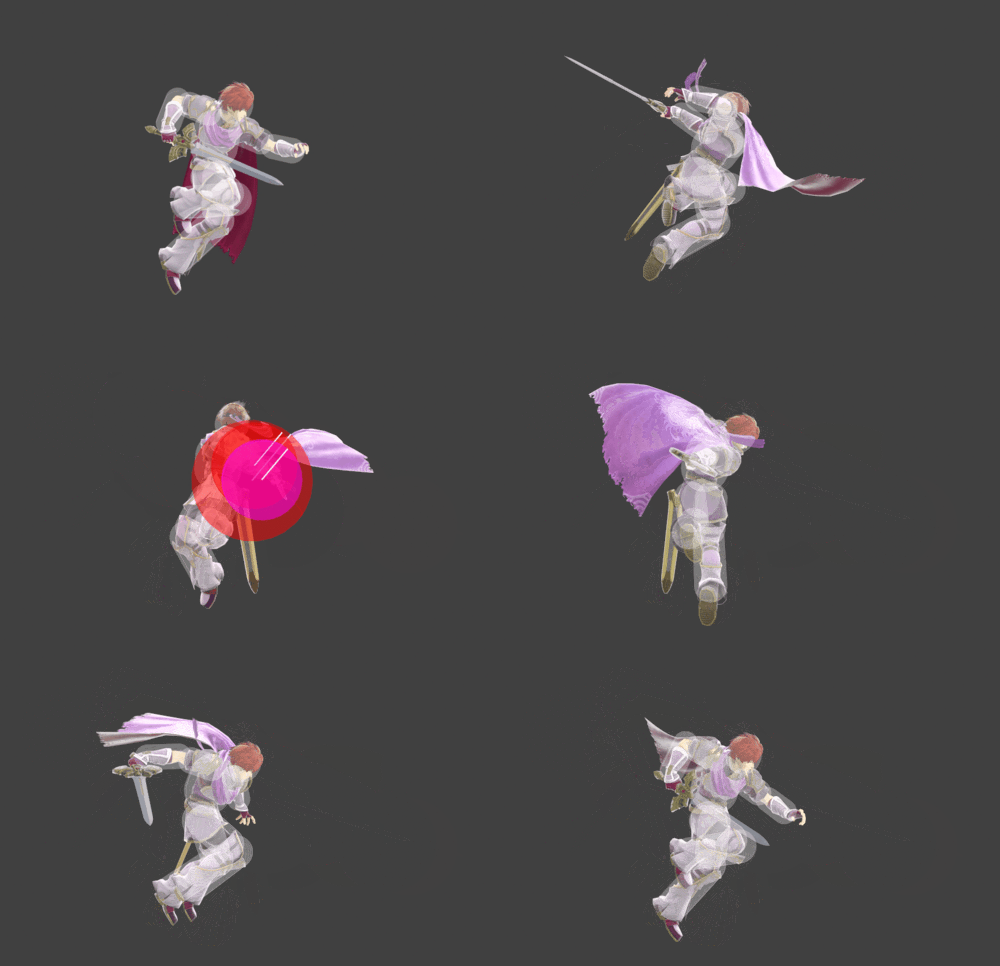
|
| Forward aerial | Flag Cut | 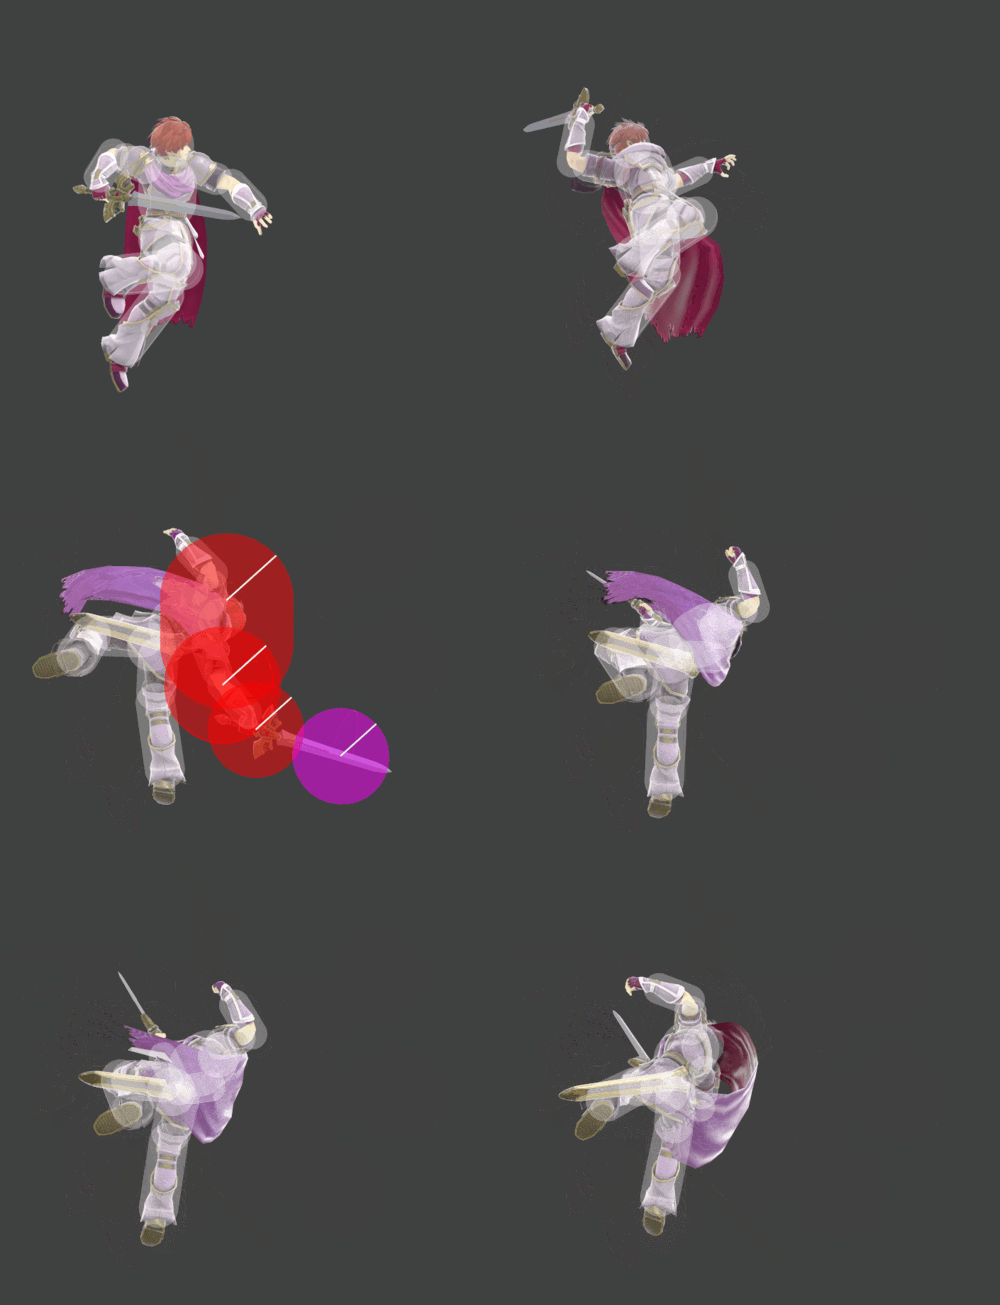
|
| Back aerial | About Face | 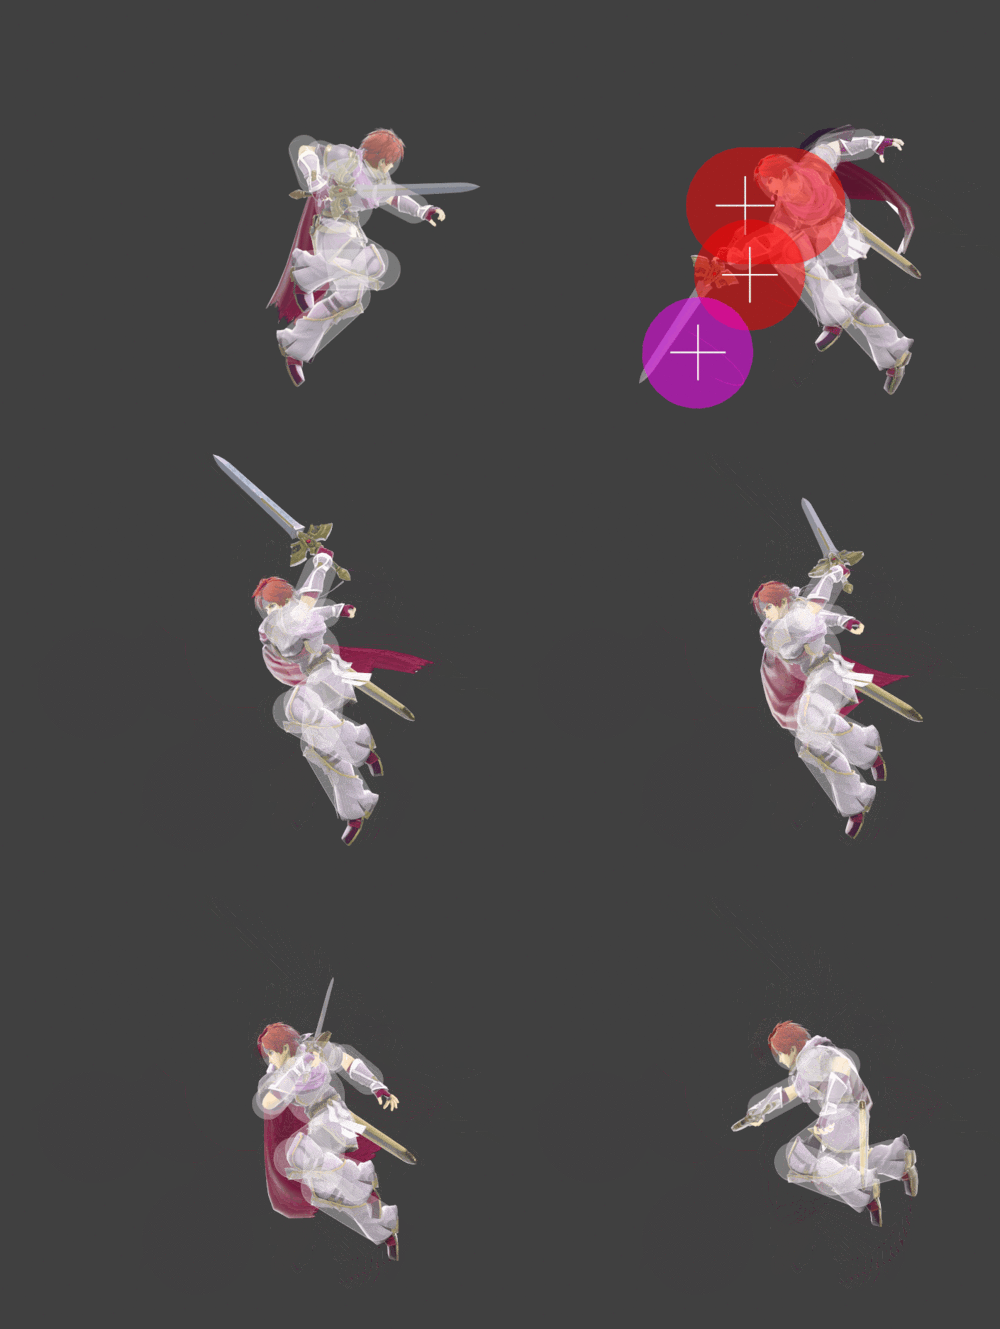
|
| Up aerial | Luna Slash | 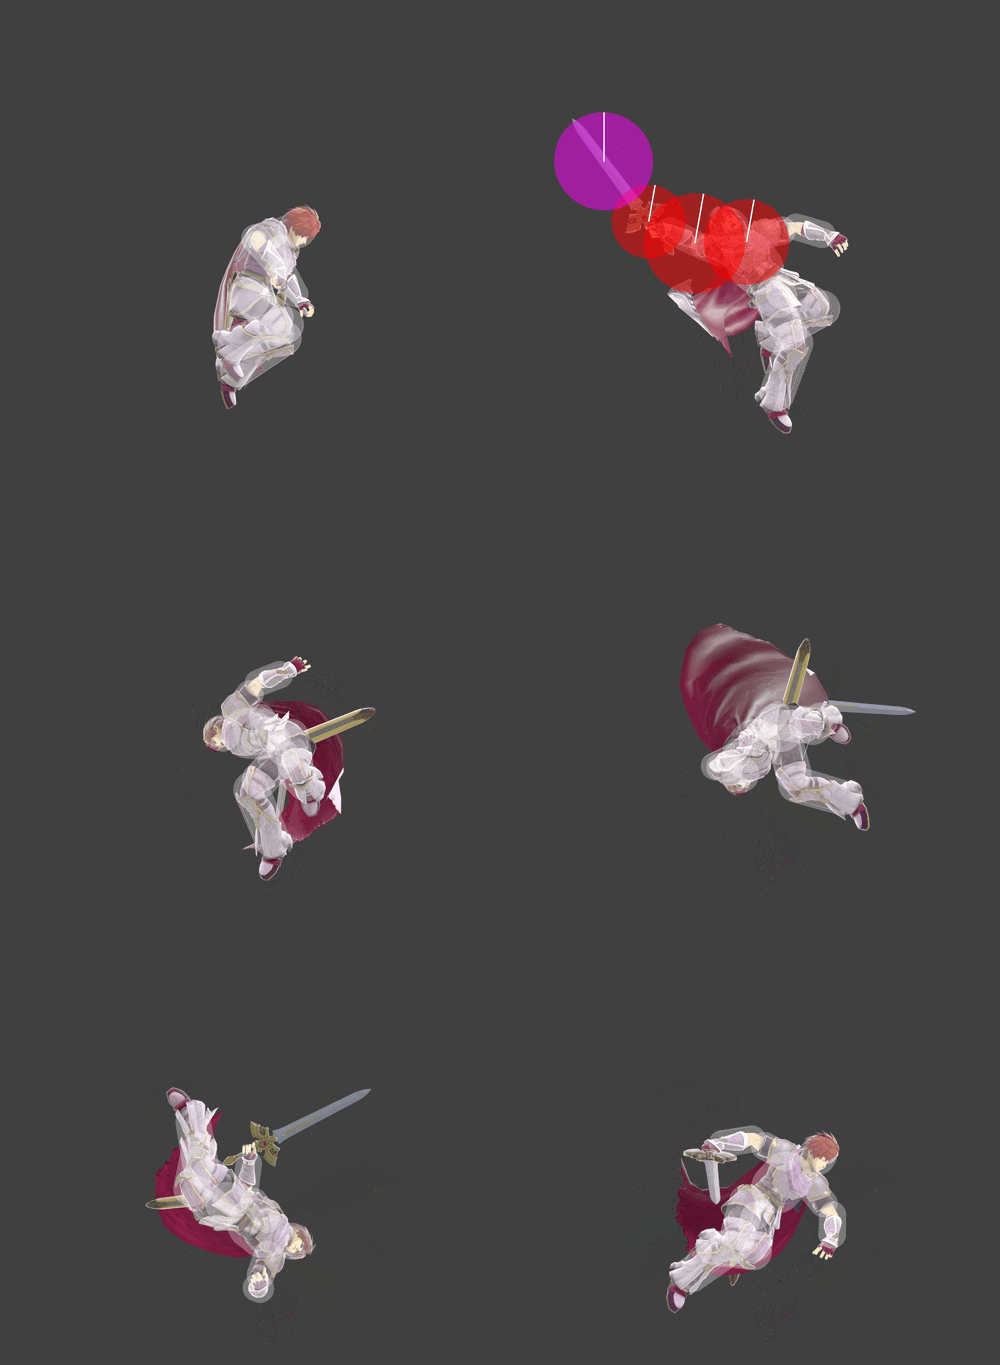
|
| Down aerial | Half Moon | 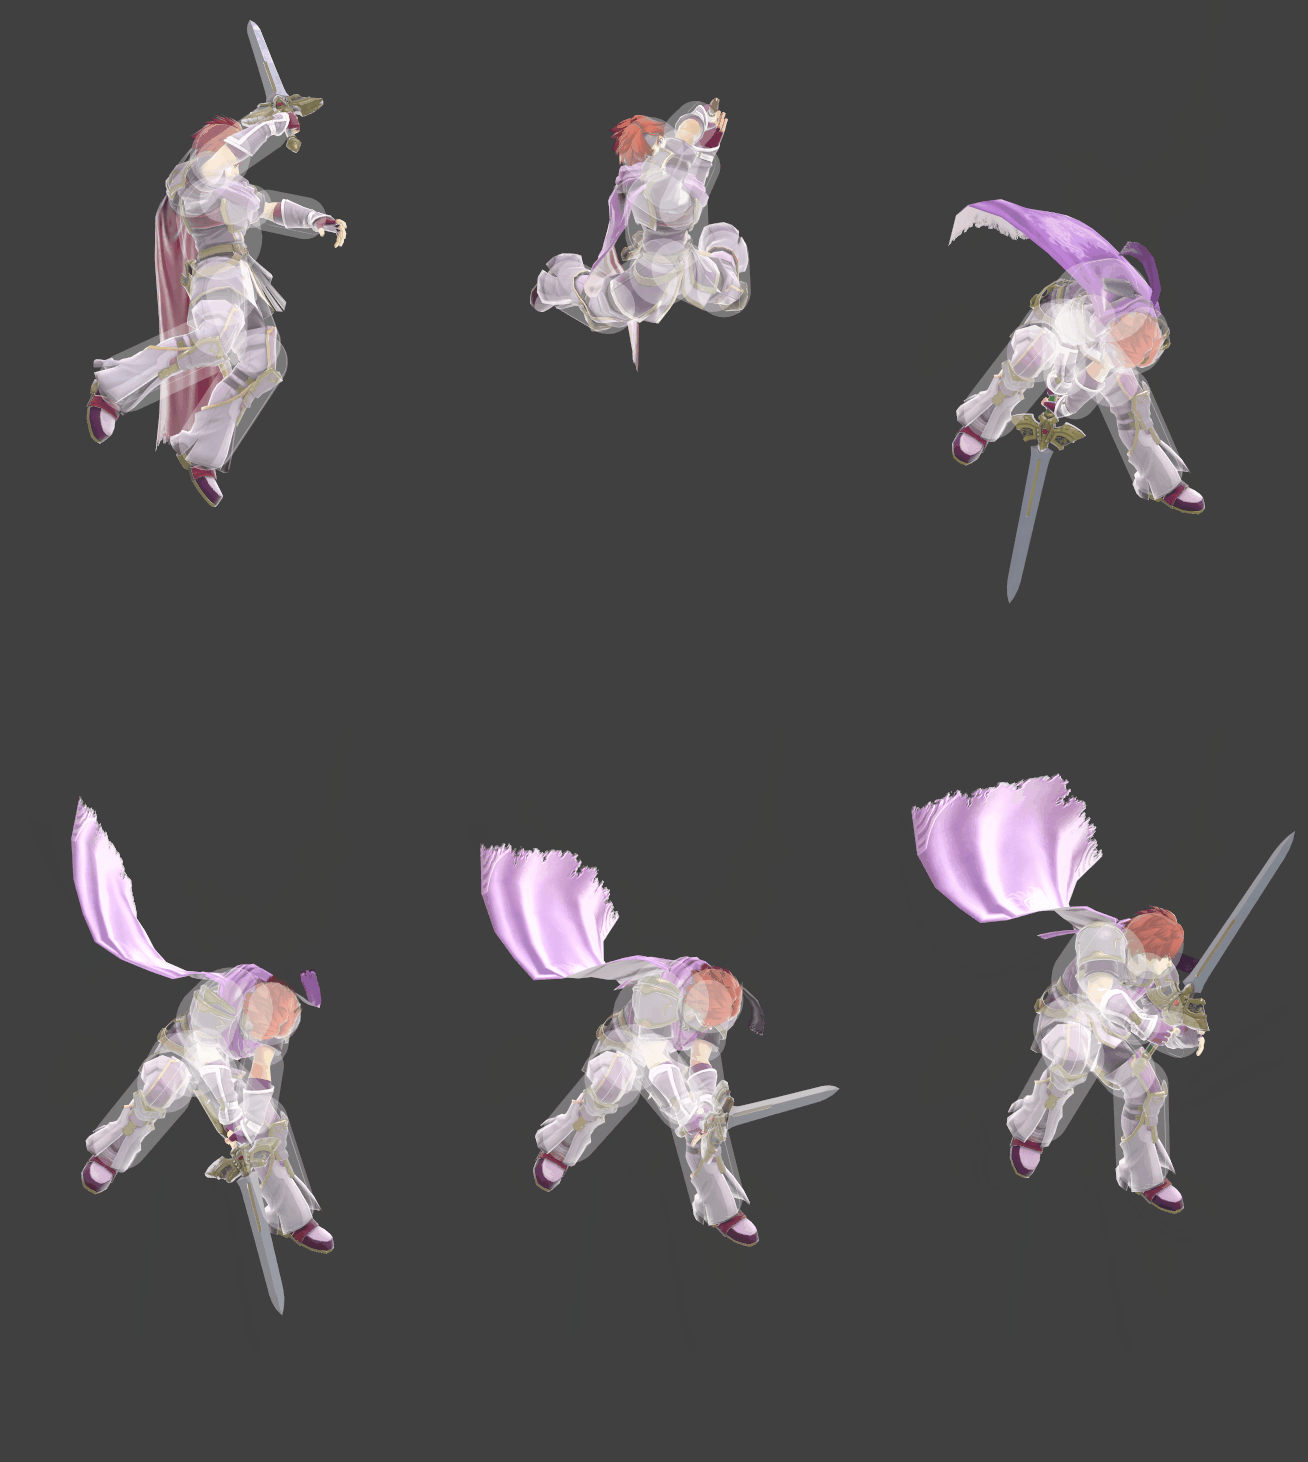
|
| Neutral special | Flare Blade | 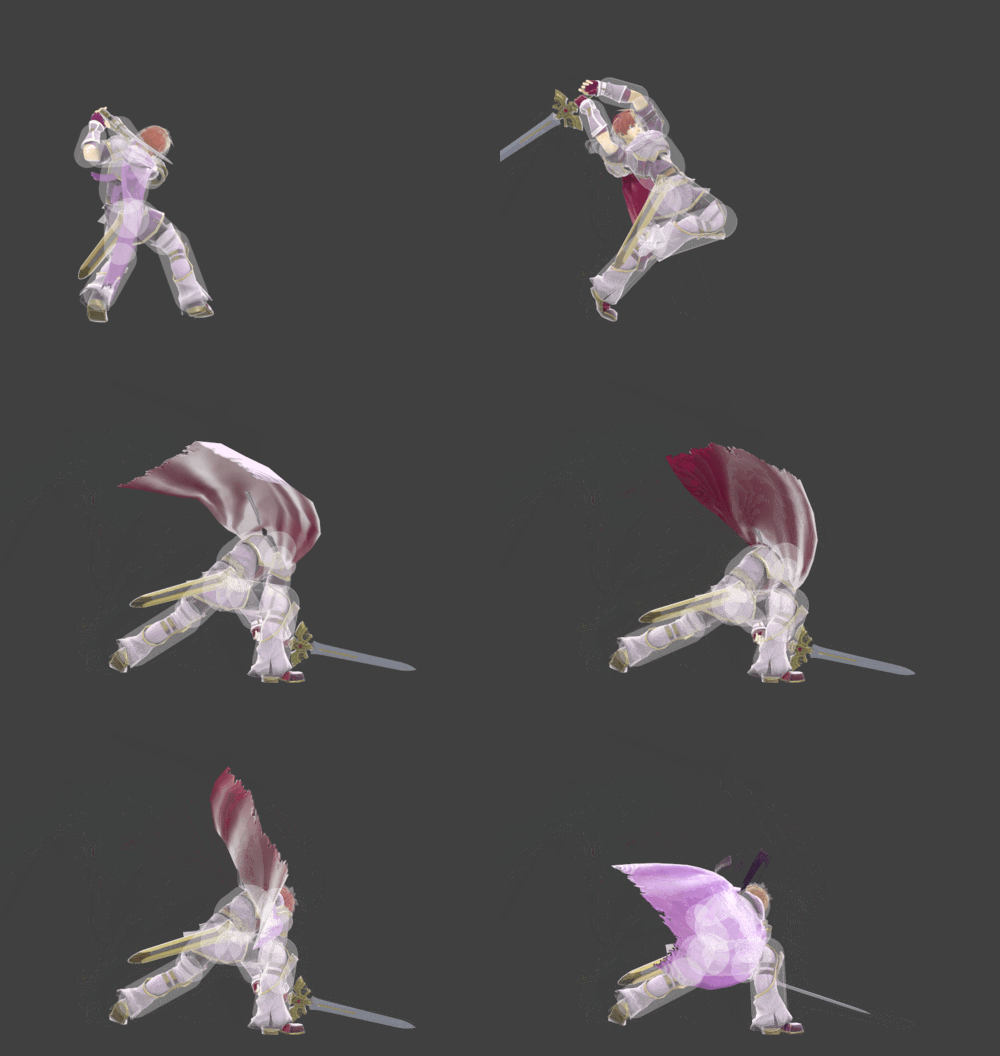
|
| Neutral special (max charge) | Flare Blade | 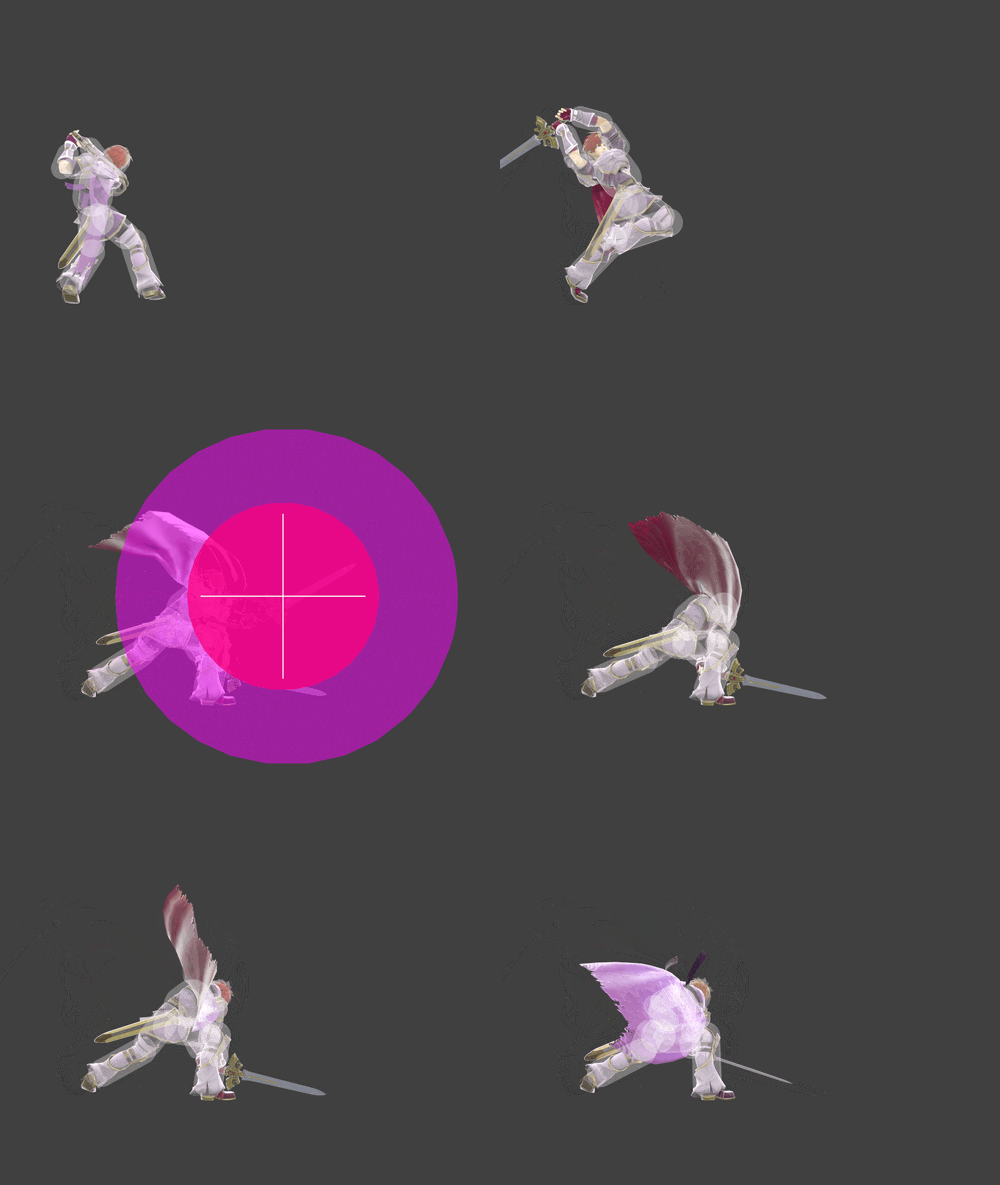
|
| Side special hit 1 | Double-Edge Dance | 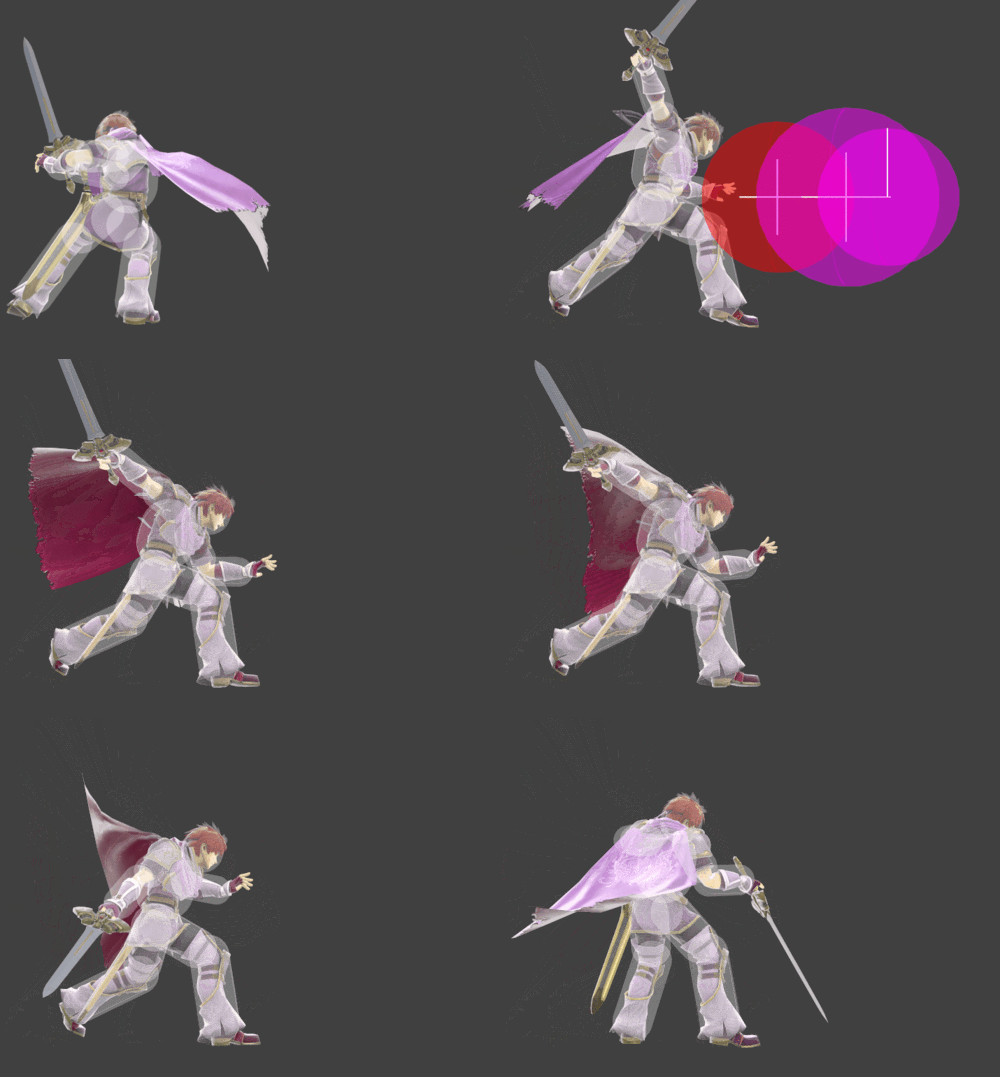
|
| Side special hit 2 | Double-Edge Dance | 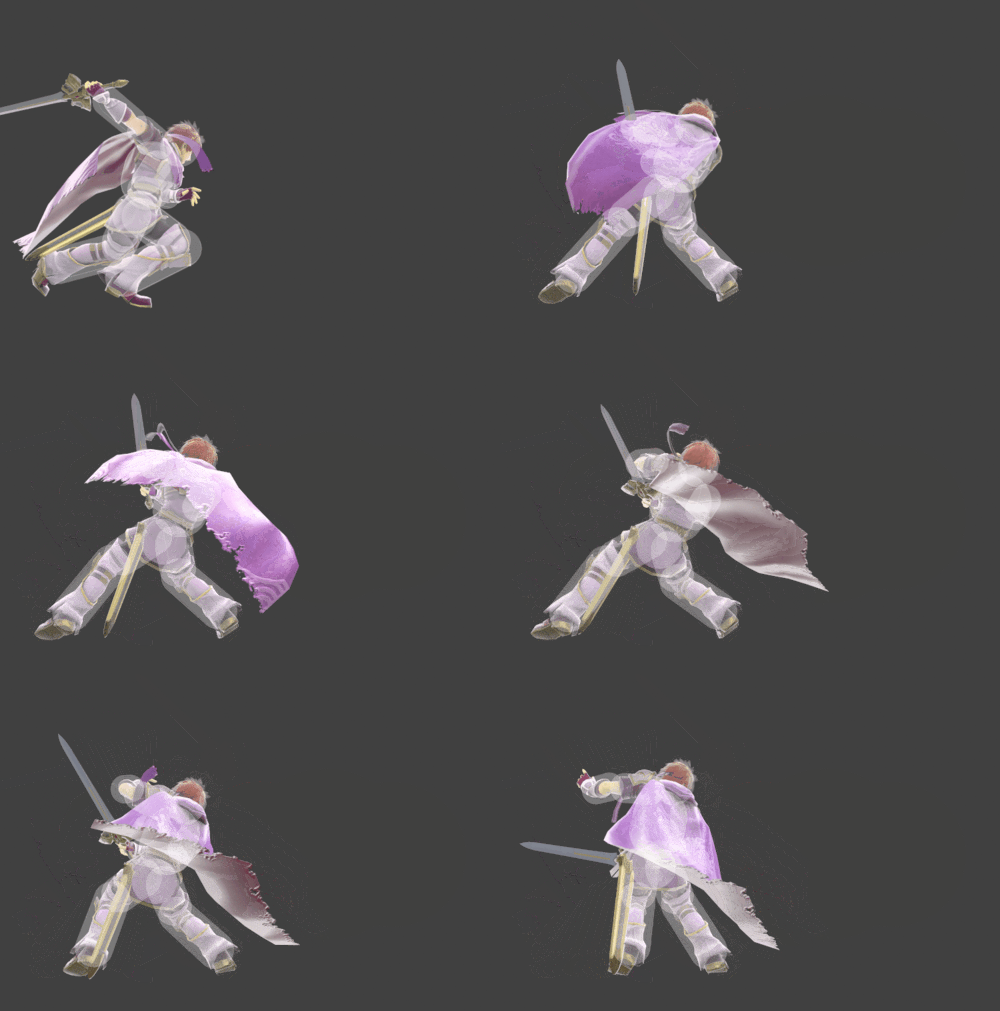
|
| Side special hit 2 up | Double-Edge Dance | 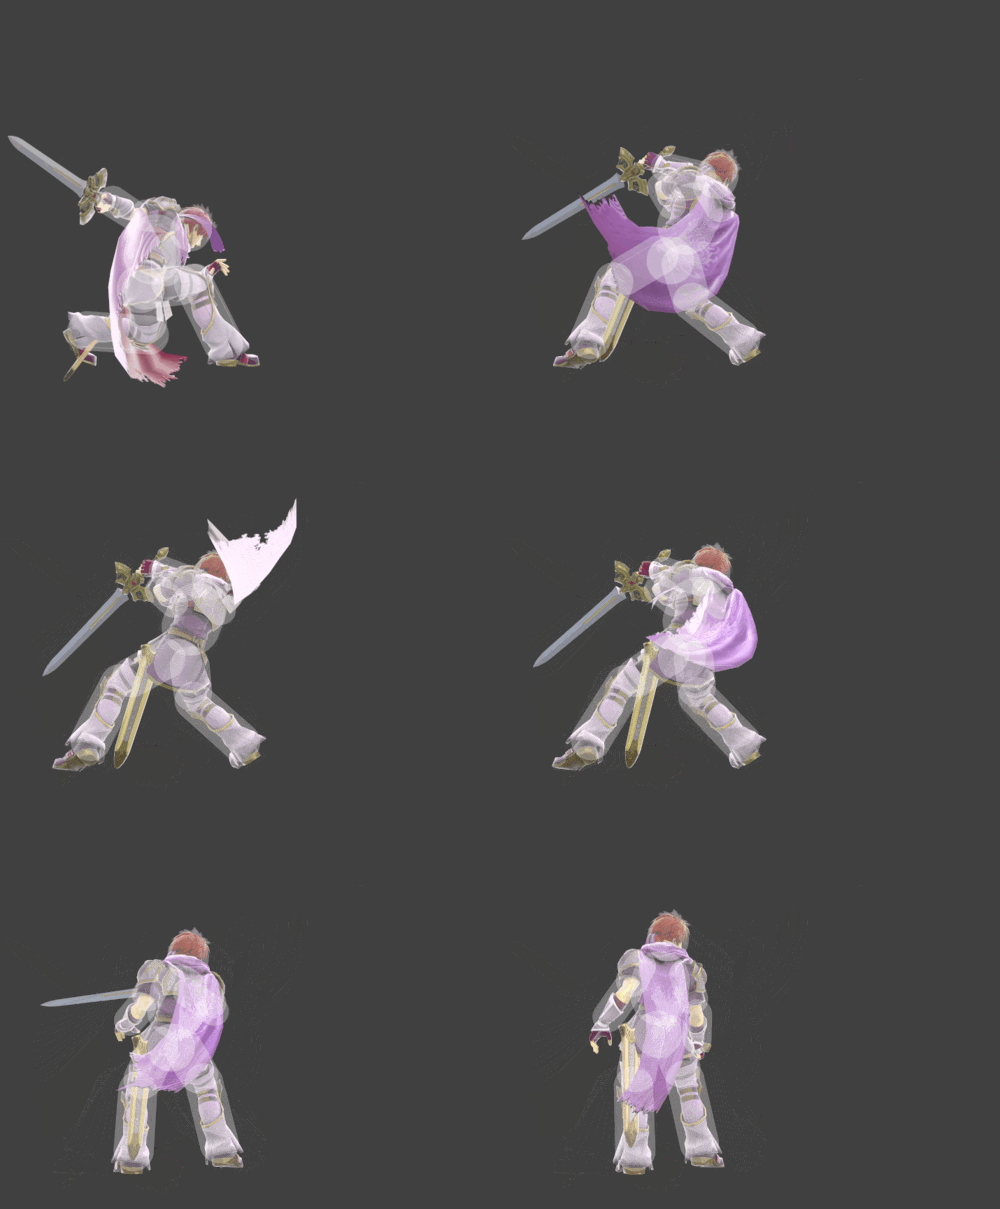
|
| Side special hit 3 | Double-Edge Dance | 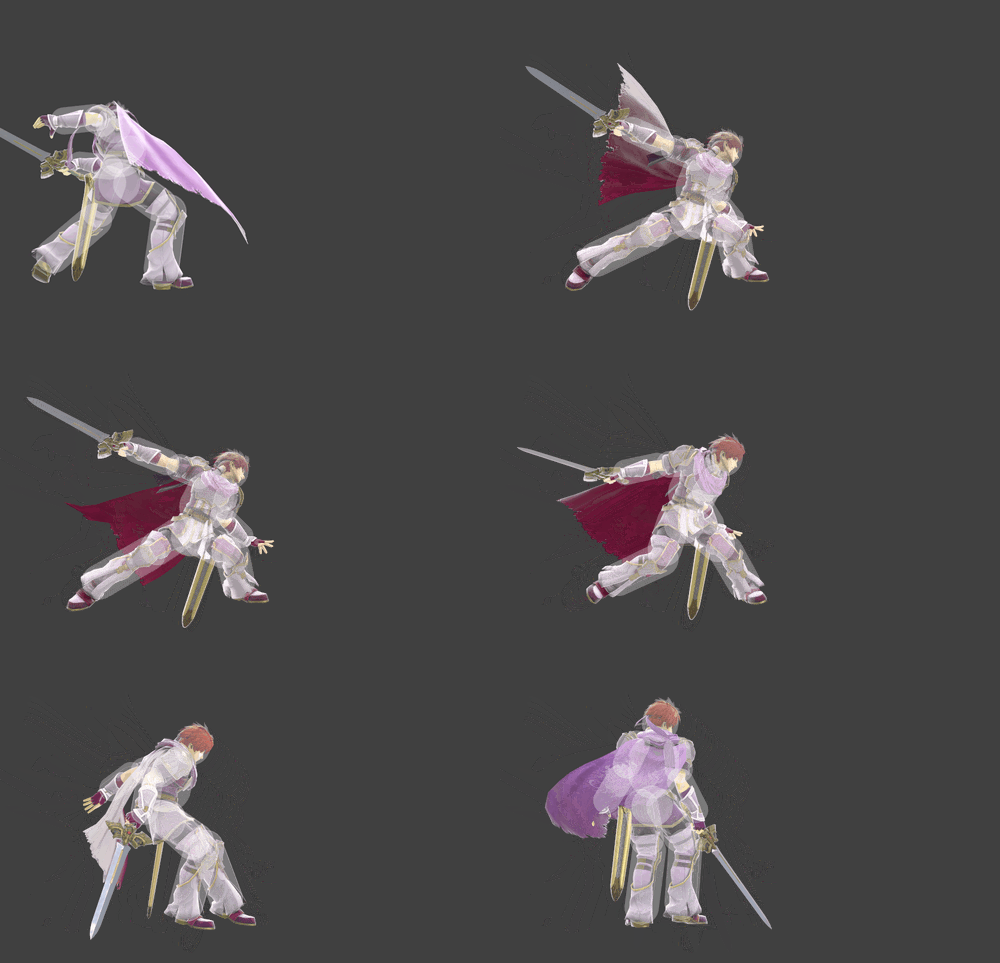
|
| Side special hit 3 up | Double-Edge Dance | 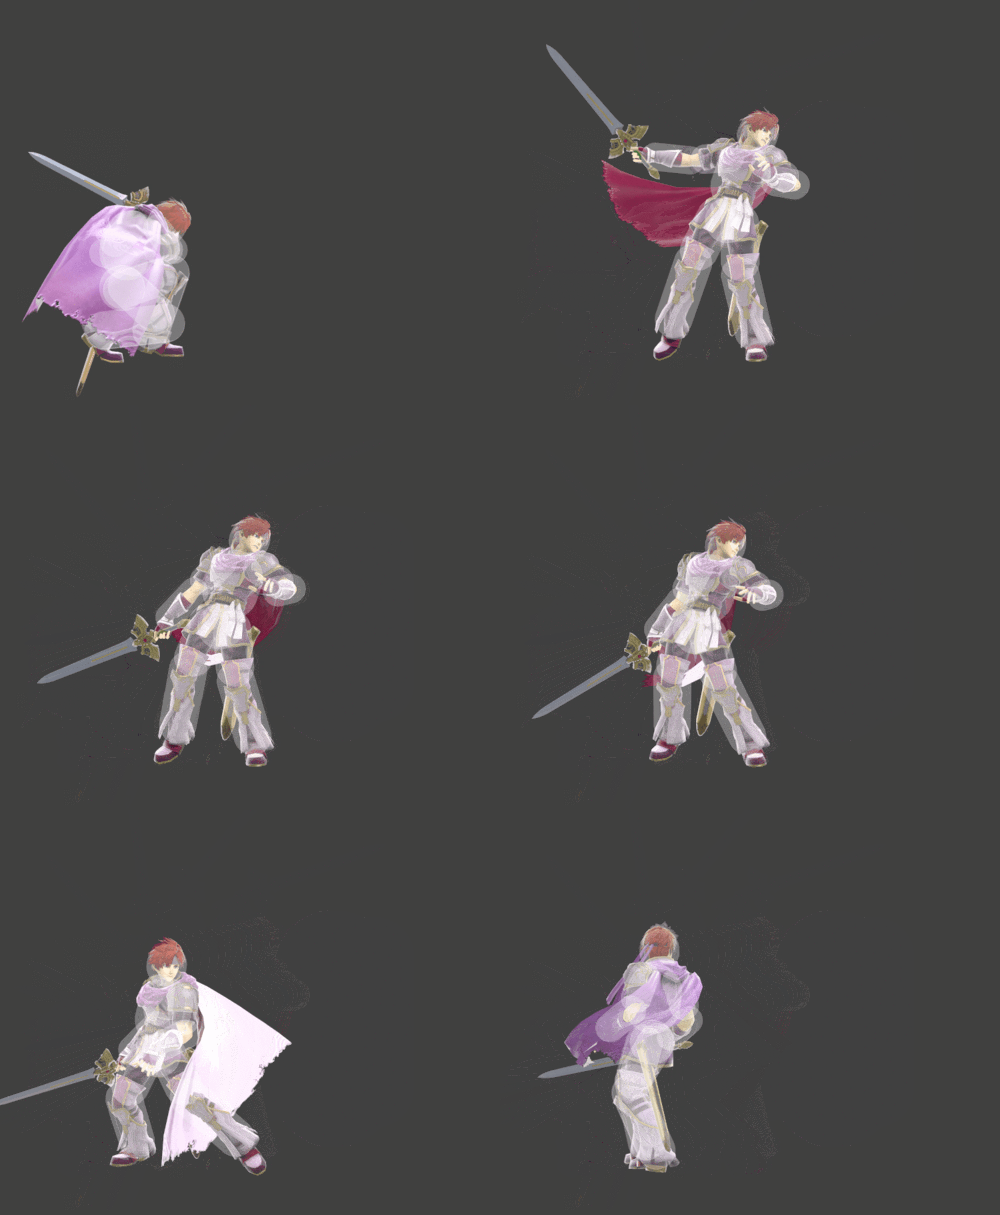
|
| Side special hit 3 down | Double-Edge Dance | 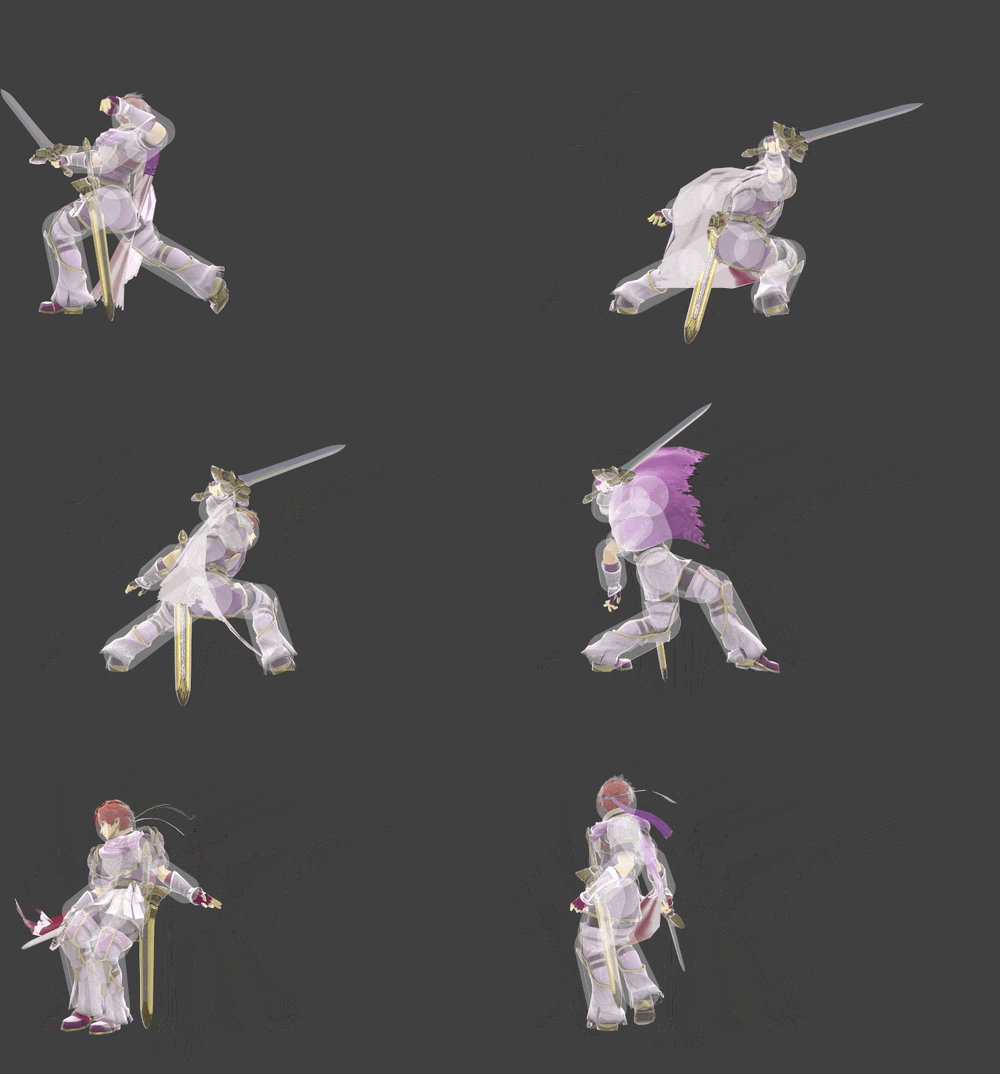
|
| Side special hit 4 | Double-Edge Dance | 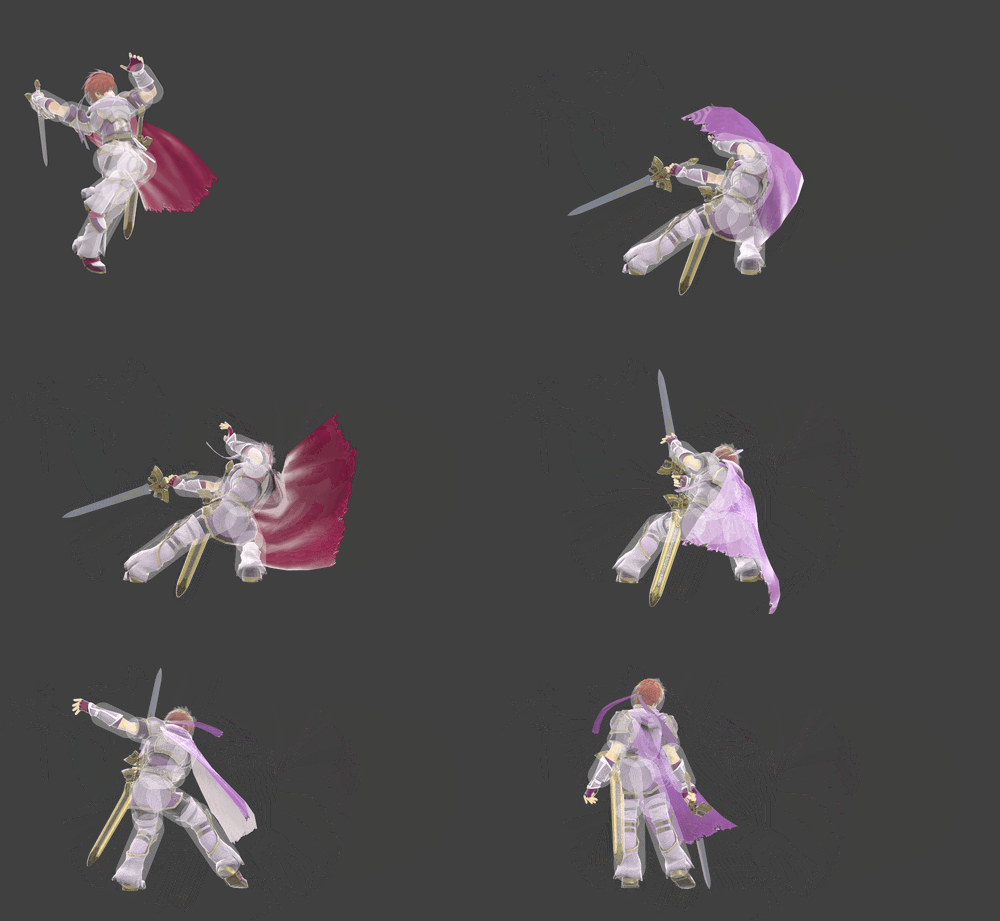
|
| Side special hit 4 up | Double-Edge Dance | 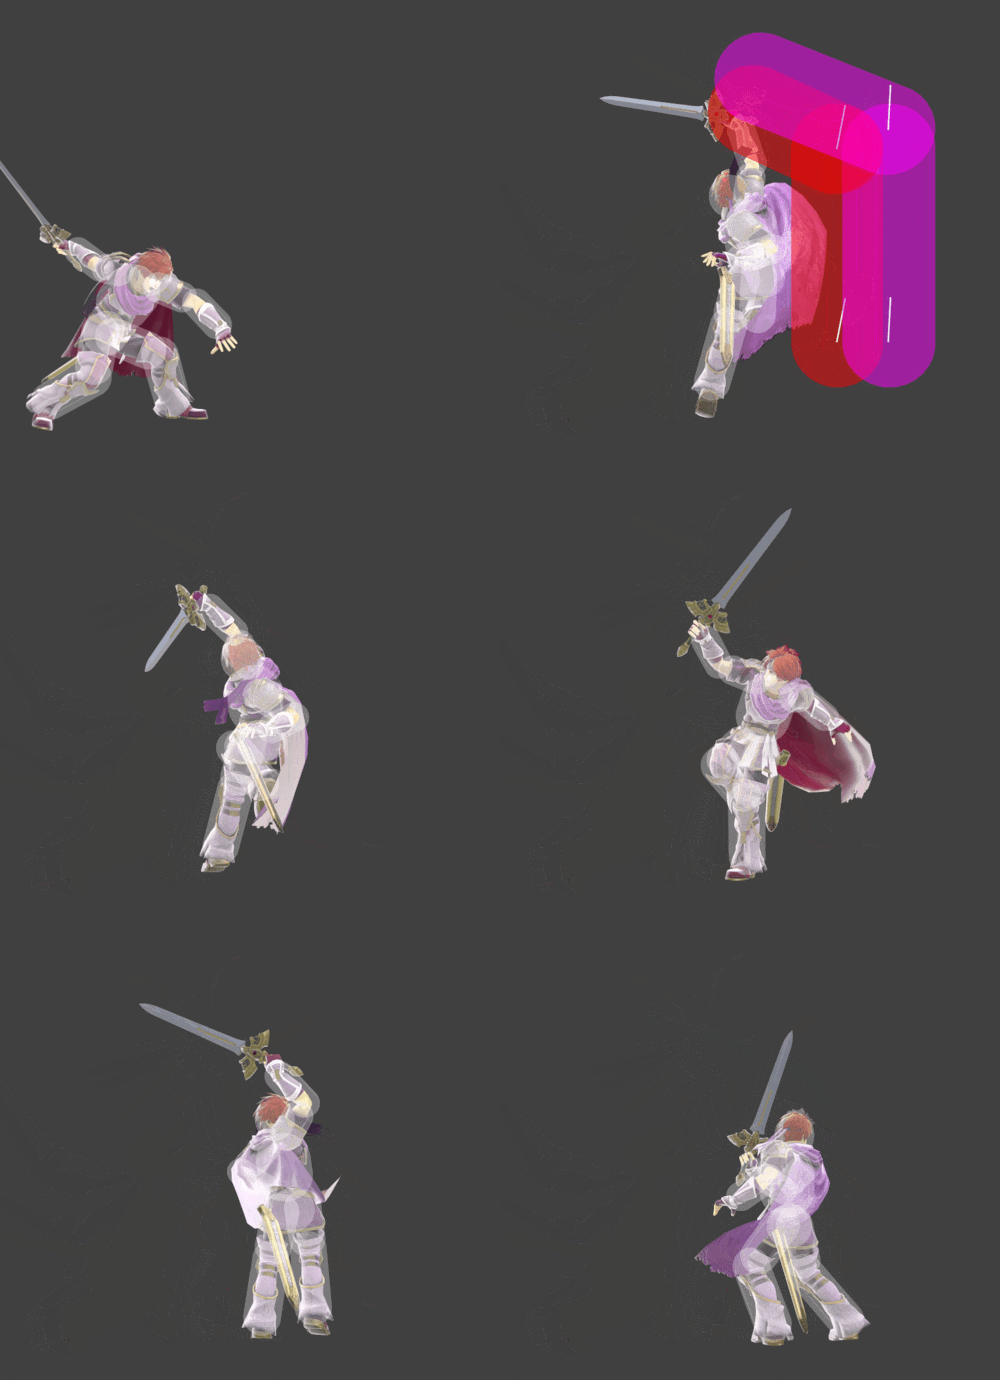
|
| Side special hit 4 down | Double-Edge Dance | 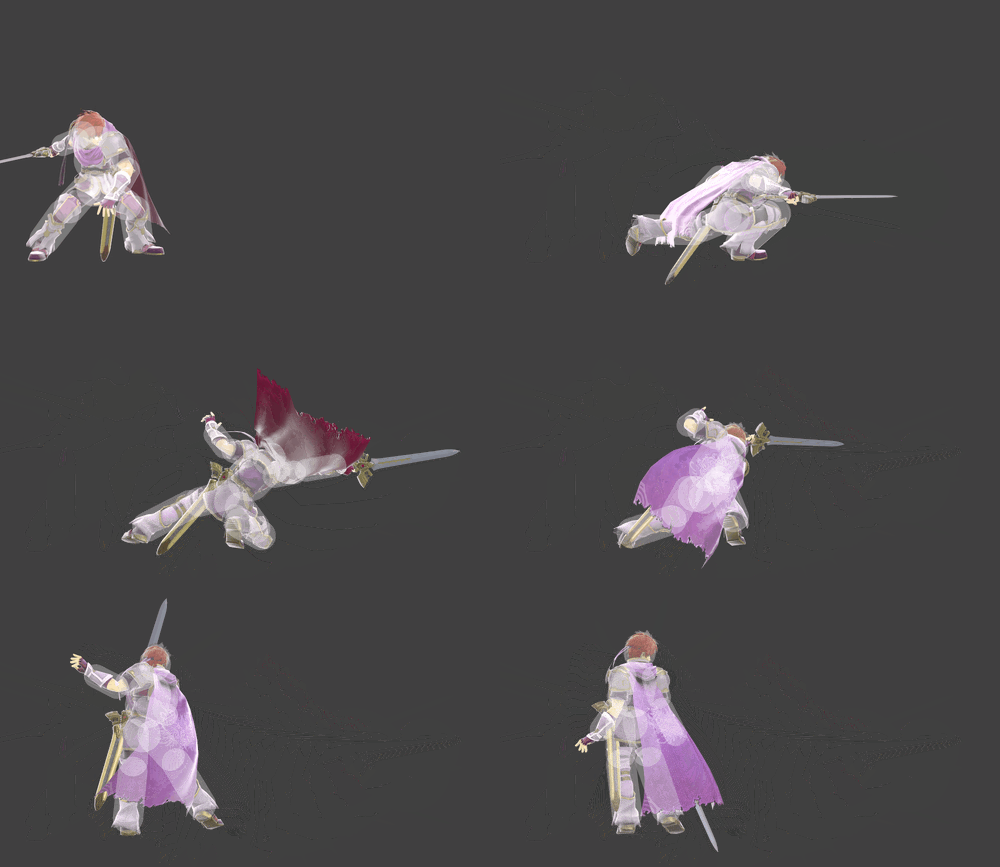
|
| Up special (grounded) | Blazer | 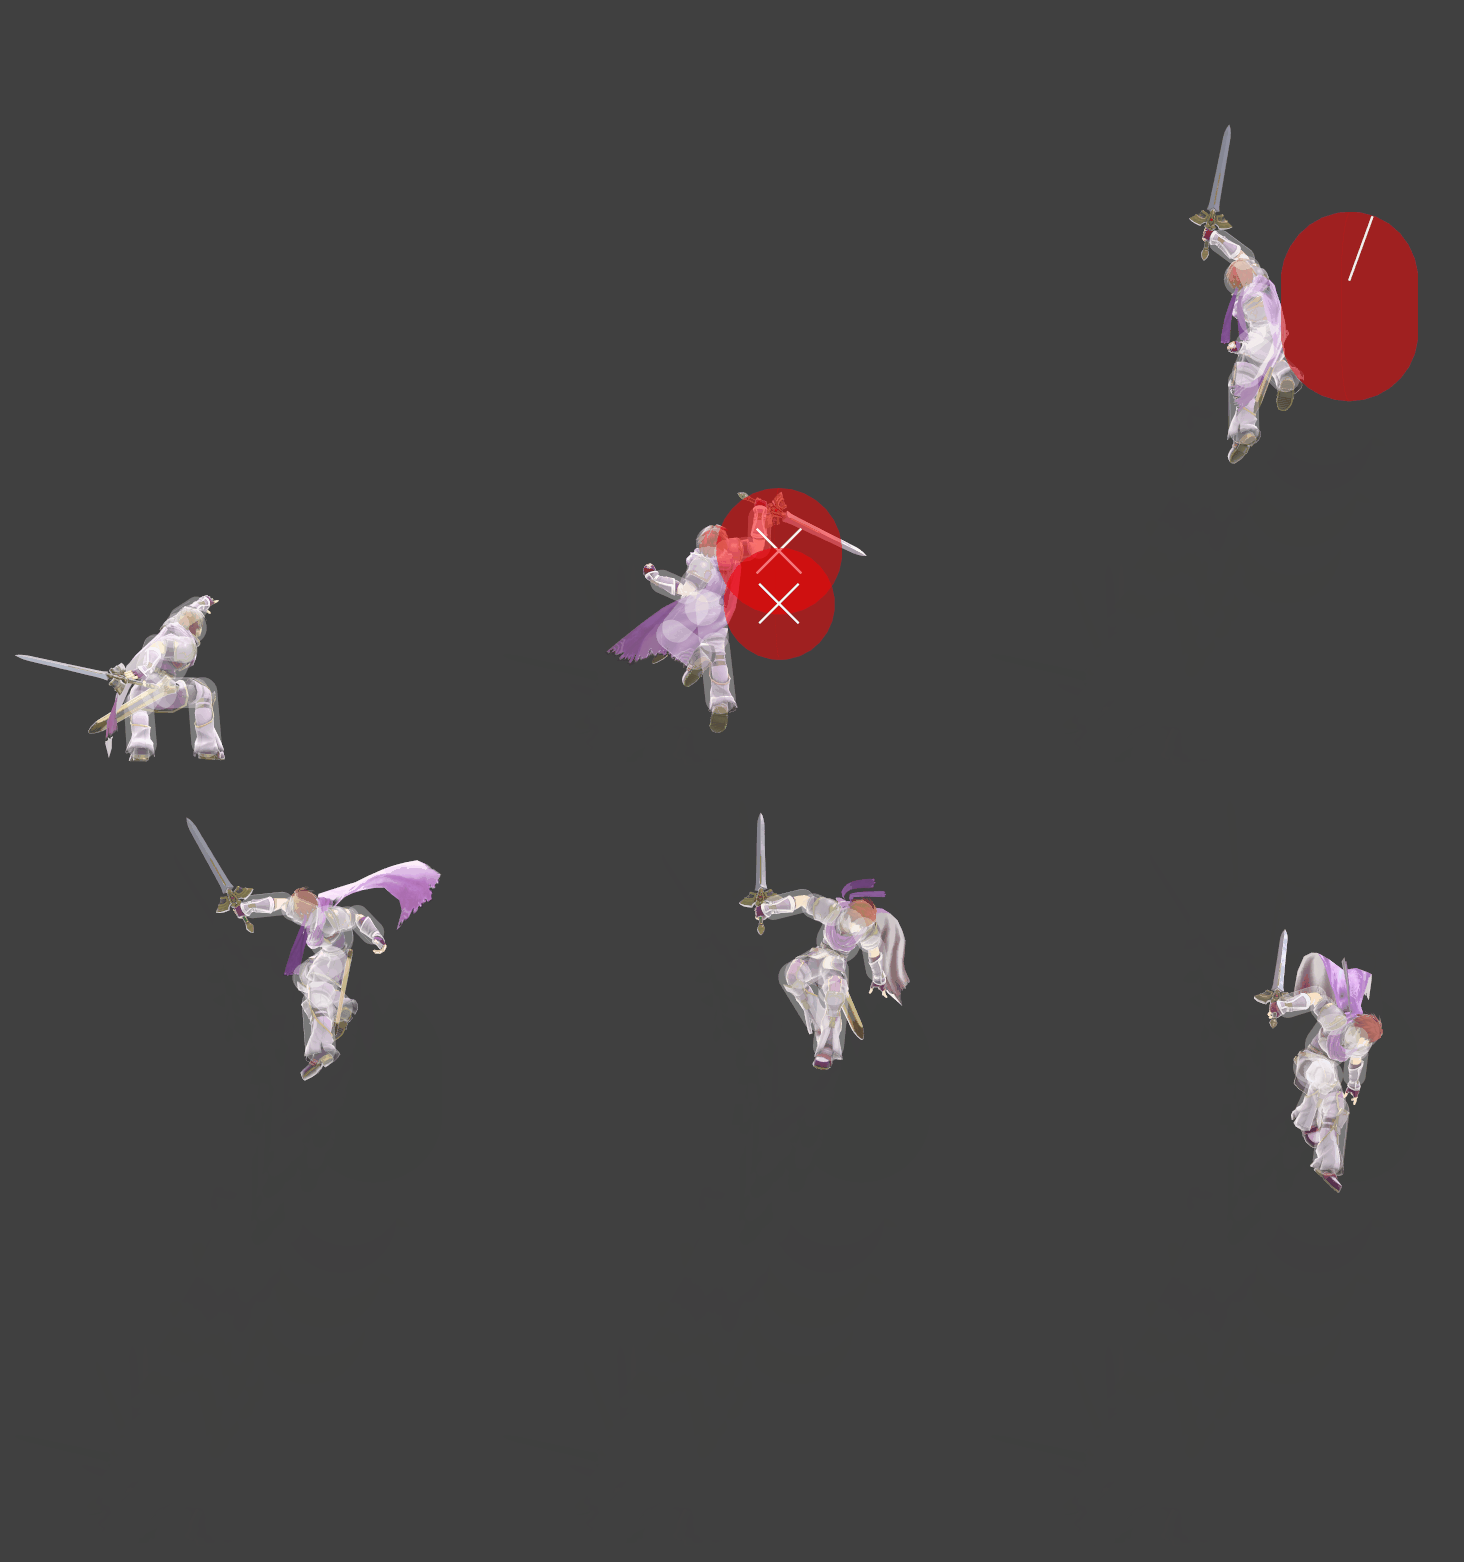
|
| Up special (aerial) | Blazer | 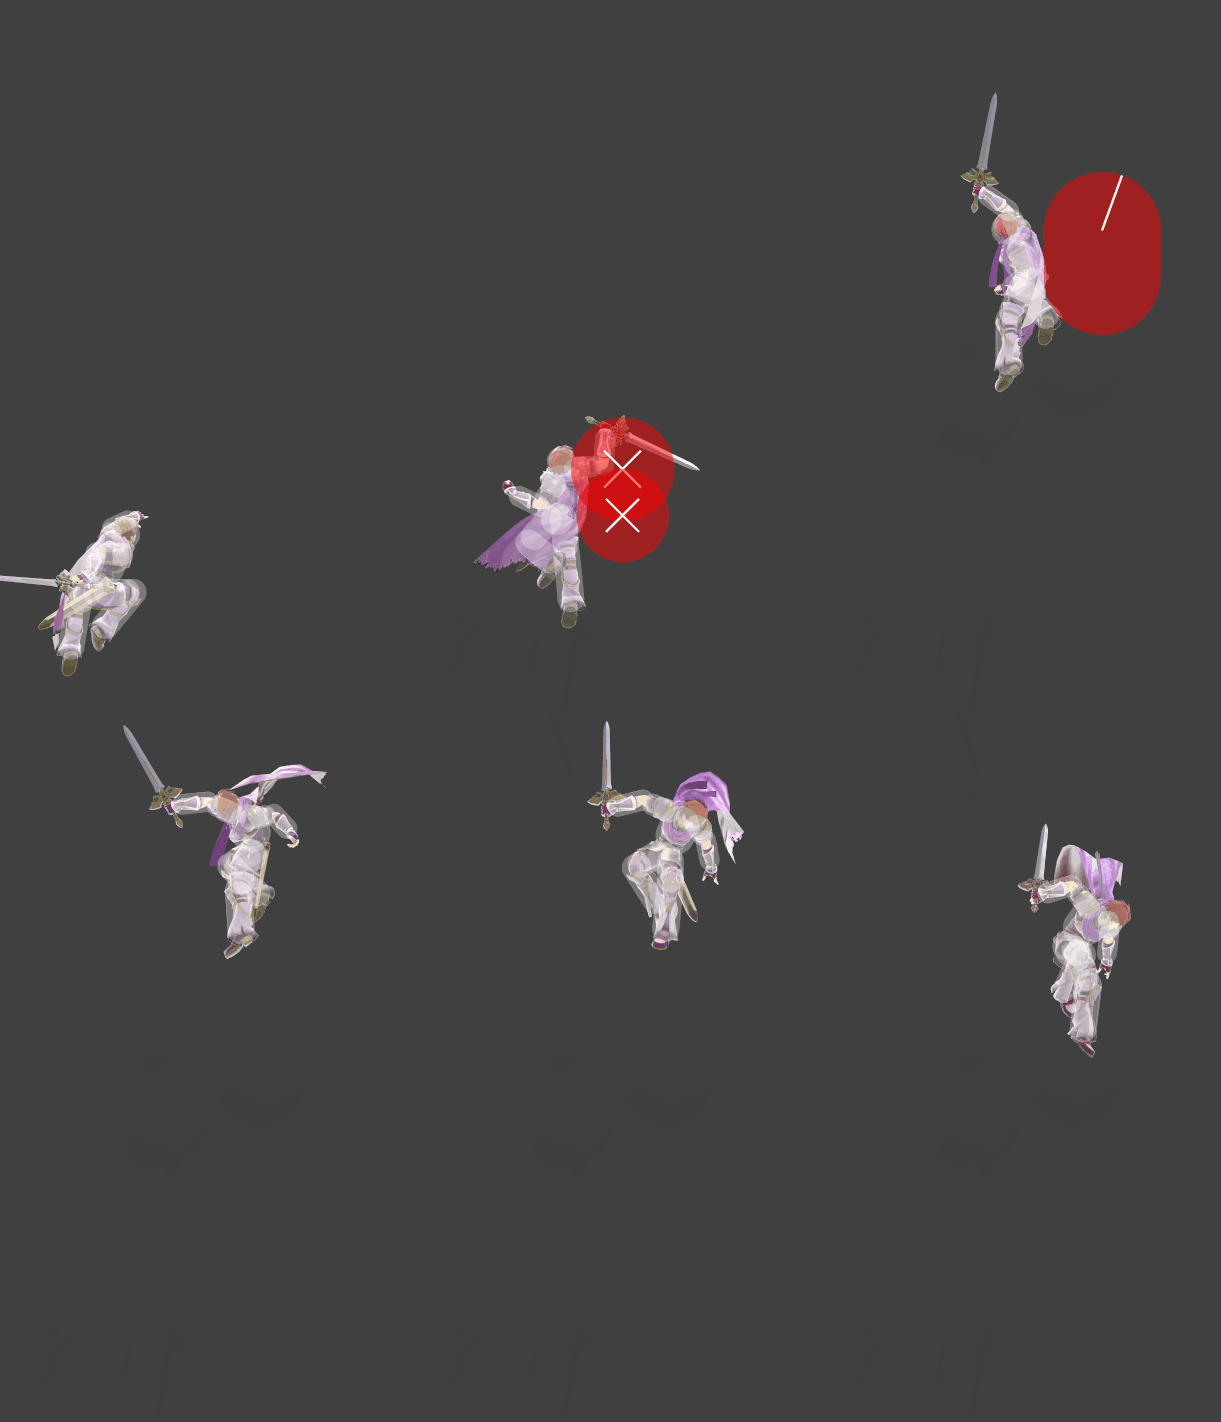
|
| Down special | Counter | 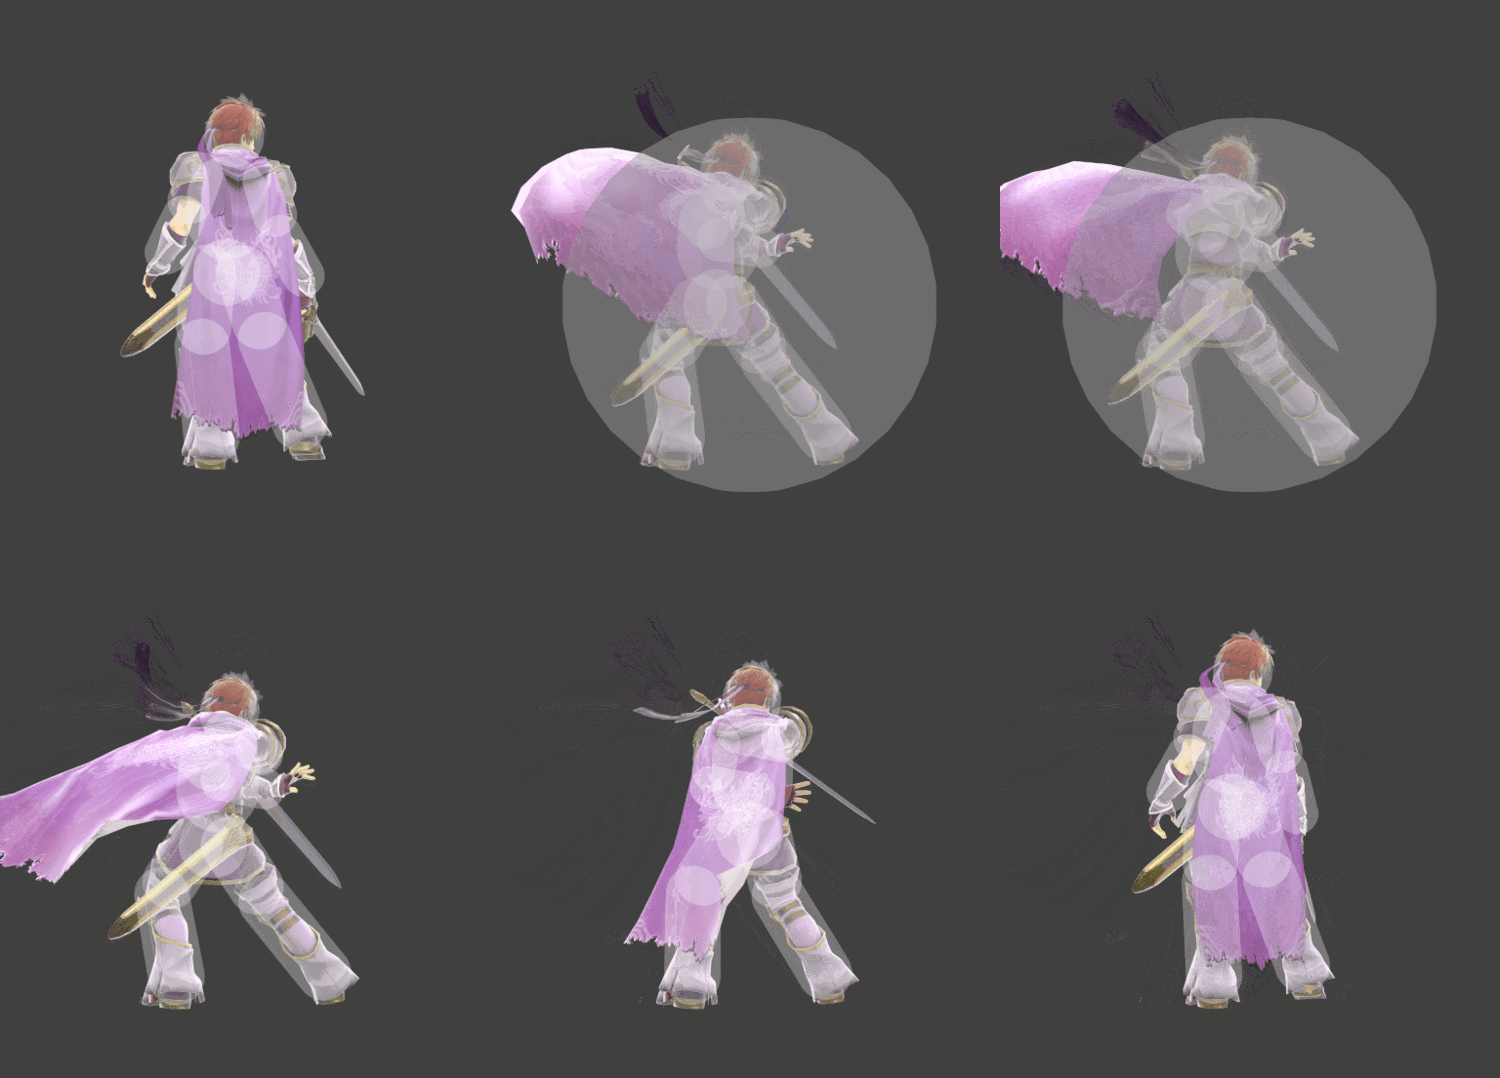
|
| Down special attack | Counter | 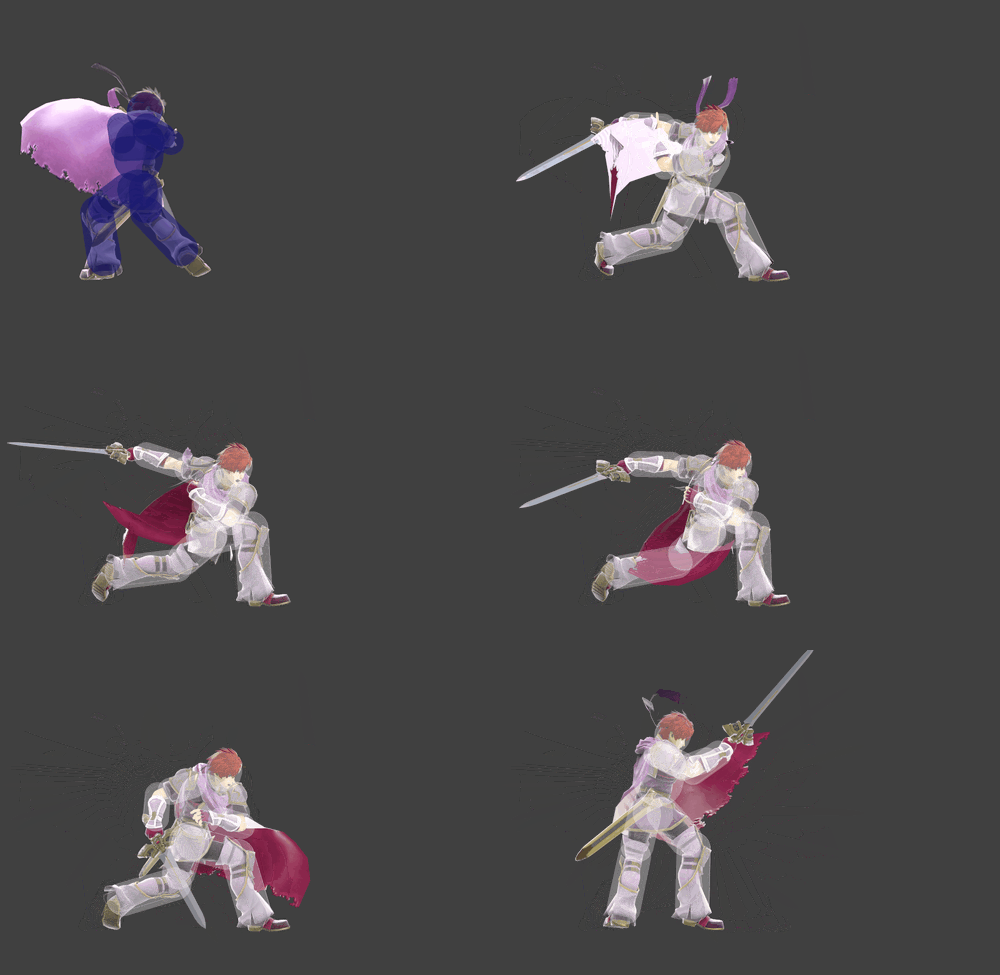
|
| Standing grab | 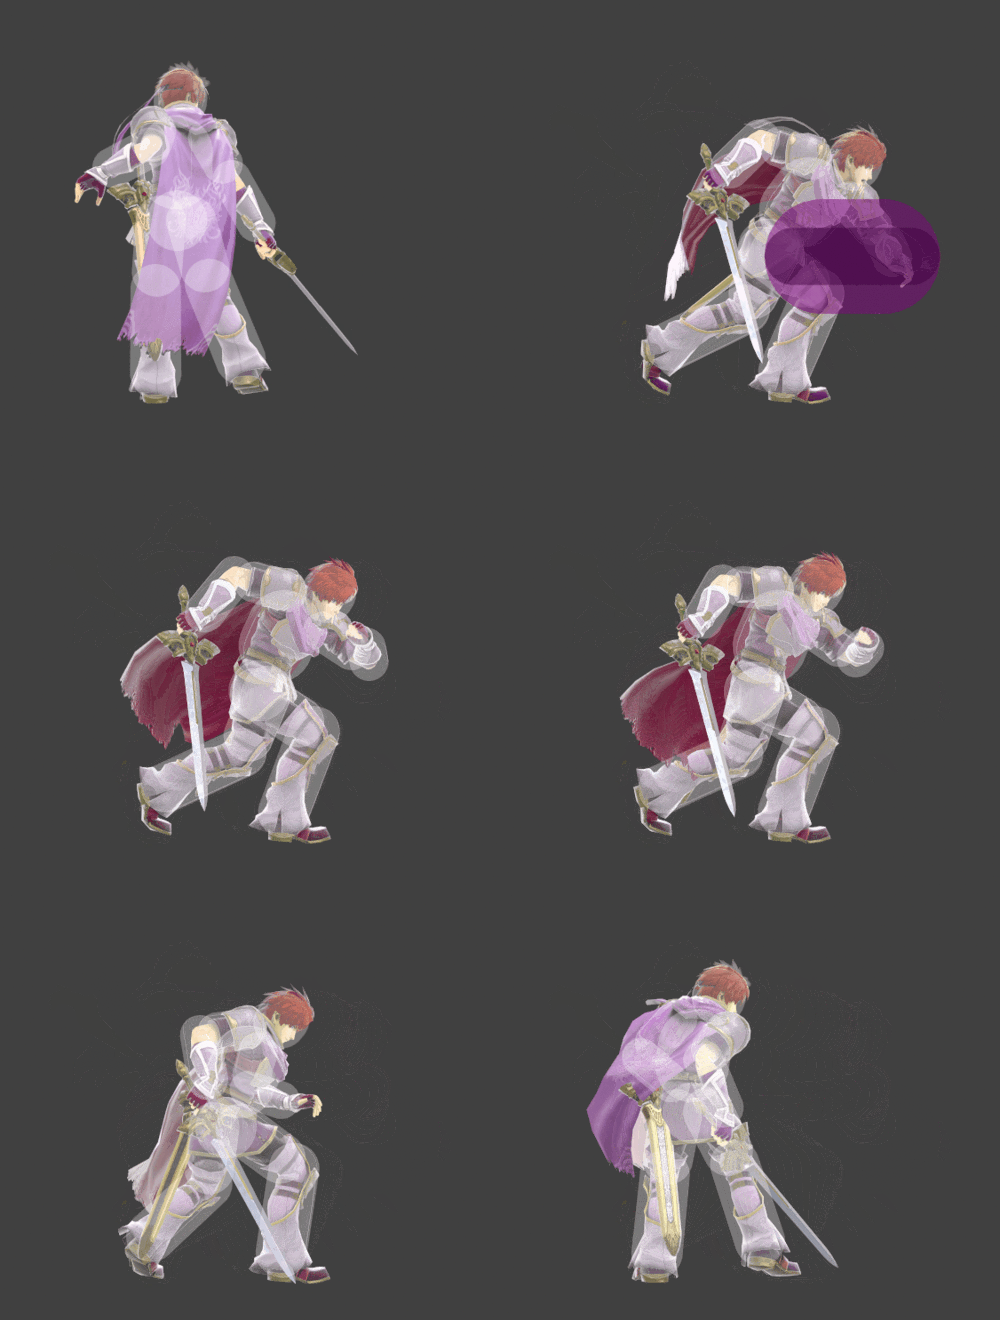
| |
| Dash grab | 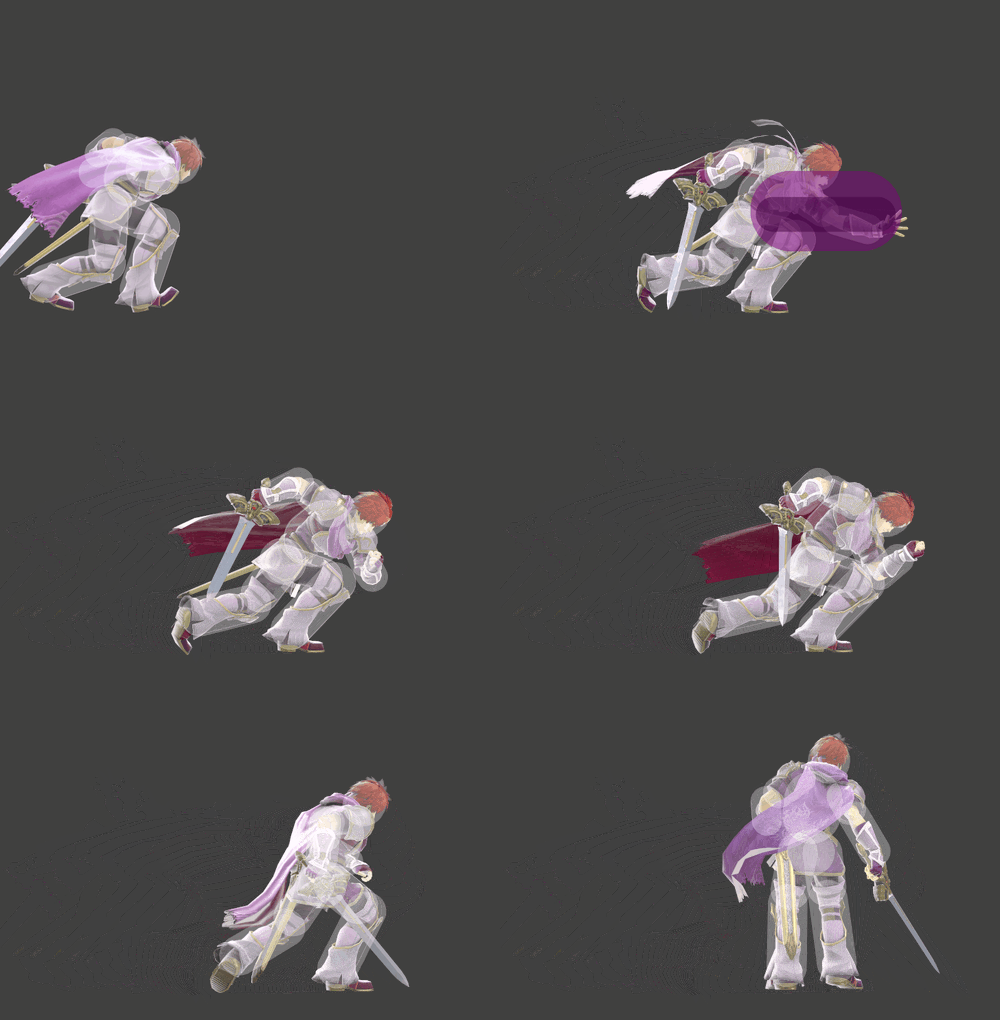
| |
| Pivot grab | 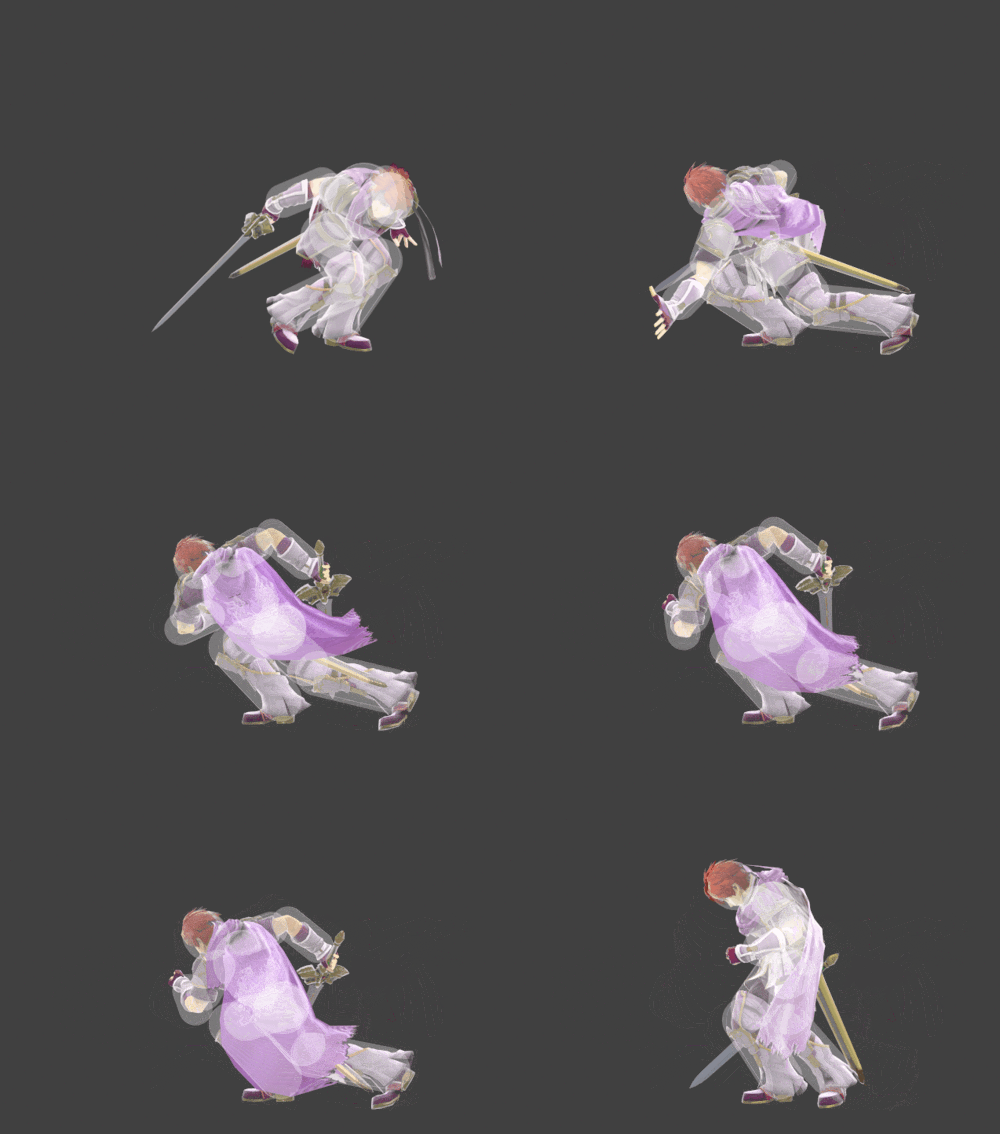
| |
| Pummel | Grab Kneebutt | 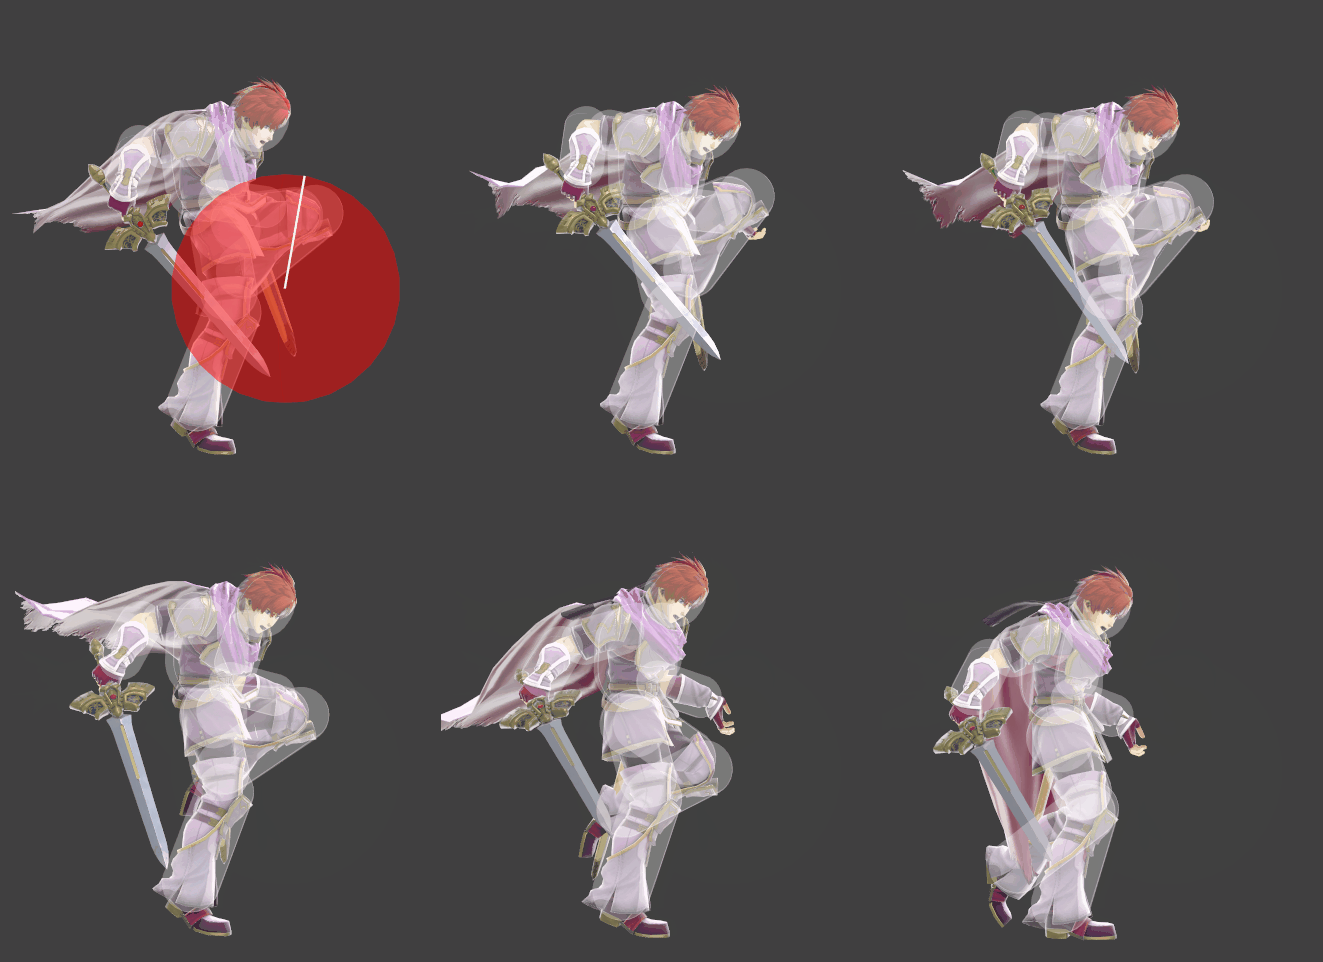
|
| Forward throw | Elbowbutt | 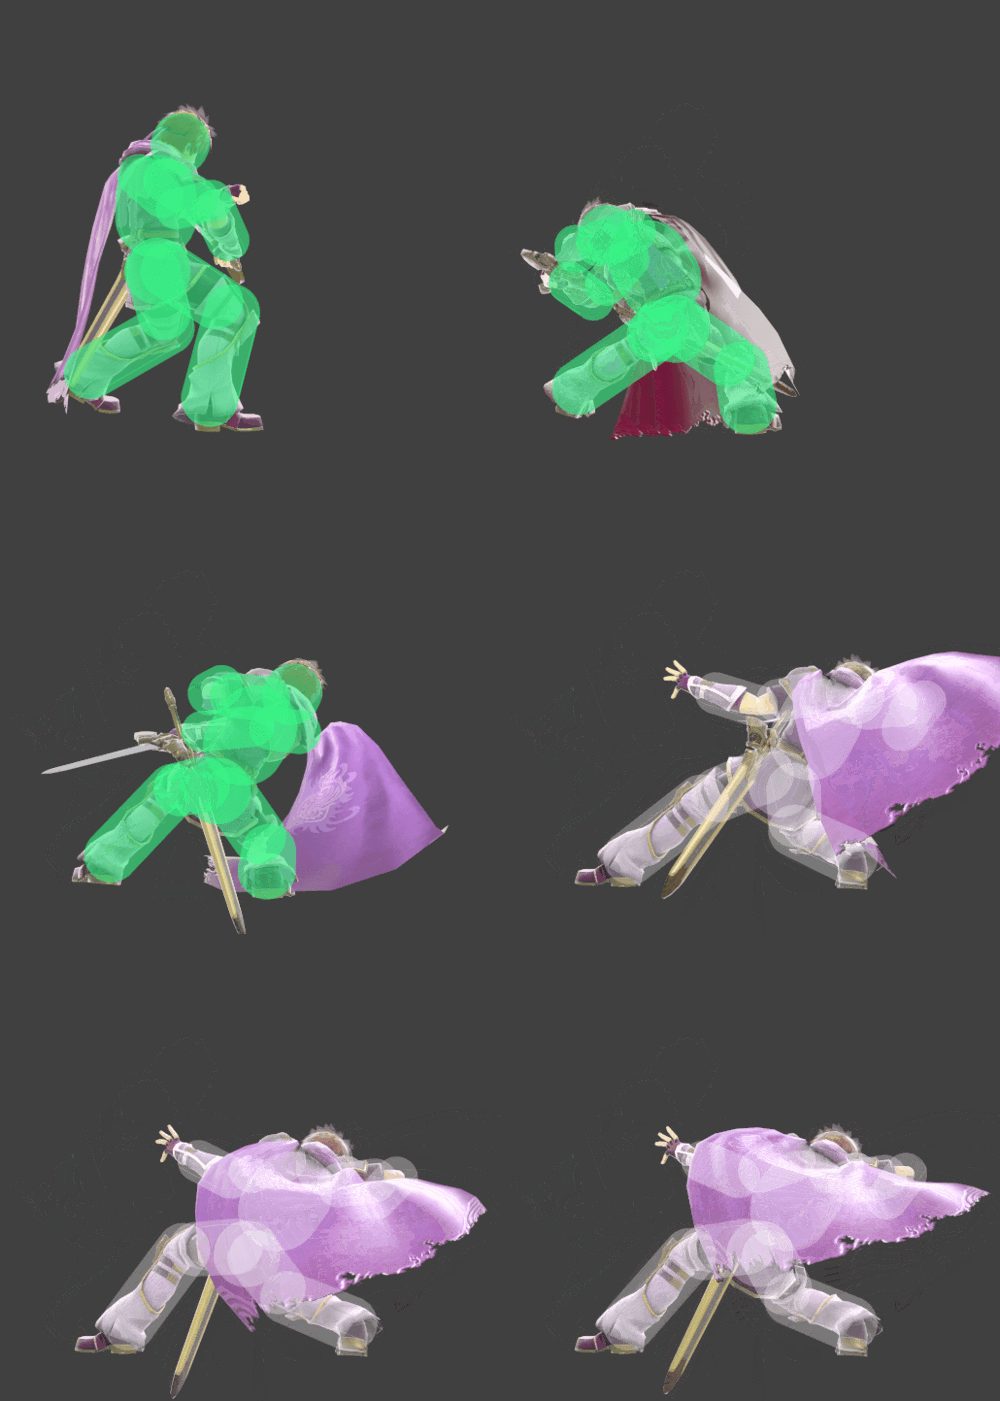
|
| Back throw | Leg Hooker | 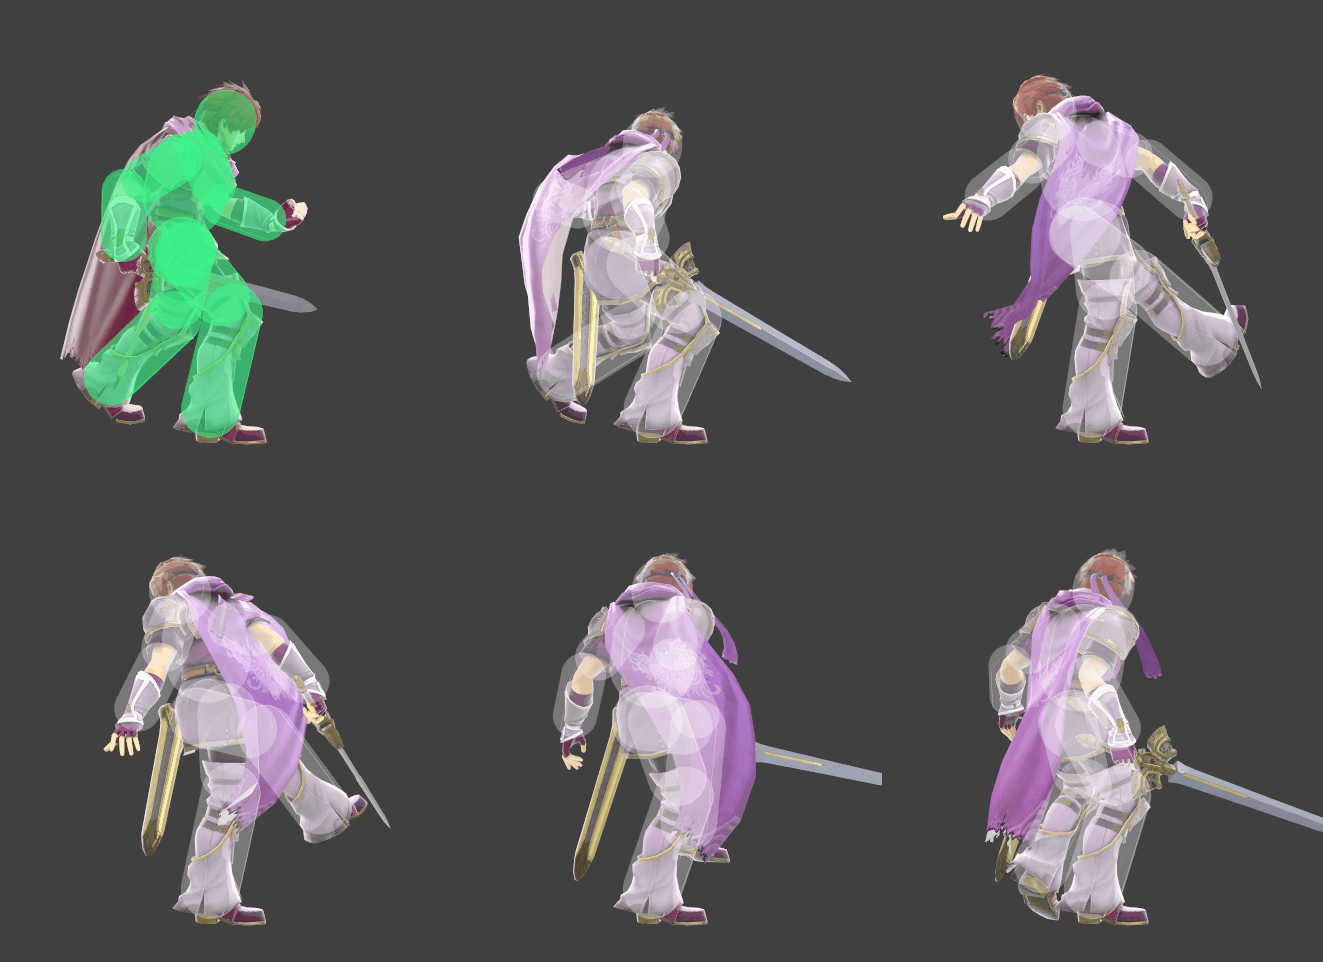
|
| Up throw | Casting | 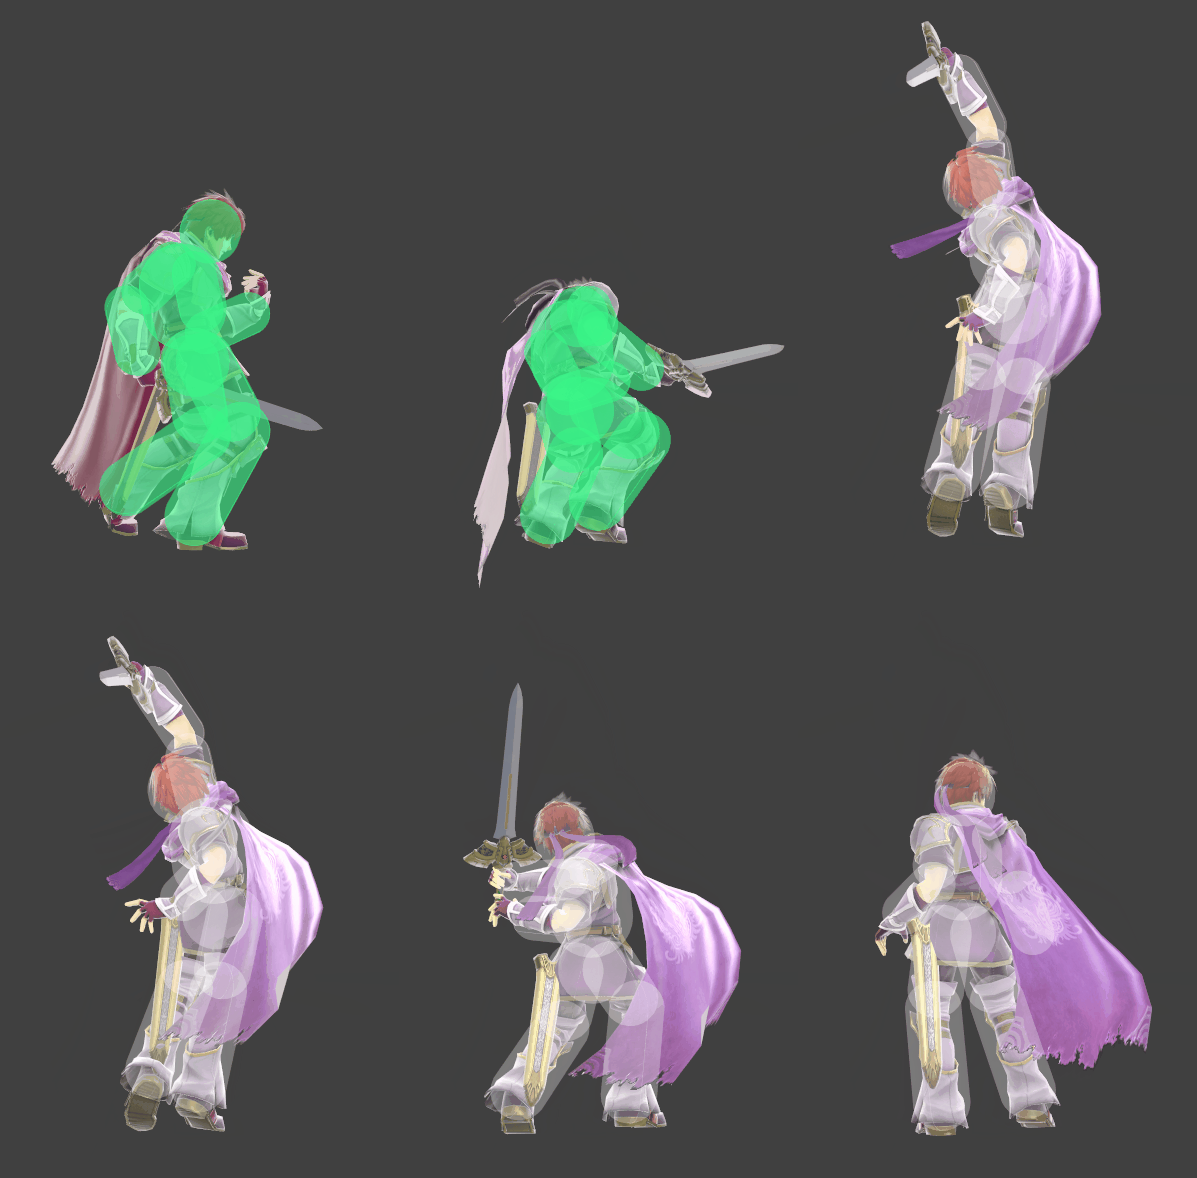
|
| Down throw | Slam | 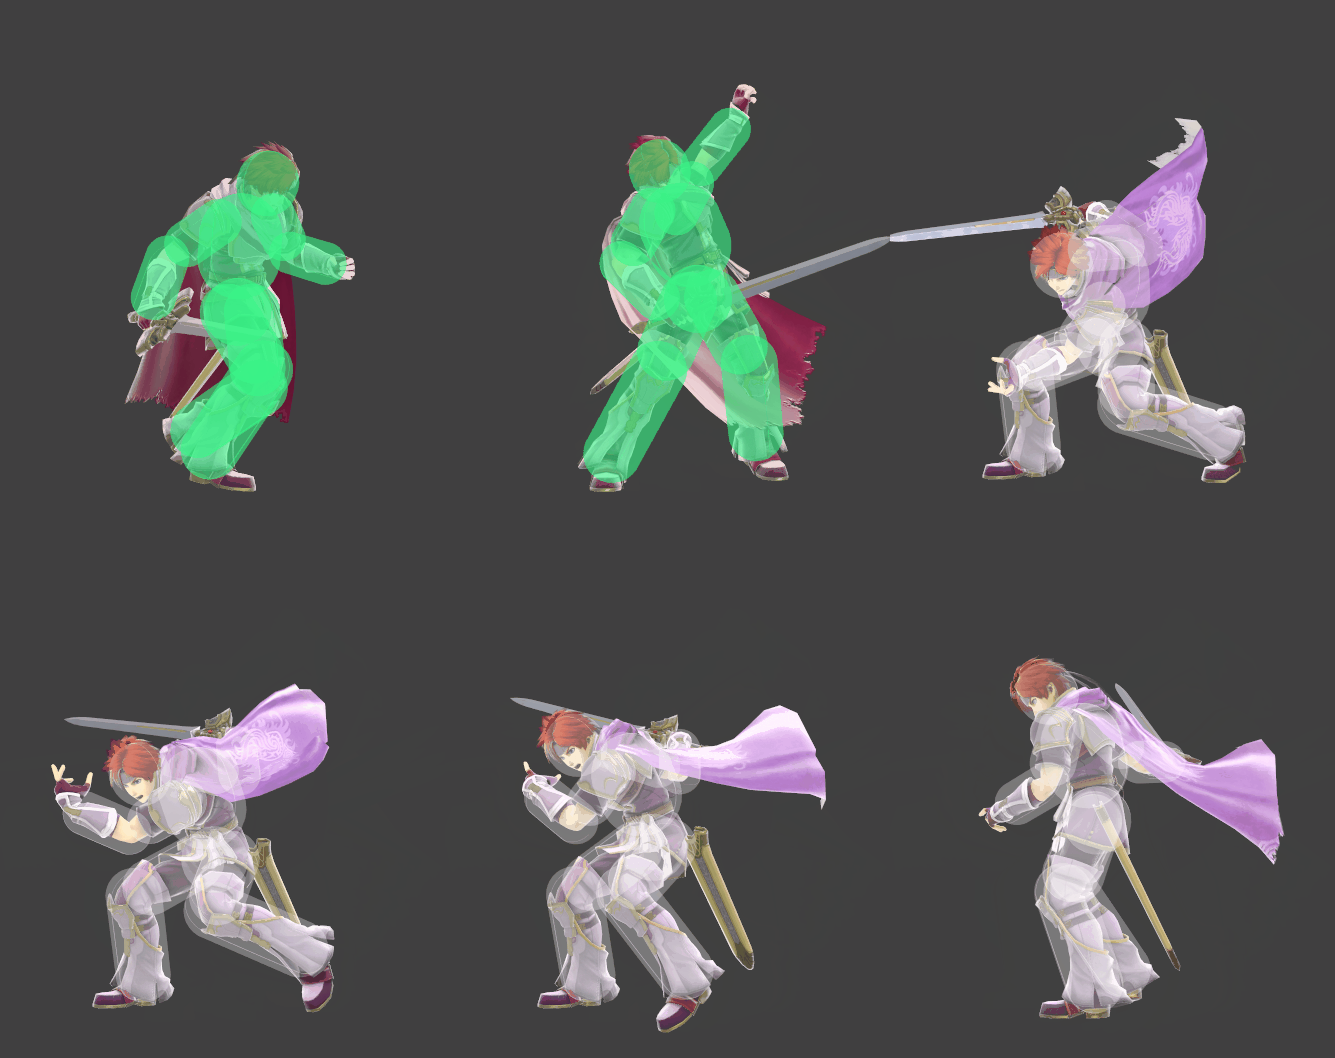
|
| Getup attack front | 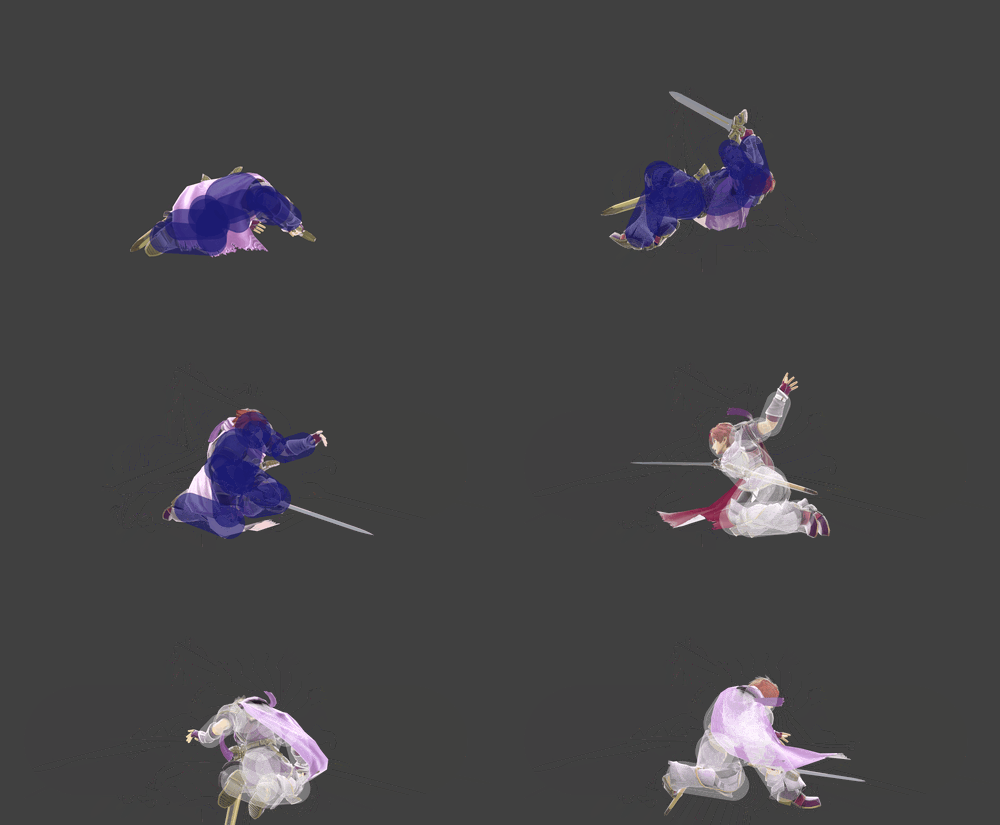
| |
| Getup attack back | 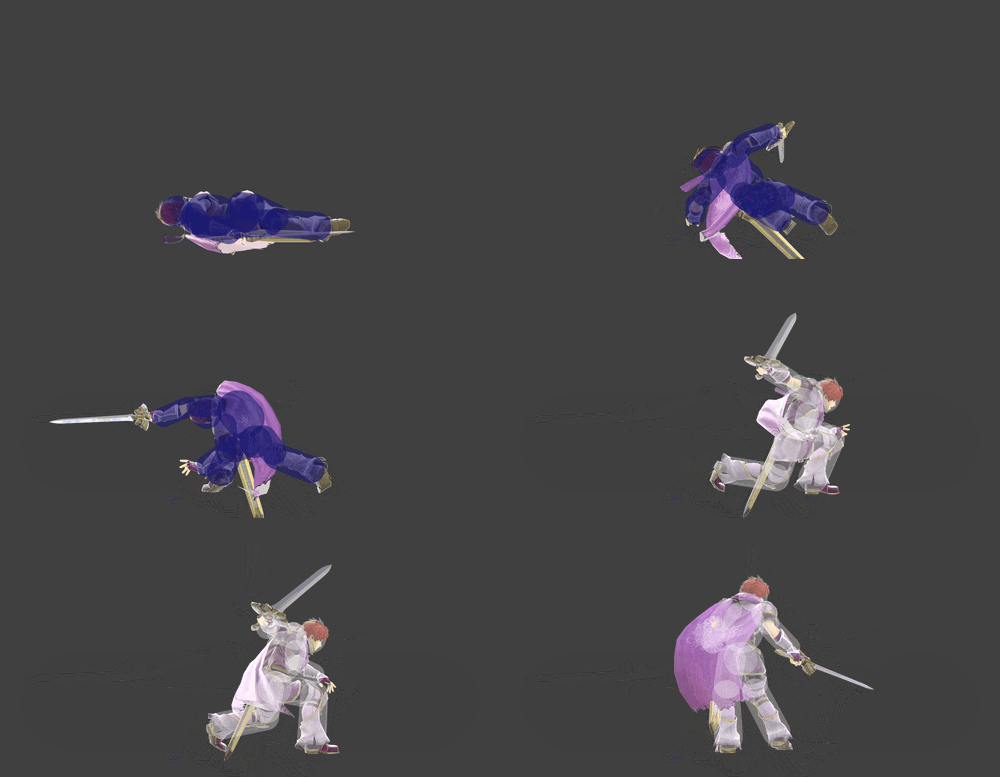
| |
| Getup attack trip | 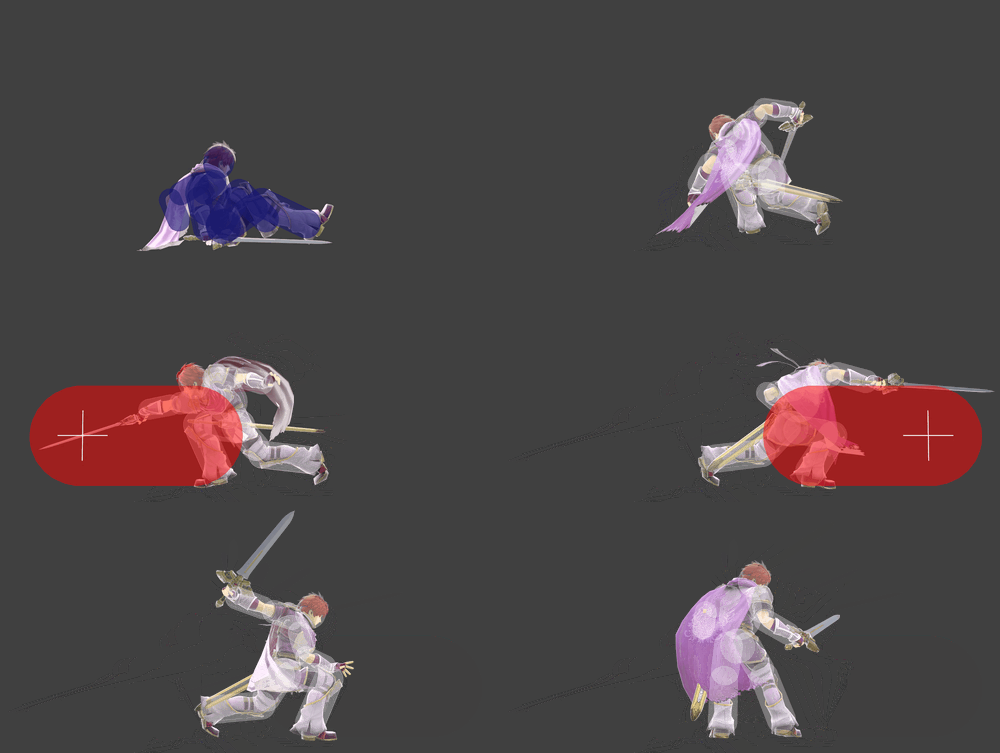
| |
| Ledge attack | 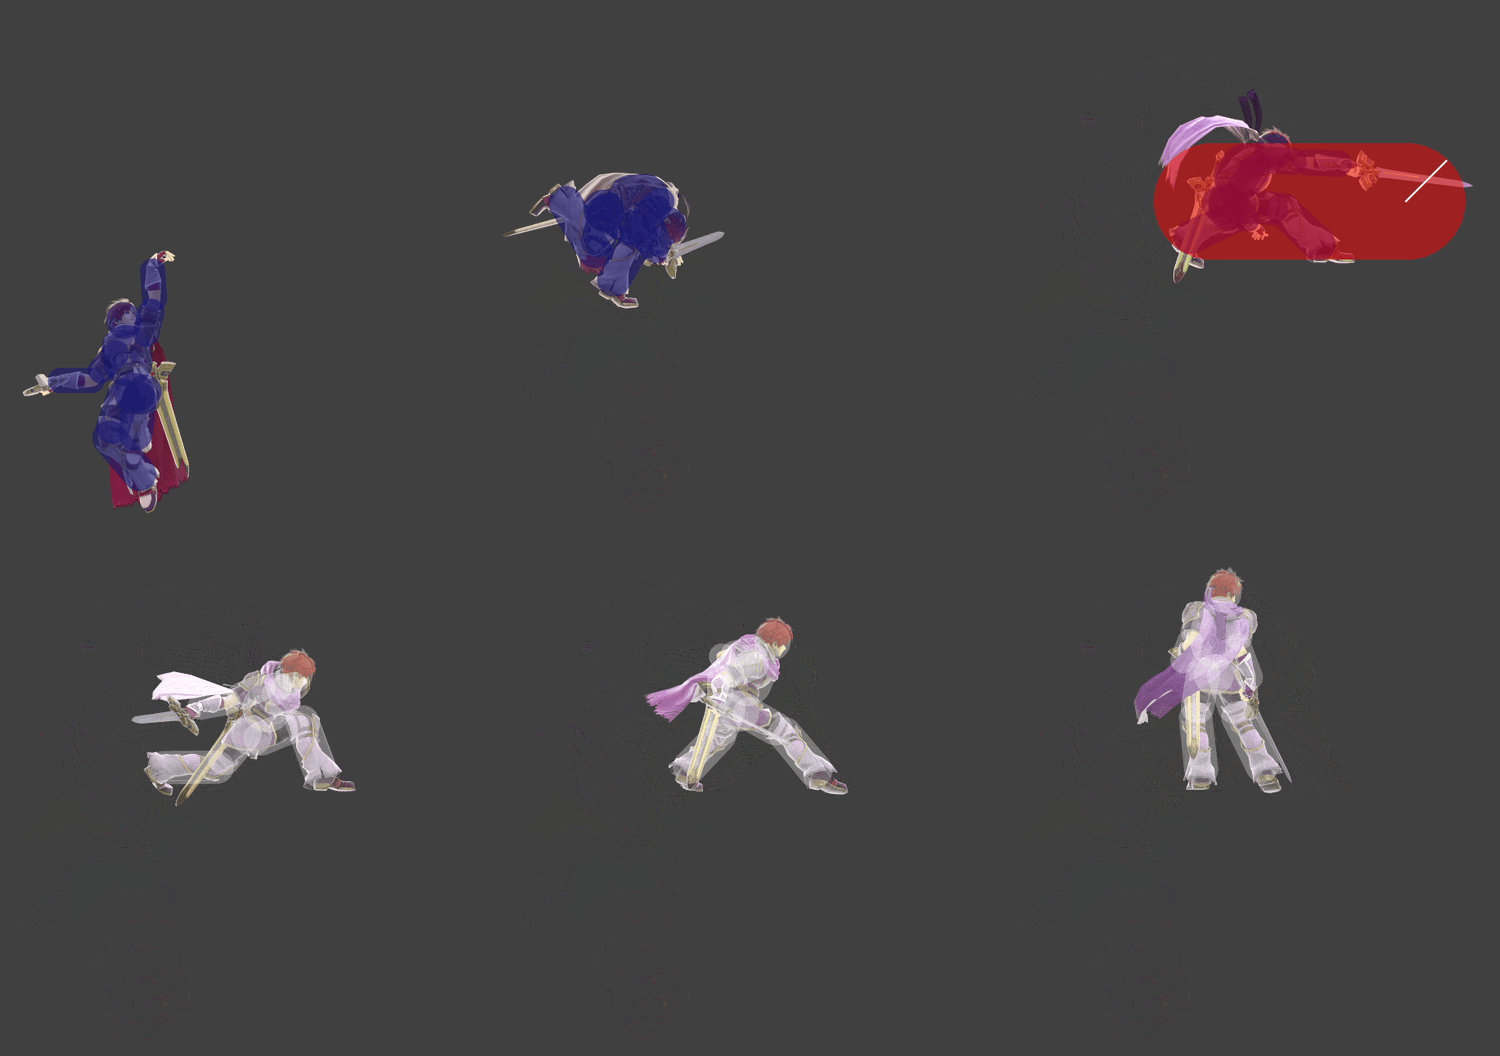
|