Greninja (SSB4)/Down aerial: Difference between revisions
From SmashWiki, the Super Smash Bros. wiki
Jump to navigationJump to search
Baefeather (talk | contribs) No edit summary |
No edit summary |
||
| Line 1: | Line 1: | ||
{{ArticleIcons|ssb4=y}} | {{ArticleIcons|ssb4=y}} | ||
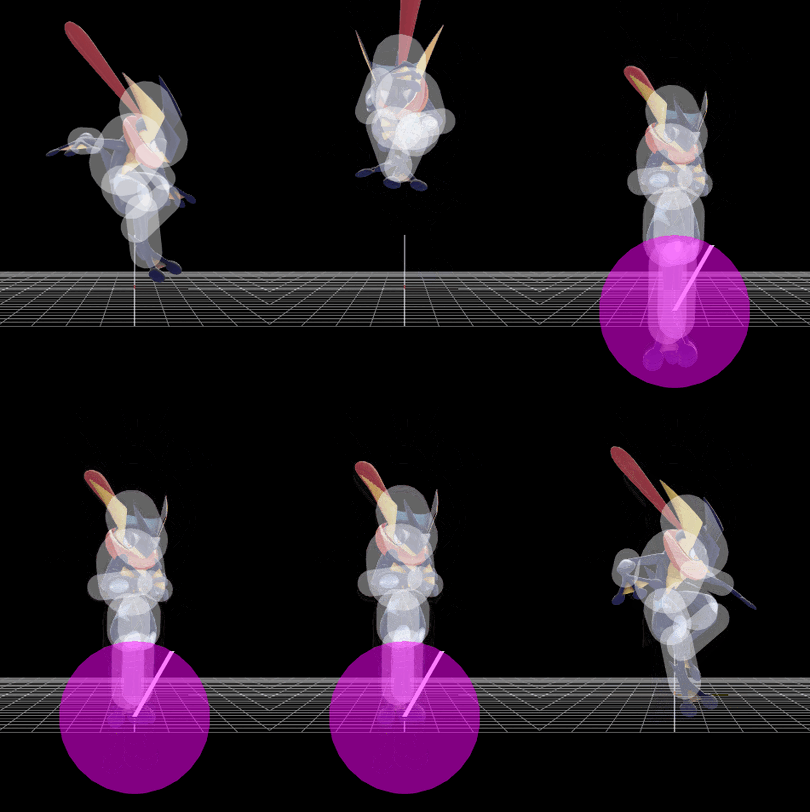
[[File:GreninjaDAir.gif|thumb|270px|Hitbox visualization showing Greninja's down aerial.]] | |||
{{competitive expertise}} | {{competitive expertise}} | ||
{{technical data}} | {{technical data}} | ||
Revision as of 22:17, January 6, 2018
Overview
Greninja stalls for a moment before quickly plummeting straight down. The move has a meteor hitbox near its beginning, while sending opponents up at a high angle later during the move. If it hits, Greninja will stop falling and bounce off of the opponent. If it misses, Greninja will continue to plummet downwards, often causing a self-destruct if it is above the blast zone. This move is commonly used for comboing opponents into either a footstool, a forward aerial, or another down aerial.
Hitboxes
|


