Mario (SSBB)/Hitboxes: Difference between revisions
From SmashWiki, the Super Smash Bros. wiki
Jump to navigationJump to search
m (1 revision: pages) |
No edit summary |
||
| Line 9: | Line 9: | ||
{|class="wikitable collapsible collapsed" align="center" style="text-align:center" | {|class="wikitable collapsible collapsed" align="center" style="text-align:center" | ||
!colspan="2"|Color | !colspan="2"|Color Legend | ||
|- | |||
!colspan="2"|Types | |||
|-style="background:#9f9f9f" | |||
|Typeless||{{AttackType|type=Typeless}} | |||
|-style="background:#ff0000" | |||
|Head||{{AttackType|type=Head}} | |||
|-style="background:#ffff00" | |-style="background:#ffff00" | ||
| | |Hand||{{AttackType|type=Hand}} | ||
|-style="background:#ff7f00" | |-style="background:#ff7f00" | ||
| | |Foot||{{AttackType|type=Foot}} | ||
|-style="background:# | |-style="background:#ff00ff" | ||
| | |Throwing||{{AttackType|type=Throwing}} | ||
|-style="background:#ffbf7f" | |||
|Weapon||{{AttackType|type=Weapon}} | |||
|-style="background:#7fff00" | |-style="background:#7fff00" | ||
|Spin||{{AttackType| | |Spin||{{AttackType|type=Spin}} | ||
|- | |- | ||
!colspan="2"|Effects | |||
|-style="background:# | |-style="background:#afaf7f" | ||
| | |Normal||{{AttackType|effect=Normal}} | ||
|-style="background:#ff3f00" | |-style="background:#ff3f00" | ||
|Flame||{{AttackType| | |Flame||{{AttackType|effect=Flame}} | ||
|-style="background:#0000ff" | |-style="background:#0000ff" | ||
|Water||{{AttackType| | |Water||{{AttackType|effect=Water}} | ||
|} | |} | ||
| Line 98: | Line 106: | ||
===Notes=== | ===Notes=== | ||
*The angle of a hitbox is displayed as a line. For hitboxes with the [[Sakurai angle]], a star shape (*) is used instead. Note that all angles are based on what side of the attacker the target is on - if the target is on the opposite side of the attacker, they will fly in the opposite direction (but at the same angle). | *The angle of a hitbox is displayed as a line. For hitboxes with the [[Sakurai angle]], a star shape (*) is used instead. Note that all angles are based on what side of the attacker the target is on - if the target is on the opposite side of the attacker, they will fly in the opposite direction (but at the same angle). Most presented angles assume the target is on the right of the attacker, unless the attack is obviously on the attacker's left. | ||
*A transcendent hitbox is denoted by a dashed | *A transcendent hitbox is denoted by a dashed border. | ||
*The colour of a hitbox is its type; the colour of its angle indicator and border is its effect. | |||
*The numbers represent each hitbox's damage and knockback (base knockback/knockback scaling), as well as whether the knockback is fixed. | |||
[[Category:Hitbox repositories]] | [[Category:Hitbox repositories]] | ||
Revision as of 17:35, October 7, 2010
| Color Legend | |
|---|---|
| Types | |
| Typeless | |
| Head | |
| Hand | |
| Foot | |
| Throwing | |
| Weapon | |
| Spin | |
| Effects | |
| Normal | |
| Flame | |
| Water | |
| Mario's Hitboxes | ||||||
|---|---|---|---|---|---|---|
| Neutral (Combo Kick) |
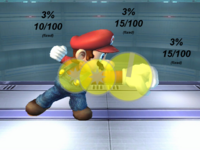 Hit 1 |
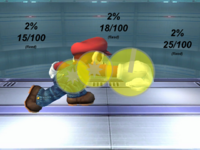 Hit 2 | ||||
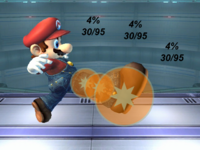 Hit 3 (clean) |
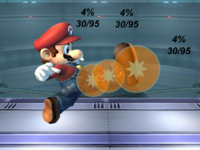 Hit 3 (late) | |||||
| F-Tilt (Power Kick) |
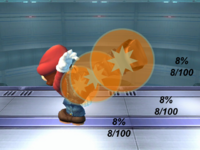 Angled Up |
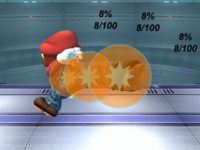 Angled Side |
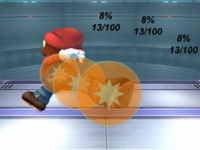 Angled Down | |||
| U-Tilt (Uppercut) |
File:MarioSSBBUTilt.png | |||||
| D-Tilt (Crouch Kick) |
File:MarioSSBBDTilt.png | |||||
| Dash (Slide Kick) |
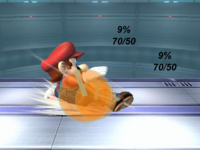 Clean |
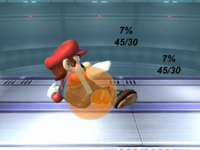 Late | ||||
| U-Smash (Head Snap) |
File:MarioSSBBUSmash.png | |||||
| D-Smash (Breakdance Kick) |
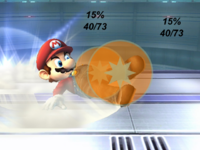 Hit 1 |
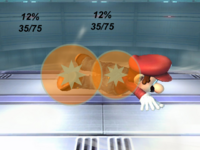 Hit 2 | ||||
| F-Smash (Fire Smash) |
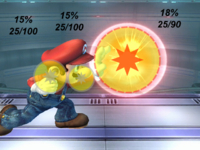 Angled up |
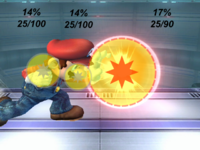 Angled side |
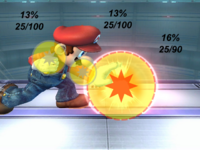 Angled down | |||
| Nair (Drop Kick) |
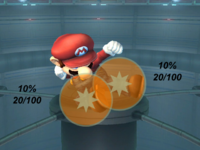 Clean |
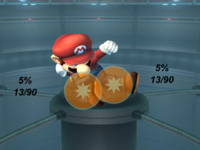 Late | ||||
| Fair (Meteor Punch) |
File:MarioSSBBFair(windup).png Windup |
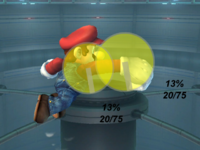 Clean |
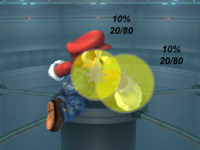 Late | |||
| Bair (Rear Kick) |
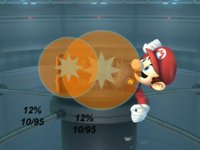 Clean |
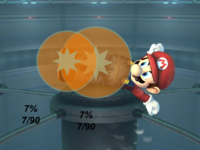 Late | ||||
| Uair (Flip Kick) |
File:MarioSSBBUair.png | |||||
| Dair (Mario Tornado) |
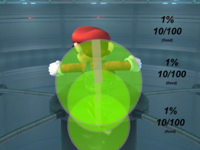 Hits 1-5 |
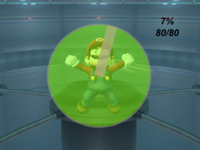 Hit 6 |
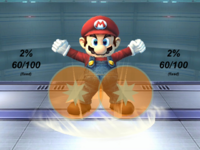 Landing | |||
| Shield | 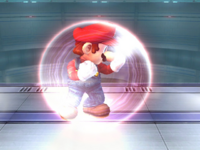
| |||||
| Grab | 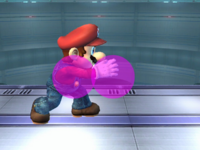 Standing |
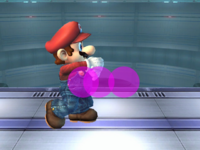 Running |
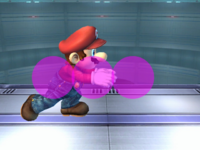 Pivot | |||
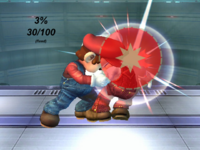
| Pummel (Nosebutt) |
| |||||
| F-Throw (Spin Chuck) |
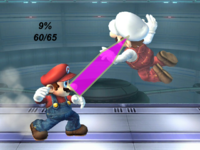
| |||||
| B-Throw (Spin Throw) |
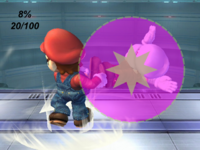 Swing Collision |
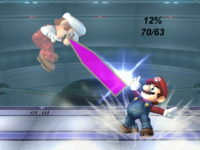 Throw | ||||
| U-Throw (Vertical Hurl) |
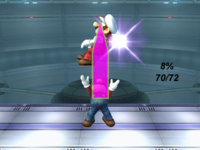
| |||||
| D-Throw (Ground Slam) |
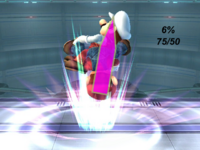
| |||||
| Floor (back) (Sweep Kick) |
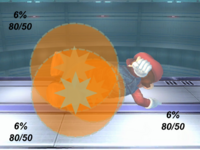 Hit 1 |
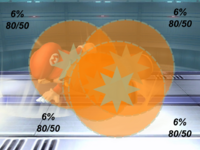 Hit 2 | ||||
| Floor (front) (Double Punch) |
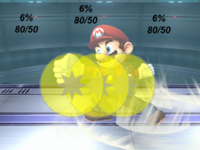 Hit 1 |
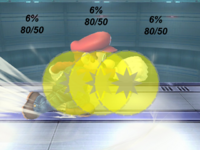 Hit 2 | ||||
| Floor (trip) (Double Kick) |
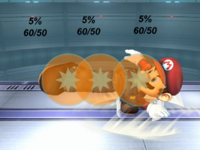 Hit 1 |
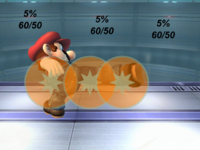 Hit 2 | ||||
| Edge (<100%) (Quick Kick) |
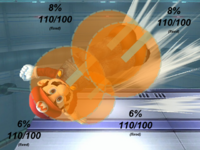
| |||||
| Edge (100%+) (Slow Kick) |
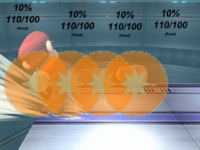
| |||||
| Neutral Special (Fireball) |
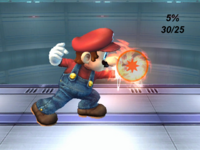 Early |
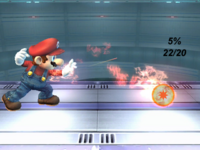 Semi-early |
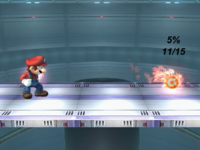 After | |||
| Side Special (Cape) |
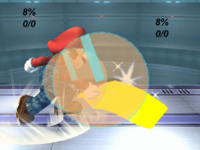 Ground |
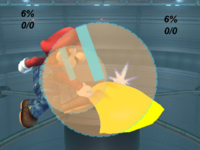 Air | ||||
| Up Special (Super Jump Punch) |
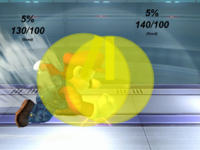 Hit 1 |
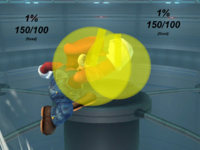 Hits 2-4 | ||||
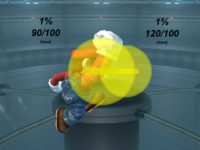 Hits 5-6 |
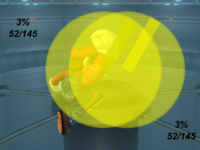 Hit 7 | |||||
| Down Special (FLUDD) |
File:MarioSSBBDS(uncharged).png Uncharged |
File:MarioSSBBDS(fullycharged).png Fully charged | ||||
| Final Smash (Mario Finale) |
File:MarioSSBBFS(windup).png | 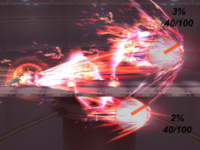
| ||||
Notes
- The angle of a hitbox is displayed as a line. For hitboxes with the Sakurai angle, a star shape (*) is used instead. Note that all angles are based on what side of the attacker the target is on - if the target is on the opposite side of the attacker, they will fly in the opposite direction (but at the same angle). Most presented angles assume the target is on the right of the attacker, unless the attack is obviously on the attacker's left.
- A transcendent hitbox is denoted by a dashed border.
- The colour of a hitbox is its type; the colour of its angle indicator and border is its effect.
- The numbers represent each hitbox's damage and knockback (base knockback/knockback scaling), as well as whether the knockback is fixed.