Bowser (SSBB)/Hitboxes: Difference between revisions
From SmashWiki, the Super Smash Bros. wiki
Jump to navigationJump to search
(ugh don't know how this is getting forgotten) |
No edit summary |
||
| Line 90: | Line 90: | ||
|- | |- | ||
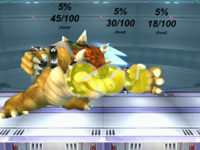
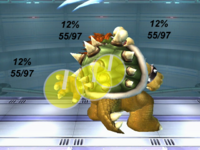
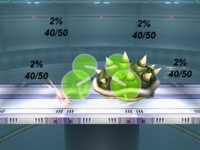
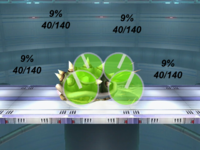
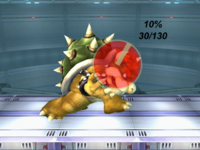
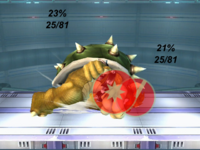
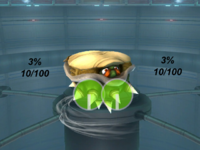
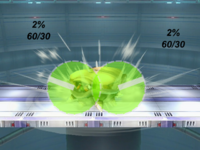
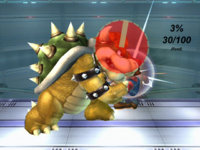
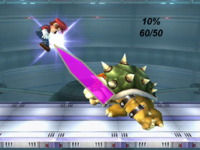
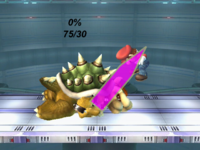
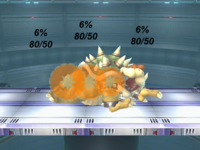
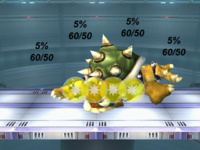
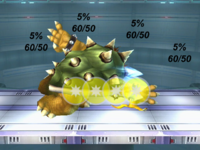
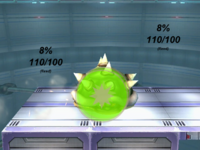
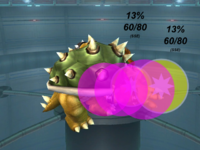
|D-Throw<br>(Flatten)||colspan="3"|[[Image:BowserSSBBDThrow(hit1).png|200px]]<br>Hit 1||colspan="3"|[[Image:BowserSSBBDThrow(throw).png|200px]]<br>Throw | |D-Throw<br>(Flatten)||colspan="3"|[[Image:BowserSSBBDThrow(hit1).png|200px]]<br>Hit 1||colspan="3"|[[Image:BowserSSBBDThrow(throw).png|200px]]<br>Throw | ||
|- | |||
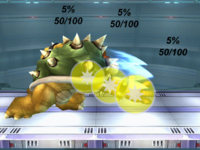
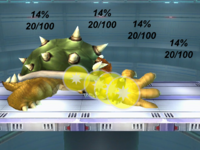
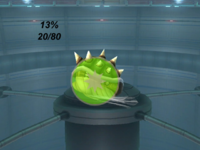
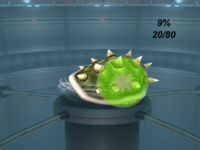
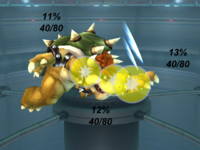
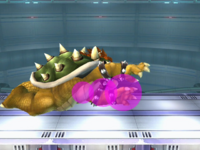
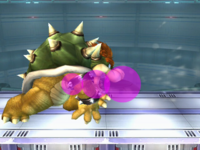
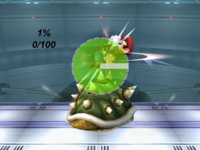
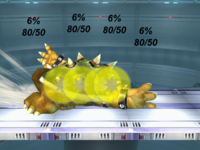
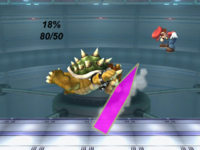
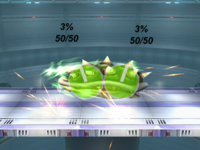
|Floor (back)<br>(Claw Spin)||colspan="3"|[[Image:BowserSSBBFloor(backhit1).png|200px]]<br>Hit 1||colspan="3"|[[Image:BowserSSBBFloor(backhit2).png|200px]]<br>Hit 2 | |||
|- | |||
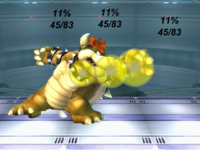
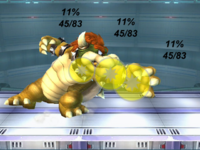
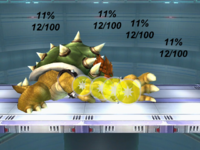
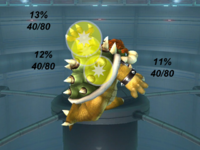
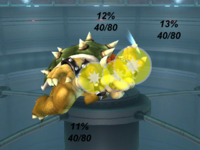
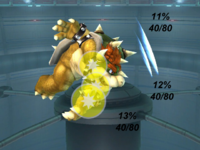
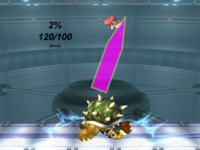
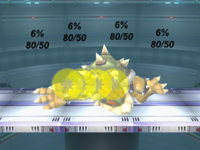
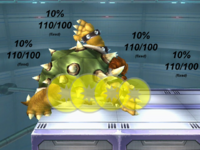
|Floor (front)<br>(Worm)||colspan="3"|[[Image:BowserSSBBFloor(fronthit1).png|200px]]<br>Hit 1||colspan="3"|[[Image:BowserSSBBFloor(fronthit2).png|200px]]<br>Hit 2 | |||
|- | |||
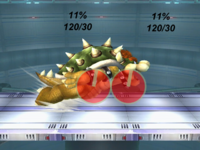
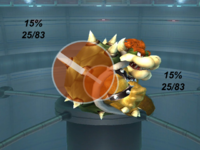
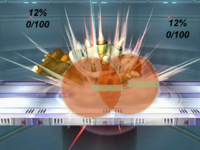
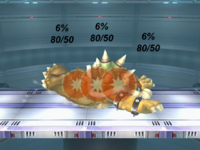
|Floor (trip)<br>(Floor Spin)||colspan="3"|[[Image:BowserSSBBFloor(triphit1).png|200px]]<br>Hit 1||colspan="3"|[[Image:BowserSSBBFloor(triphit2).png|200px]]<br>Hit 2 | |||
|- | |||
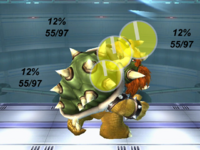
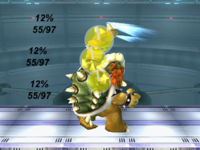
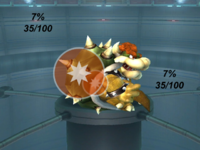
|Edge (<100%)<br>(Quick Spin)||colspan="3"|[[Image:BowserSSBBEdge(faststart).png|200px]]||colspan="3"|[[Image:BowserSSBBEdge(fastend).png|200px]] | |||
|- | |||
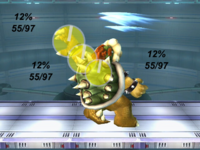
|Edge (100%+)<br>(Slow Swipe)||colspan="6"|[[Image:BowserSSBBEdge(slow).png|200px]] | |||
|- | |||
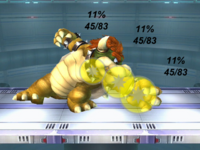
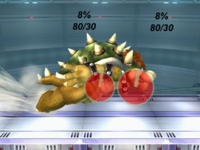
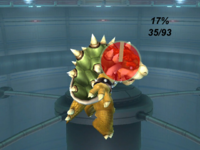
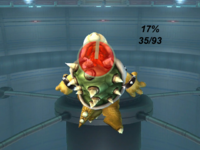
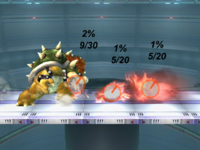
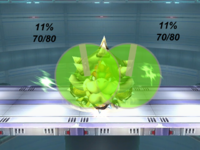
|Neutral Special<br>(Fire Breath)||colspan="6"|[[Image:BowserSSBBNS.png|200px]] | |||
|- | |||
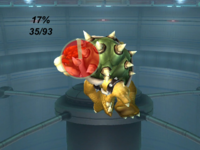
|Side Special<br>(Flying Slam)||colspan="2"|[[Image:BowserSSBBSS(groundgrab).png|200px]]<br>Ground grab||colspan="2"|[[Image:BowserSSBBSS(airgrab).png|200px]]<br>Air grab||colspan="2"|[[Image:BowserSSBBSS(throw).png|200px]]<br>Throw | |||
|- | |||
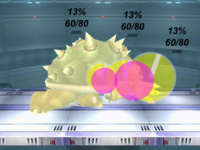
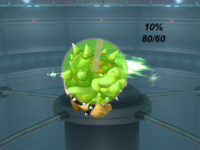
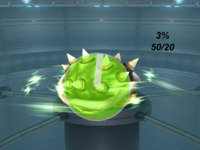
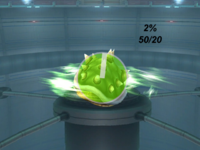
|rowspan="2"|Up Special<br>(Whirling Fortress)||colspan="2"|[[Image:BowserSSBBUS(groundhit1).png|200px]]<br>Hit 1 (ground)||colspan="2"|[[Image:BowserSSBBUS(groundhit2).png|200px]]<br>Hit 2 (ground)||colspan="2"|[[Image:BowserSSBBUS(groundhit3).png|200px]]<br>Hit 3 (ground) | |||
|- | |||
|colspan="2"|[[Image:BowserSSBBUS(airhit1).png|200px]]<br>Hit 1 (air)||colspan="2"|[[Image:BowserSSBBUS(airhit2).png|200px]]<br>Hit 2 (air)||colspan="2"|[[Image:BowserSSBBUS(airhit3).png|200px]]<br>Hit 3 (air) | |||
|- | |||
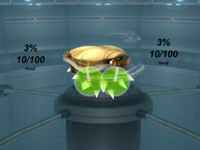
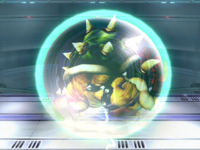
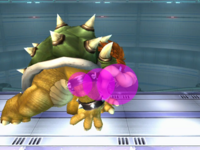
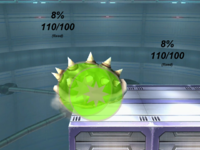
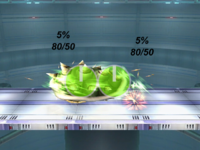
|Down Special<br>(Bowser Bomb)||colspan="2"|[[Image:BowserSSBBDS(hop).png|200px]]<br>Hop||colspan="2"|[[Image:BowserSSBBDS(drop).png|200px]]<br>Drop||colspan="2"|[[Image:BowserSSBBDS(landing).png|200px]]<br>Landing | |||
|} | |} | ||
Revision as of 20:24, July 26, 2011
| Color Legend | |||||||||
|---|---|---|---|---|---|---|---|---|---|
| Types | Effects | ||||||||
| Typeless | Head | Body | Hand | Foot | Throwing | Spin | Normal | Slash | Flame |
Notes
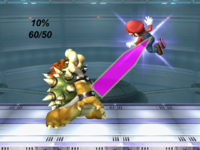
- The angle of a hitbox is displayed as a line. Note that all angles are based on what side of the attacker the target is on - if the target is on the opposite side of the attacker, they will fly in the opposite direction (but at the same angle). Most presented angles assume the target is on the right of the attacker, unless the attack is obviously on the attacker's left.
- An angle indicated with a star (*) is the Sakurai angle.
- An angle indicated with a dash (-) is the autolink angle.
- A transcendent hitbox is denoted by a dashed border.
- The colour of a hitbox is its type; the colour of its angle indicator and border is its effect.
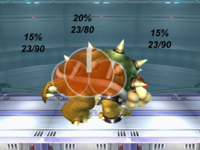
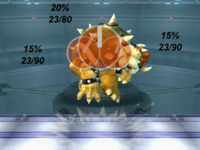
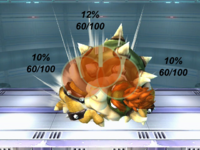
- The numbers represent each hitbox's damage and knockback (base knockback/knockback scaling), as well as whether the knockback is fixed.

