Ice Climbers (SSBU)/Back throw: Difference between revisions
(→Overview: Continuing to elaborate...) |
(→Overview: Continuing to elaborate...) |
||
| Line 12: | Line 12: | ||
When landing a grab while desynced, the partner can be made to buffer a smash attack as the leader throws the opponent, greatly enhancing their damage and launch power. Combining a back throw with an f-smash turns the otherwise very weak throw into a devastating kill move, with back-throw-forward-smash being the second strongest. (While the back throw variant releases opponents at a closer point to the blast zone, the forward throw variant has hitlag and a longer animation, allowing the partner climber to charge their f-smash for a moment before the throw connects and KO earlier) B-throw-f-smash's quicker startup makes it harder to DI, but also harder to time. | When landing a grab while desynced, the partner can be made to buffer a smash attack as the leader throws the opponent, greatly enhancing their damage and launch power. Combining a back throw with an f-smash turns the otherwise very weak throw into a devastating kill move, with back-throw-forward-smash being the second strongest. (While the back throw variant releases opponents at a closer point to the blast zone, the forward throw variant has hitlag and a longer animation, allowing the partner climber to charge their f-smash for a moment before the throw connects and KO earlier) B-throw-f-smash's quicker startup makes it harder to DI, but also harder to time. | ||
Through a tight window, the leader's back throw can put an opponent in just the right spot for the partner's forward air to finish them off. While spiking an opponent off the stage is usually the most desirable position, converting to a forward aerial still has its merits onstage, as with many spikes, the low knockback and high hitstun can allow for easy combo extensions and even a slew of kill confirms. | |||
==Throw Data== | ==Throw Data== | ||
Revision as of 20:29, May 21, 2024
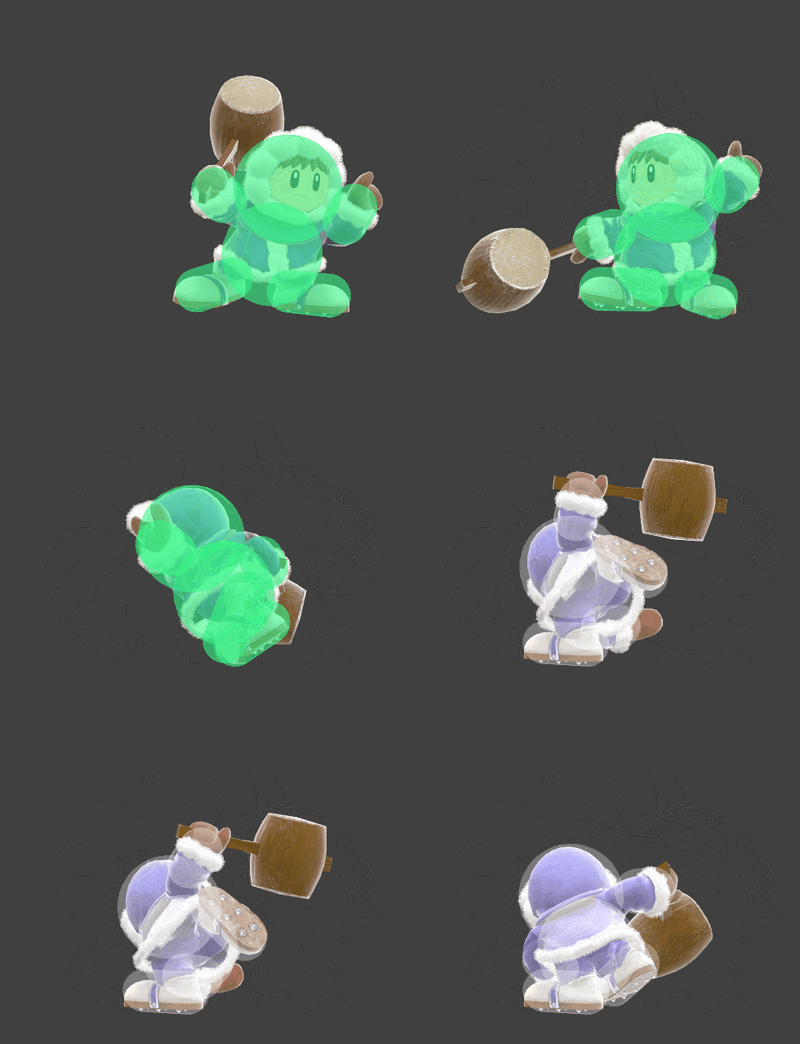
| Ice Climbers back throw hurtbox visualization | ||||
|---|---|---|---|---|

| ||||
Overview
The leader of the duo heaves the opponent into the ground with one hand. Despite what the hefty animation would suggest, it deals low damage and has pitiful knockback growth, with high base knockback and ending lag on top of that. As such it lacks use in combos, kills, damage racking, or tech chasing.
When landing a grab while desynced, the partner can be made to buffer a smash attack as the leader throws the opponent, greatly enhancing their damage and launch power. Combining a back throw with an f-smash turns the otherwise very weak throw into a devastating kill move, with back-throw-forward-smash being the second strongest. (While the back throw variant releases opponents at a closer point to the blast zone, the forward throw variant has hitlag and a longer animation, allowing the partner climber to charge their f-smash for a moment before the throw connects and KO earlier) B-throw-f-smash's quicker startup makes it harder to DI, but also harder to time.
Through a tight window, the leader's back throw can put an opponent in just the right spot for the partner's forward air to finish them off. While spiking an opponent off the stage is usually the most desirable position, converting to a forward aerial still has its merits onstage, as with many spikes, the low knockback and high hitstun can allow for easy combo extensions and even a slew of kill confirms.
Throw Data
| Kind | ID | Damage | Angle | Angle type | BK | KS | FKV | H× | Effect | Type | Sound |
|---|---|---|---|---|---|---|---|---|---|---|---|
| Throw | 0 | 6.0% | Forward | 80 | 30 | 0 | 0.0× | ||||
| Break | 0 | 3.0% | Forward | 40 | 100 | 0 | 0.0× |
Timing
| Invincibility | 1-18 |
|---|---|
| Turnaround | 9 |
| Throw release | 18 |
| Interruptible | 40 |
| Animation length | 67 |
Lag time |
Vulnerable |
Invincible |
State change |
Throw point |
Interruptible |
|
