Zero Suit Samus (SSBU)/Hitboxes: Difference between revisions
From SmashWiki, the Super Smash Bros. wiki
Jump to navigationJump to search
No edit summary |
No edit summary |
||
| Line 1: | Line 1: | ||
{{ArticleIcons|ultimate=y}} | {{ArticleIcons|ultimate=y}} | ||
{|class="wikitable sortable" | {|class="wikitable sortable" | ||
!Move | !Move | ||
| Line 46: | Line 45: | ||
|Down aerial landing|| Slash Dive || [[File:ZSSDAirLandingSSBU.gif|500px]] | |Down aerial landing|| Slash Dive || [[File:ZSSDAirLandingSSBU.gif|500px]] | ||
|- | |- | ||
|Grab aerial|| Plasma Whip || | |Grab aerial|| Plasma Whip || [[File:ZeroSuitSamusZAirSSBU.gif|500px]] | ||
|- | |- | ||
|Neutral special||[[Paralyzer]]|| [[File:ZeroSuitSamusNSpecialSSBU.gif|500px]] | |Neutral special||[[Paralyzer]]|| [[File:ZeroSuitSamusNSpecialSSBU.gif|500px]] | ||
| Line 60: | Line 59: | ||
|Up special aerial||[[Boost Kick]] || [[File:ZSSUSpecialAerialSSBU.gif|500px]] | |Up special aerial||[[Boost Kick]] || [[File:ZSSUSpecialAerialSSBU.gif|500px]] | ||
|- | |- | ||
|Down special ||[[Flip Jump]]|| | |Down special ||[[Flip Jump]]|| [[File:ZeroSuitSamusDSpecialSSBU.gif|500px]] | ||
|- | |- | ||
|Down special kick||[[Flip Jump]]|| [[File:ZSSDSpecialKickSSBU.gif|500px]] | |Down special kick||[[Flip Jump]]|| [[File:ZSSDSpecialKickSSBU.gif|500px]] | ||
| Line 82: | Line 81: | ||
|Down throw || || [[File:ZSSDThrowSSBU.gif|500px]] | |Down throw || || [[File:ZSSDThrowSSBU.gif|500px]] | ||
|- | |- | ||
|Getup attack front || || | |Getup attack front || || [[File:ZSSGetupAttackFrontSSBU.gif|500px]] | ||
|- | |- | ||
|Getup attack back || || | |Getup attack back || || [[File:ZSSGetupAttackBackSSBU.gif|500px]] | ||
|- | |- | ||
|Getup attack trip || || | |Getup attack trip || || [[File:ZSSTripAttackSSBU.gif|500px]] | ||
|- | |- | ||
|Ledge attack || || | |Ledge attack || || [[File:ZSSEdgeAttackSSBU.gif|500px]] | ||
|} | |} | ||
[[Category:Zero Suit Samus (SSBU)]] | [[Category:Zero Suit Samus (SSBU)]] | ||
[[Category:Hitboxes (SSBU)]] | [[Category:Hitboxes (SSBU)]] | ||
Revision as of 21:15, March 30, 2020
| Move | Name | Hitbox |
|---|---|---|
| Neutral attack 1 | 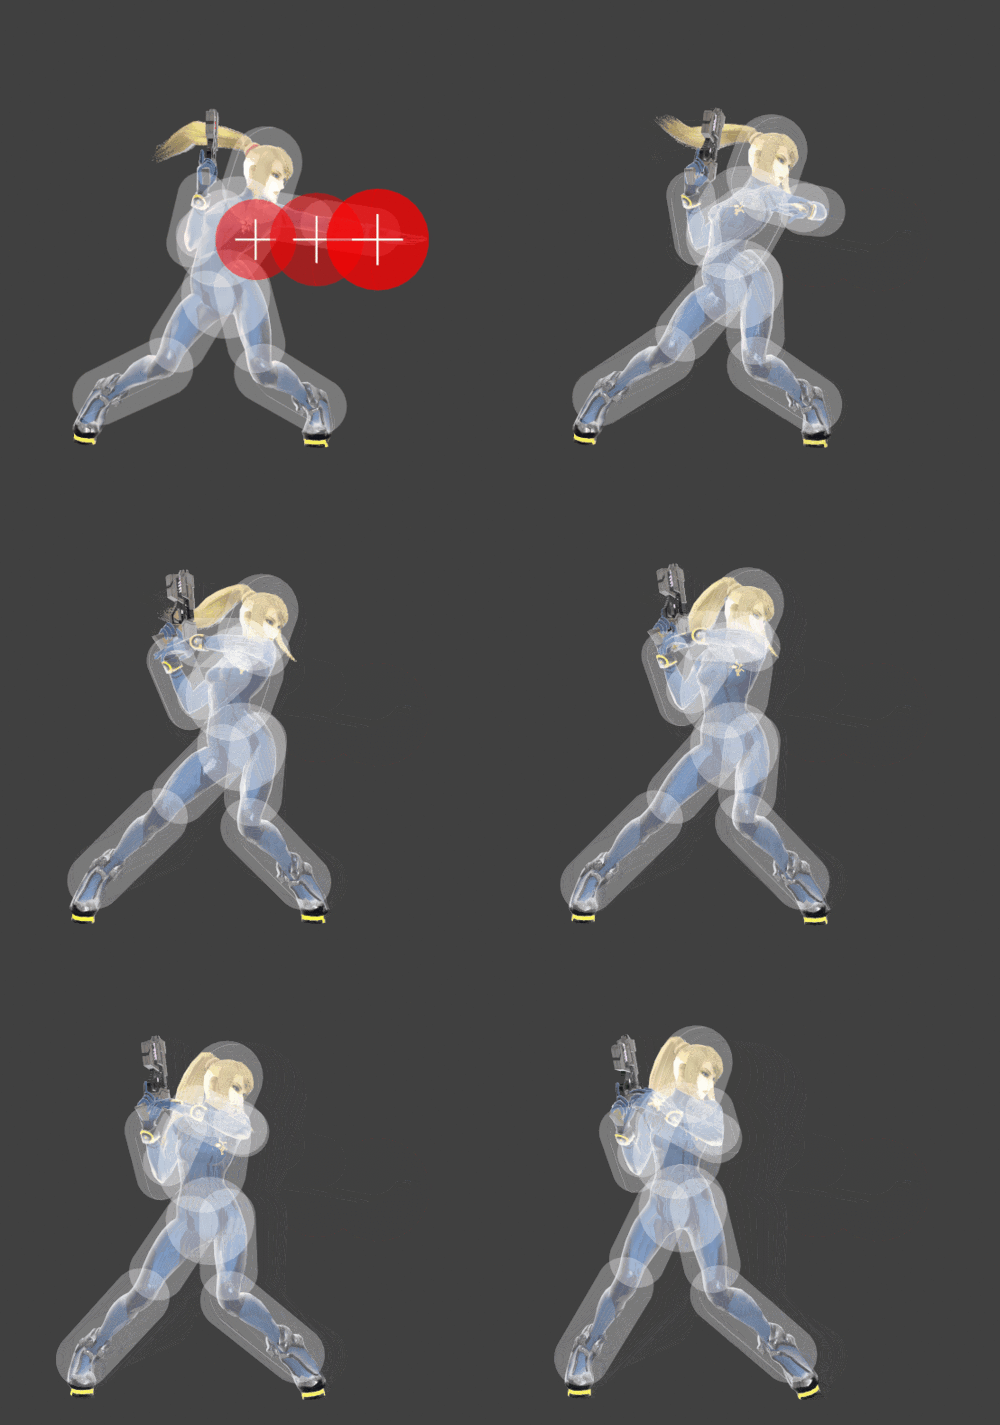
| |
| Neutral attack 2 | 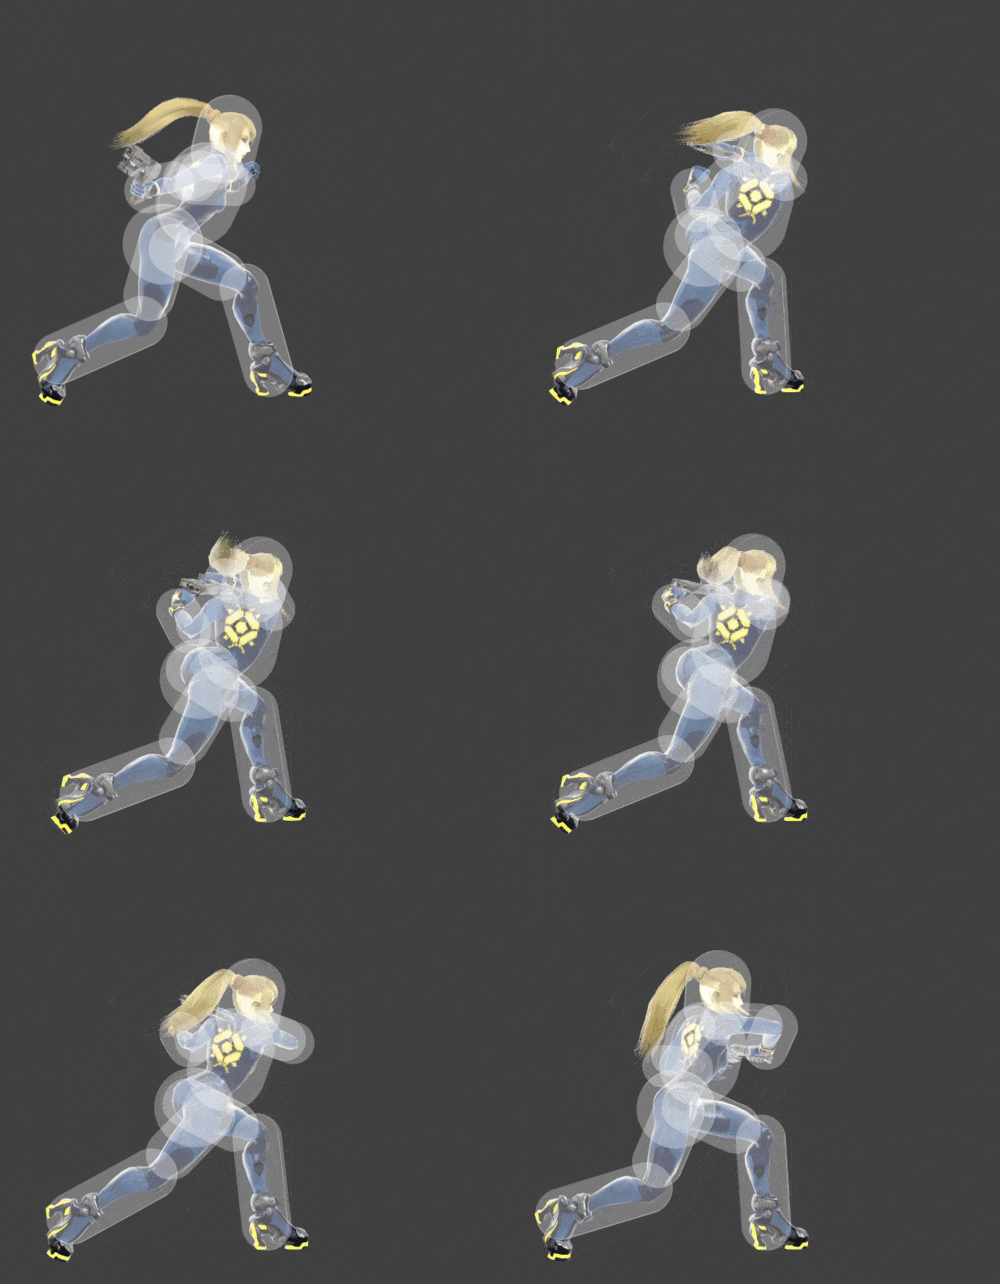
| |
| Neutral attack 3 | 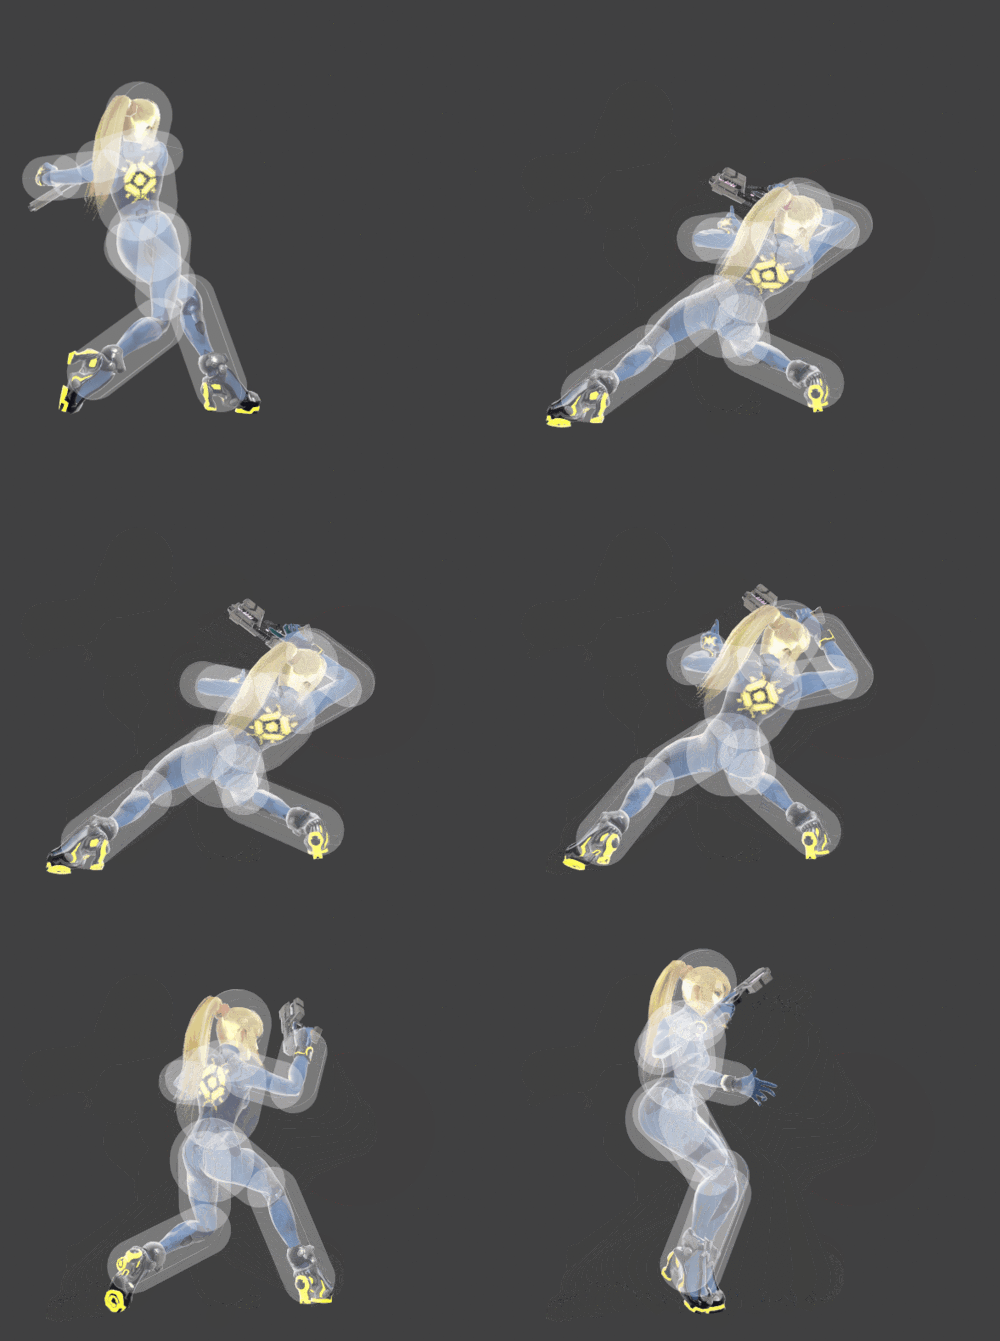
| |
| Forward tilt | 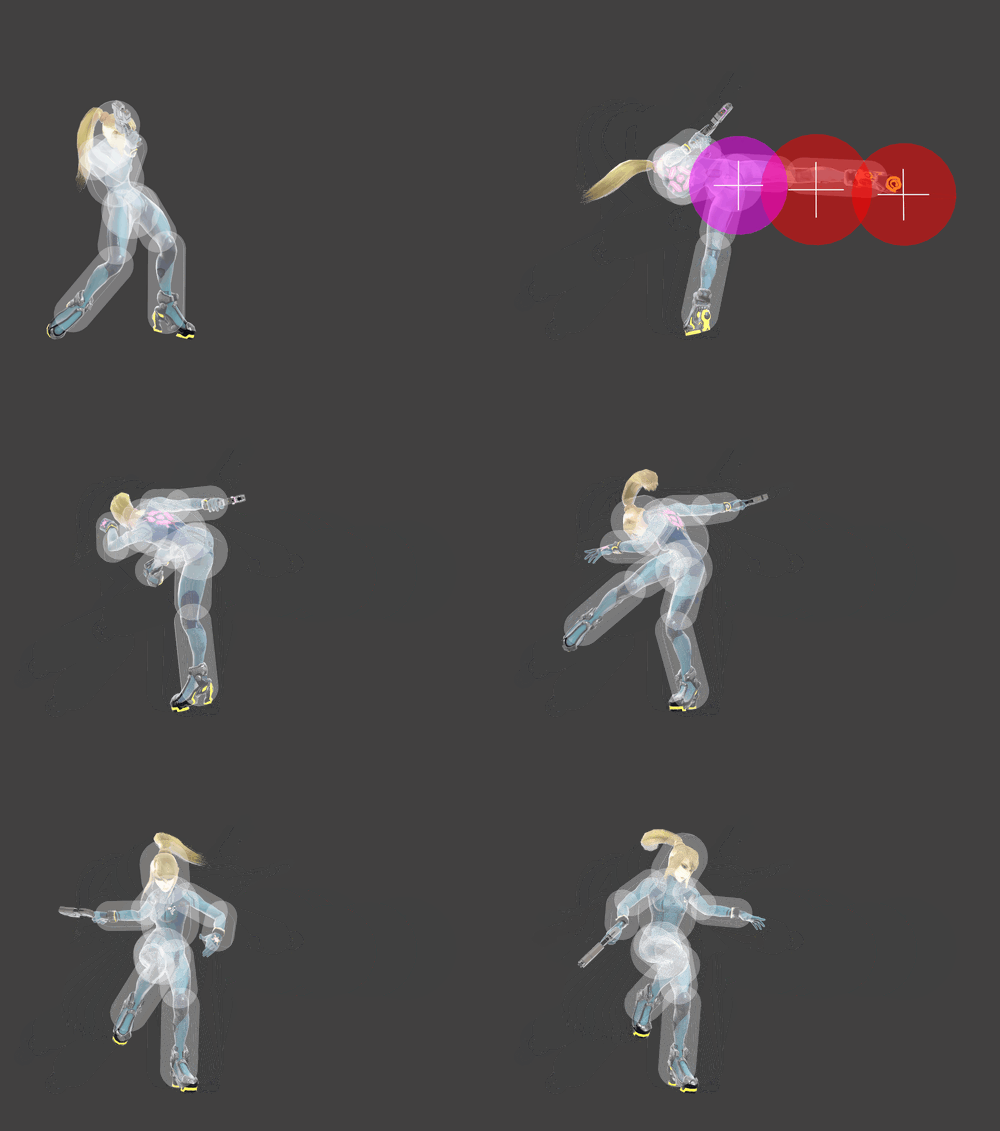
| |
| Forward tilt up | 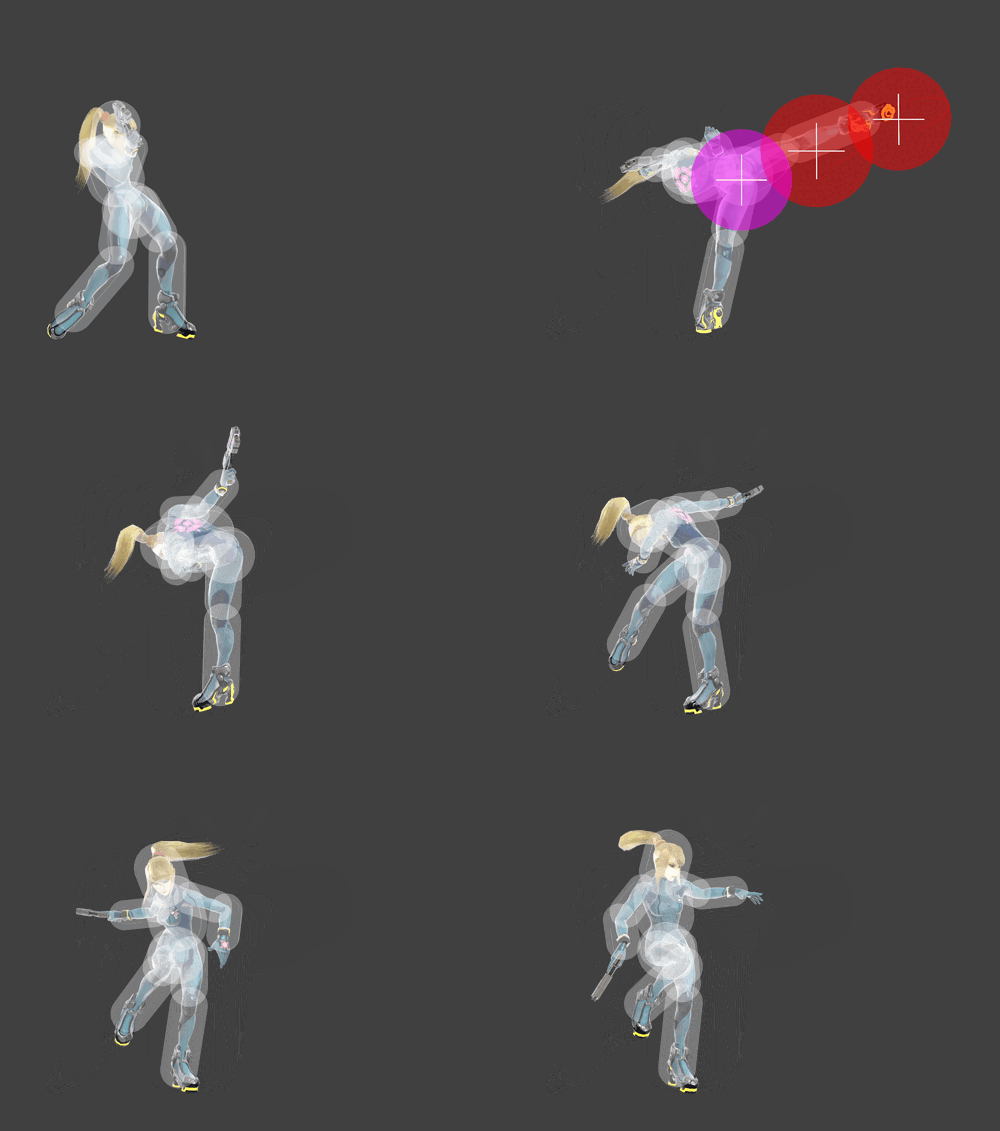
| |
| Forward tilt down | 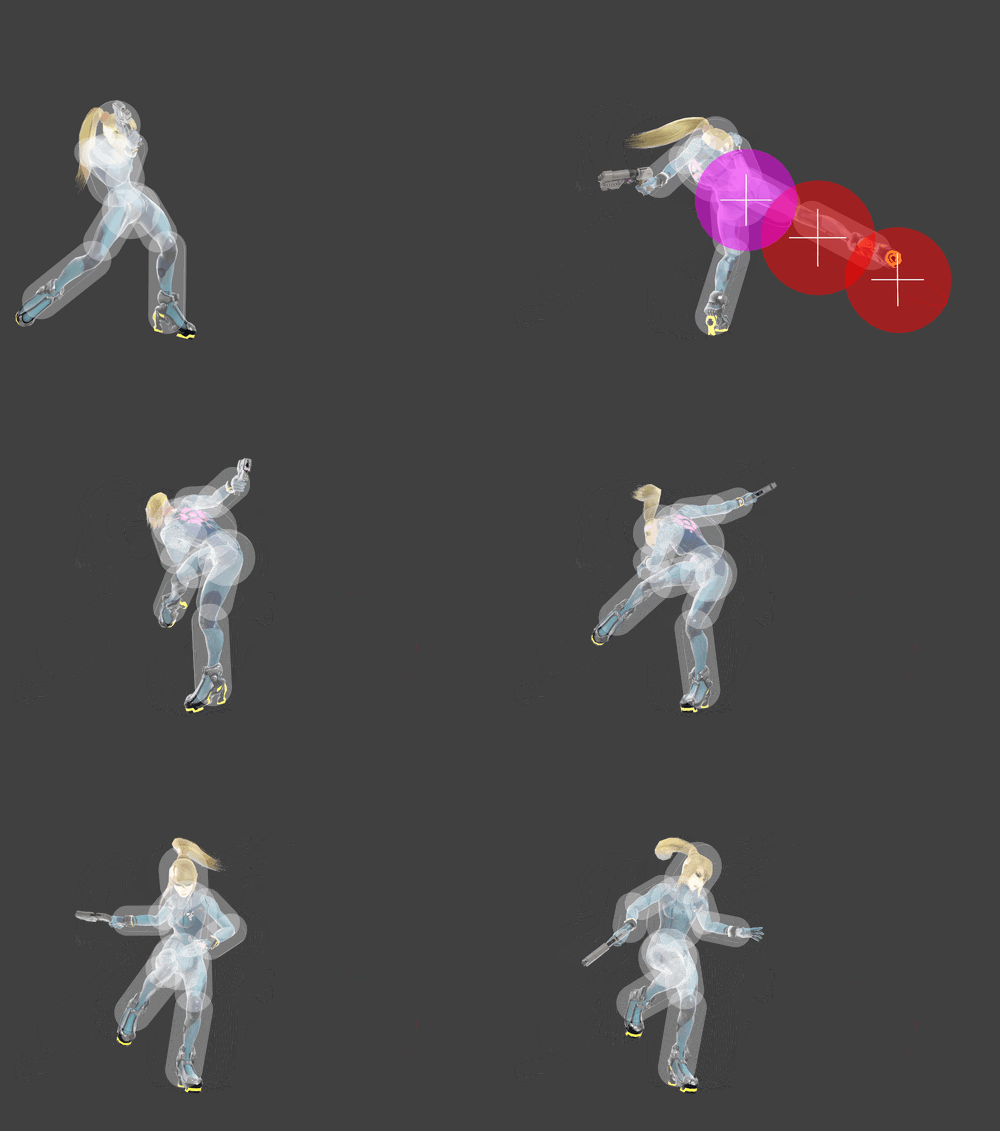
| |
| Up tilt | 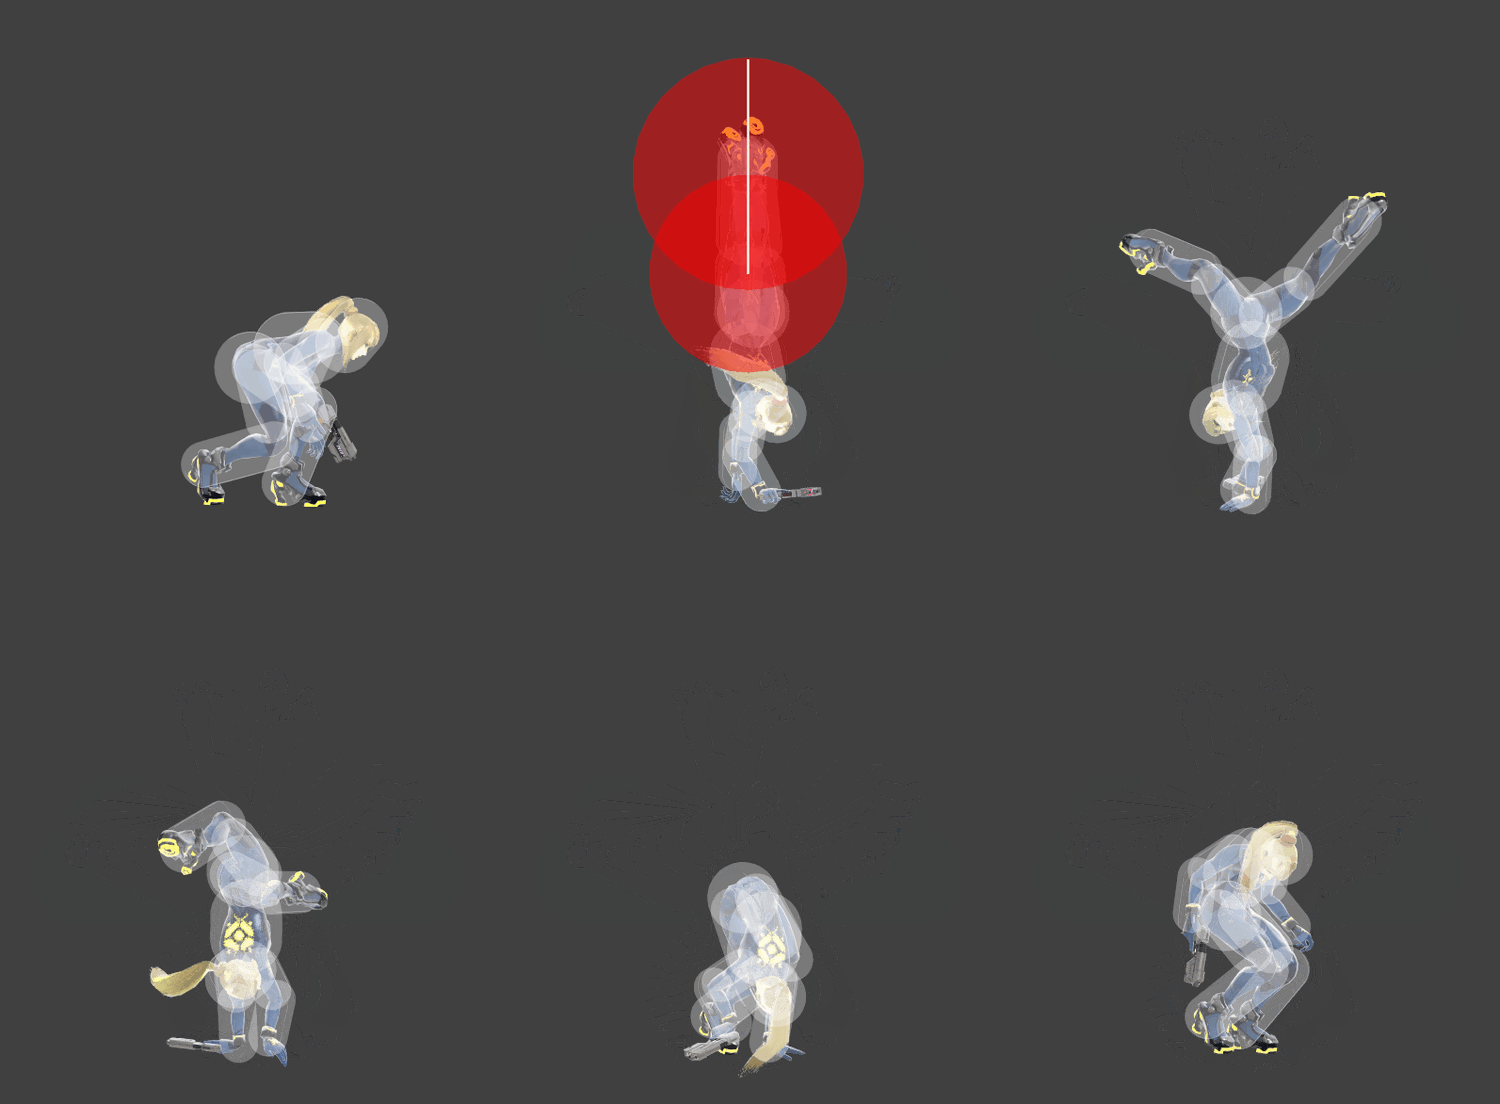
| |
| Down tilt | 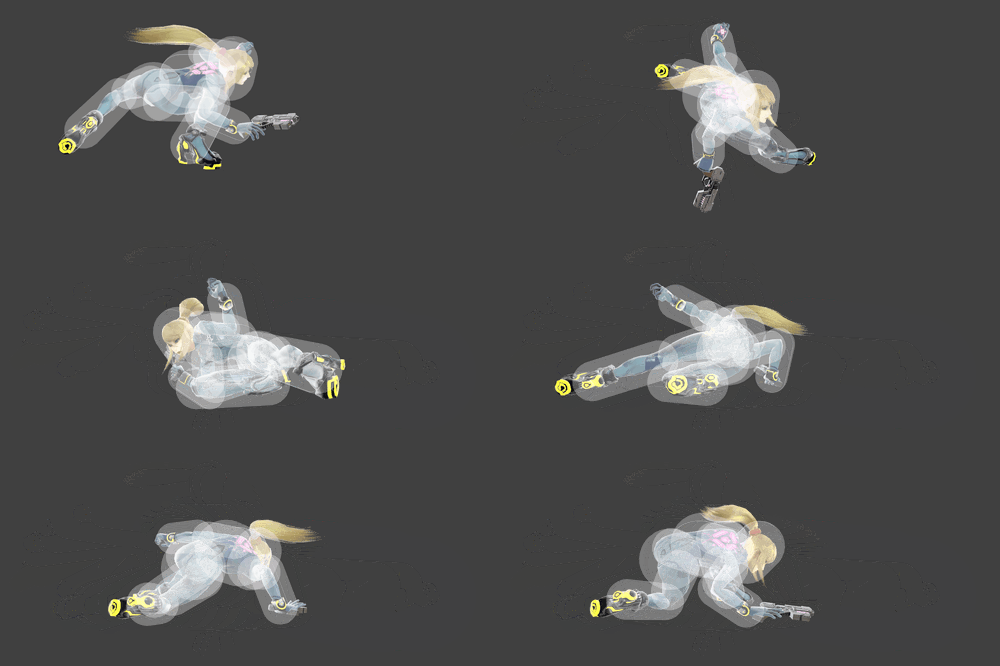
| |
| Dash attack | 
| |
| Forward smash | 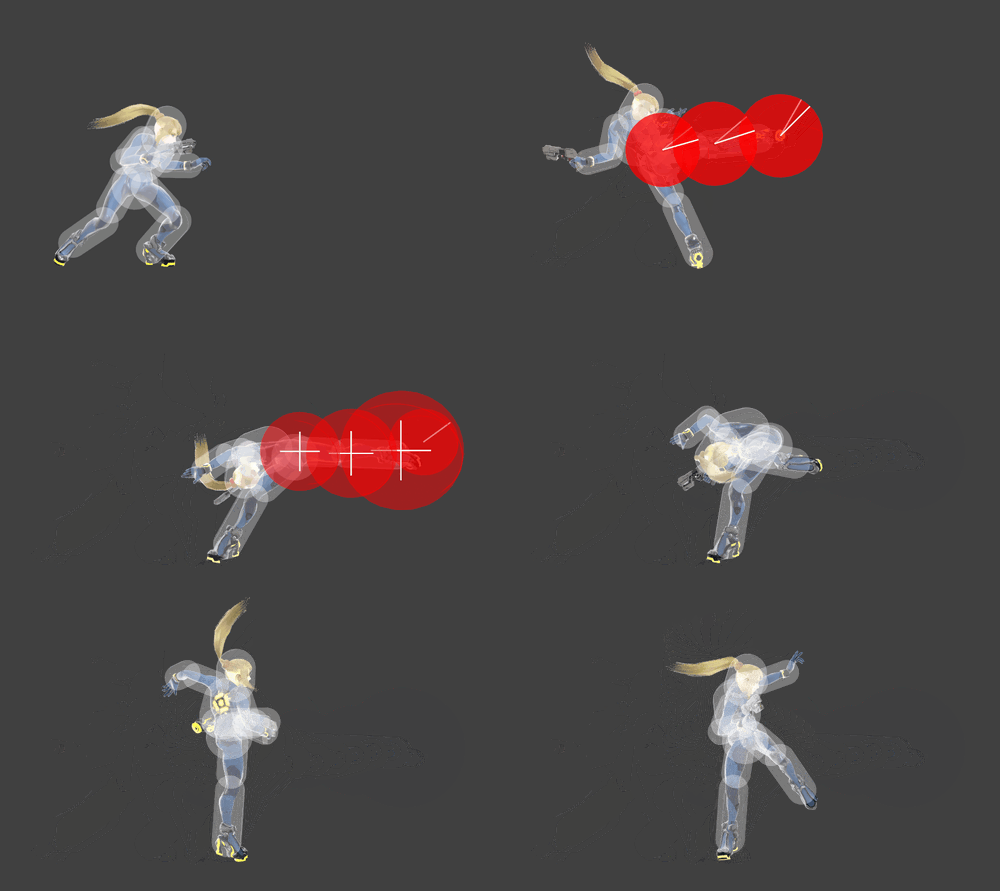
| |
| Forward smash up | 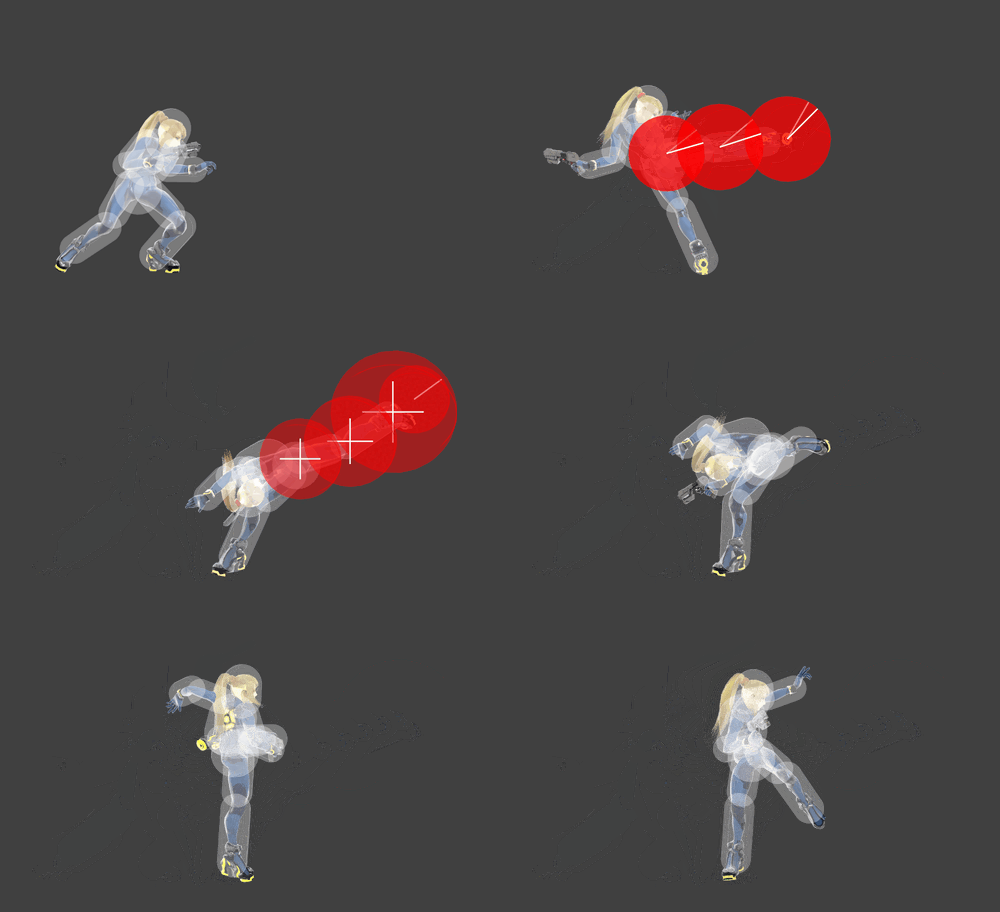
| |
| Forward smash down | 
| |
| Up smash | 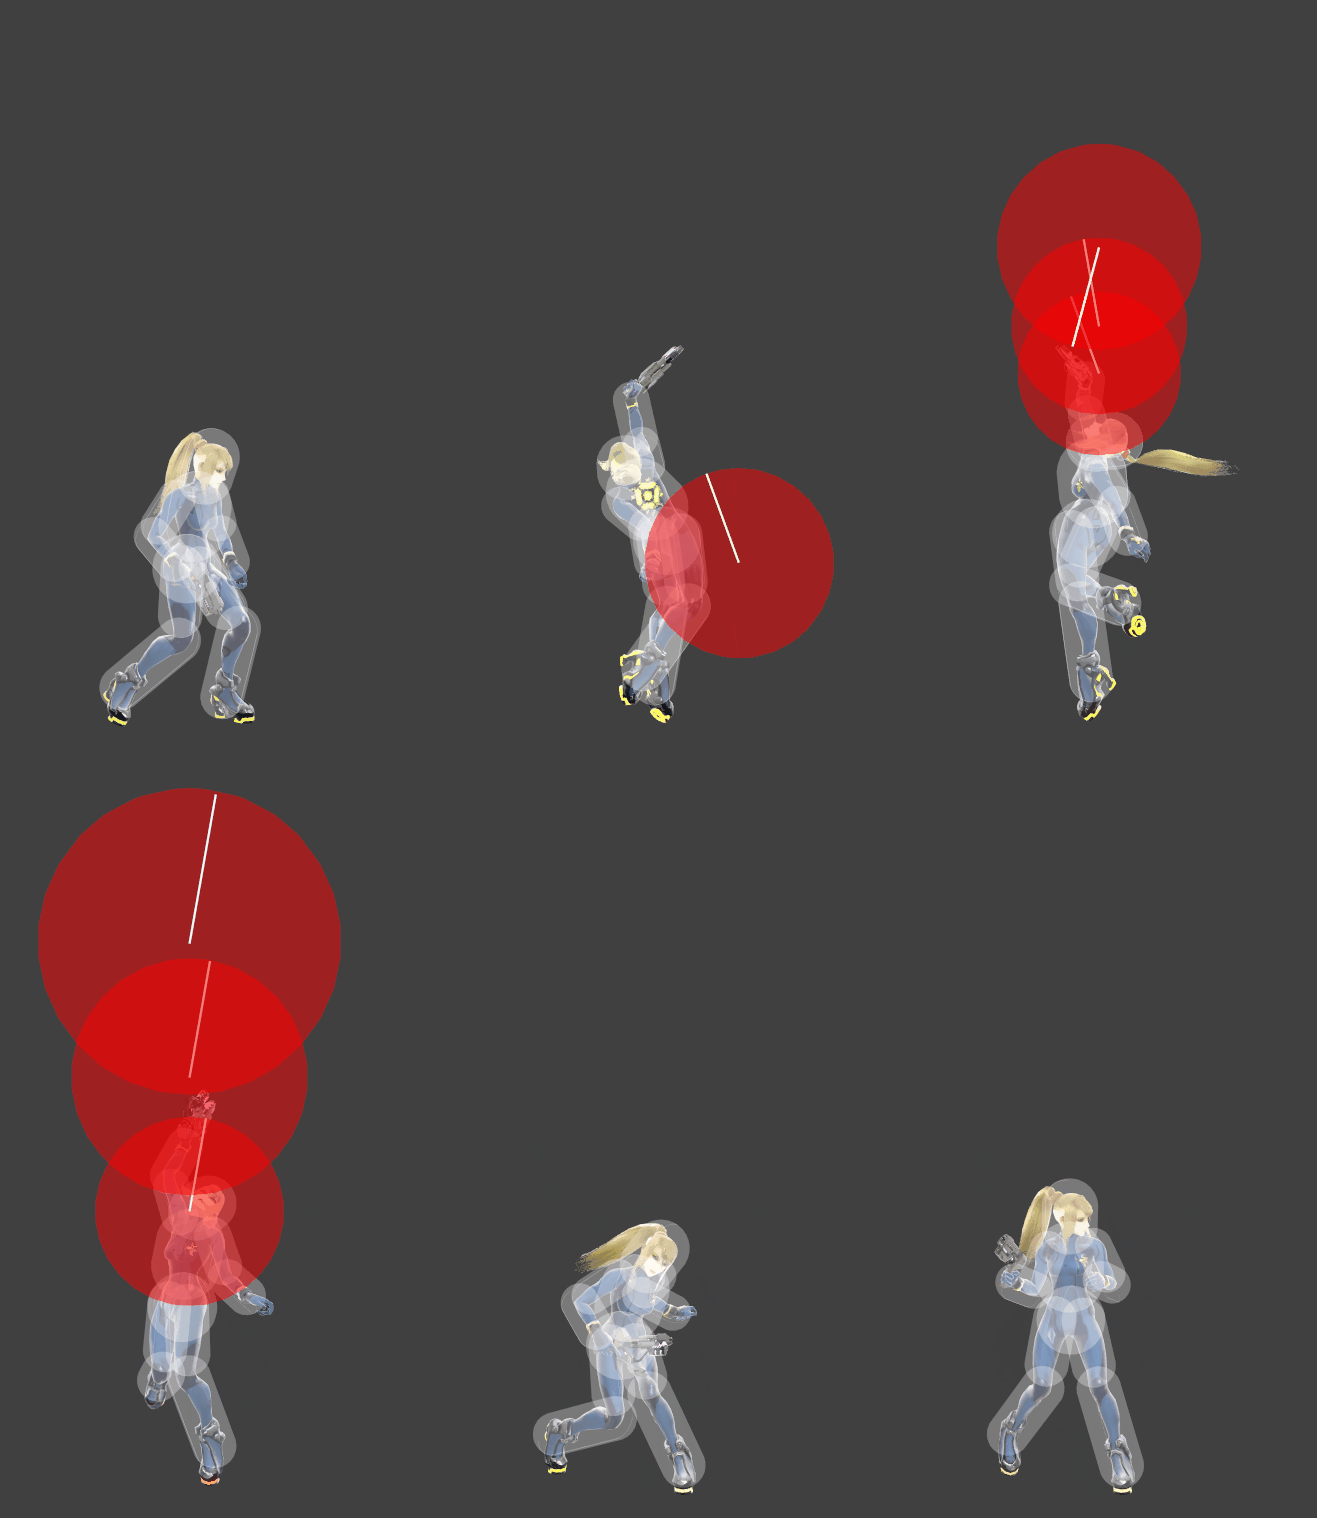
| |
| Down smash | Slant Paralyzer | 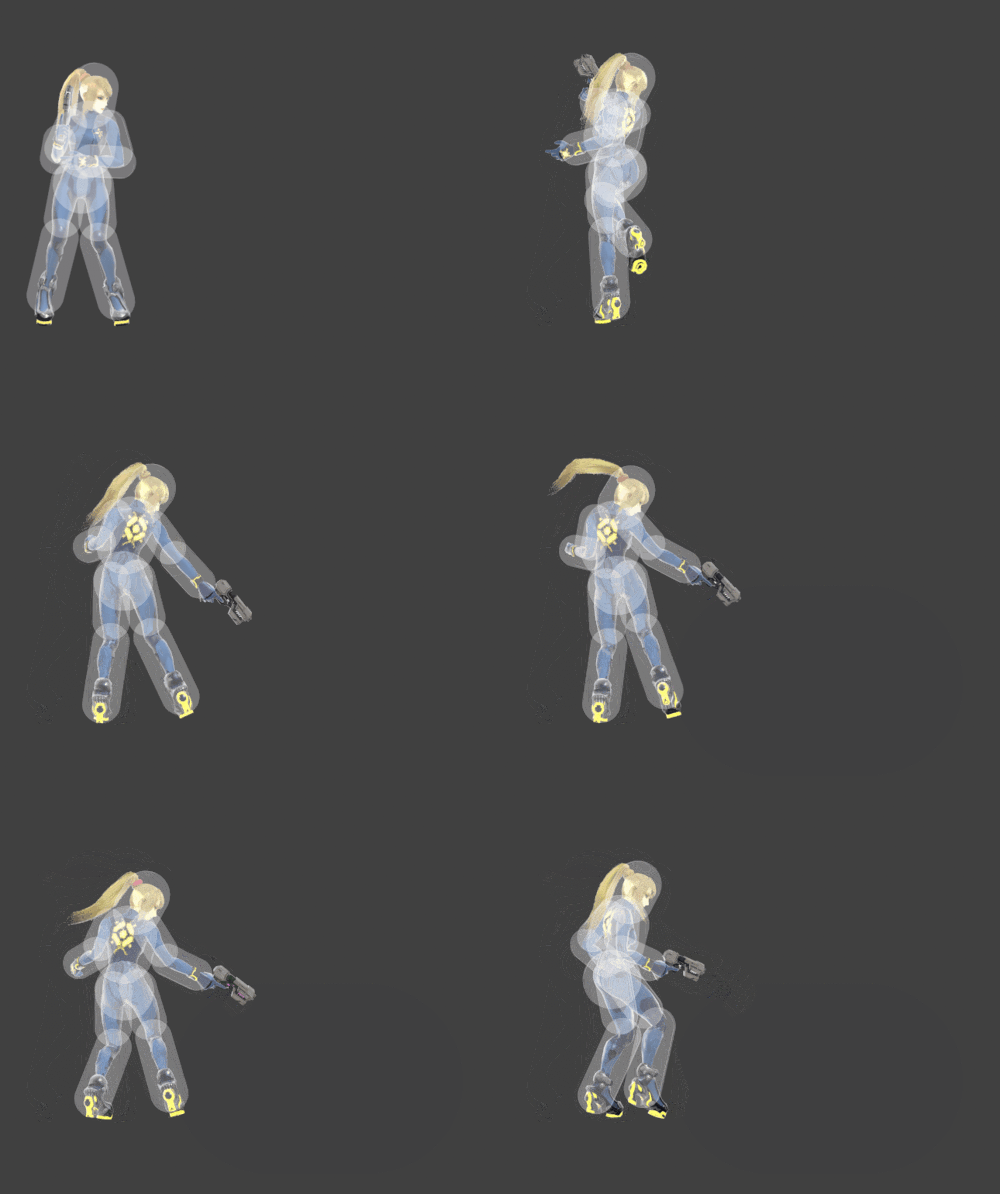
|
| Neutral aerial | 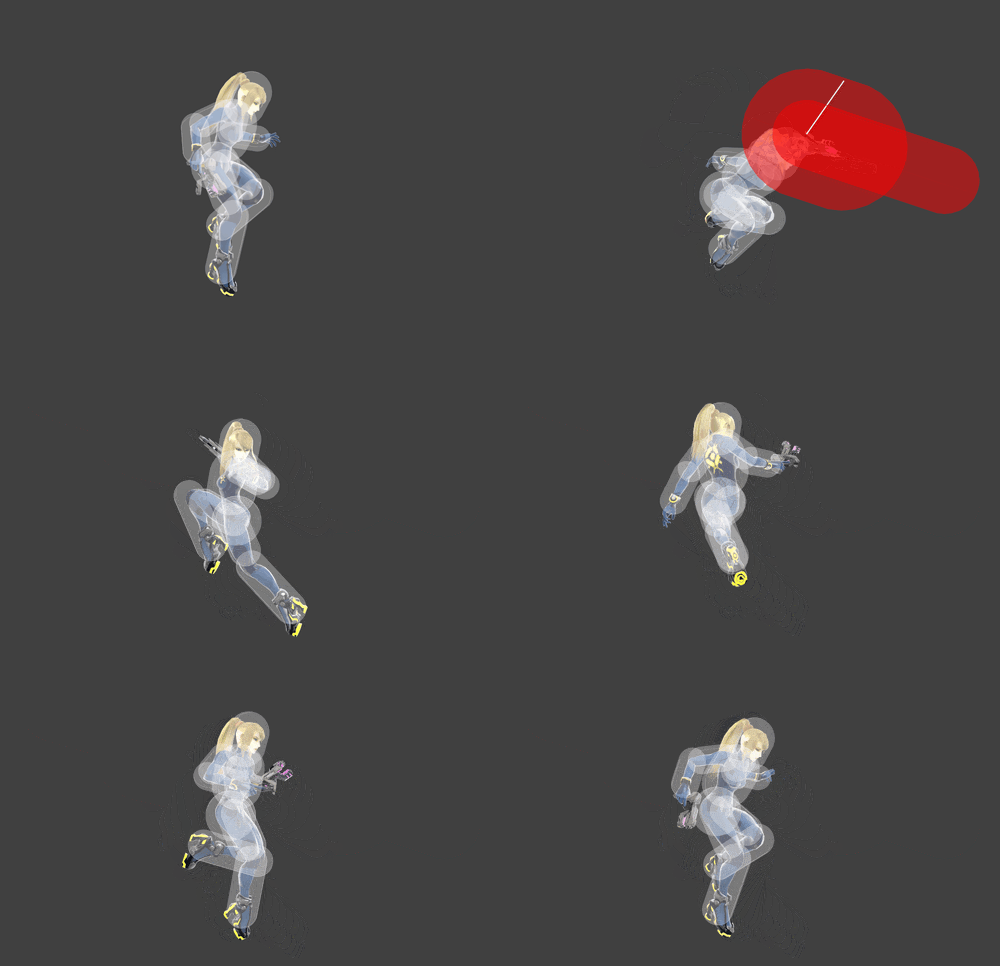
| |
| Forward aerial | 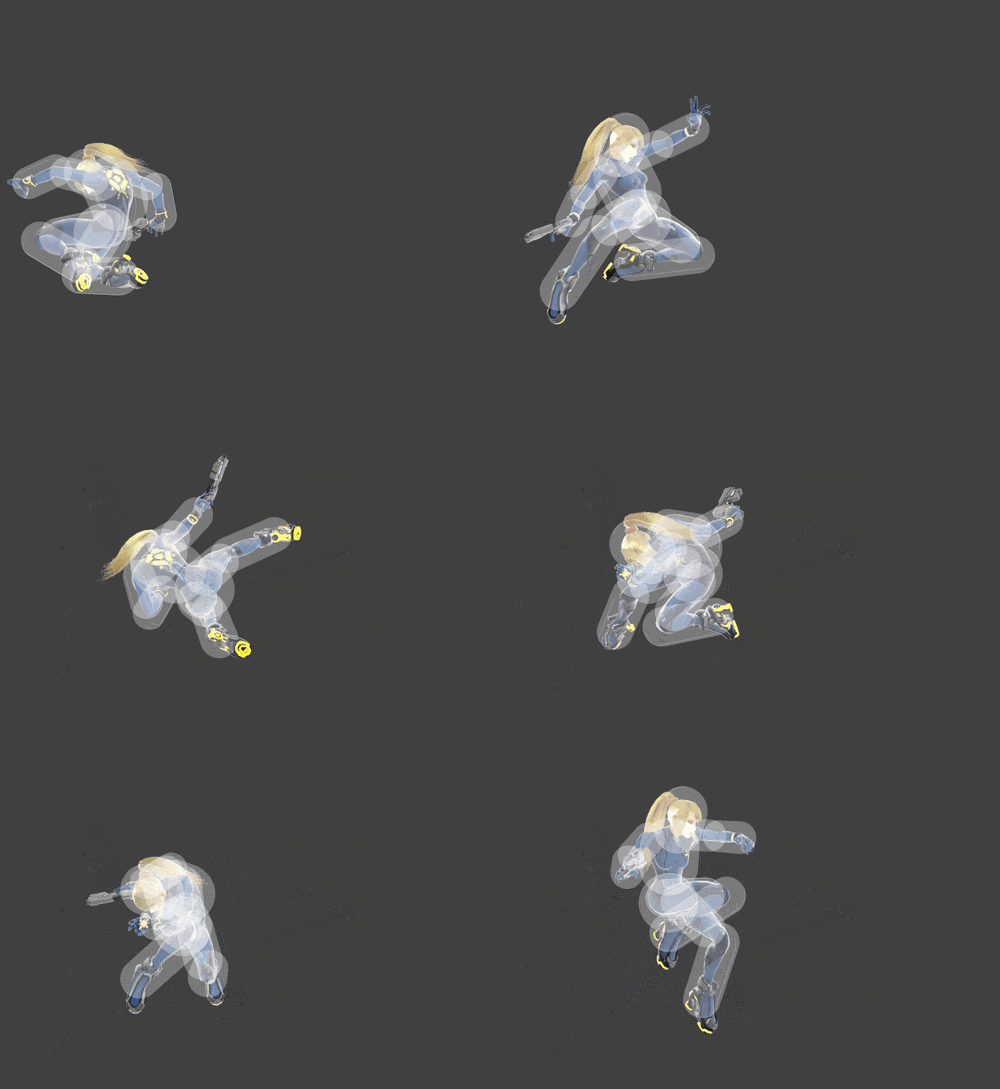
| |
| Back aerial | 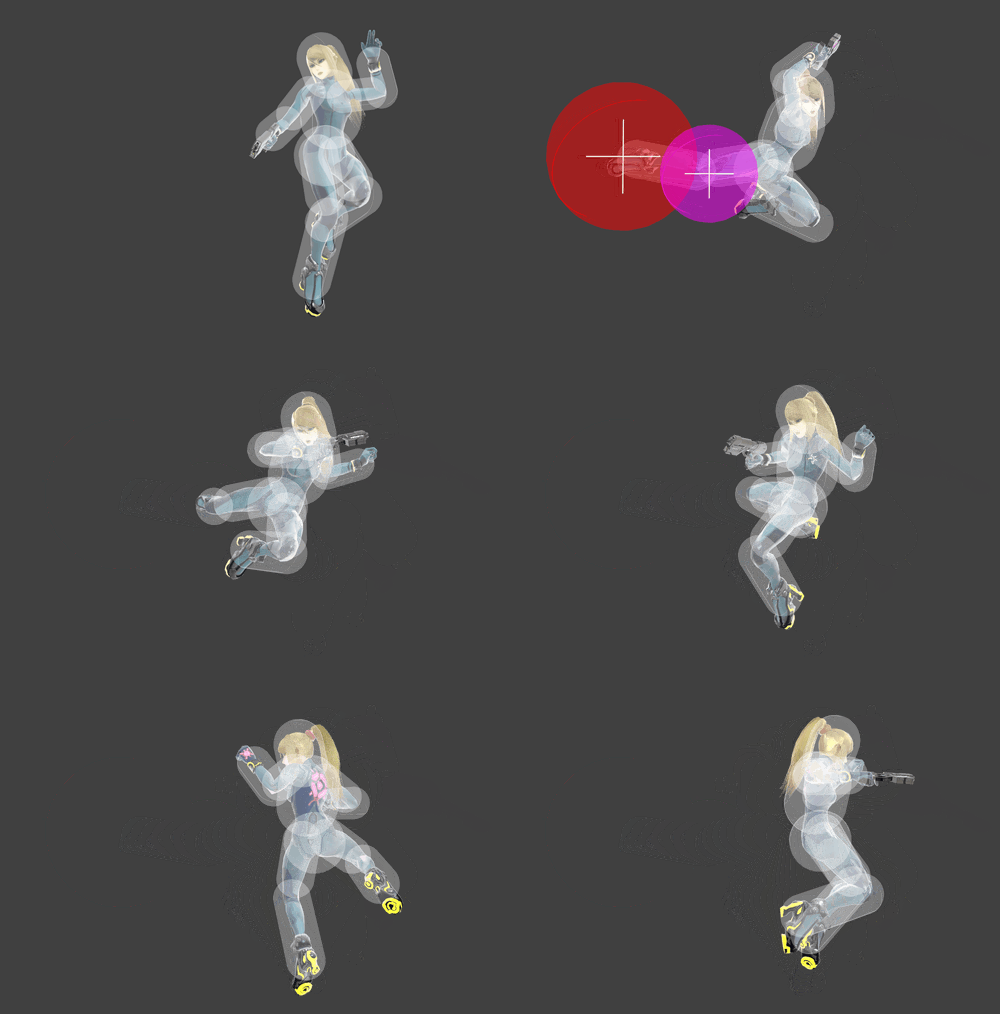
| |
| Up aerial | 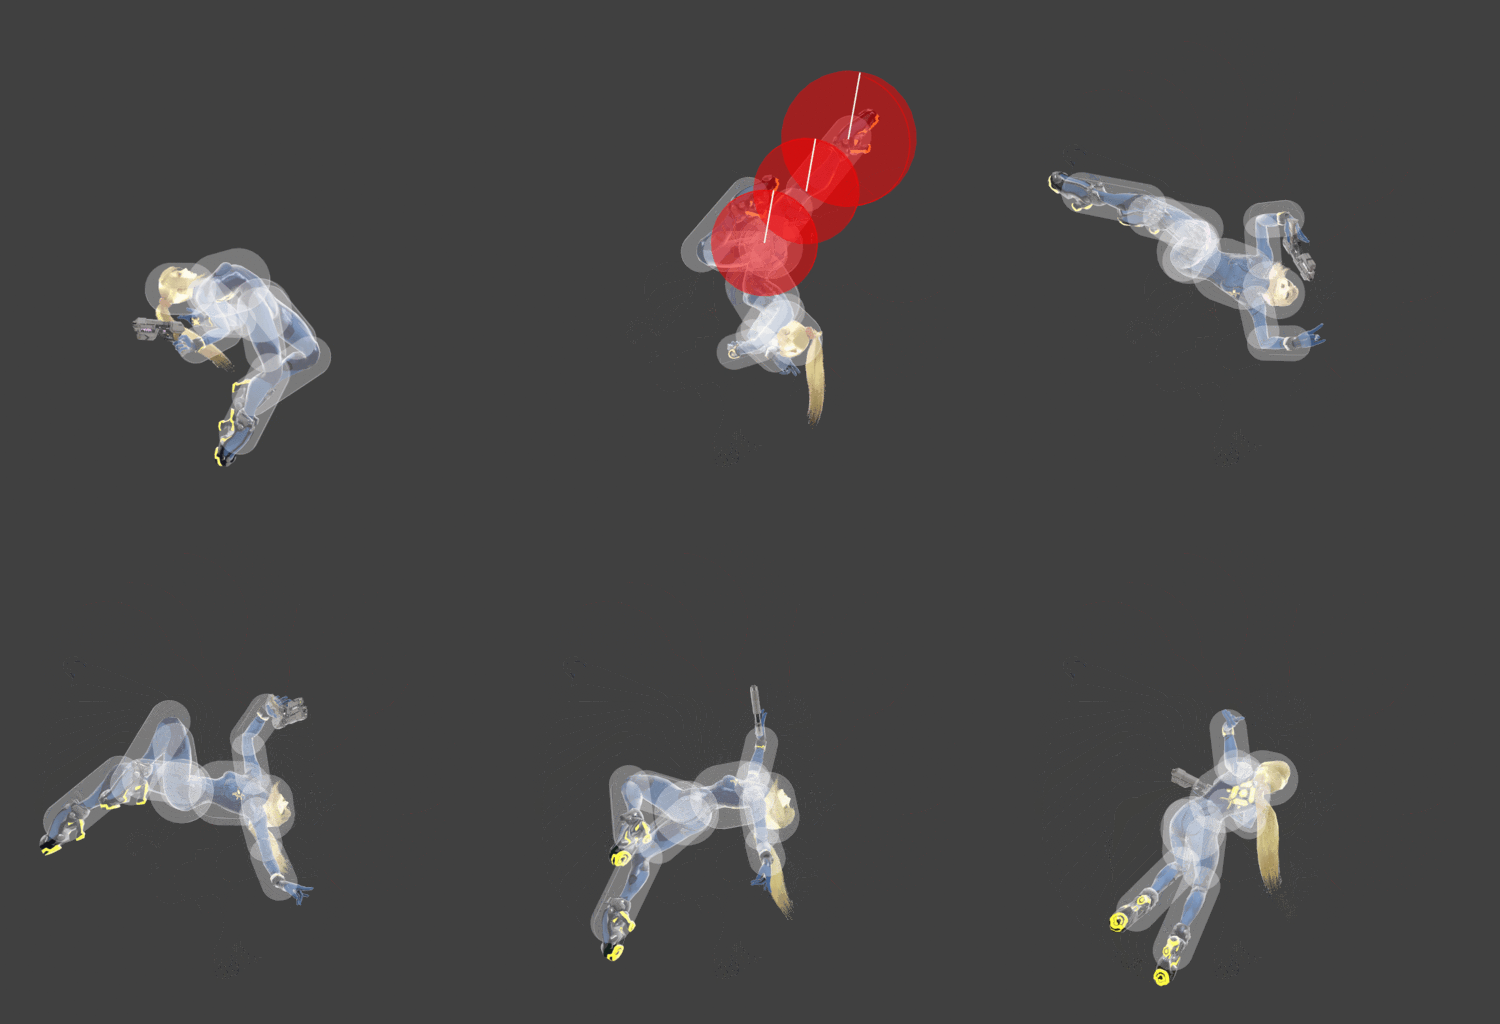
| |
| Down aerial | Slash Dive | 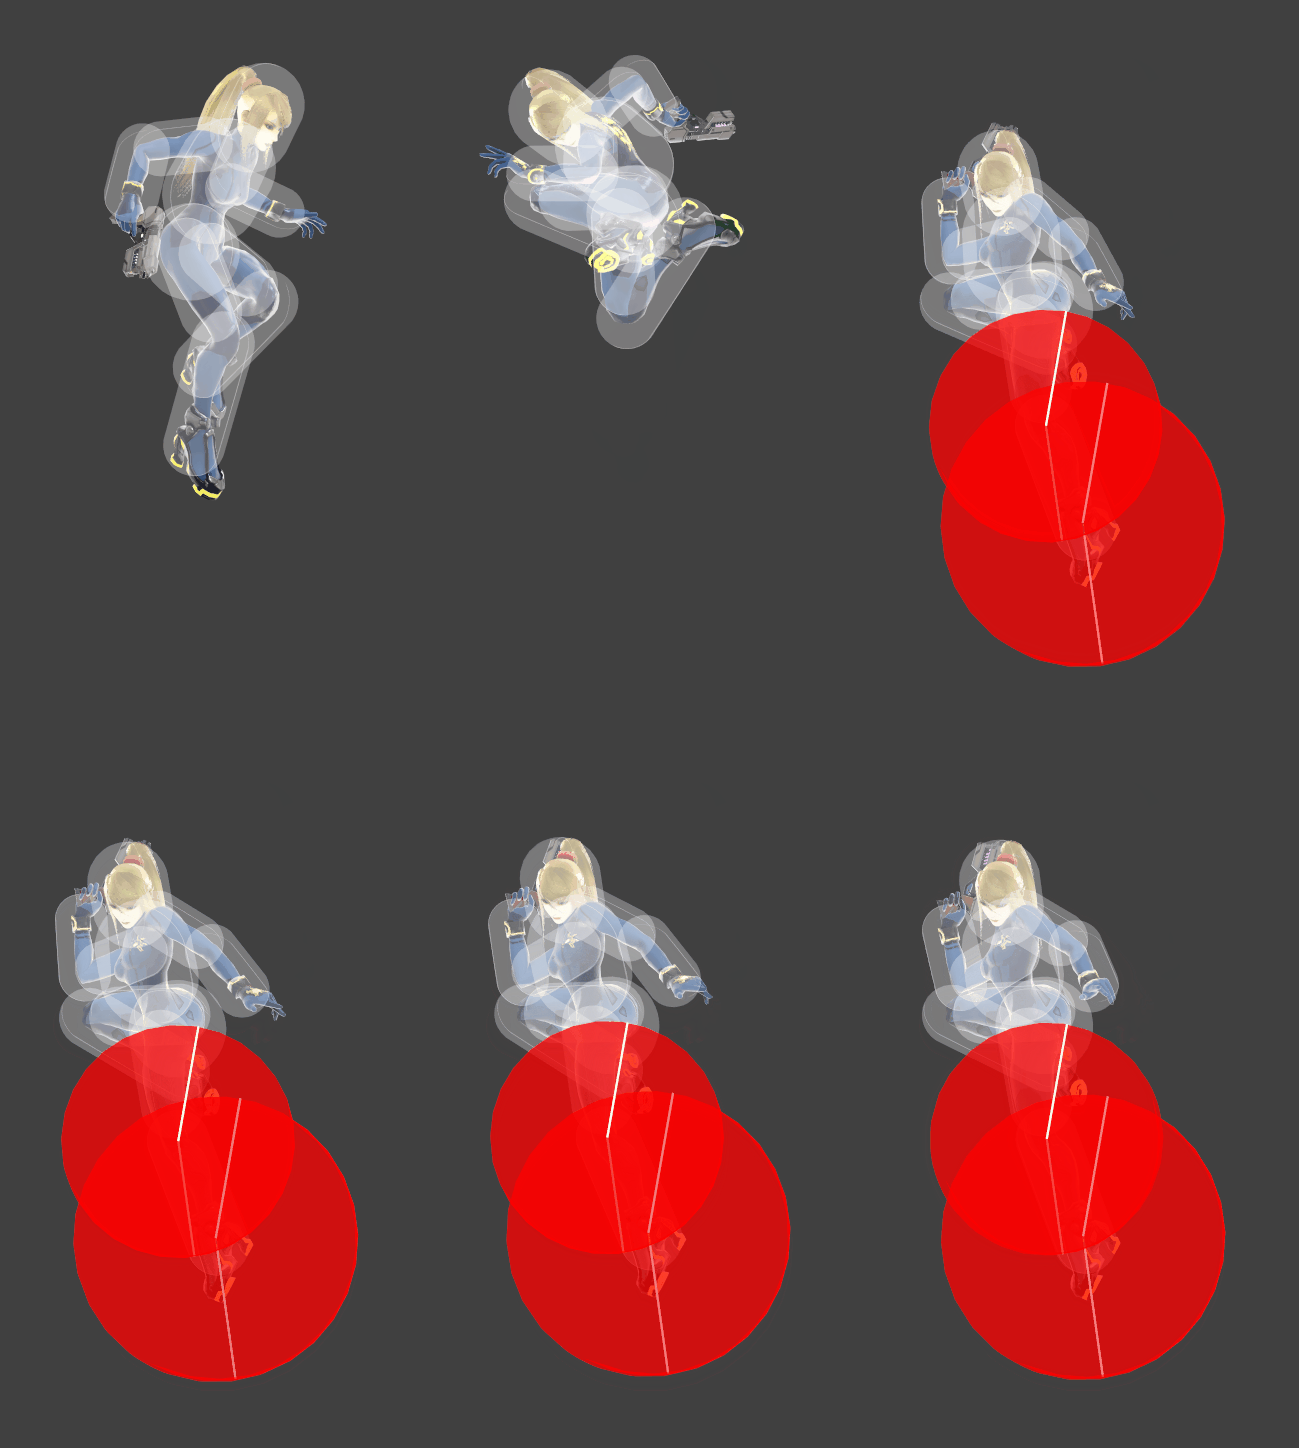
|
| Down aerial landing | Slash Dive | 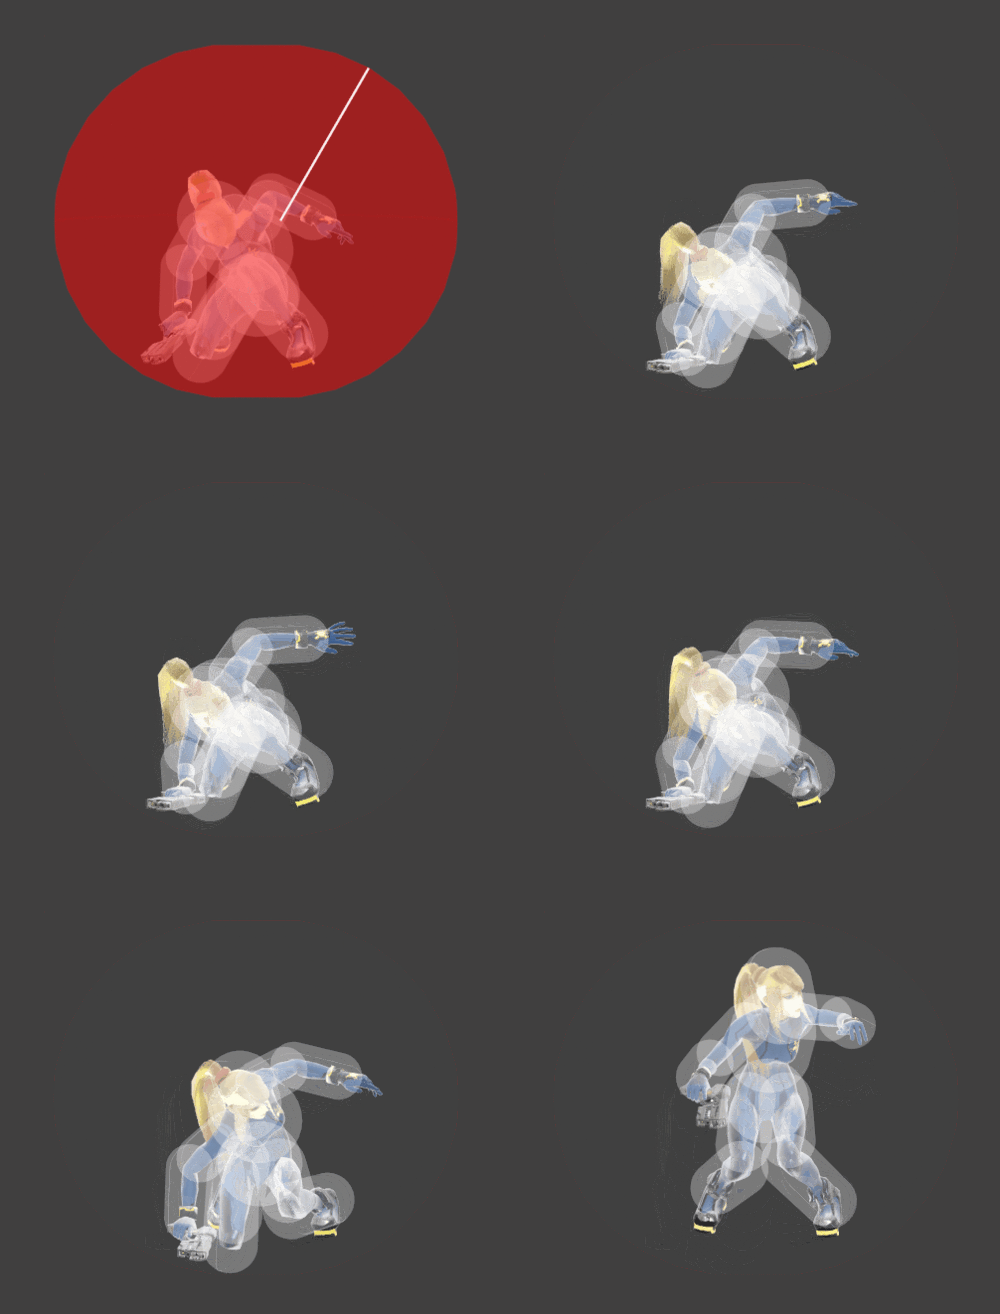
|
| Grab aerial | Plasma Whip | 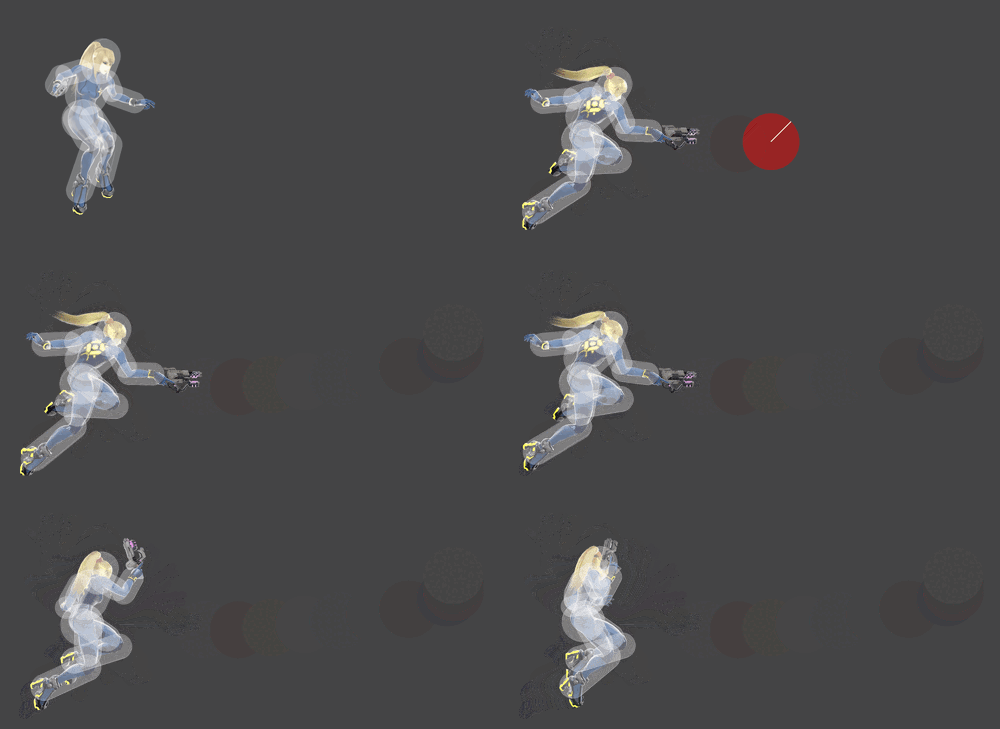
|
| Neutral special | Paralyzer | 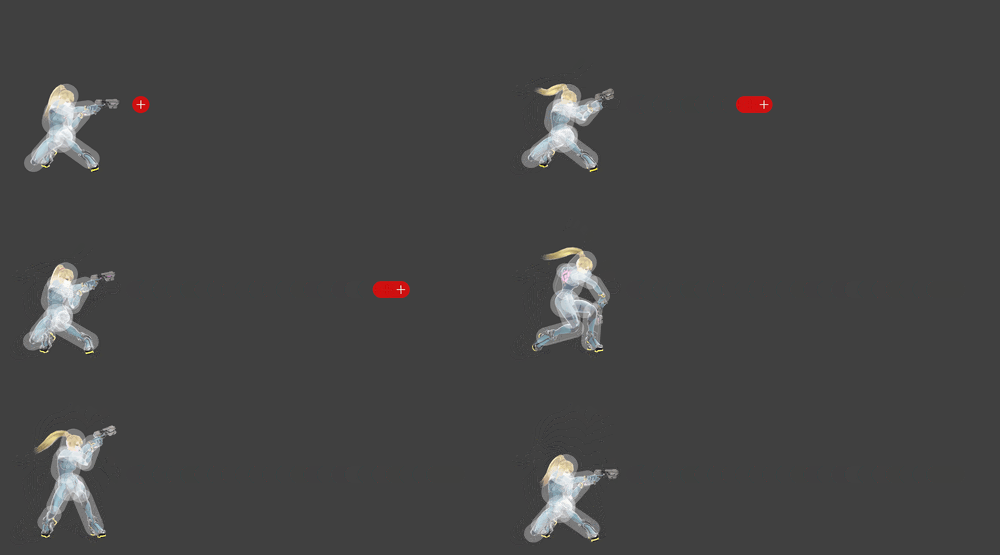
|
| Neutral special (max charge) | Paralyzer | 
|
| Side special | Plasma Whip | 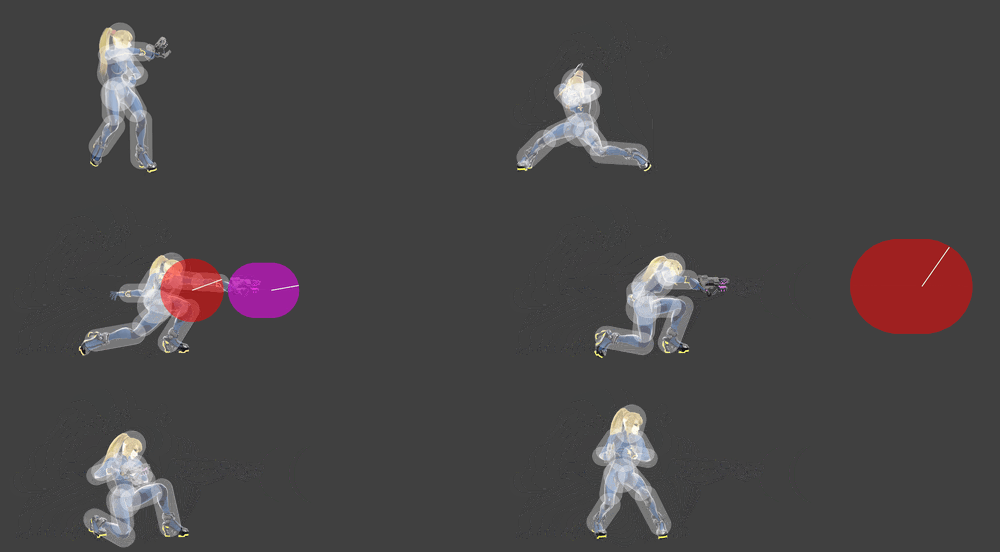
|
| Side special up | Plasma Whip | 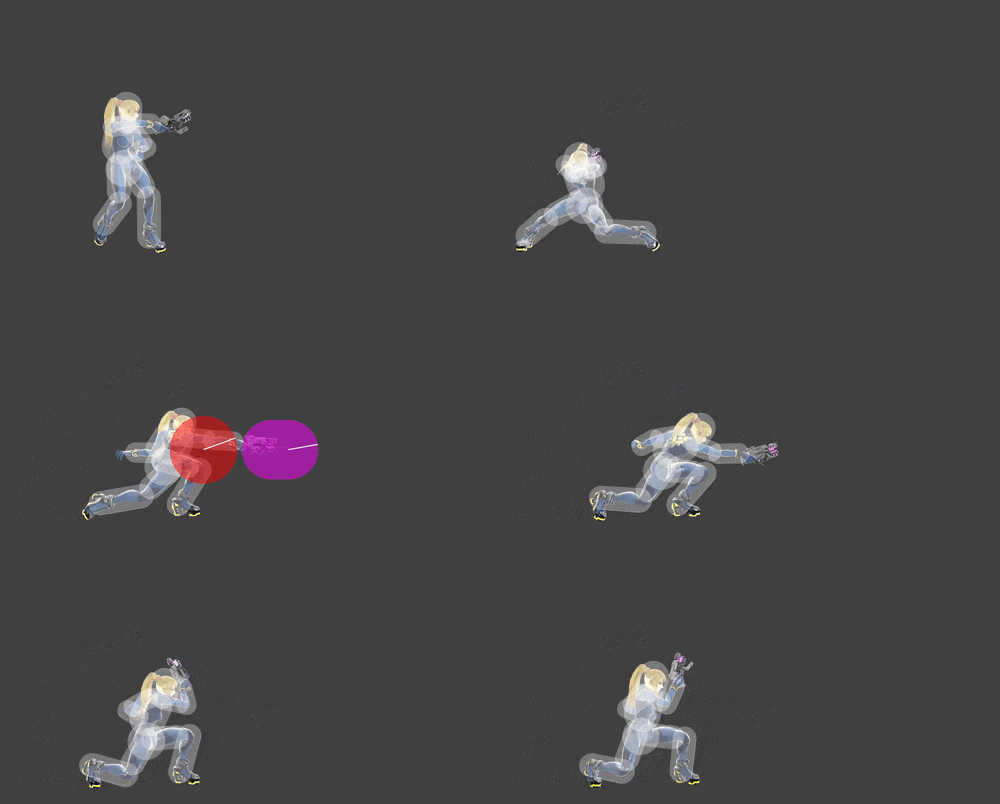
|
| Up special grounded | Boost Kick | 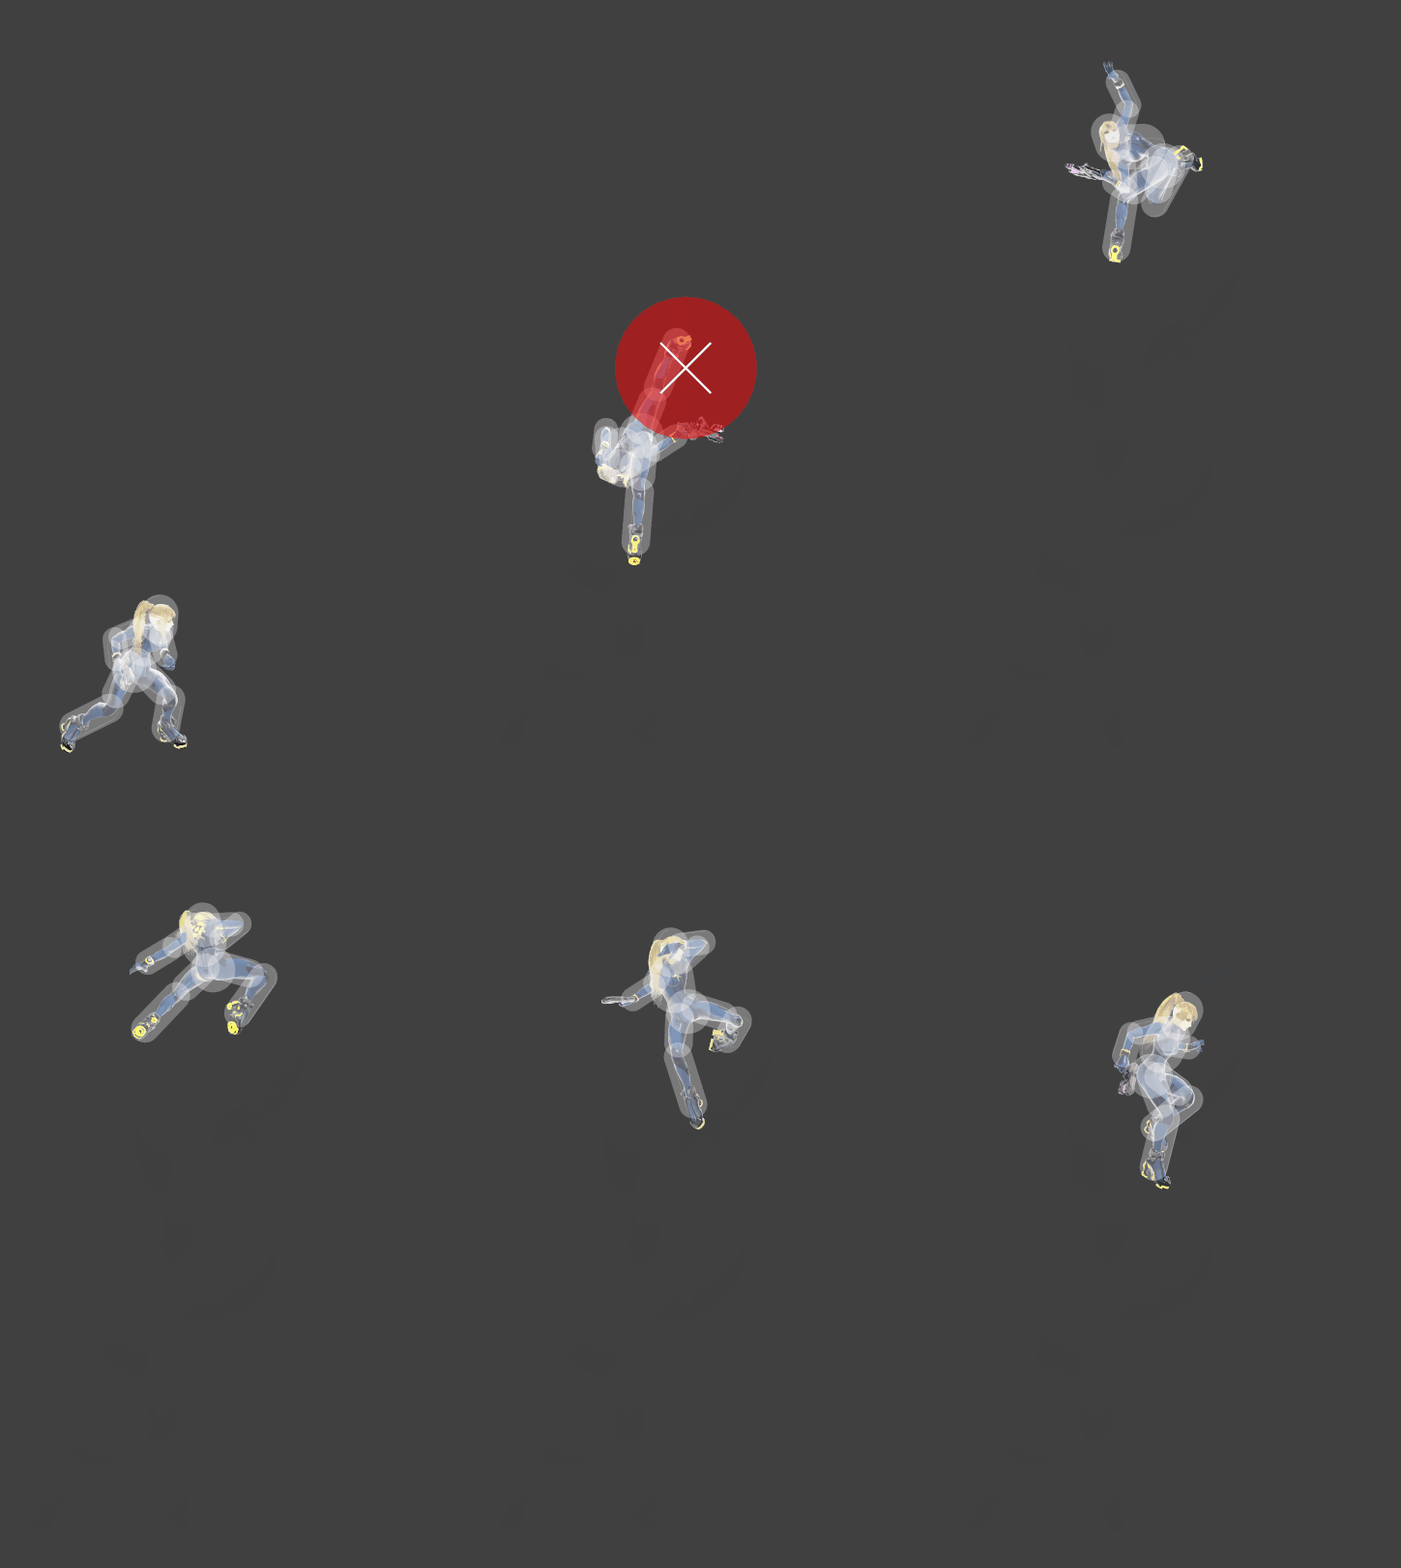
|
| Up special aerial | Boost Kick | 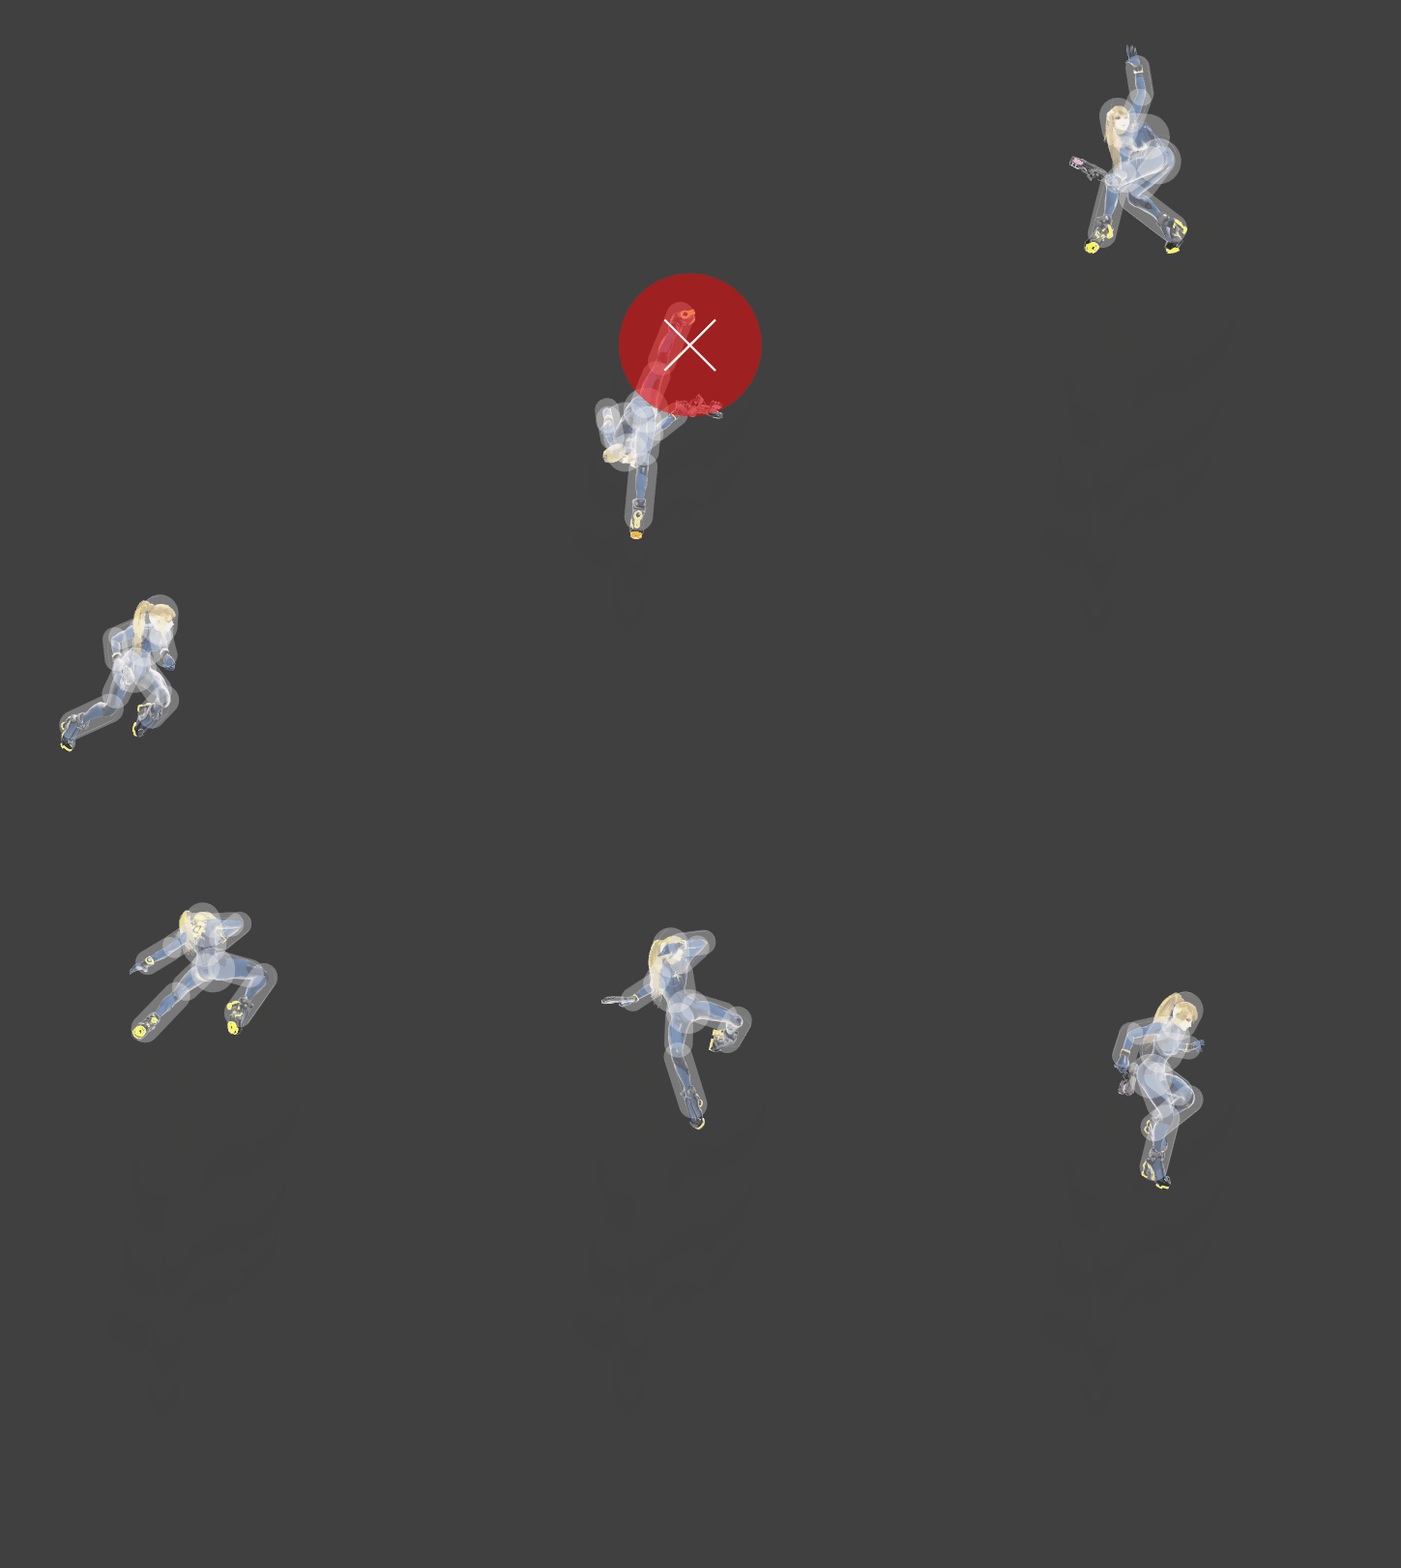
|
| Down special | Flip Jump | 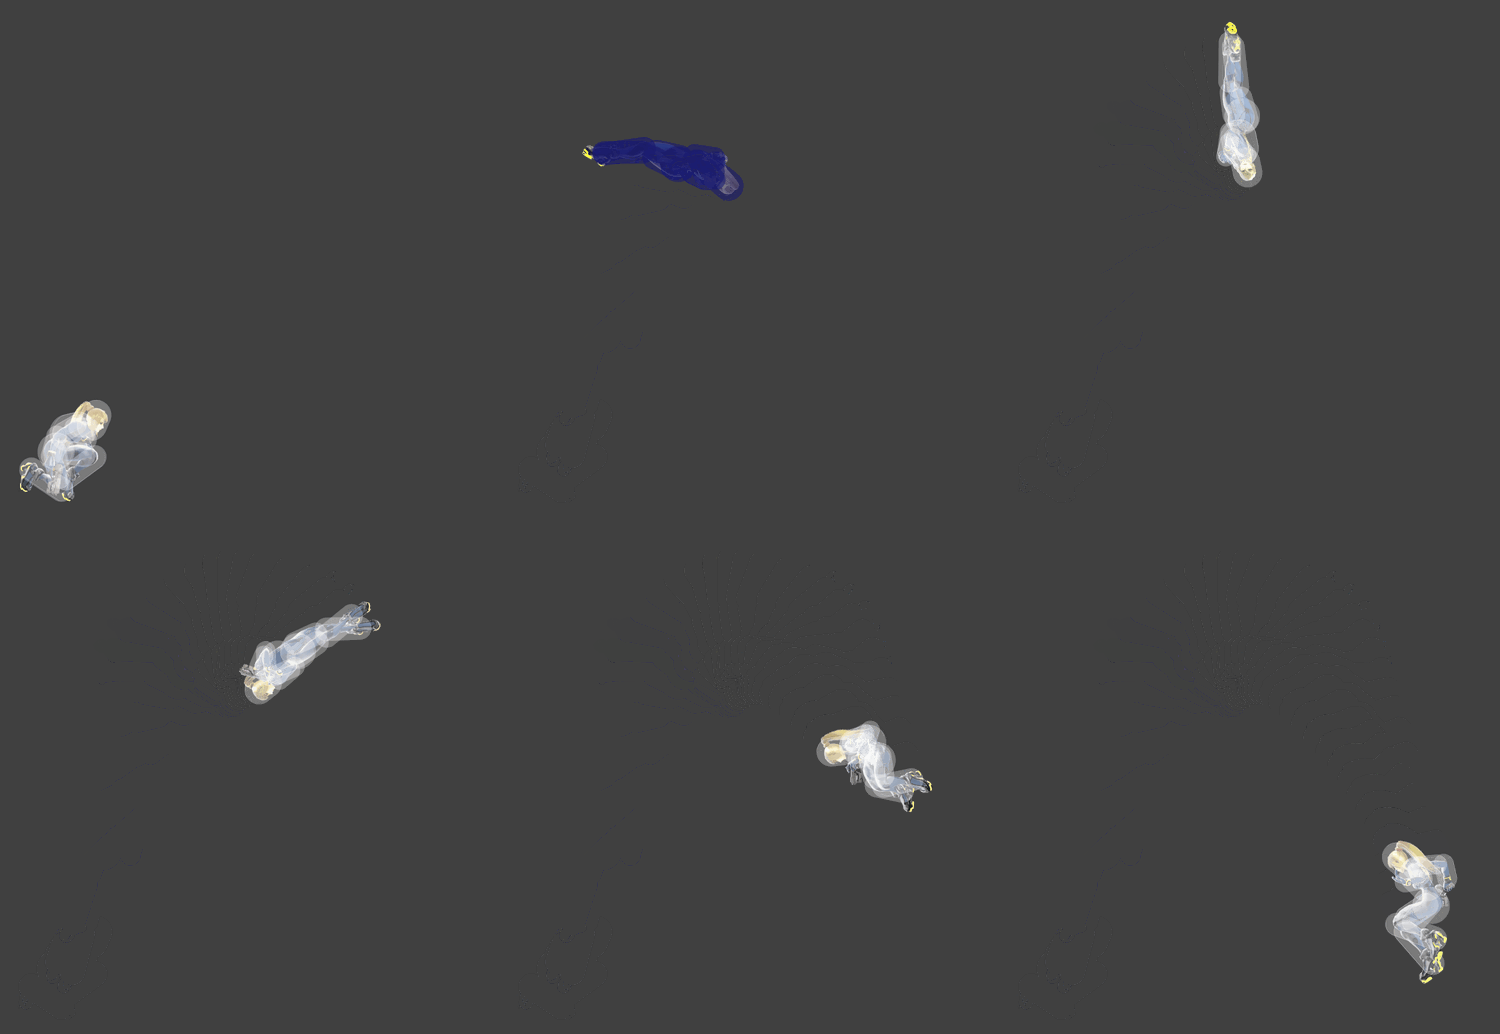
|
| Down special kick | Flip Jump | 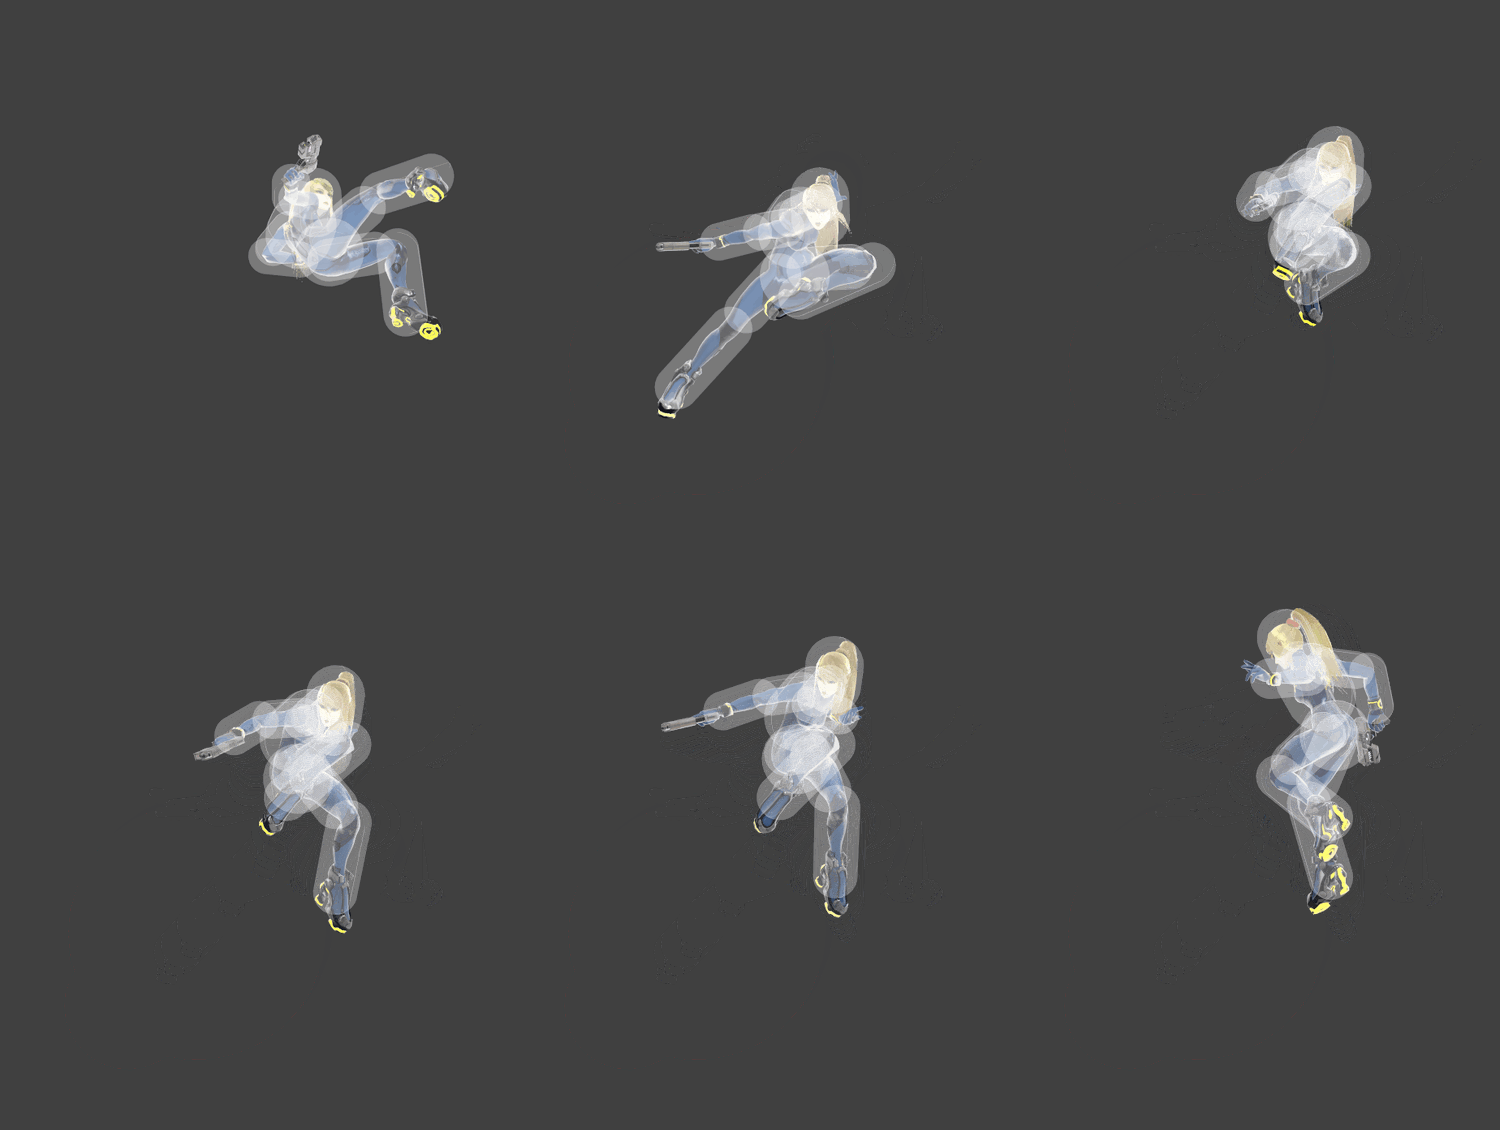
|
| Down special bury | Flip Jump | 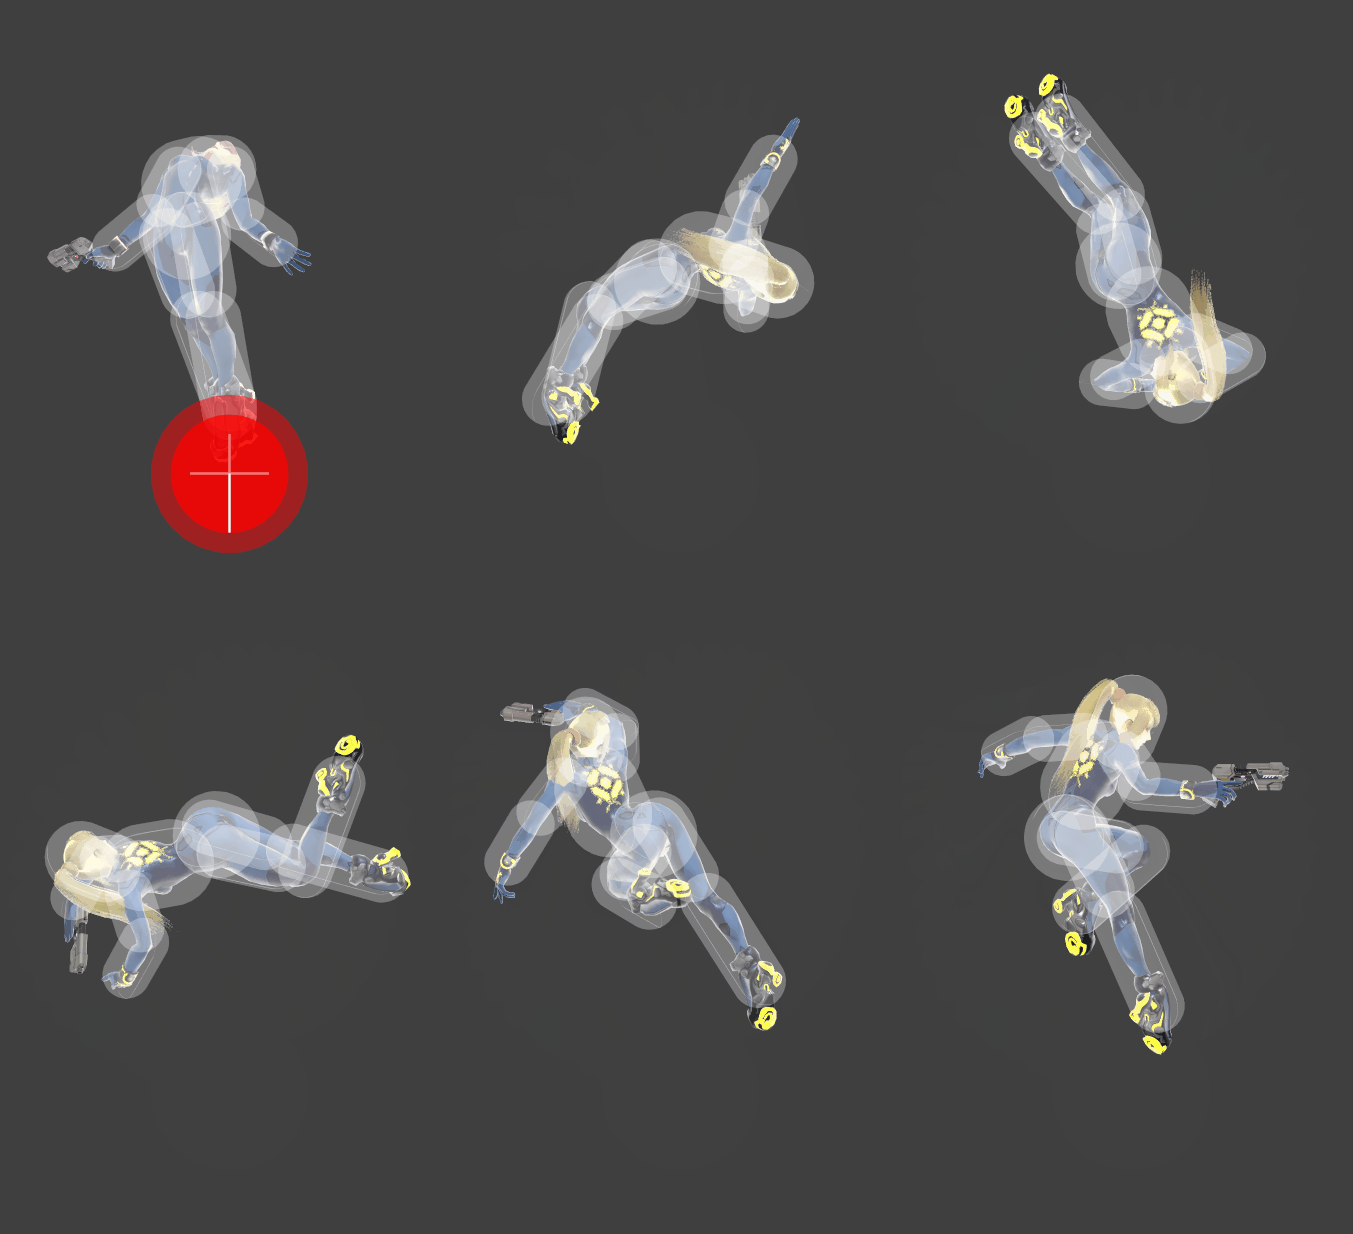
|
| Standing grab | Plasma Whip | 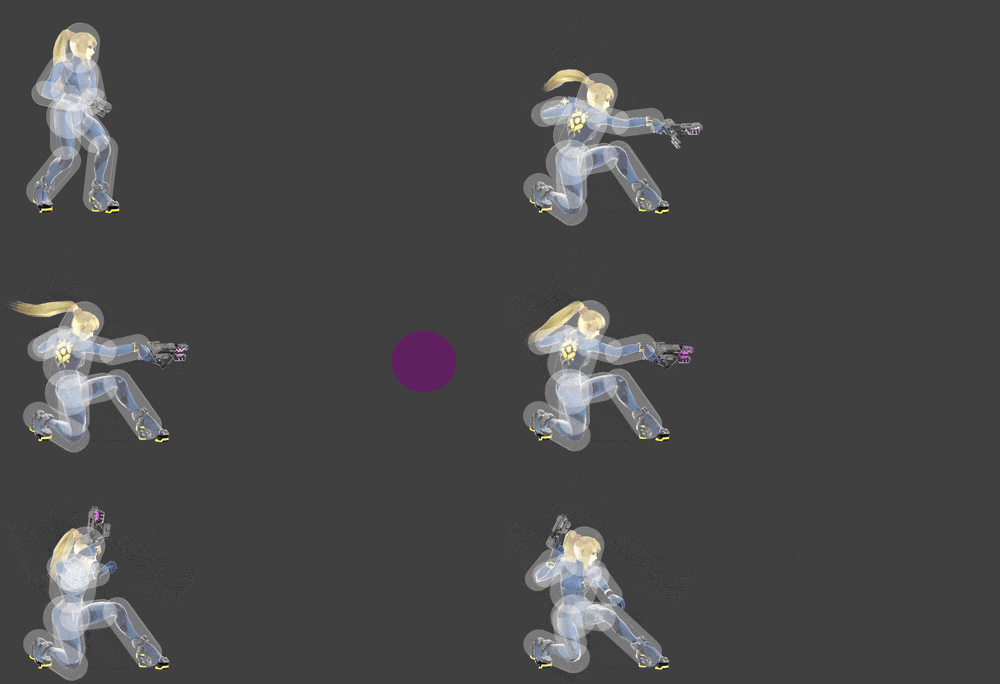
|
| Dash grab | 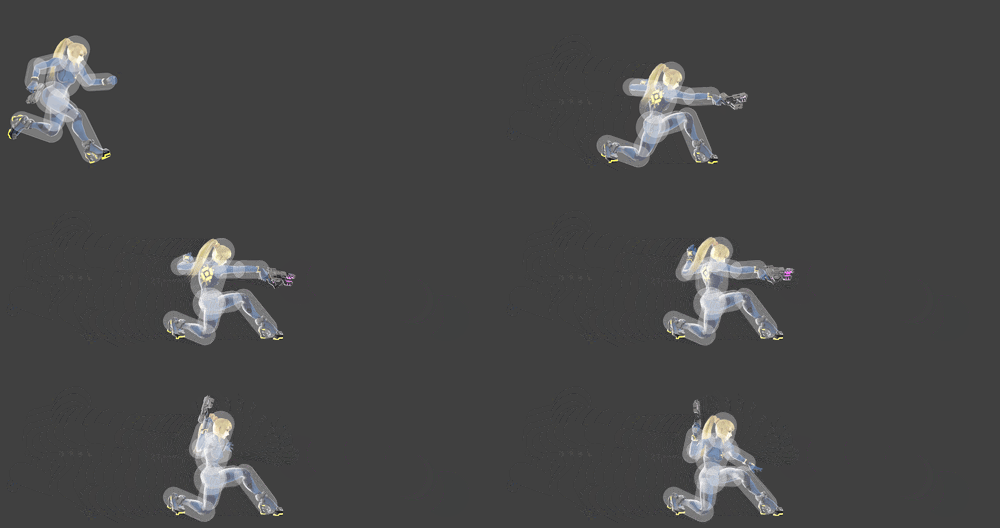
| |
| Pivot grab | 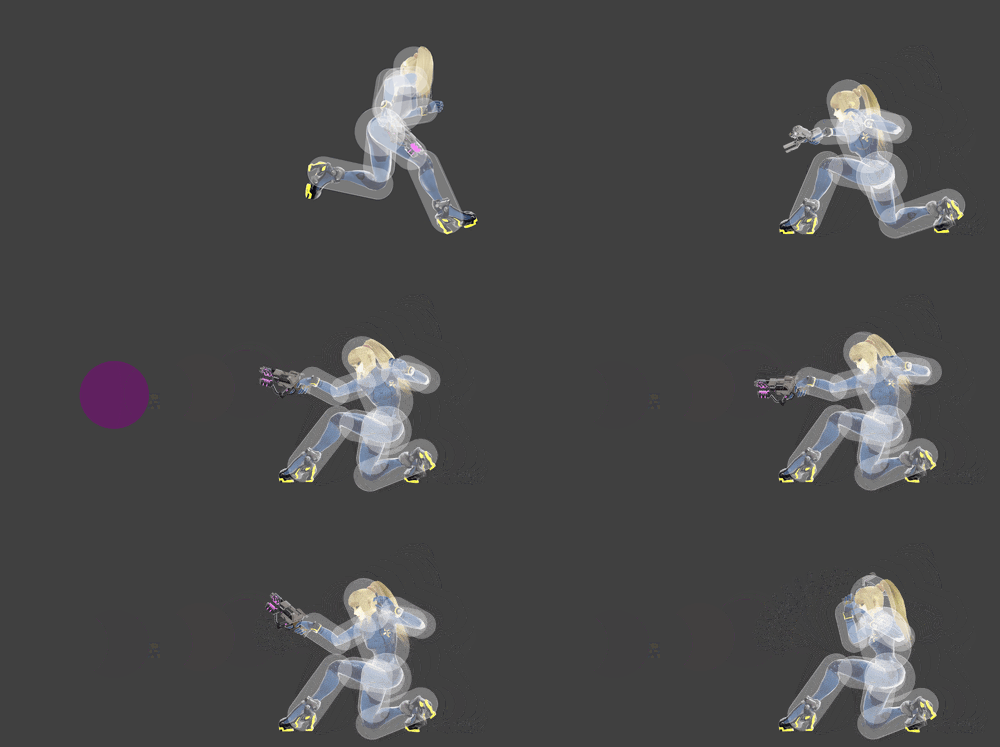
| |
| Pummel | 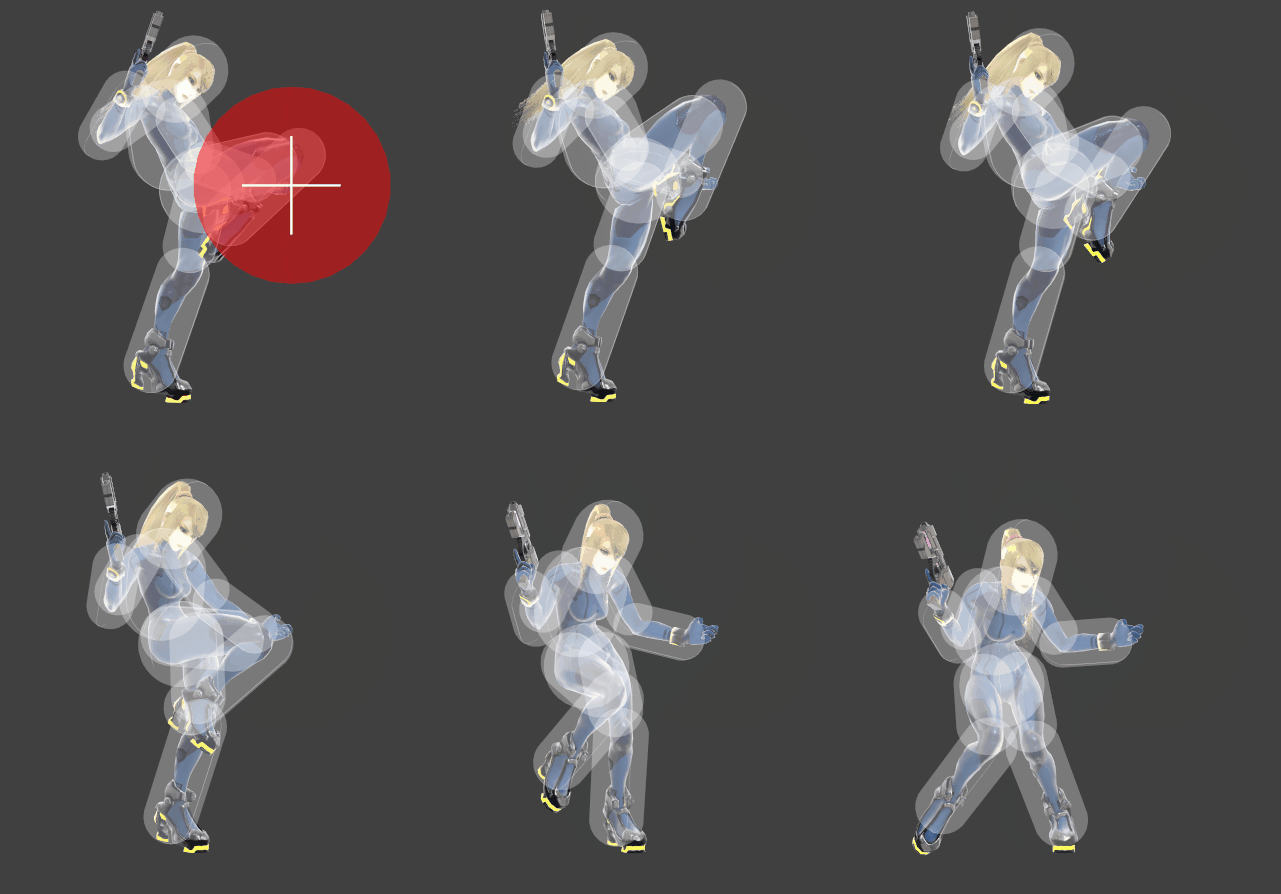
| |
| Forward throw | 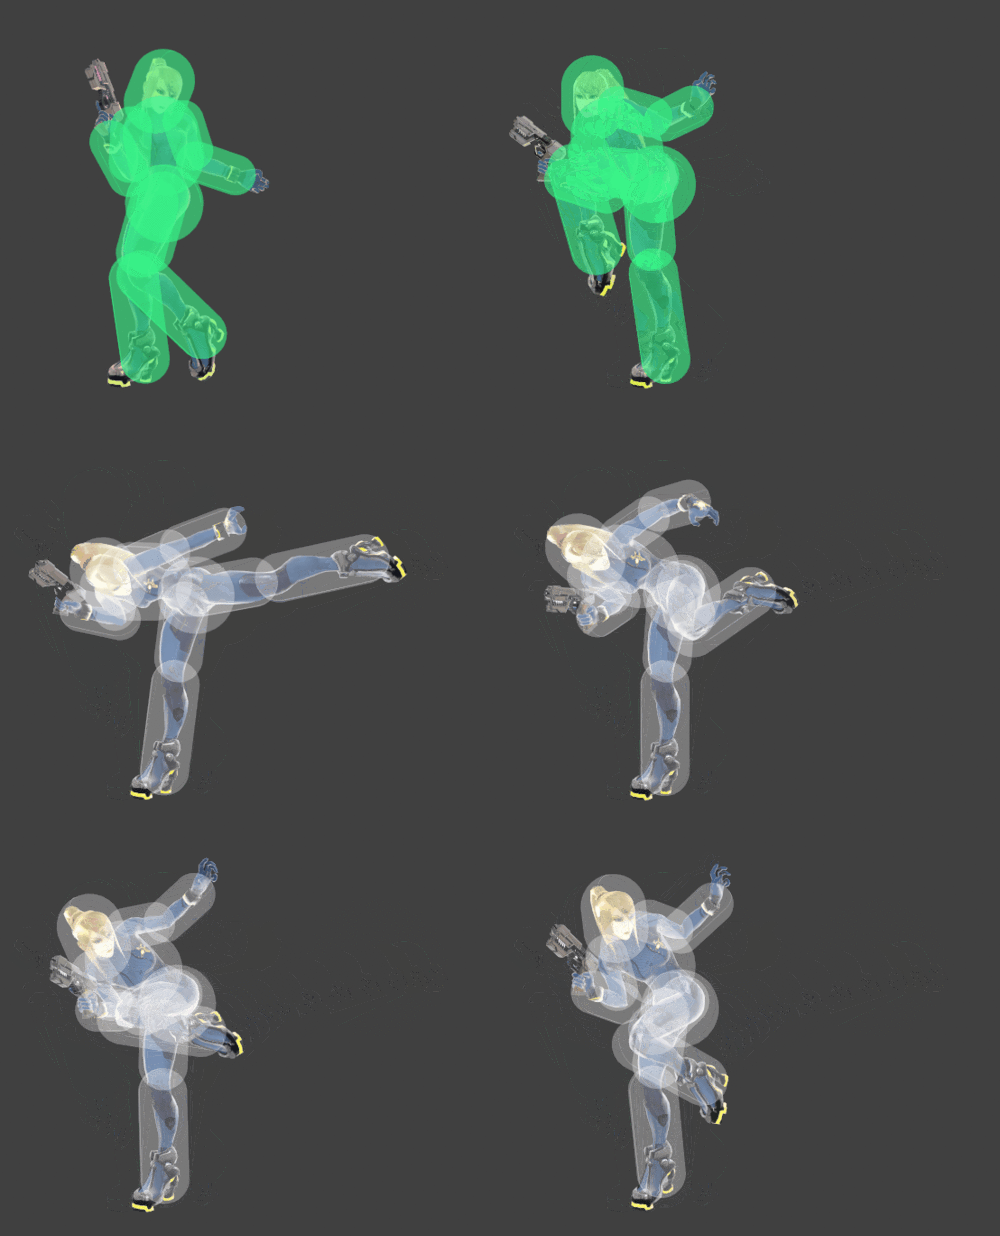
| |
| Back throw | 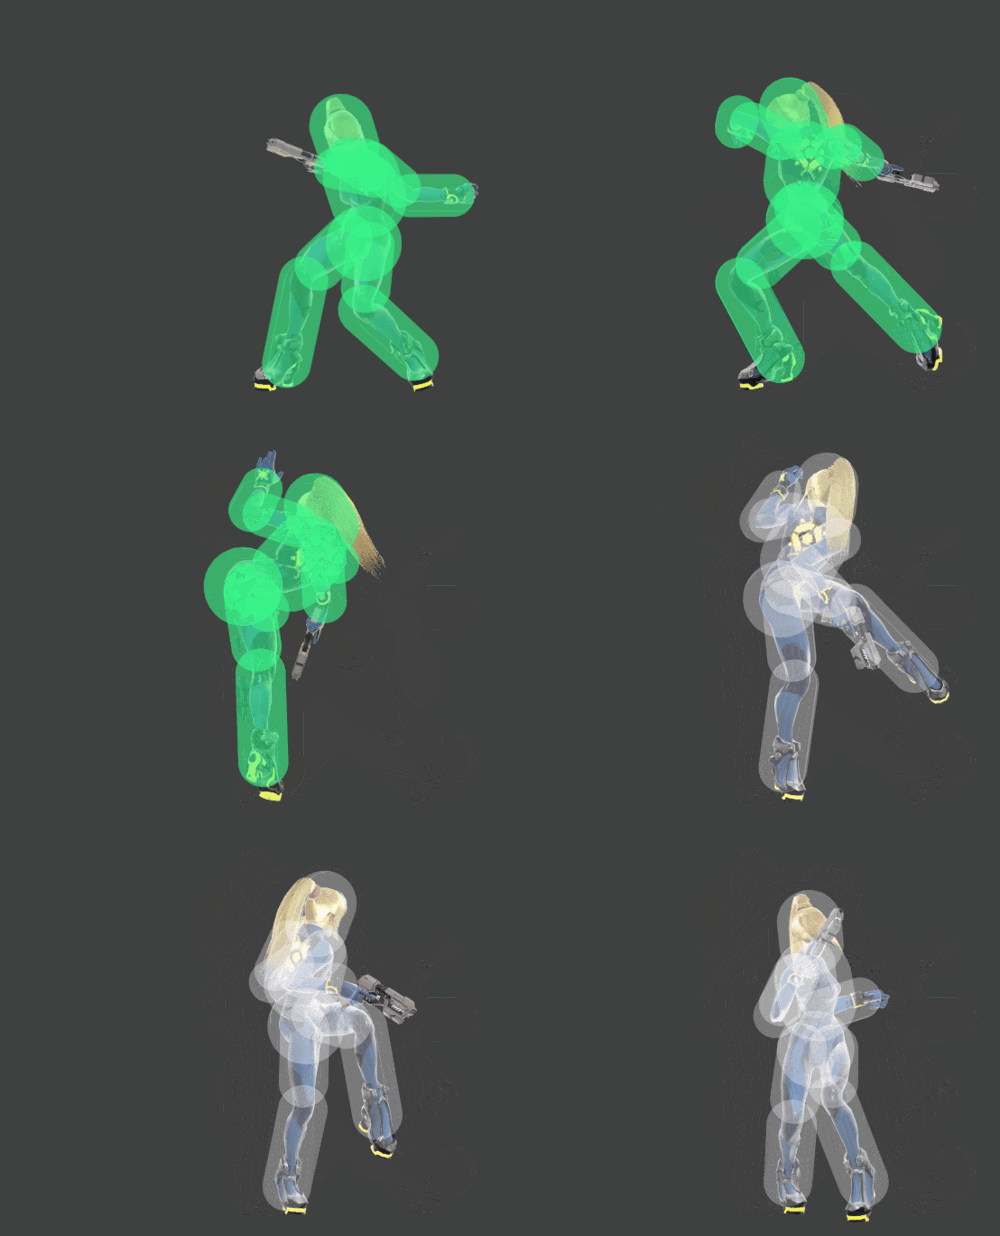
| |
| Up throw | 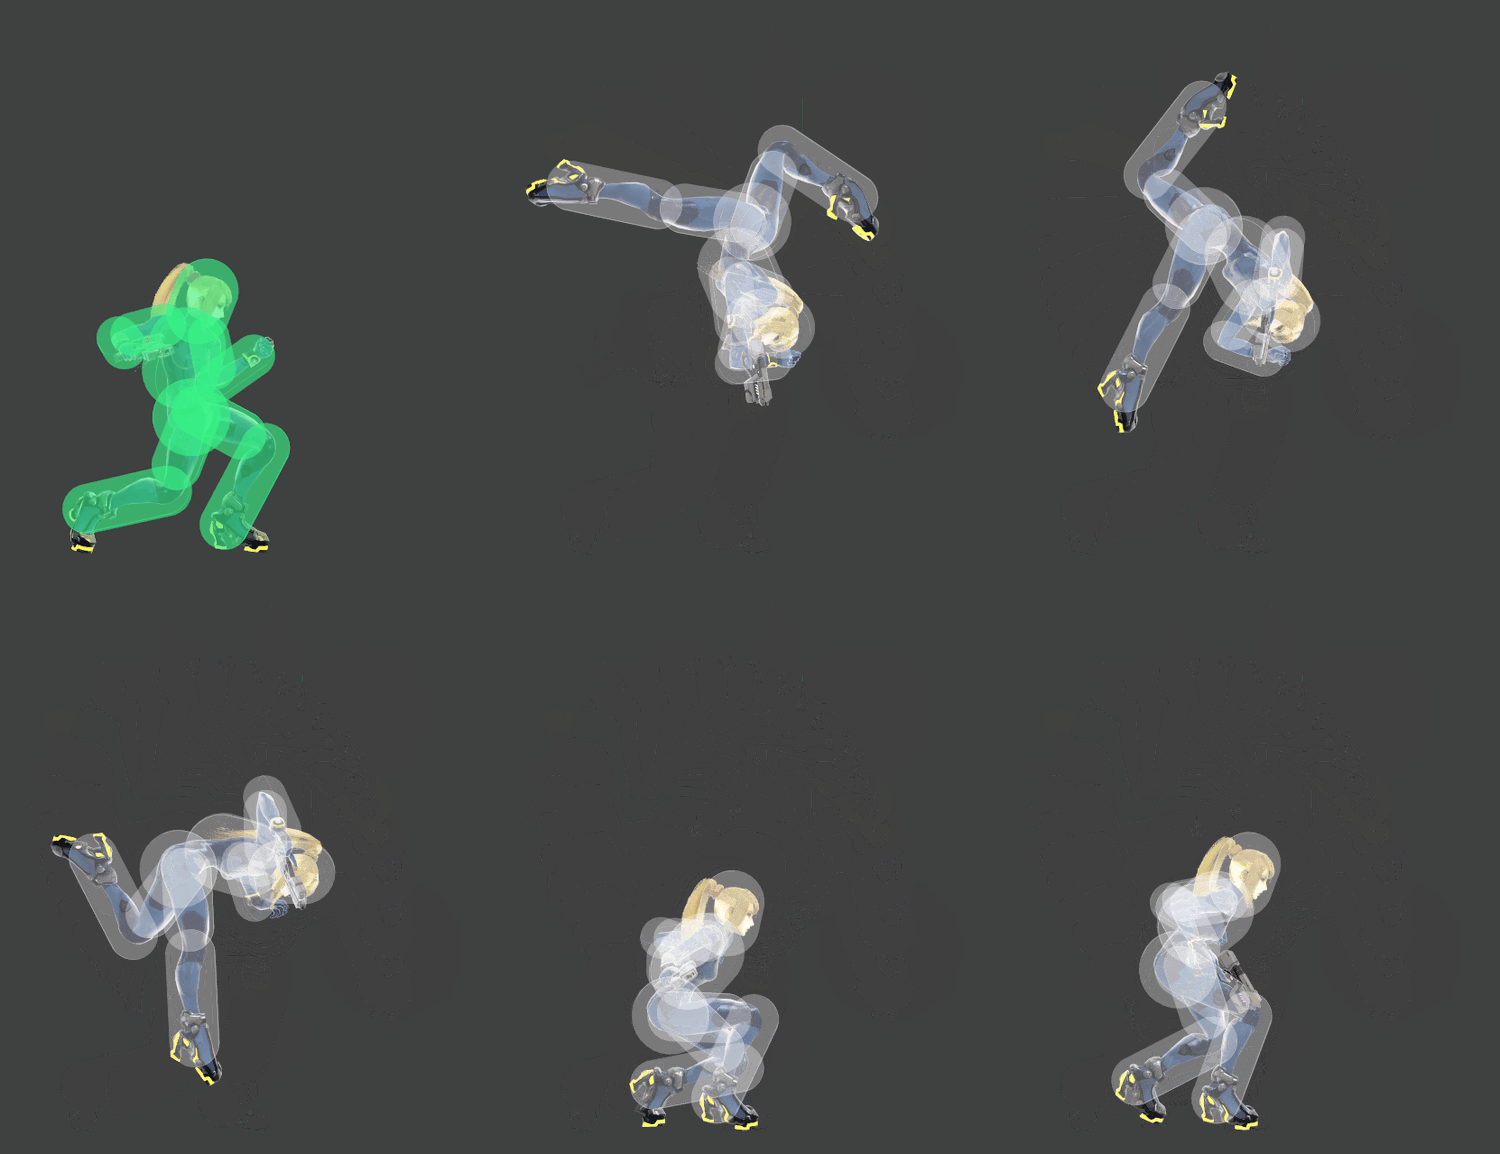
| |
| Down throw | 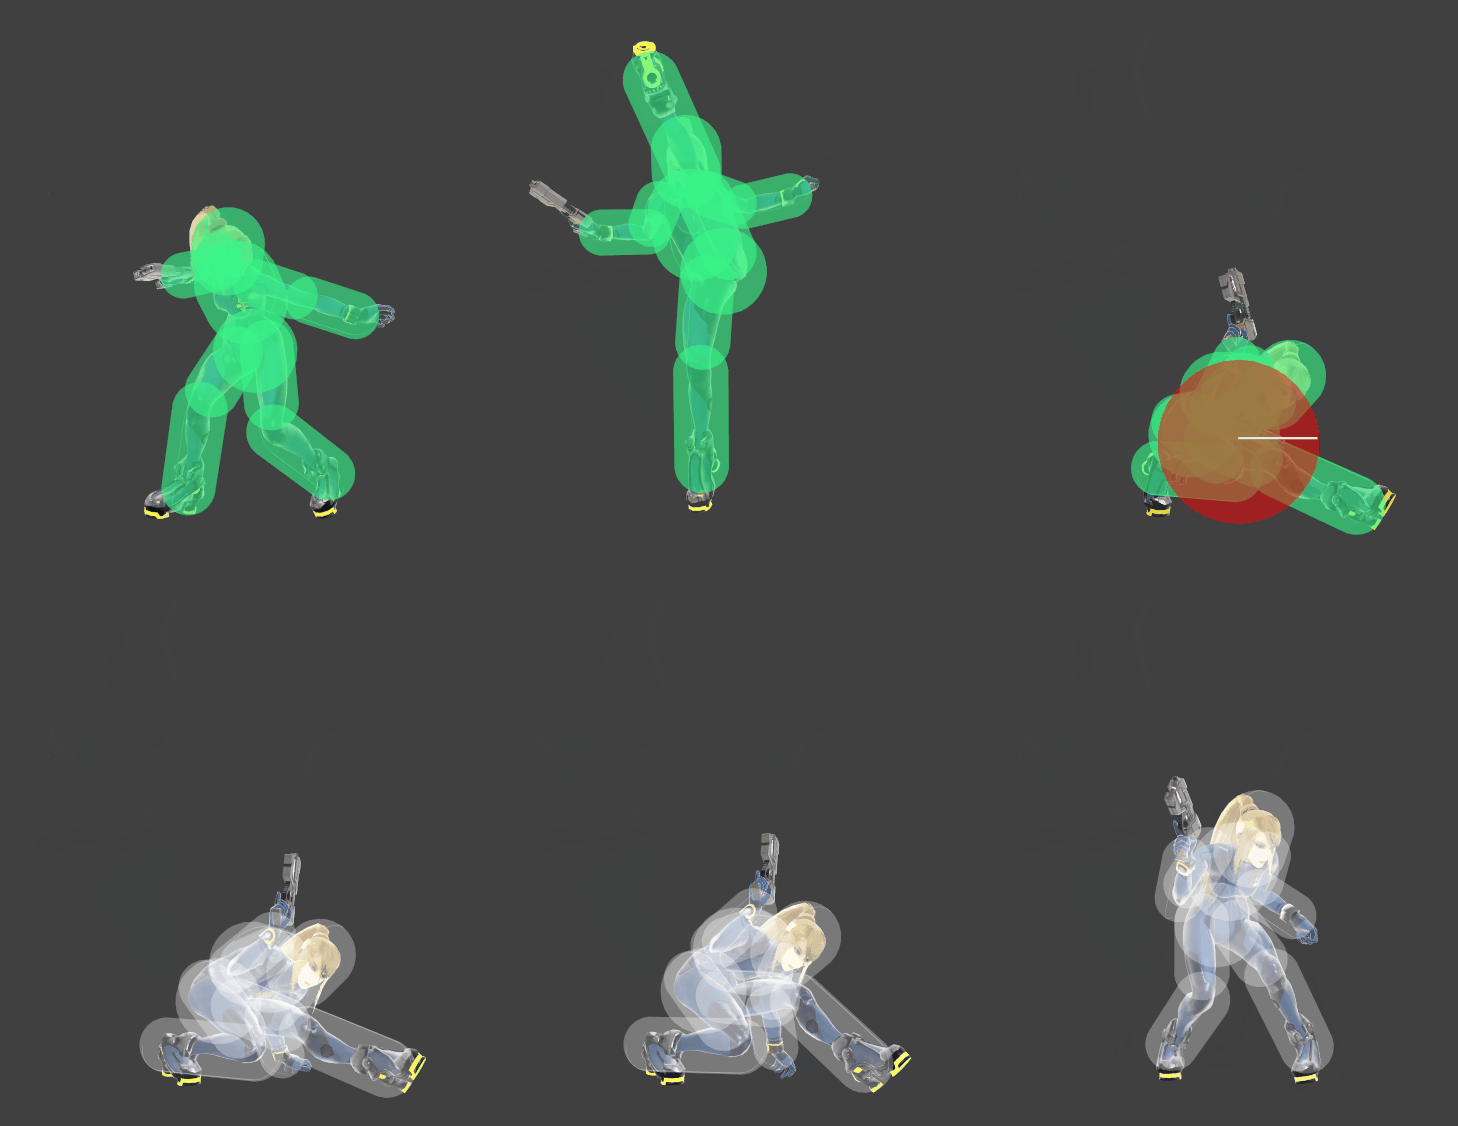
| |
| Getup attack front | 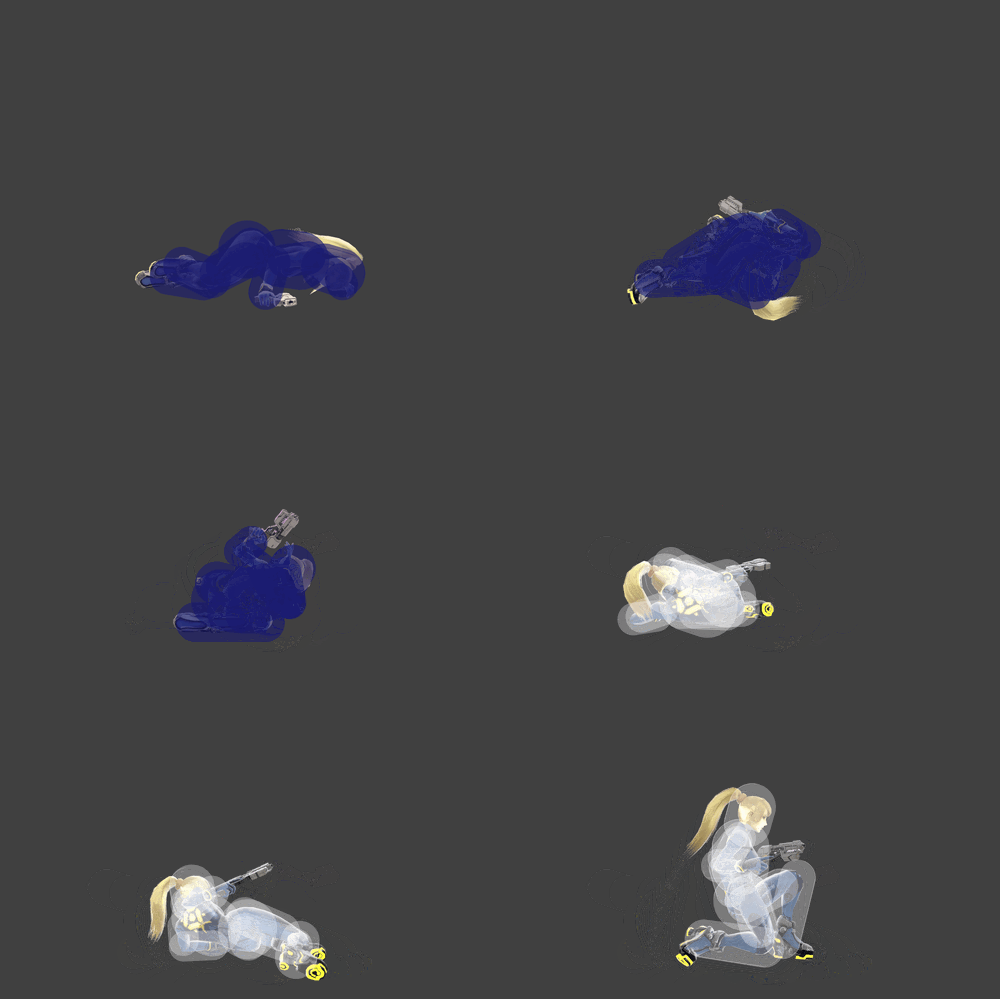
| |
| Getup attack back | 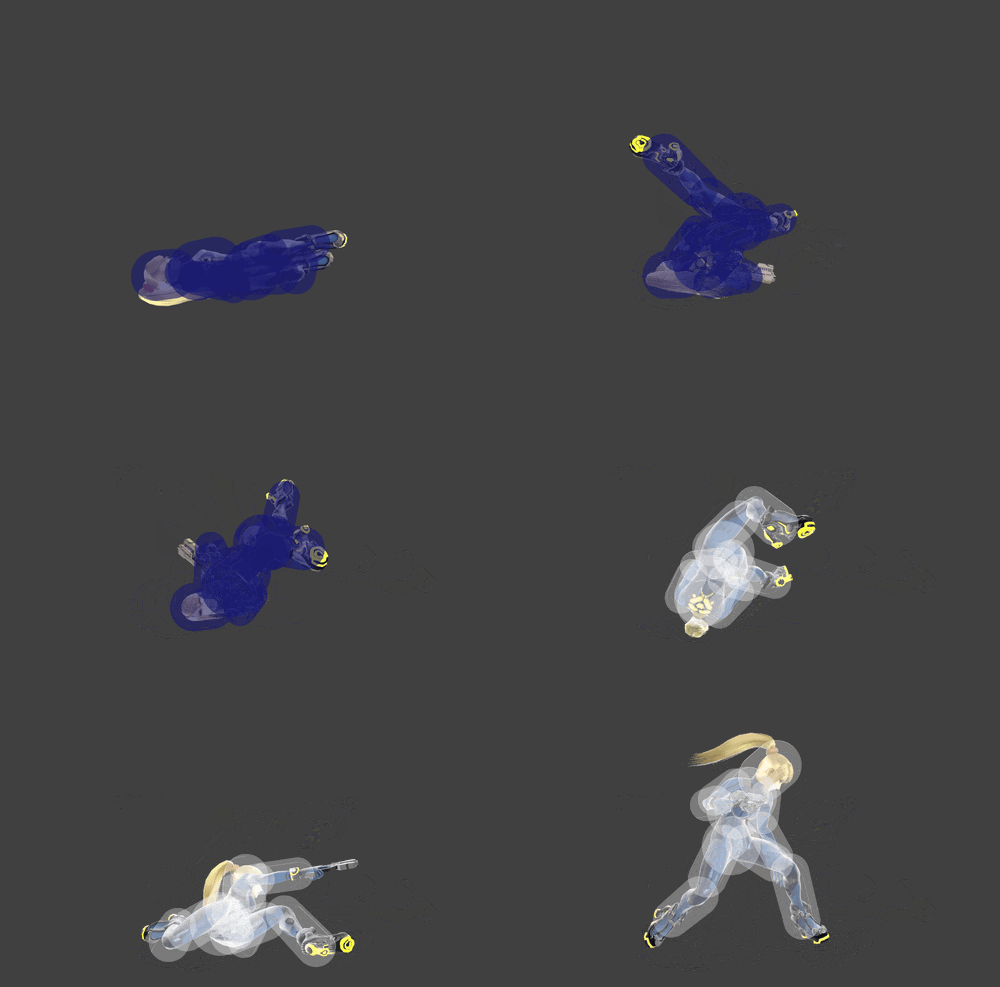
| |
| Getup attack trip | 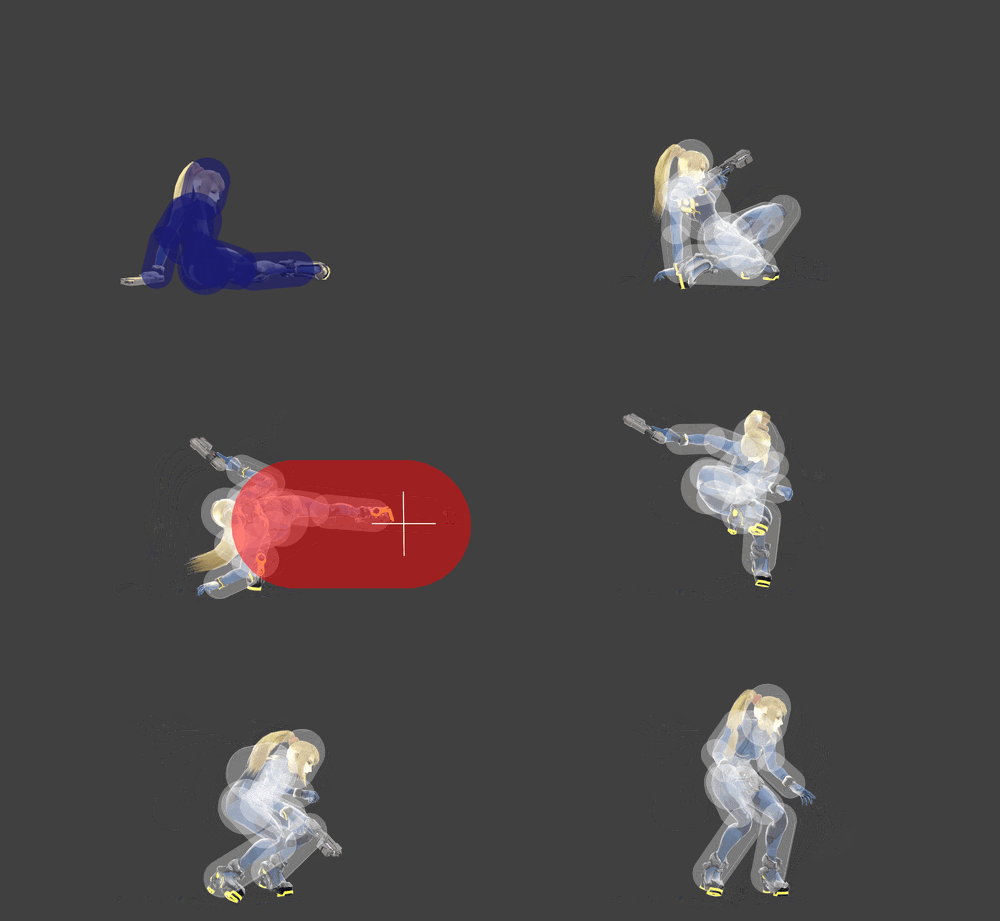
| |
| Ledge attack | 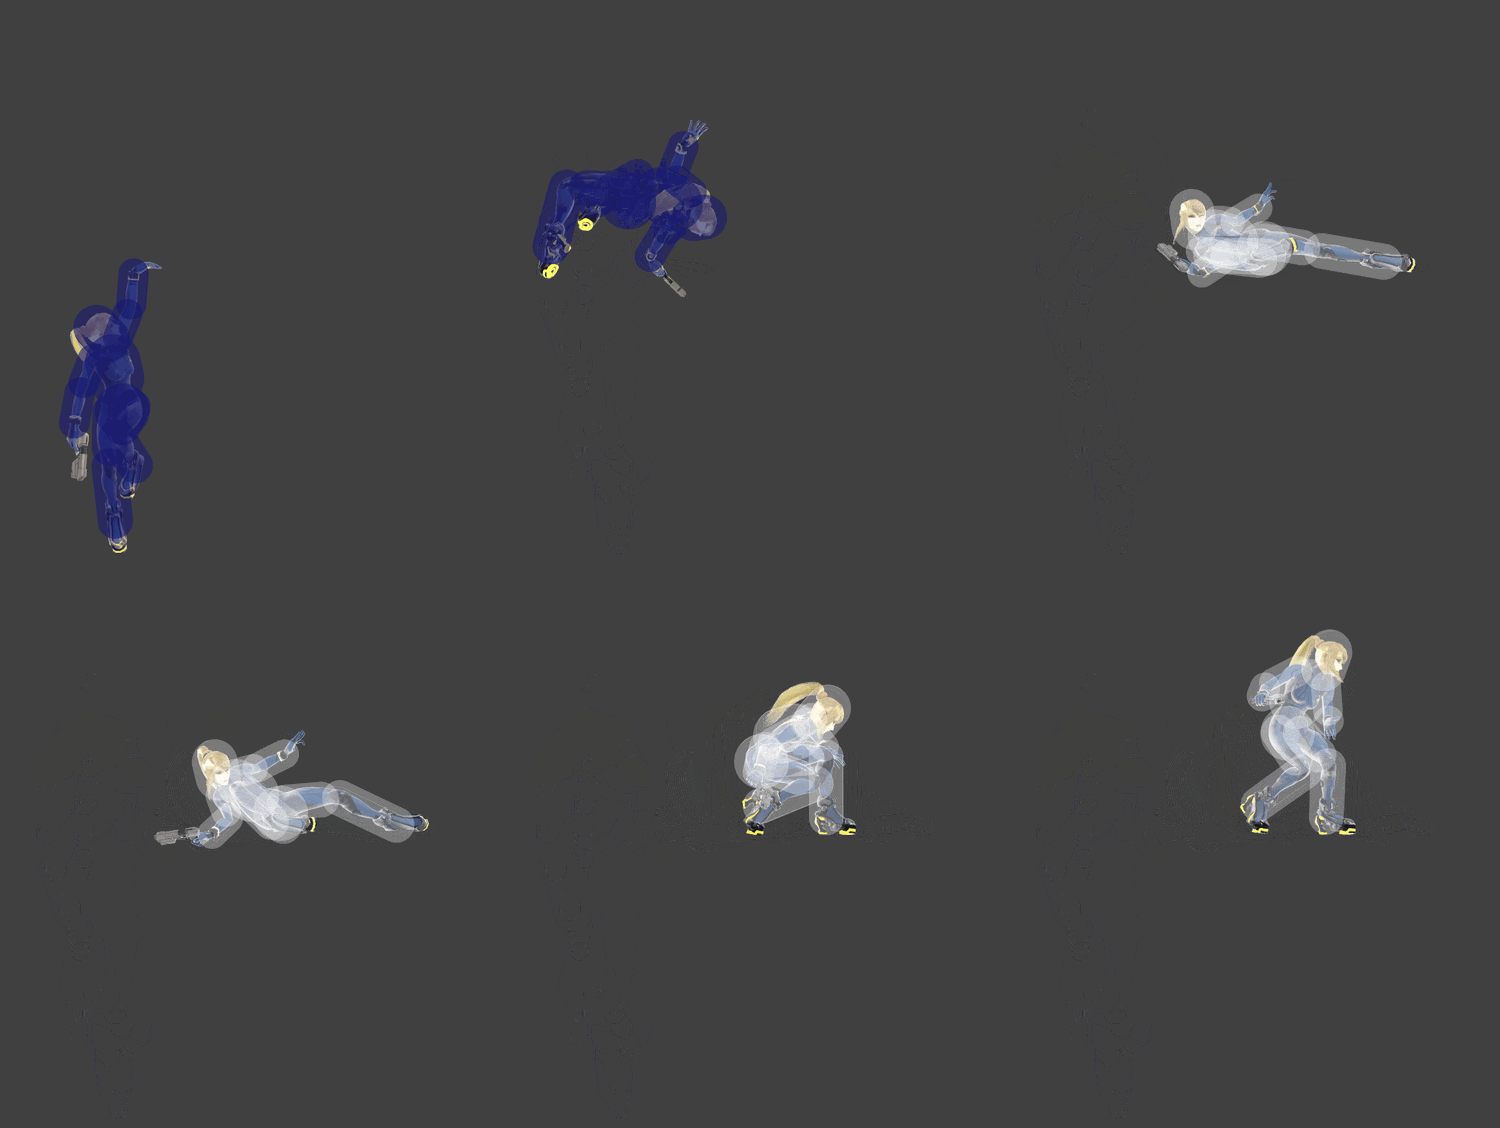
|