Ryu (SSBU)/Hitboxes: Difference between revisions
From SmashWiki, the Super Smash Bros. wiki
Jump to navigationJump to search
(Making the images smaller to reduce the amount of scrolling) |
(Adding move names) |
||
| Line 20: | Line 20: | ||
|Forward tilt tapped far|| || [[File:RyuFTiltTappedFarSSBU.gif|500px]] | |Forward tilt tapped far|| || [[File:RyuFTiltTappedFarSSBU.gif|500px]] | ||
|- | |- | ||
|Forward tilt held|| | |Forward tilt held|| Collarbone Breaker || [[File:RyuFTiltHeldSSBU.gif|500px]] | ||
|- | |- | ||
|Up tilt tapped|| || [[File:RyuUTiltTappedSSBU.gif|500px]] | |Up tilt tapped|| || [[File:RyuUTiltTappedSSBU.gif|500px]] | ||
| Line 26: | Line 26: | ||
|Up tilt held|| || [[File:RyuUTiltHeldSSBU.gif|500px]] | |Up tilt held|| || [[File:RyuUTiltHeldSSBU.gif|500px]] | ||
|- | |- | ||
|Down tilt tapped|| | |Down tilt tapped|| Light Ankle Kick || [[File:RyuDTiltTappedSSBU.gif|500px]] | ||
|- | |- | ||
|Down tilt held|| | |Down tilt held|| Heavy Ankle Kick || [[File:RyuDTiltHeldSSBU.gif|500px]] | ||
|- | |- | ||
|Dash attack|| || [[File:RyuDashAttackSSBU.gif|500px]] | |Dash attack|| || [[File:RyuDashAttackSSBU.gif|500px]] | ||
|- | |- | ||
|Forward smash|| || [[File:RyuFSmashSSBU.gif|500px]] | |Forward smash|| Joudan Sokutoger || [[File:RyuFSmashSSBU.gif|500px]] | ||
|- | |- | ||
|Up smash |||| [[File:RyuUSmashSSBU.gif|500px]] | |Up smash |||| [[File:RyuUSmashSSBU.gif|500px]] | ||
| Line 40: | Line 40: | ||
|Neutral aerial || || [[File:RyuNAirSSBU.gif|500px]] | |Neutral aerial || || [[File:RyuNAirSSBU.gif|500px]] | ||
|- | |- | ||
|Forward aerial|| | |Forward aerial|| Tobigeri || [[File:RyuFAirSSBU.gif|500px]] | ||
|- | |- | ||
|Back aerial|| || [[File:RyuBAirSSBU.gif|500px]] | |Back aerial|| || [[File:RyuBAirSSBU.gif|500px]] | ||
|- | |- | ||
|Up aerial || || [[File:RyuUAirSSBU.gif|500px]] | |Up aerial || Sukui Tsuki || [[File:RyuUAirSSBU.gif|500px]] | ||
|- | |- | ||
|Down aerial || | |Down aerial || Straight Punch || [[File:RyuDAirSSBU.gif|500px]] | ||
|- | |- | ||
|Neutral special||[[Hadoken]]|| (unavailable) | |Neutral special||[[Hadoken]]|| (unavailable) | ||
| Line 74: | Line 74: | ||
|Forward throw || || (unavailable) | |Forward throw || || (unavailable) | ||
|- | |- | ||
|Back throw || || (unavailable) | |Back throw || Somersault Throw || (unavailable) | ||
|- | |- | ||
|Up throw || || (unavailable) | |Up throw || Heel Drop || (unavailable) | ||
|- | |- | ||
|Down throw || || (unavailable) | |Down throw || || (unavailable) | ||
Revision as of 02:22, December 16, 2019
| Move | Name | Hitbox |
|---|---|---|
| Neutral attack 1 tapped | 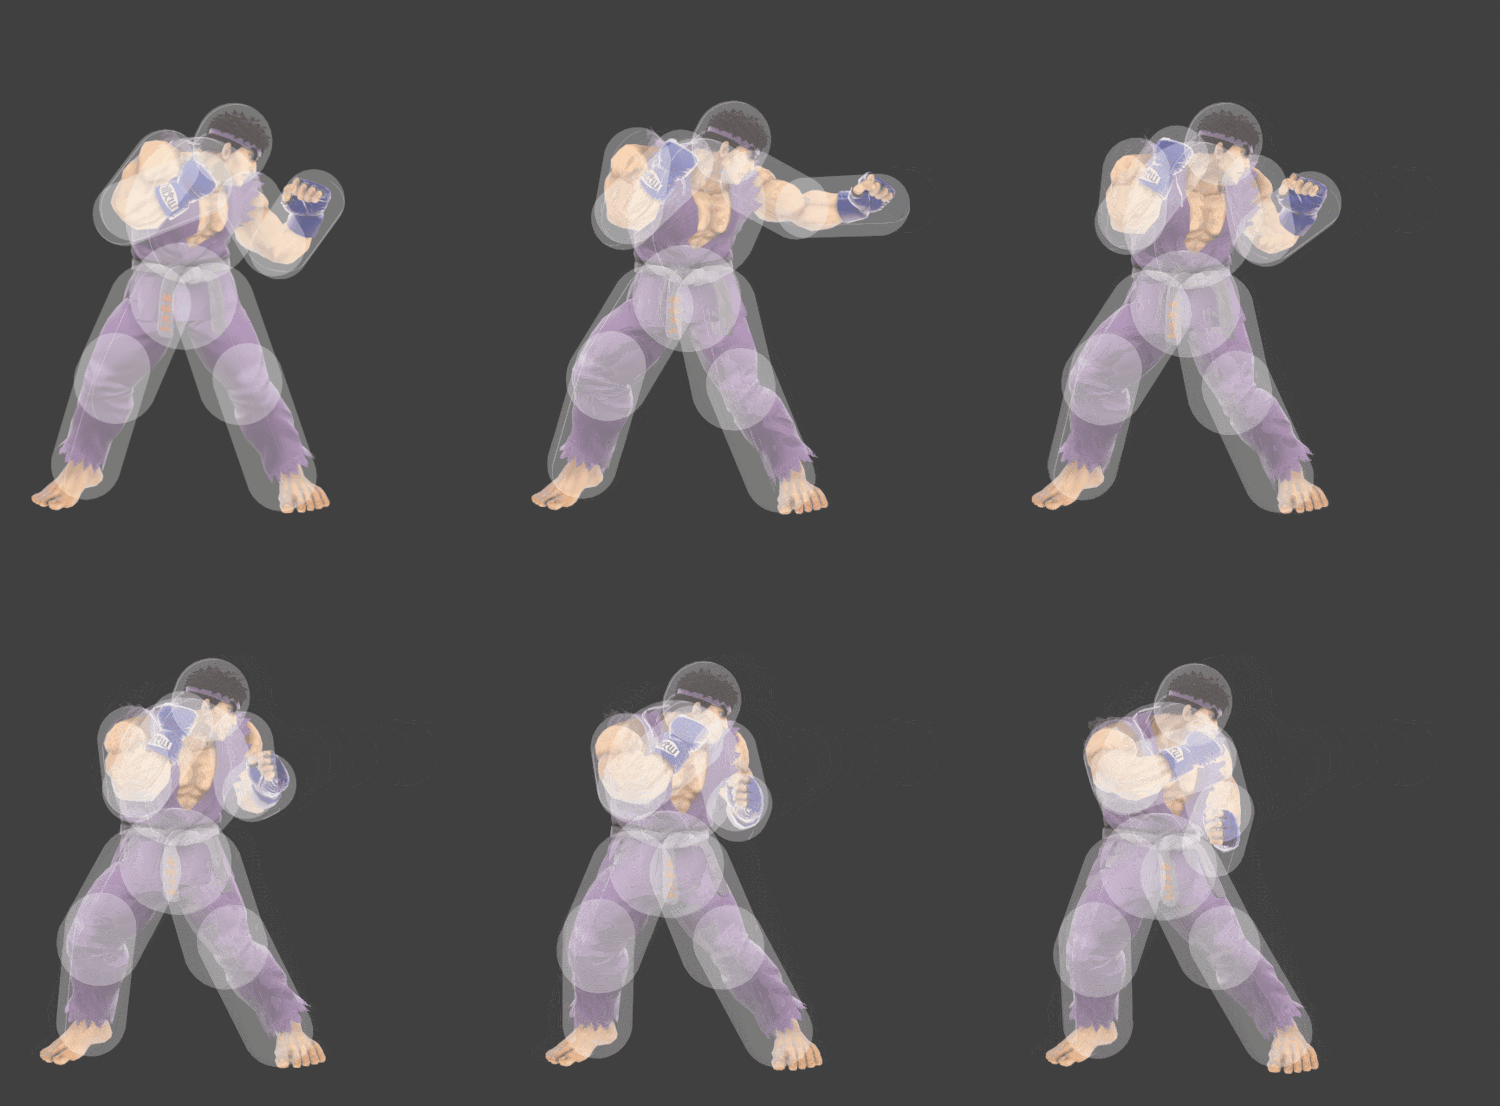
| |
| Neutral attack 1 held close | (unavailable) | |
| Neutral attack 1 held far | 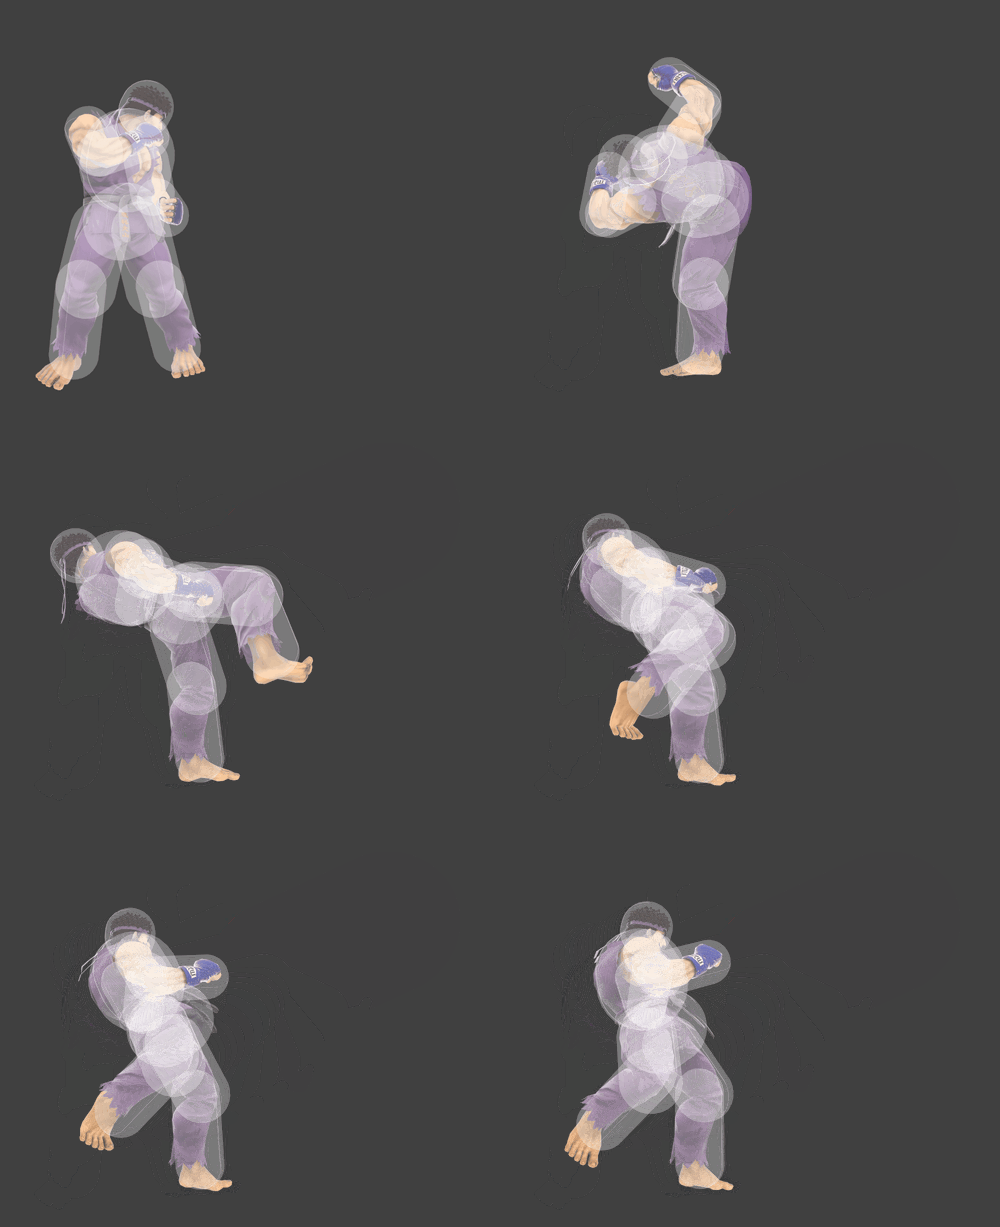
| |
| Neutral attack 2 | 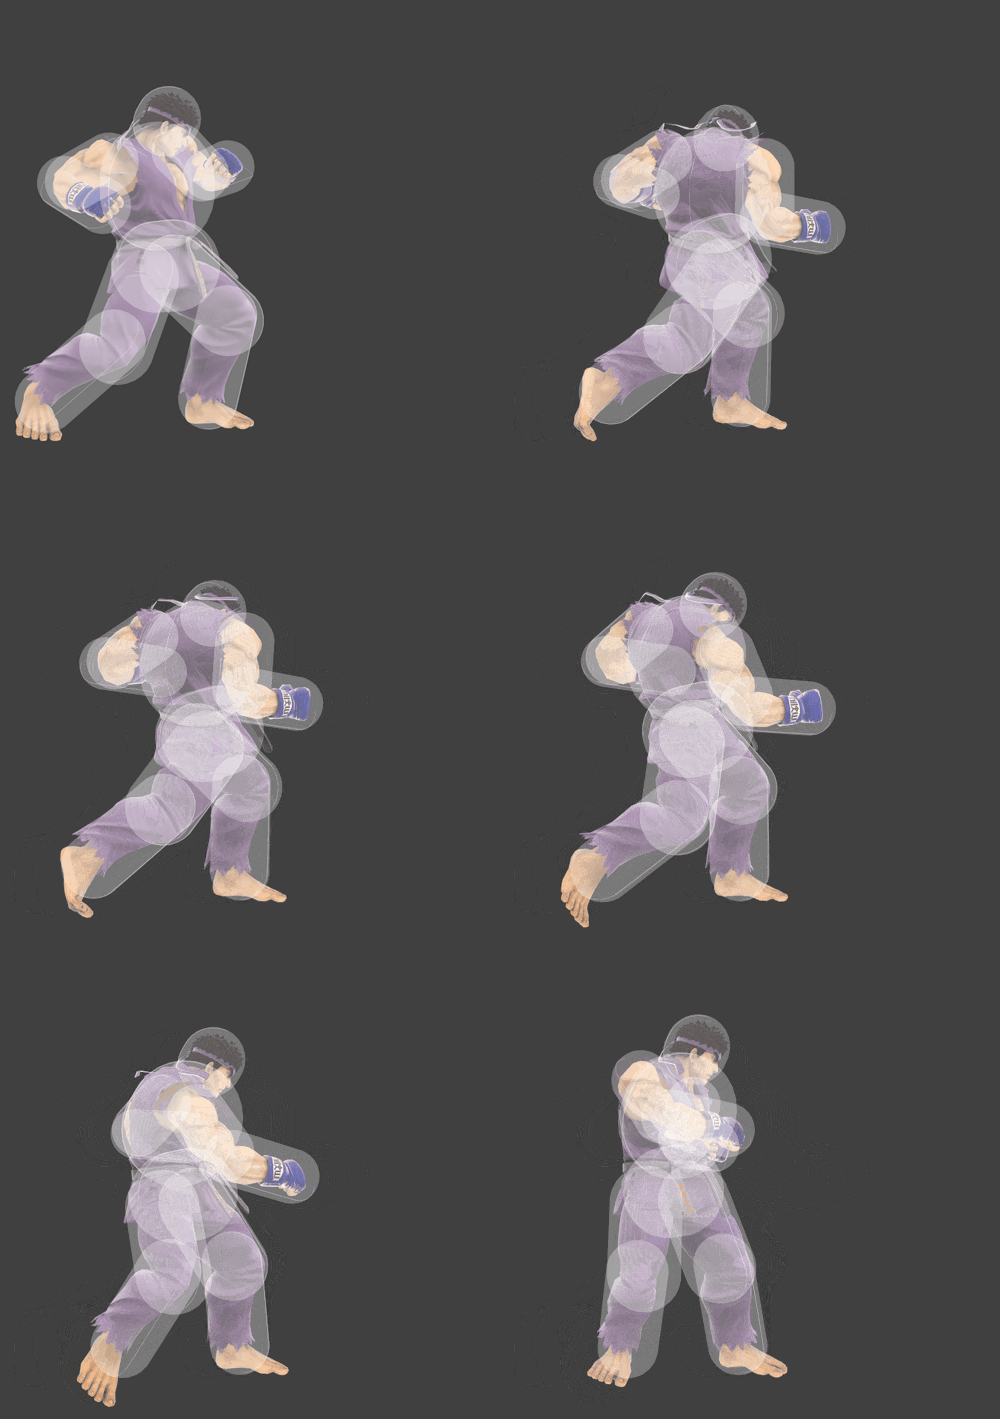
| |
| Neutral attack 3 | 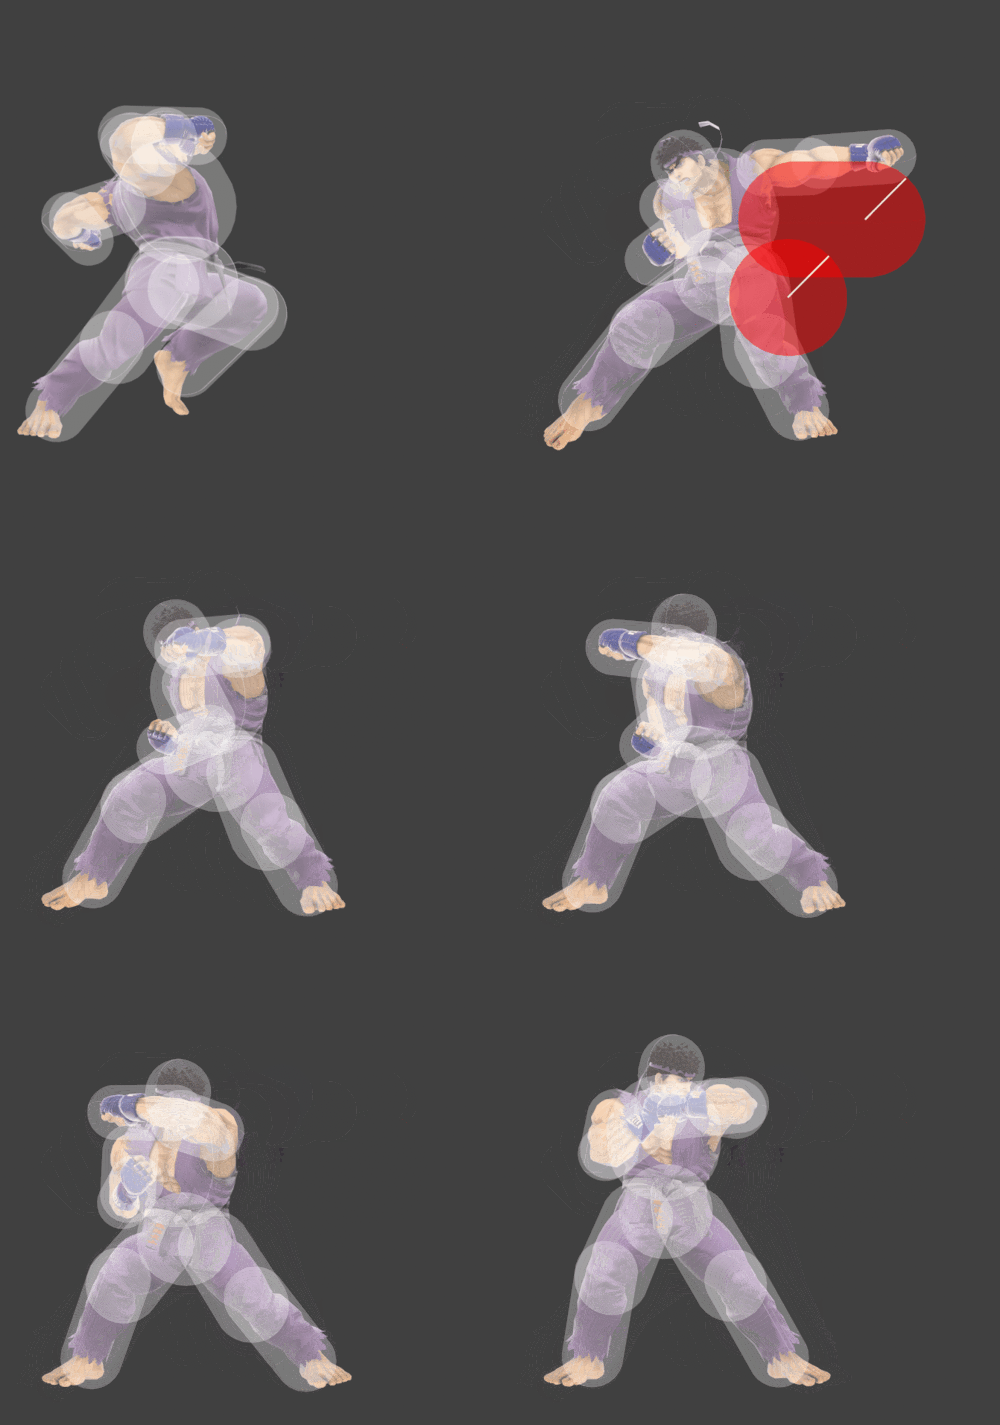
| |
| Forward tilt tapped close | 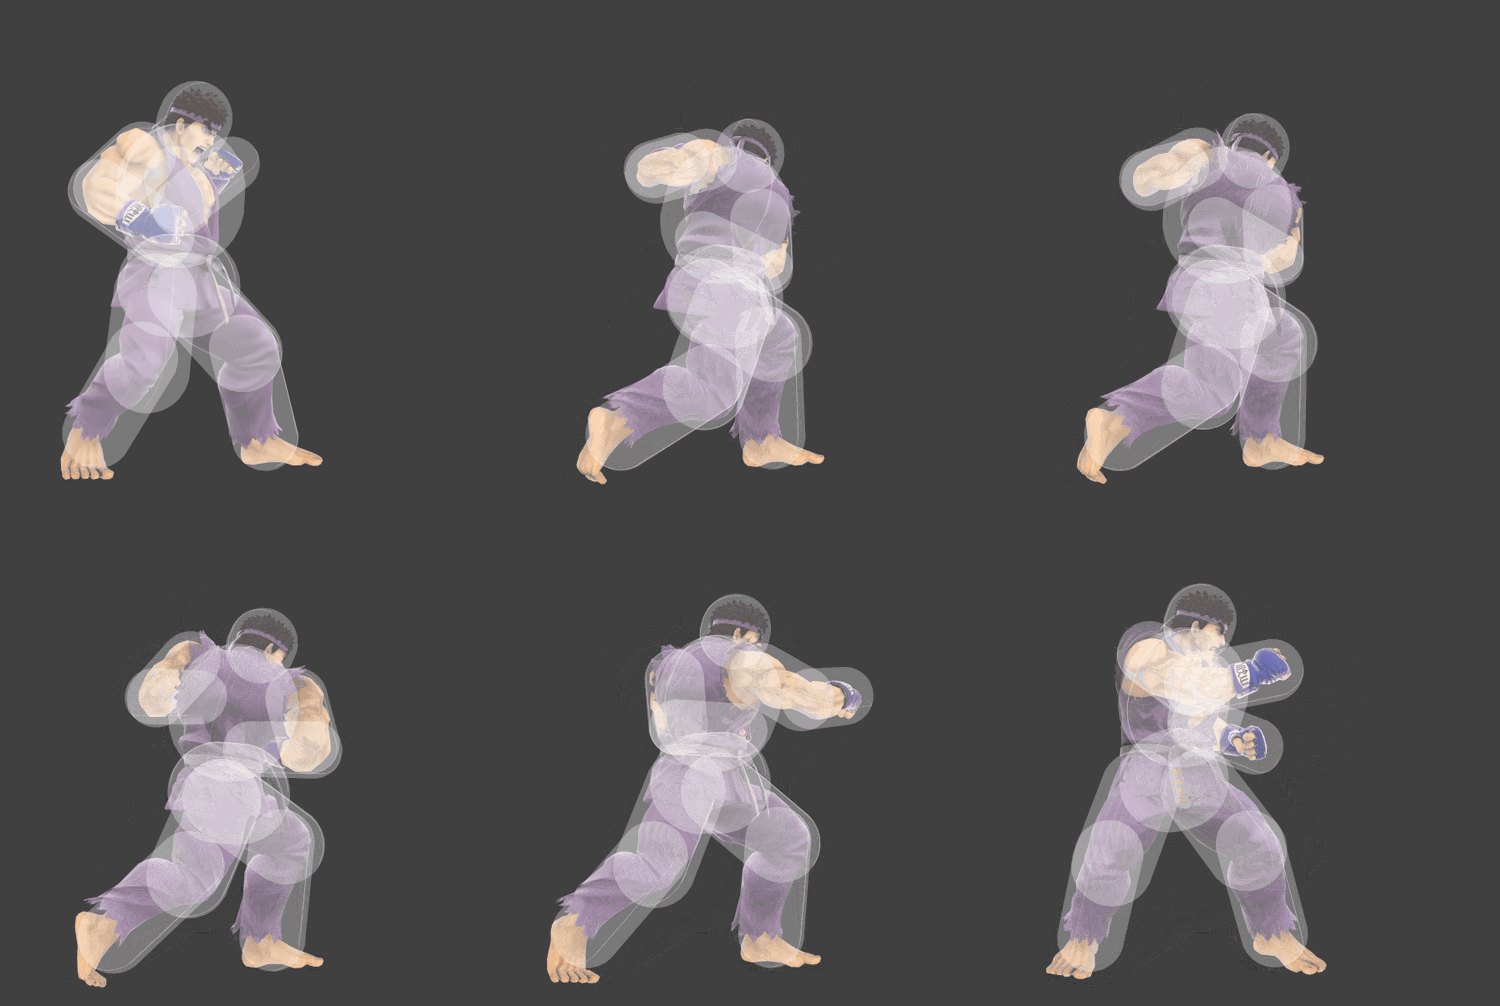
| |
| Forward tilt tapped far | 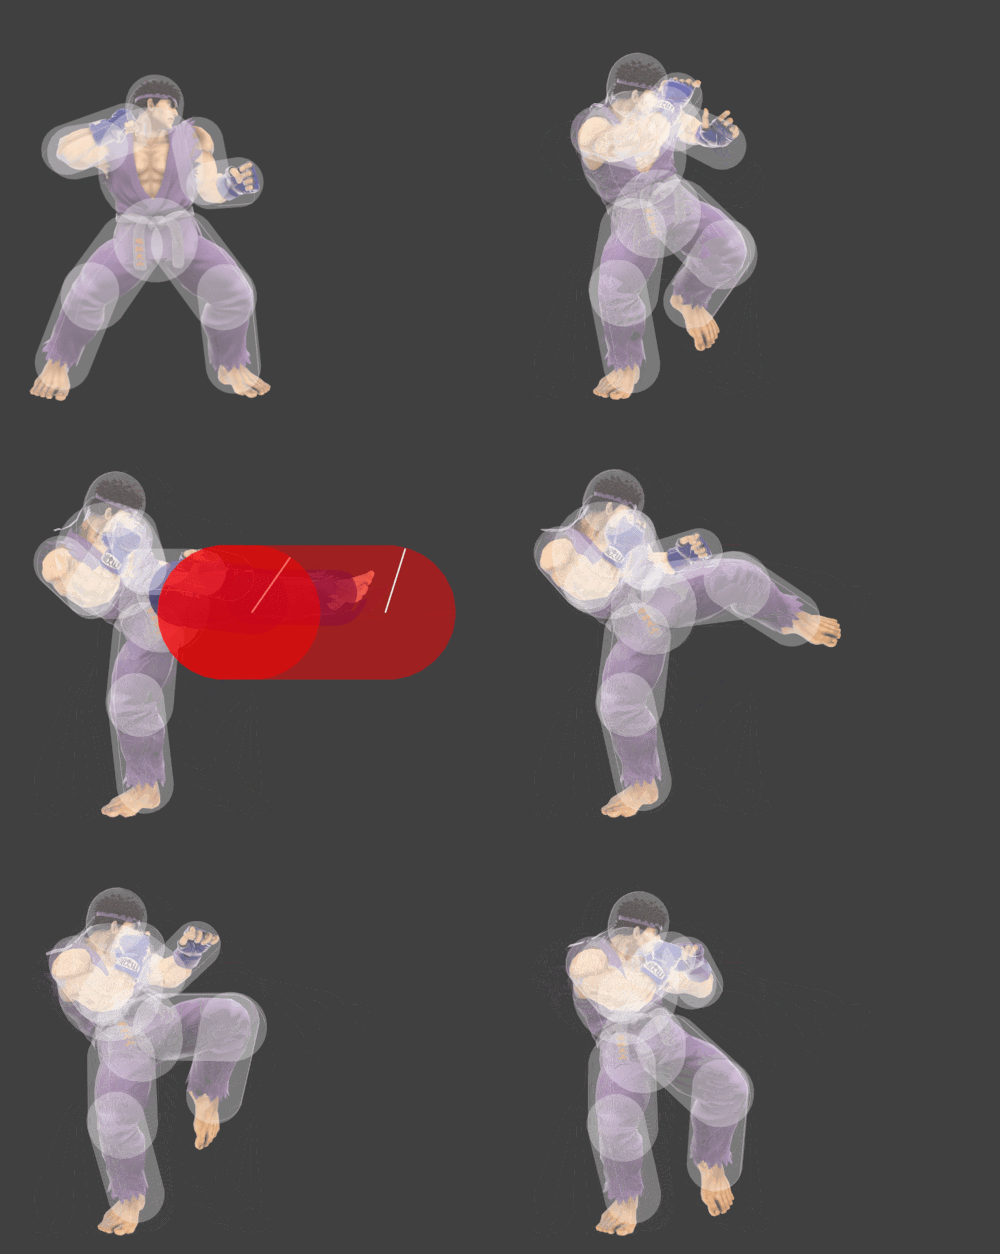
| |
| Forward tilt held | Collarbone Breaker | 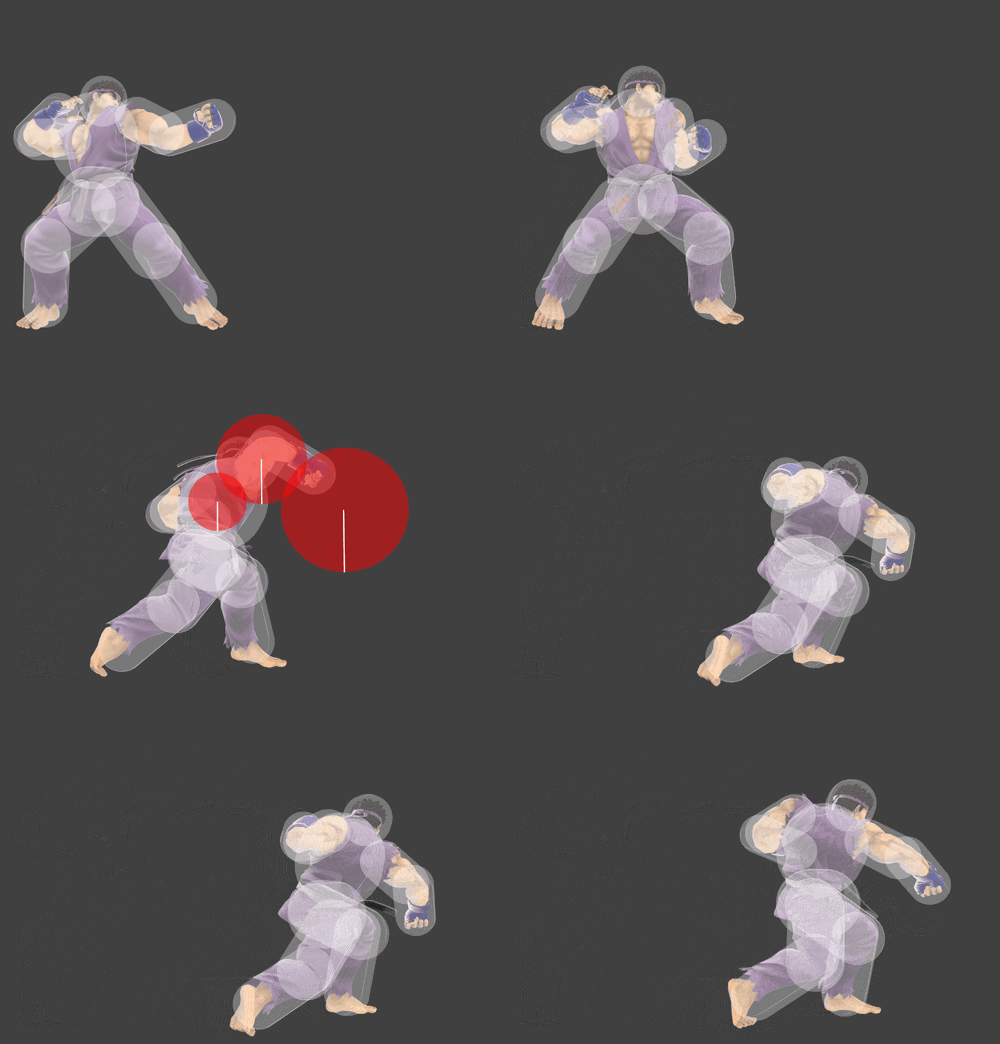
|
| Up tilt tapped | 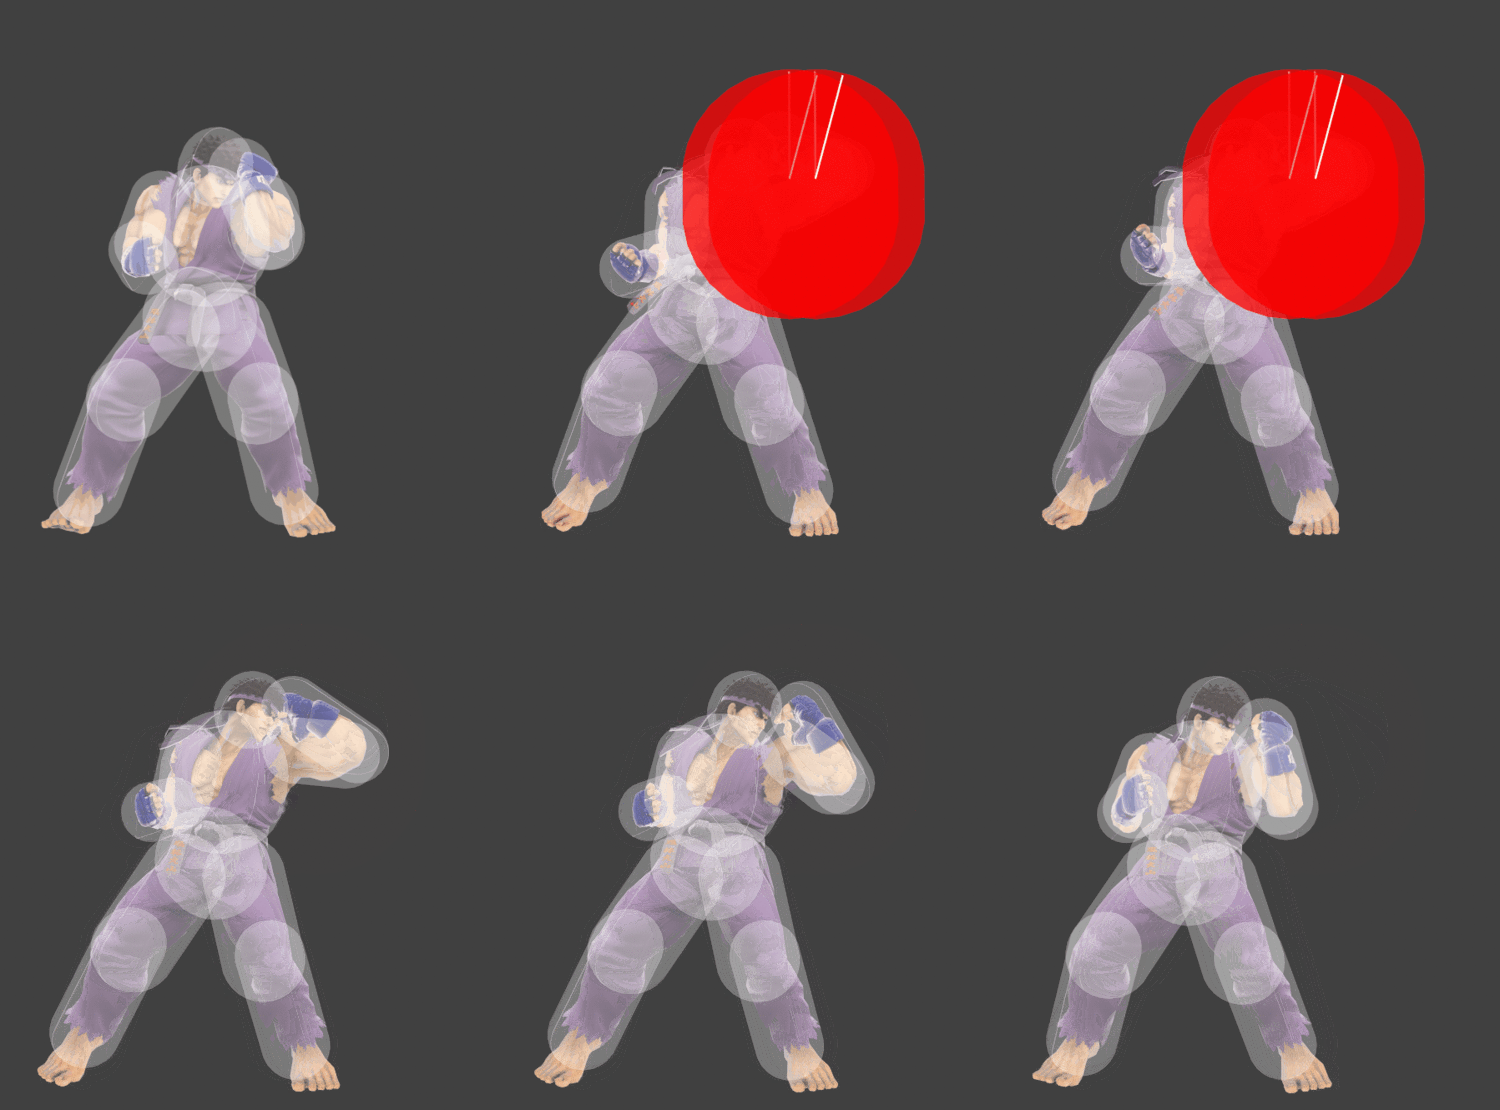
| |
| Up tilt held | 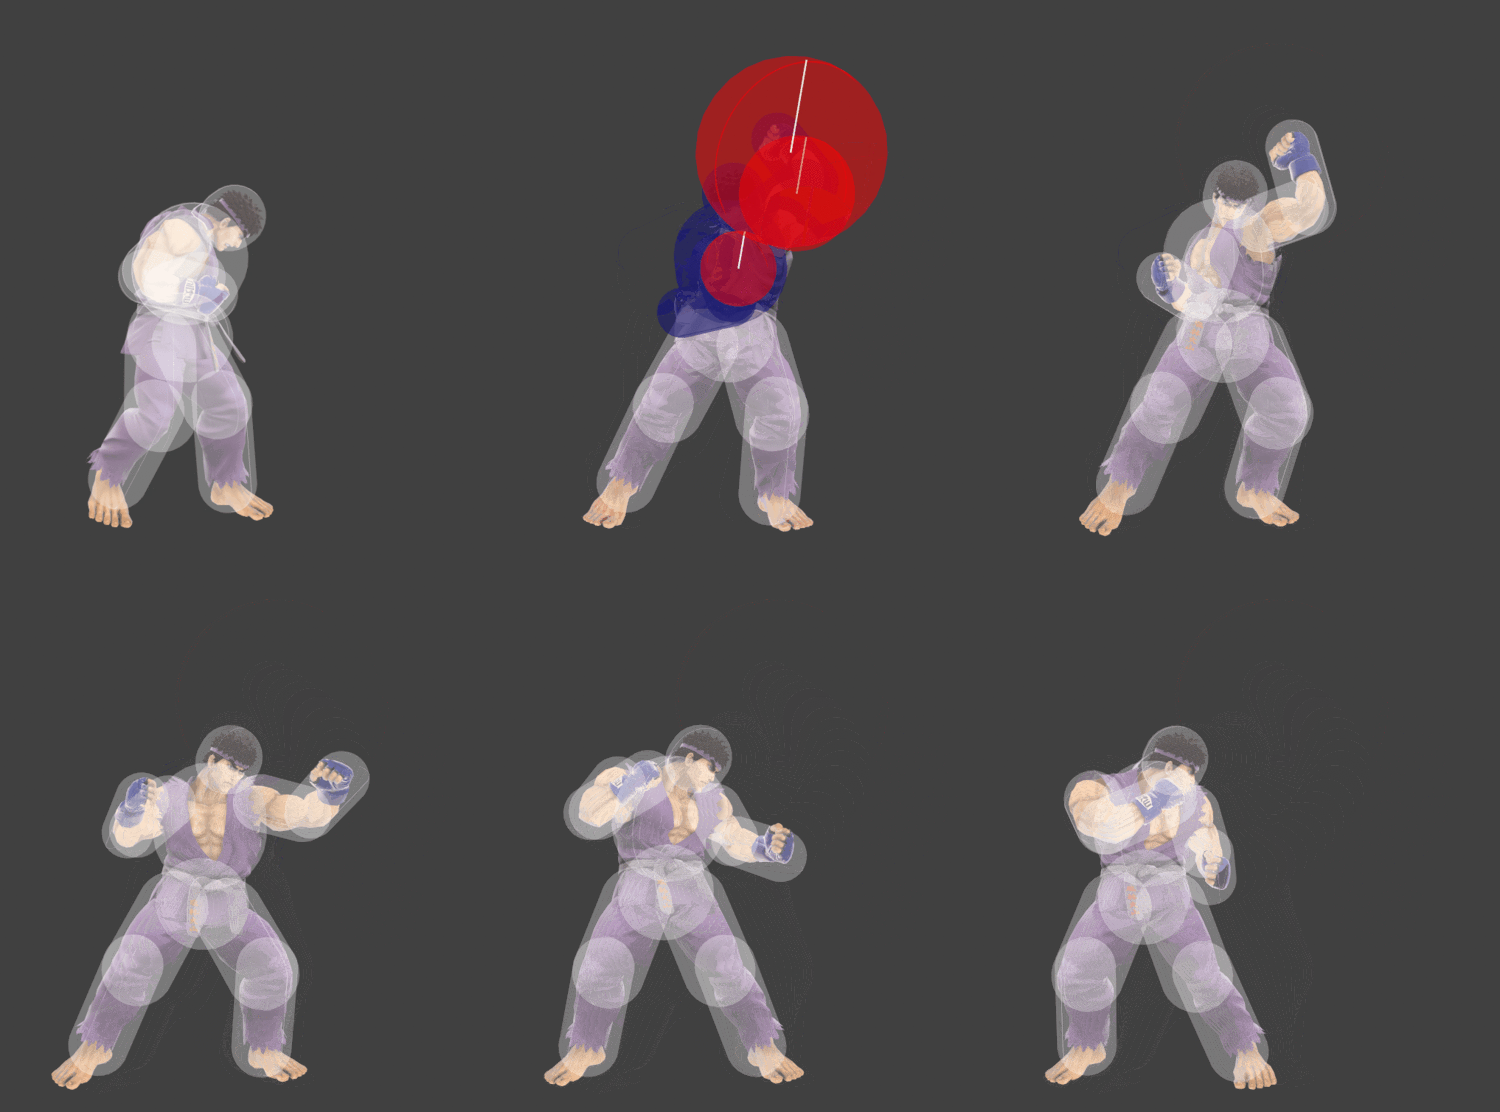
| |
| Down tilt tapped | Light Ankle Kick | 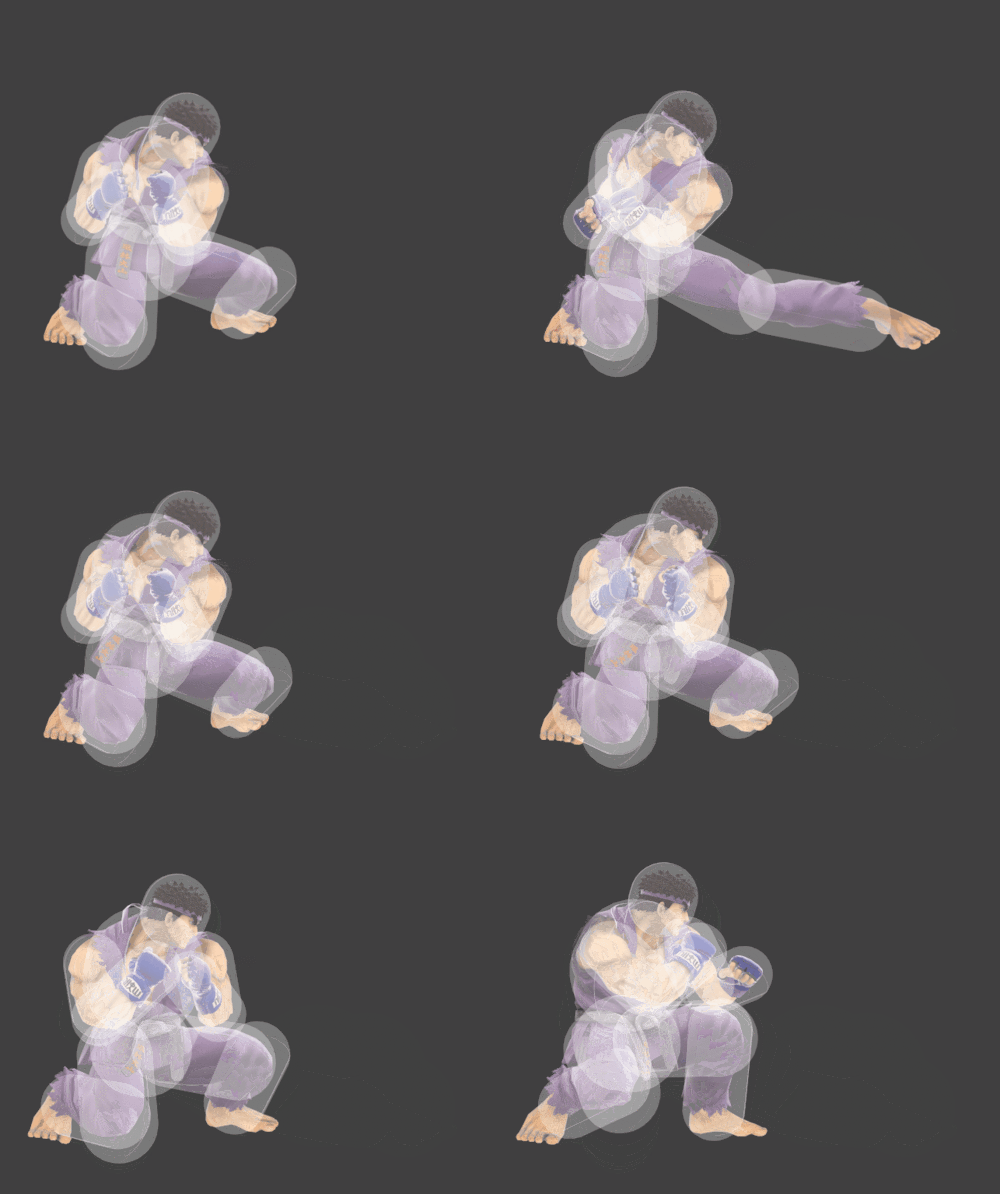
|
| Down tilt held | Heavy Ankle Kick | 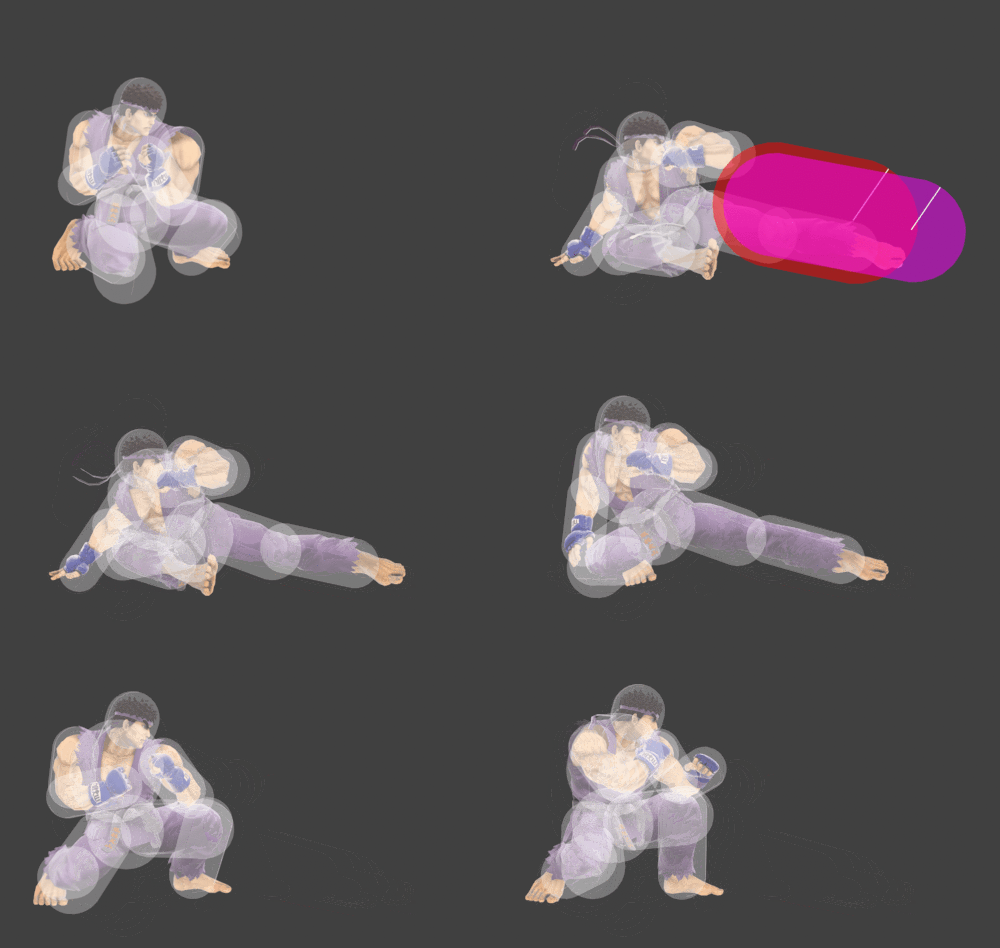
|
| Dash attack | 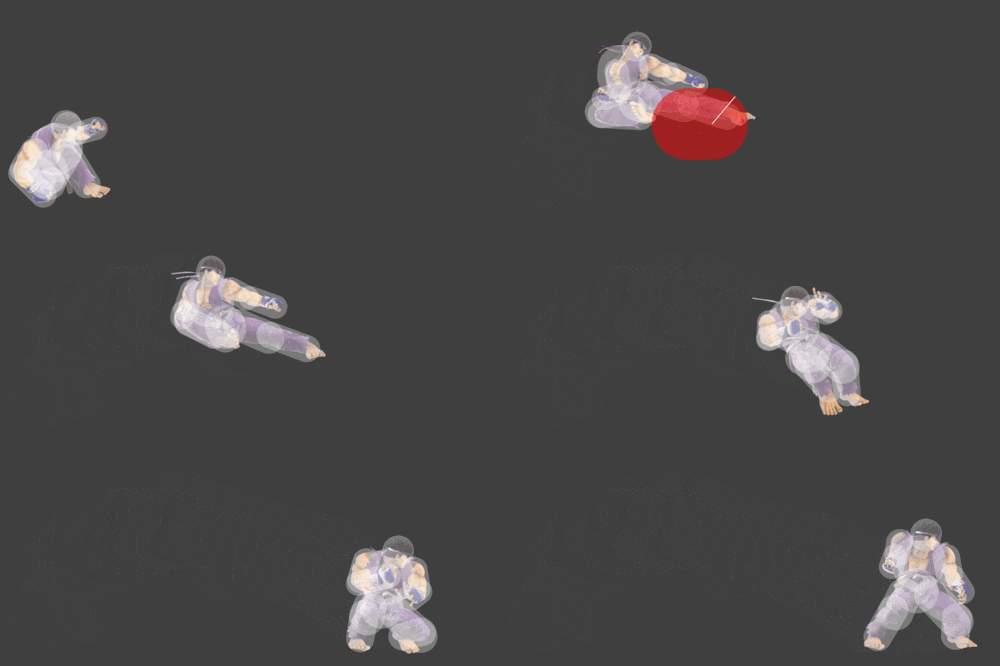
| |
| Forward smash | Joudan Sokutoger | 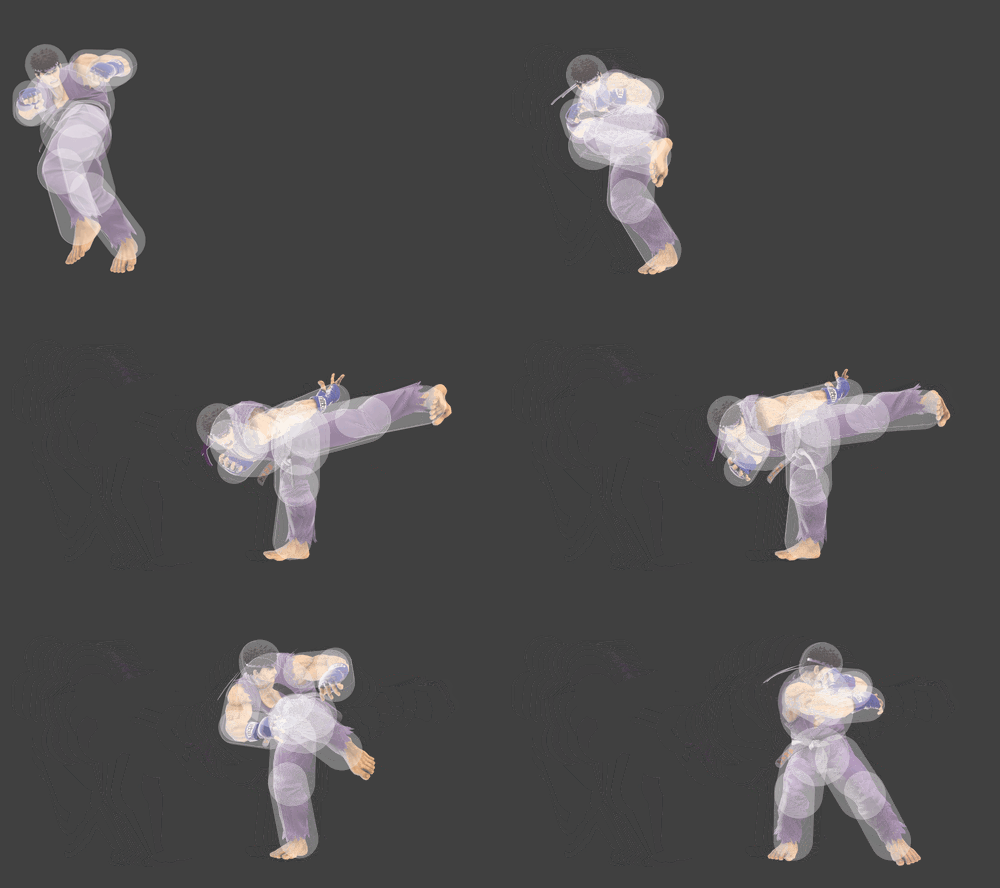
|
| Up smash | 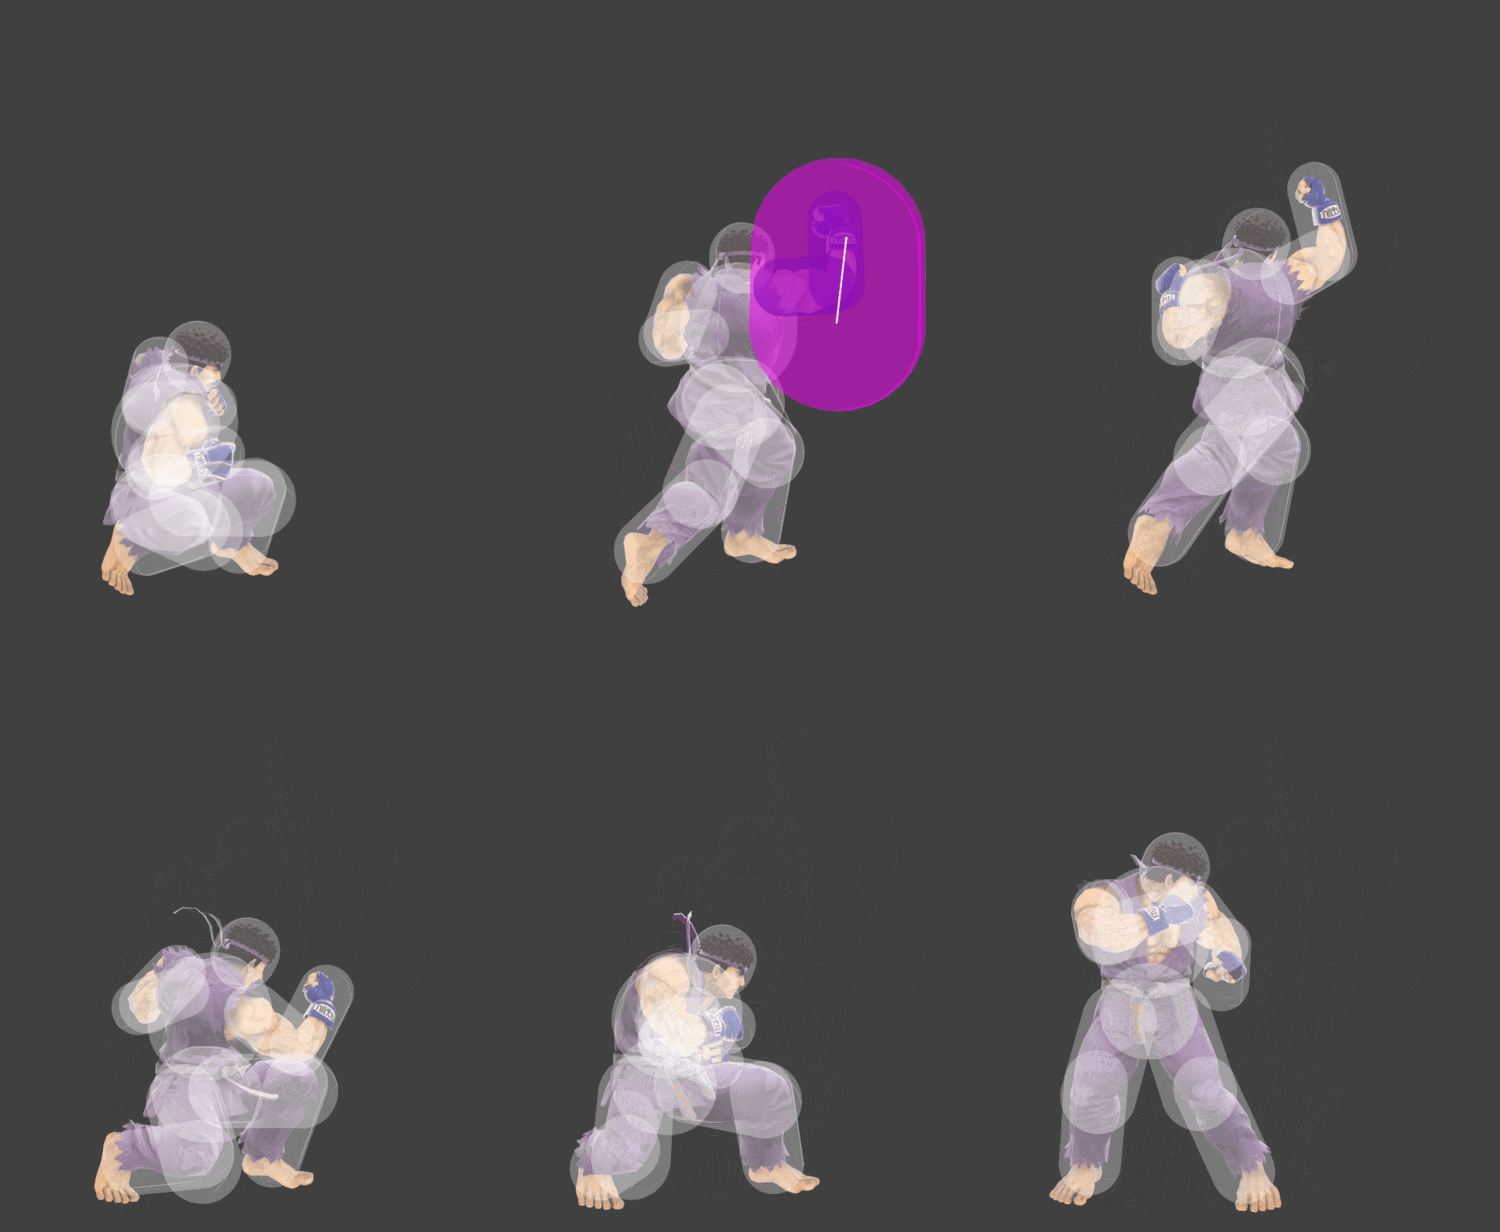
| |
| Down smash | 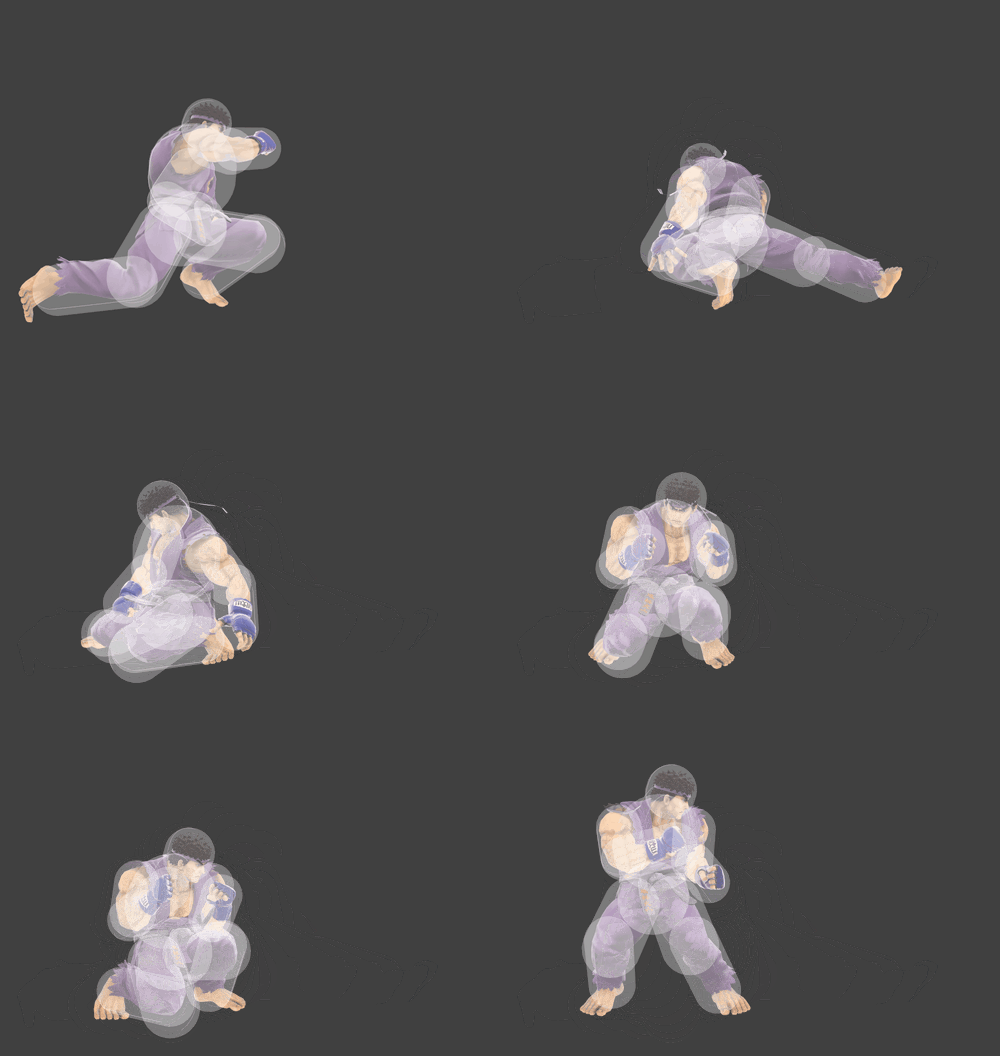
| |
| Neutral aerial | 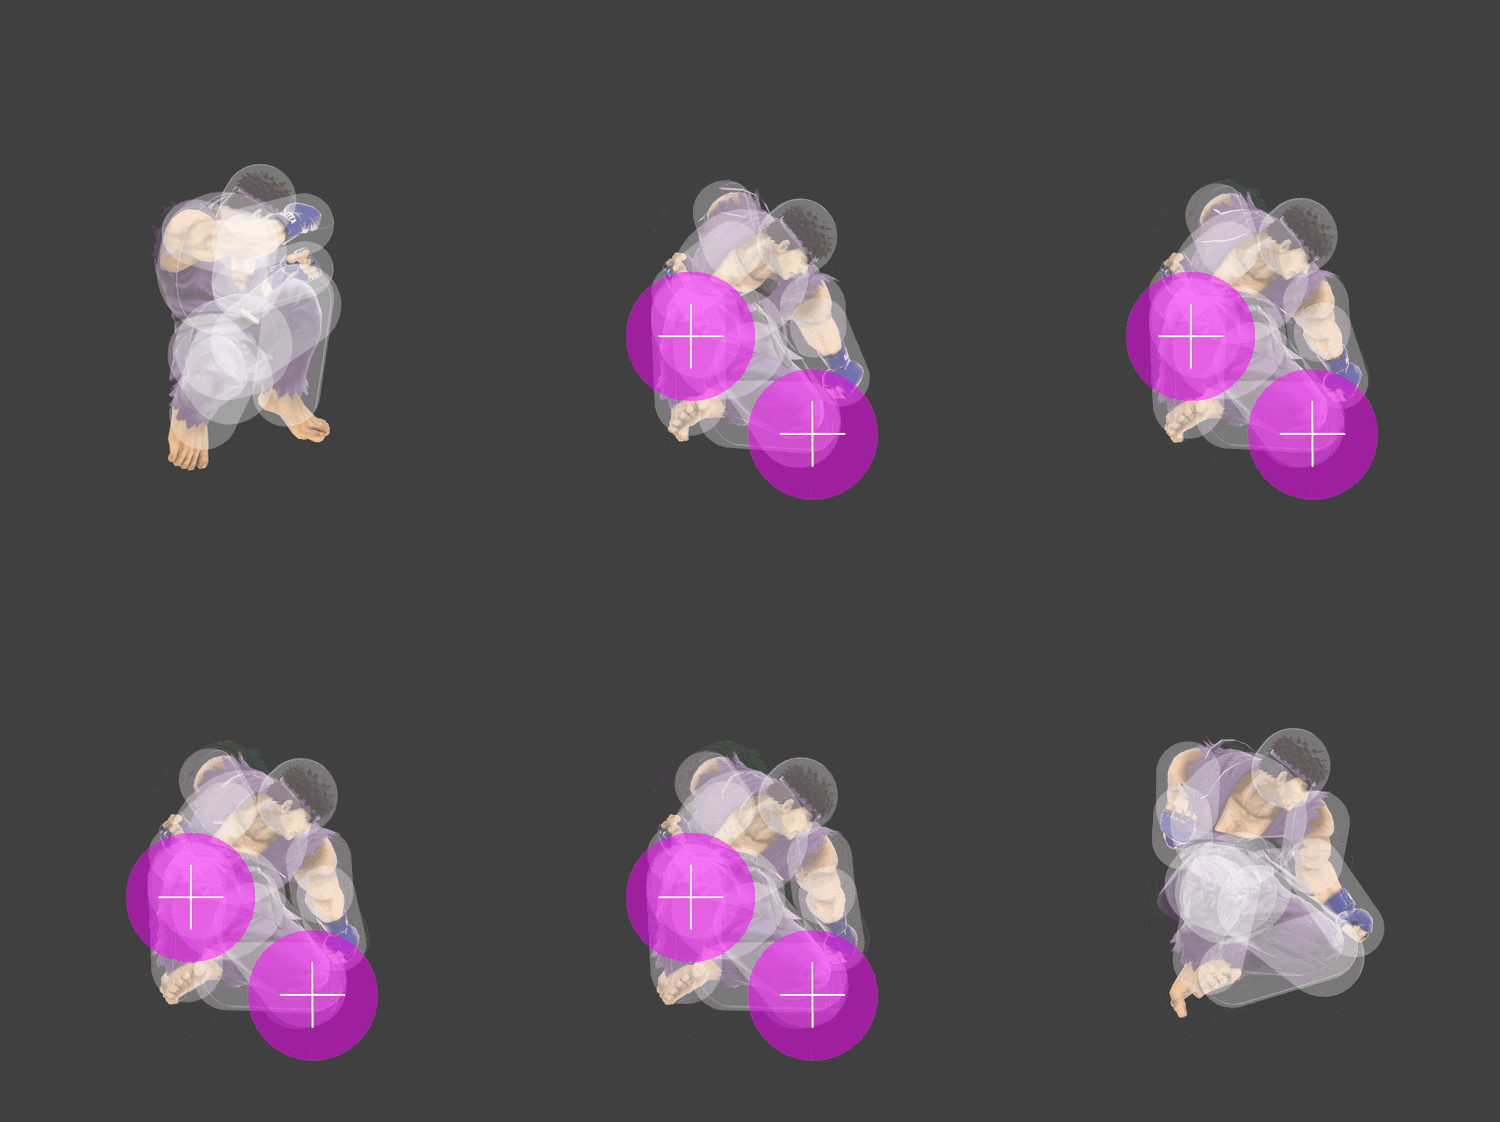
| |
| Forward aerial | Tobigeri | 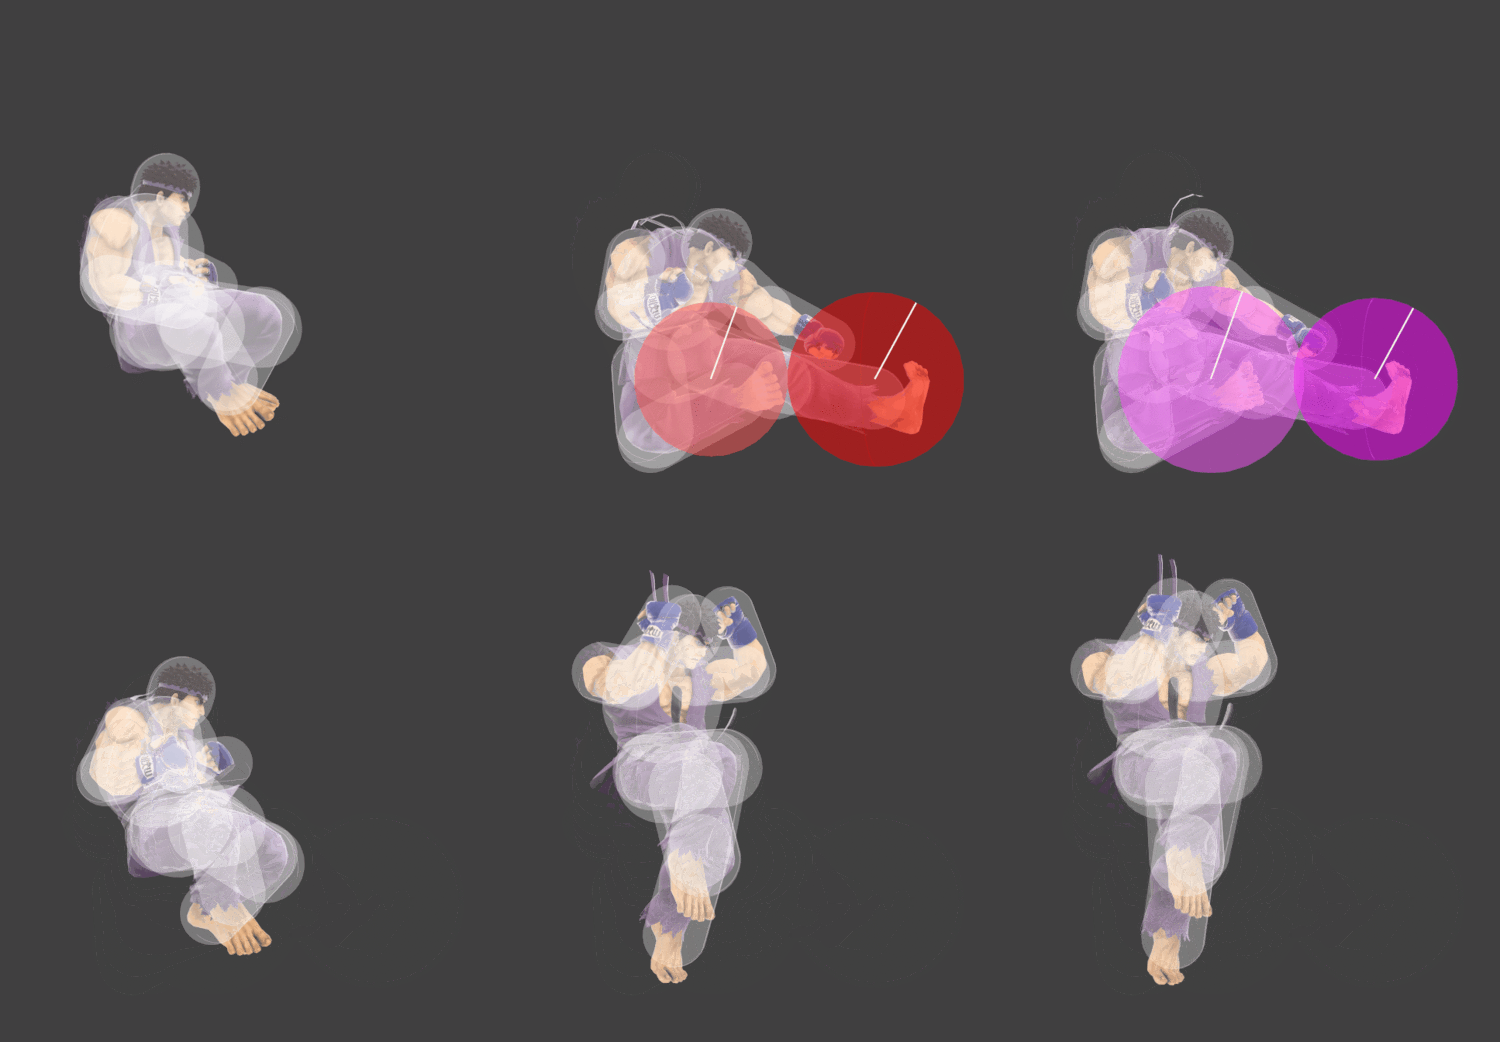
|
| Back aerial | 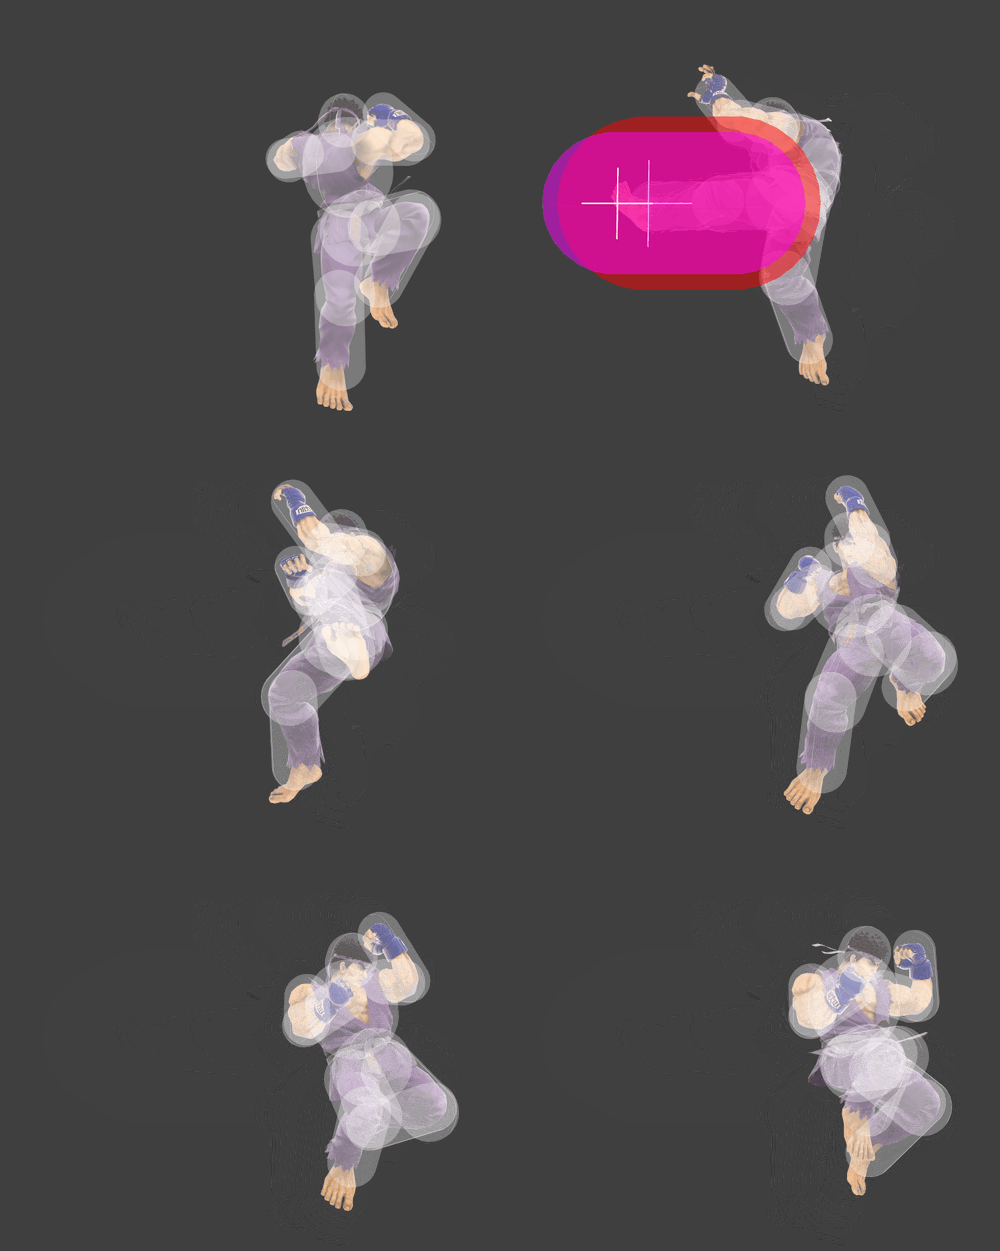
| |
| Up aerial | Sukui Tsuki | 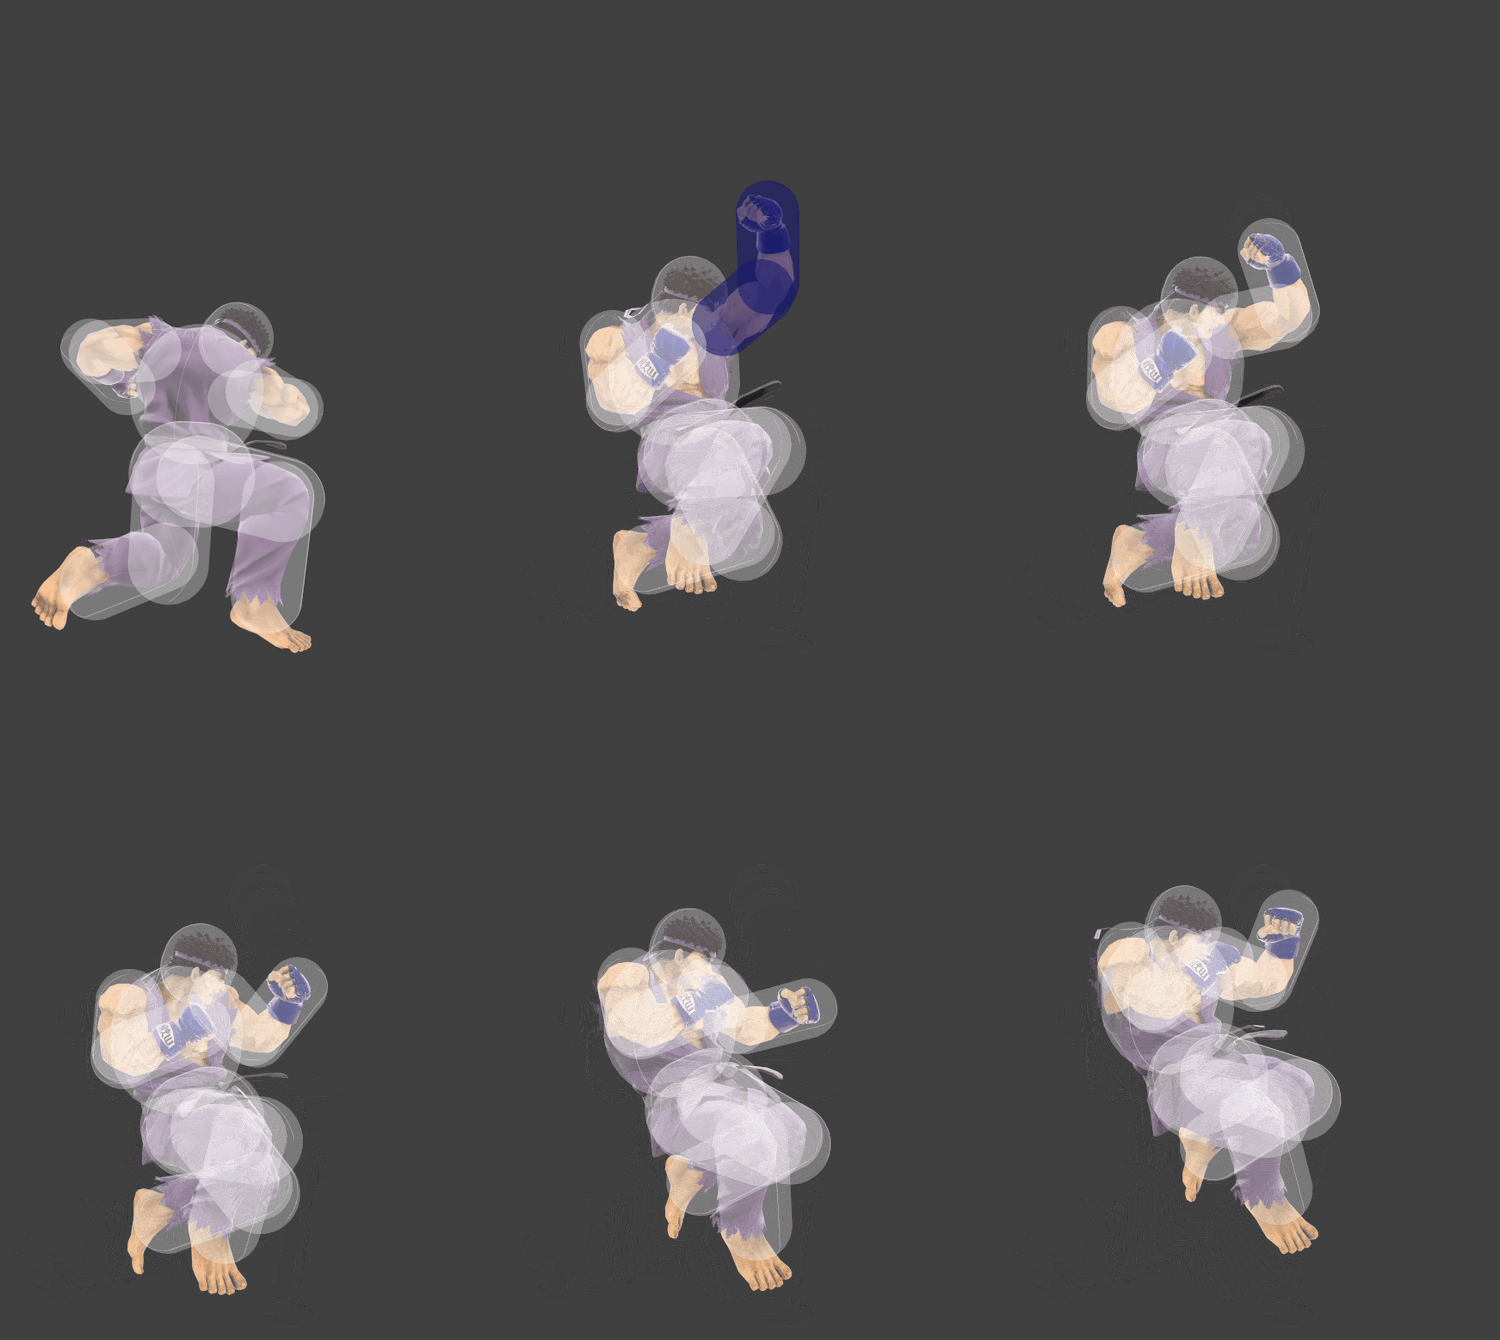
|
| Down aerial | Straight Punch | 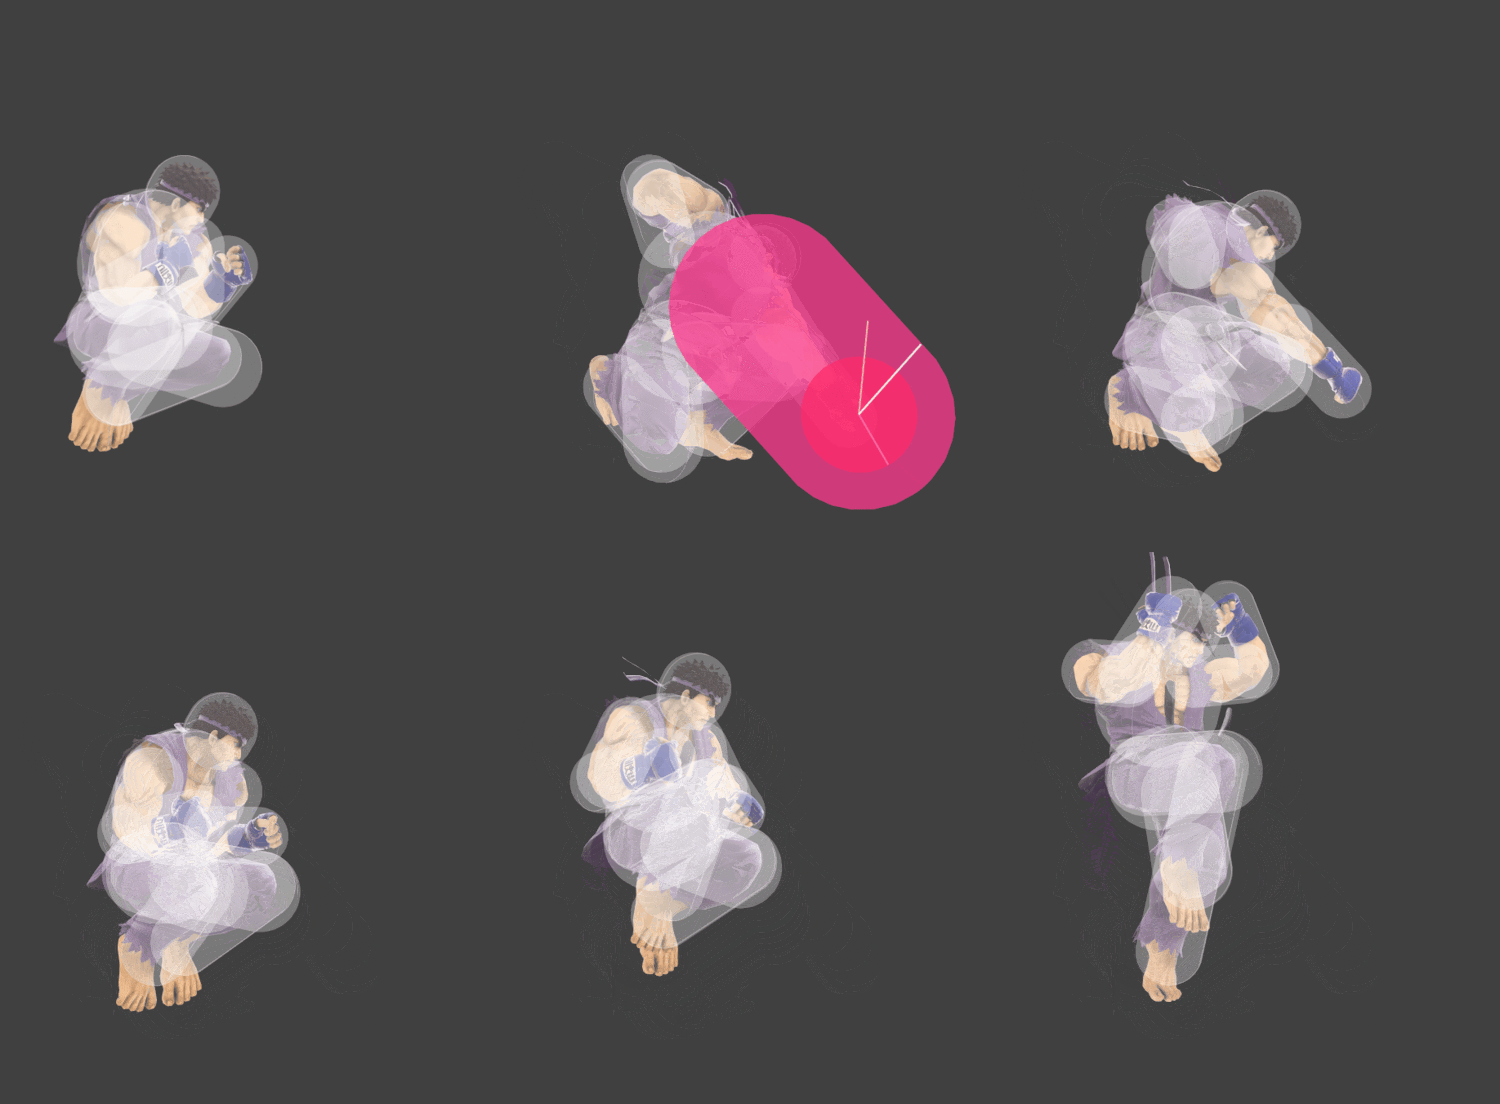
|
| Neutral special | Hadoken | (unavailable) |
| Side special | Tatsumaki Senpukyaku | 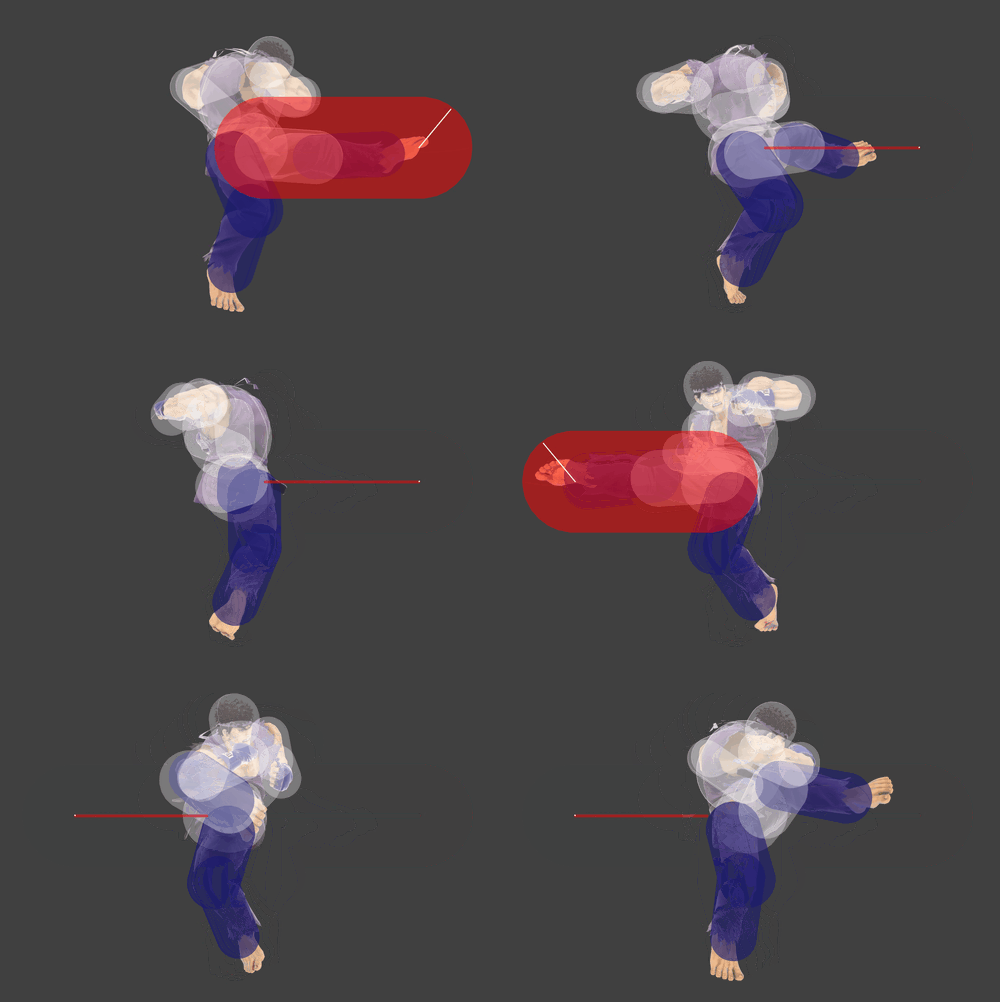
|
| Up special light | Shoryuken | 
|
| Up special mid | Shoryuken | 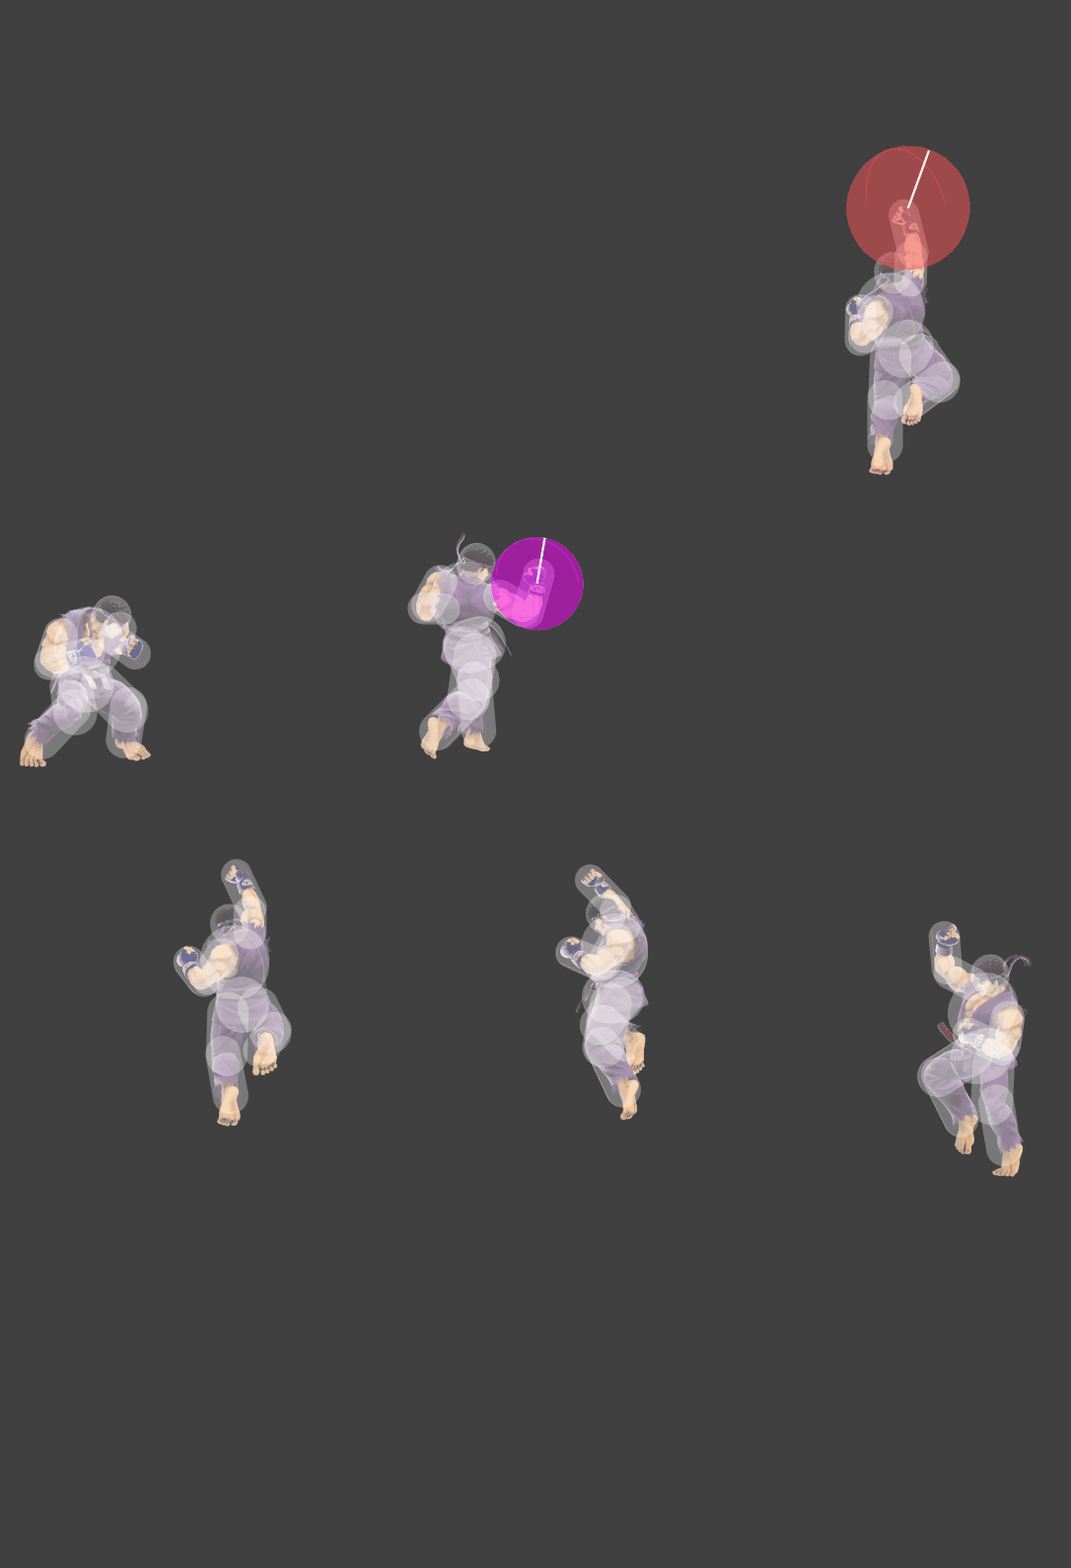
|
| Up special heavy | Shoryuken | 
|
| Down special level 1 | Focus Attack | 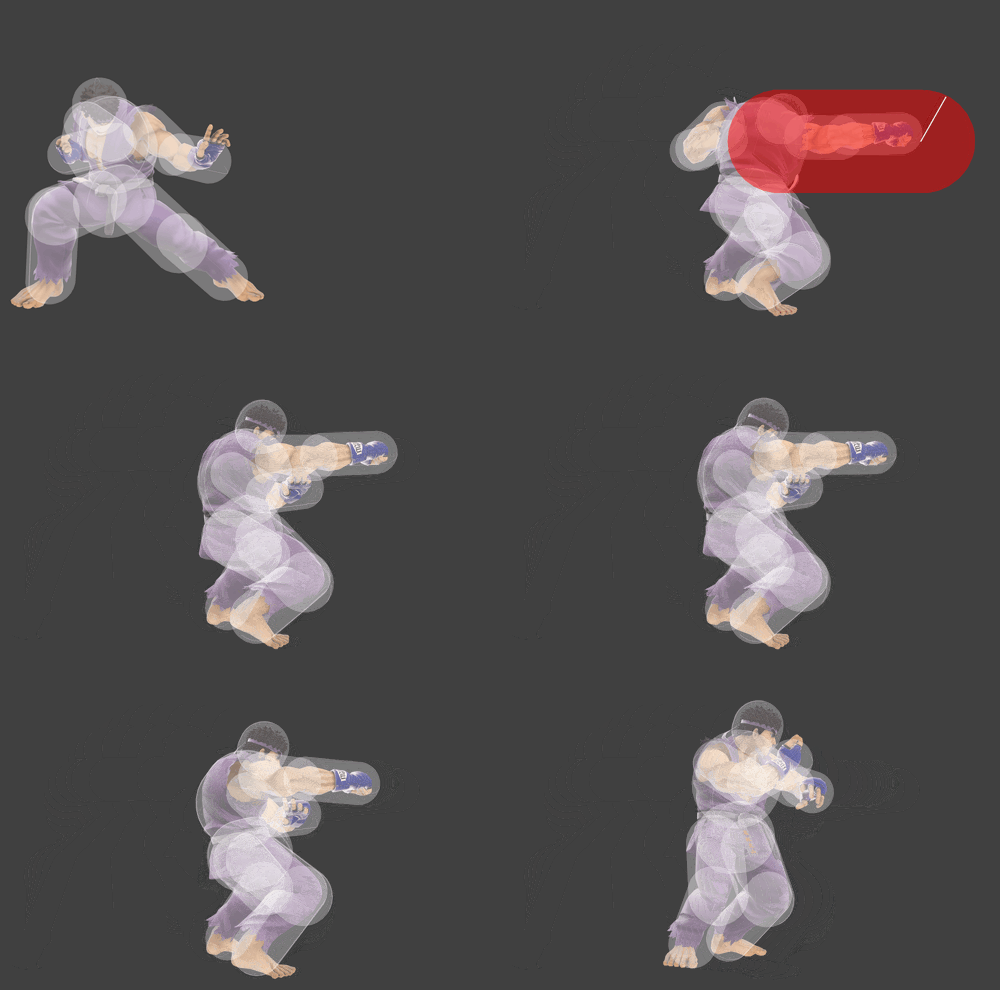
|
| Down special level 2 | Focus Attack | 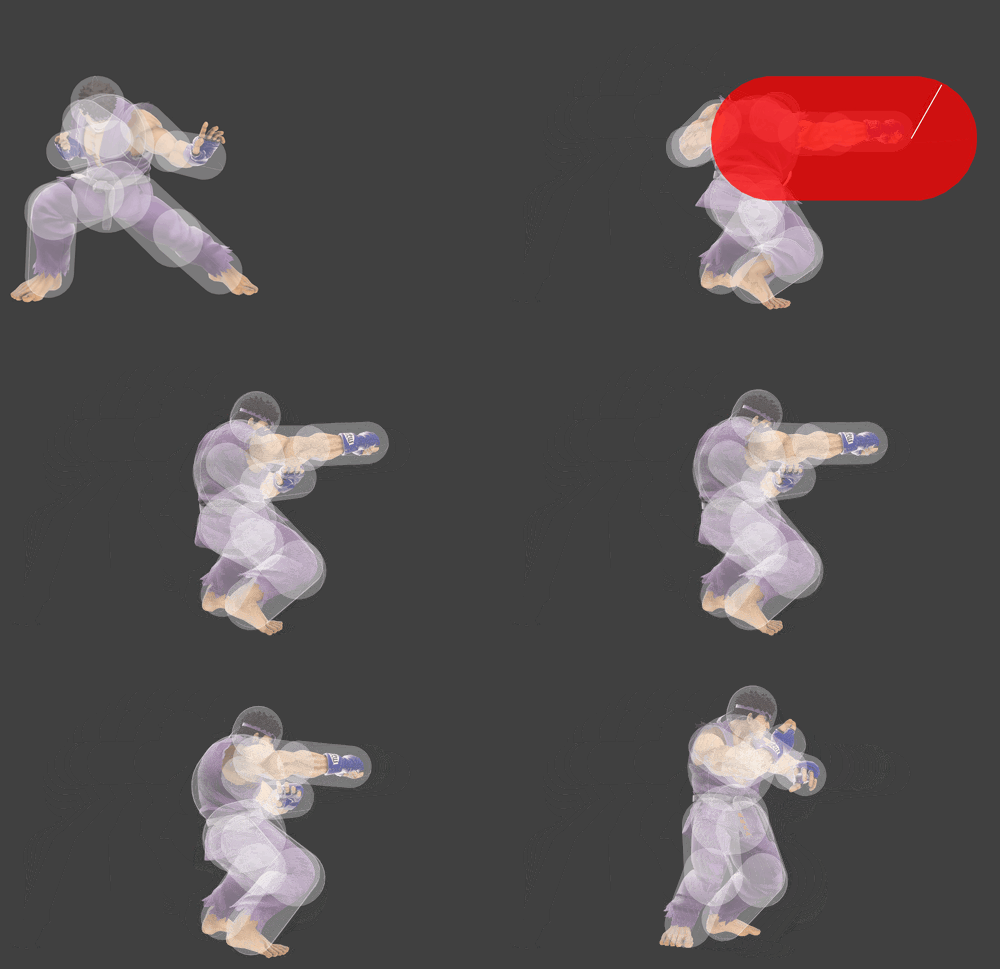
|
| Down special level 3 | Focus Attack | 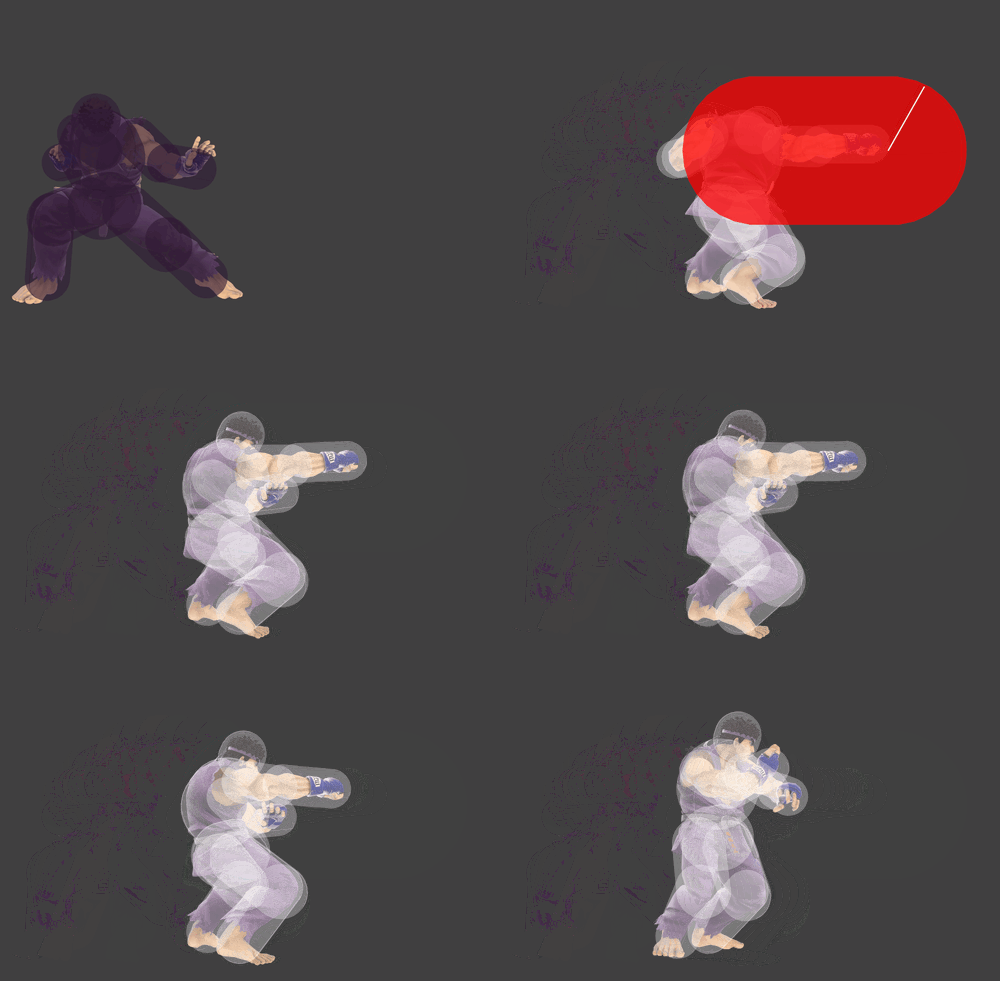
|
| Standing grab | 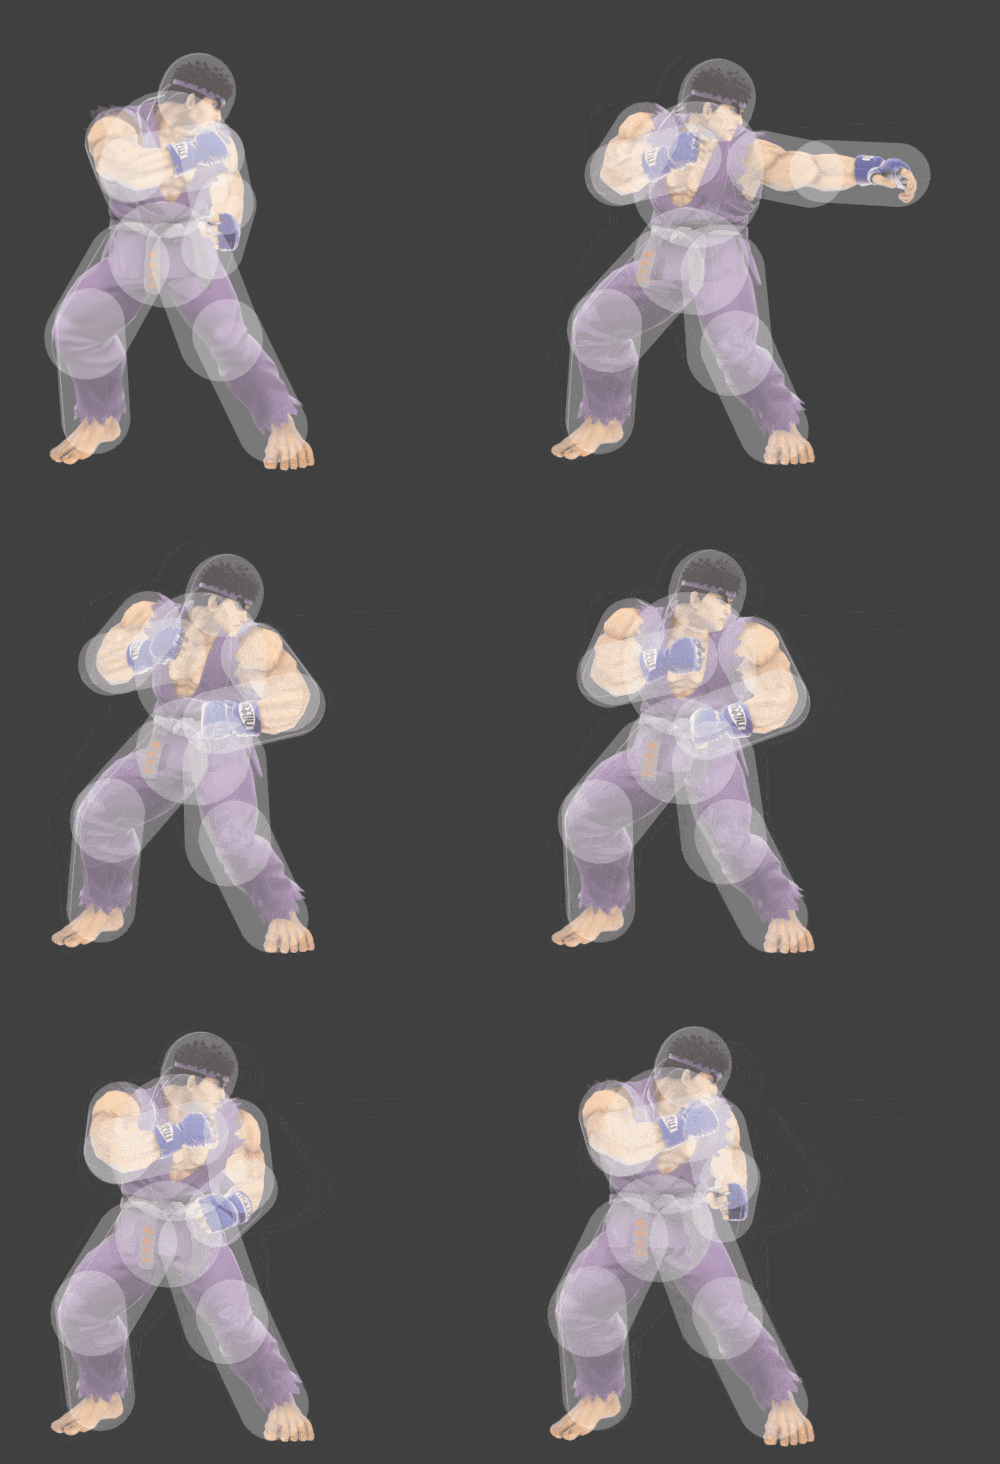
| |
| Dash grab | 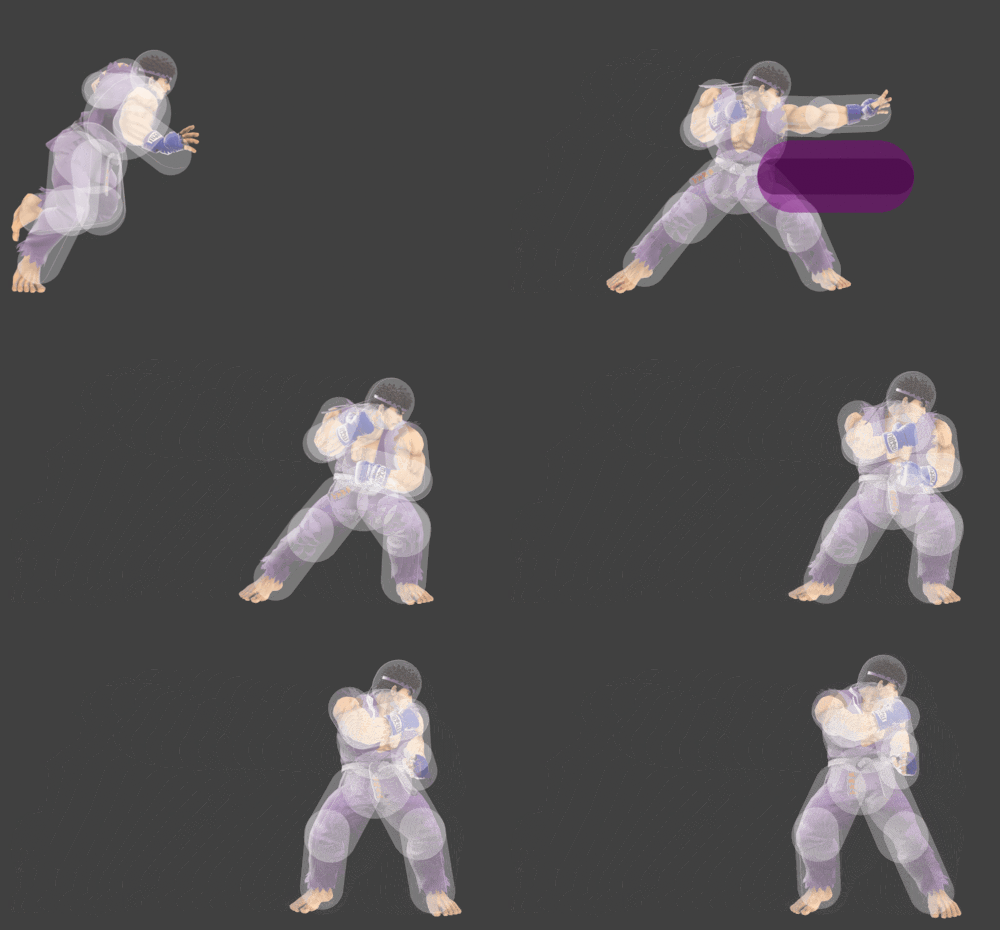
| |
| Pivot grab | 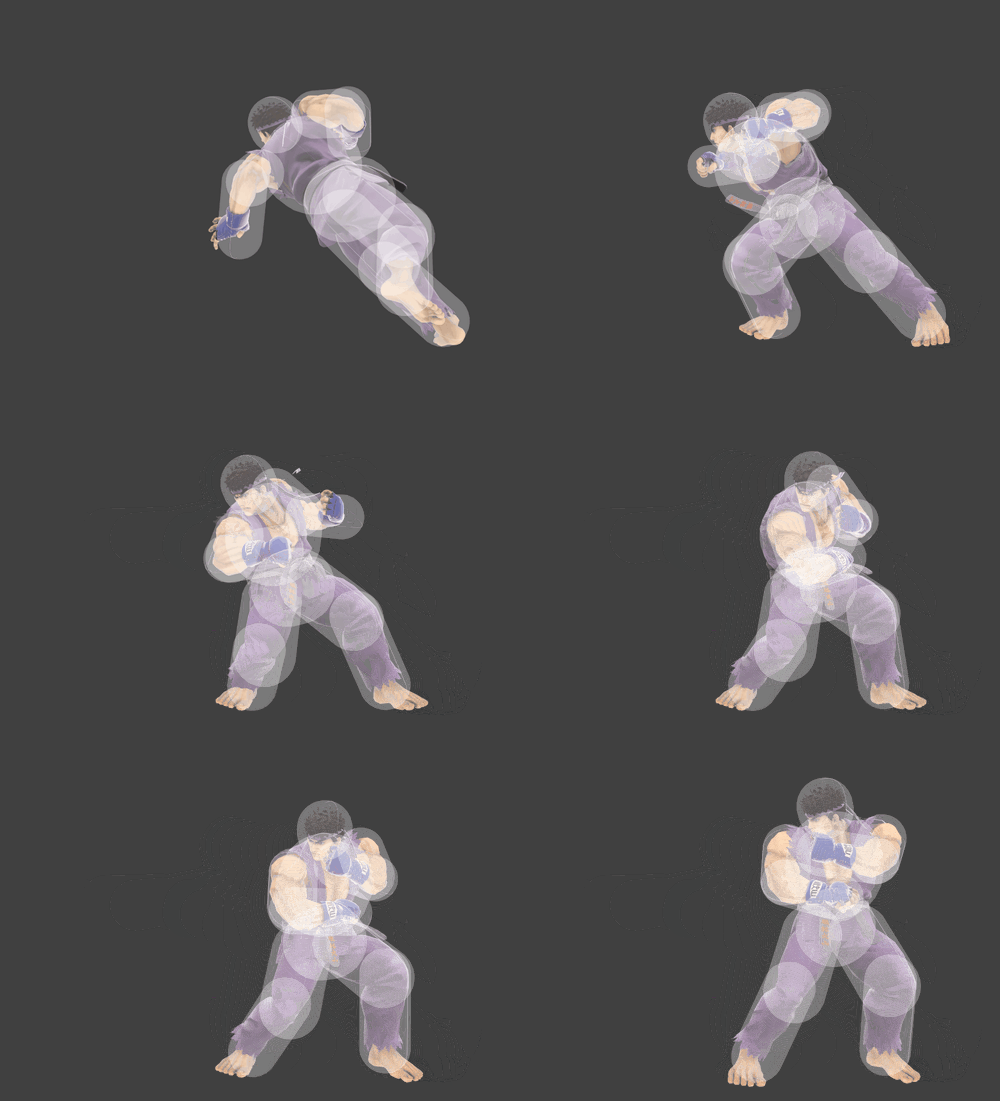
| |
| Pummel | 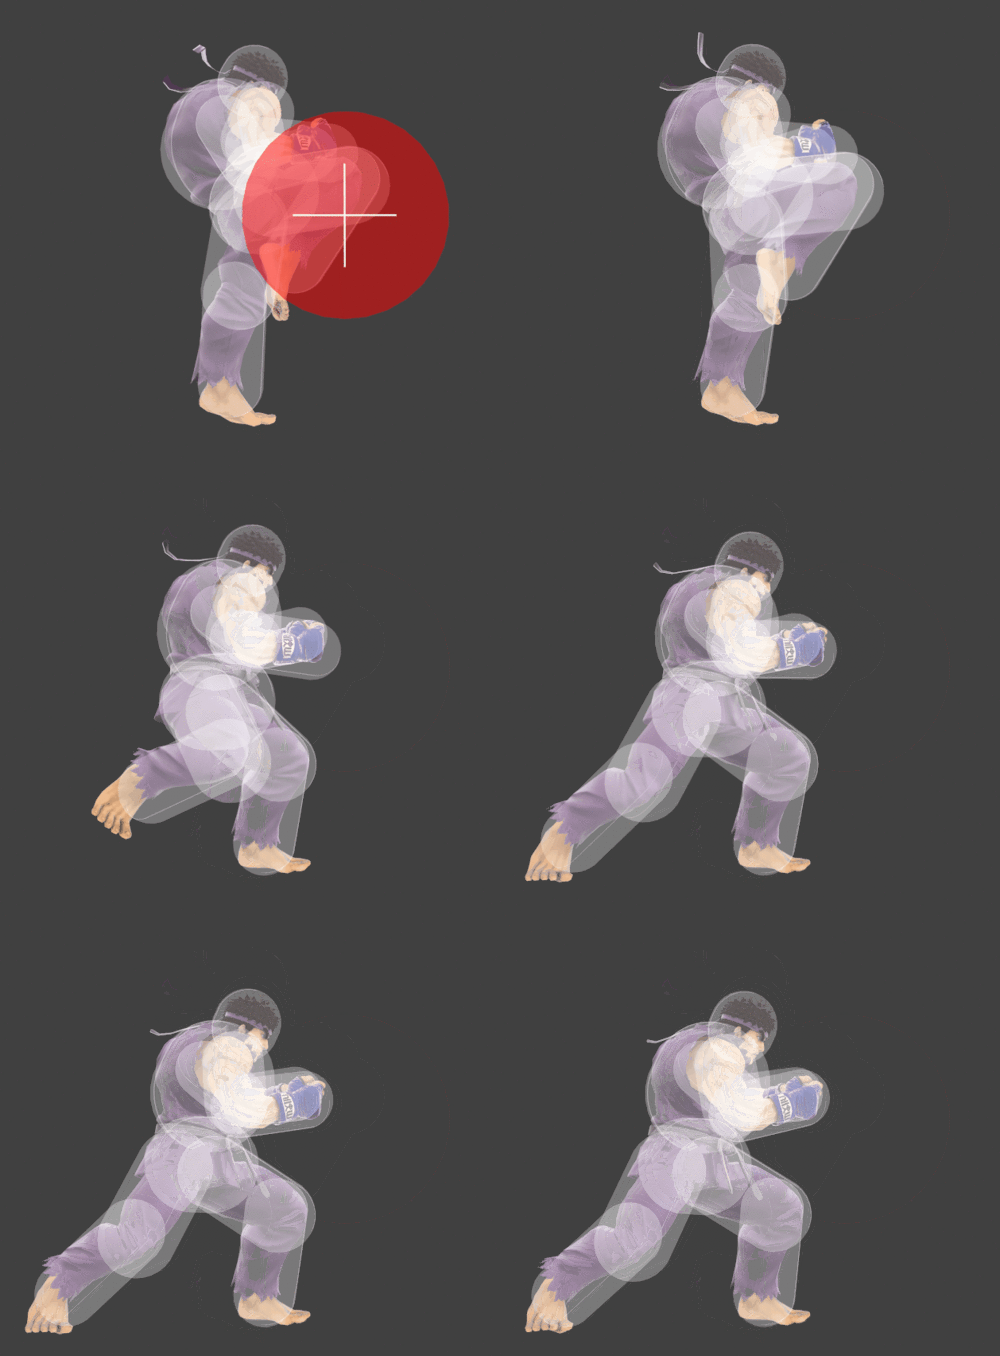
| |
| Forward throw | (unavailable) | |
| Back throw | Somersault Throw | (unavailable) |
| Up throw | Heel Drop | (unavailable) |
| Down throw | (unavailable) | |
| Getup attack front | (unavailable) | |
| Getup attack back | (unavailable) | |
| Getup attack trip | (unavailable) | |
| Ledge attack | (unavailable) |
