Ice Climbers (SSBU)/Forward tilt: Difference between revisions
m (→Overview: links.) |
(→Overview: Continuing to elaborate...) |
||
| (One intermediate revision by one other user not shown) | |||
| Line 16: | Line 16: | ||
|} | |} | ||
==Overview== | ==Overview== | ||
Each of the duo flicks their mallet outward. The attack boasts impressive speed, damage and knockback, without lacking in range or safety, either. It is, however, held back when it comes to activity, being active for only 2 frames. Depending on how much the 2nd Climber's attack is delayed (via [[ | Each of the duo flicks their mallet outward. The attack boasts impressive speed, damage and knockback, without lacking in range or safety, either. It is, however, held back when it comes to activity, being active for only 2 frames. Depending on how much the 2nd Climber's attack is delayed (via [[desyncing]]) this can make the move much safer than it would be otherwise, and even grants it a touch of combo potential. | ||
When angled upward, it is their most reliable followup from [[Ice Climbers (SSBU)/Down throw|down throw]] at 0-4% | When angled upward, it is their most reliable followup from [[Ice Climbers (SSBU)/Down throw|down throw]] at 0-4% | ||
It [[ | It clips the [[ledge]] when angled downward, and when combined with its relatively high speed and power, makes for an above-average two-frame option in spite of its low activity. Which is largely compensated by the delayed swing of the partner, working as a built-in 2nd try at a two-frame if the leader moves too early. | ||
When performed by only one of the Ice Climbers, forward tilt also used for some of their zero-to-death combos, usually following a [[Ice Climbers (SSBU)/Down throw|down throw]] and leading into a [[Ice Climbers (SSBU)/Side special|side special]] or [[Ice Climbers (SSBU)/Forward aerial|forward aerial]]. | The partner can be made to use a forward tilt on their own if done out of a desyncing method known as the "Soymilk" desync, which involves manipulating the 2nd Climber to buffer a move independently during their turnaround animation. When performed by only one of the Ice Climbers, forward tilt also used for some of their zero-to-death combos, usually following a [[Ice Climbers (SSBU)/Down throw|down throw]] and leading into a [[Ice Climbers (SSBU)/Side special|side special]] or [[Ice Climbers (SSBU)/Forward aerial|forward aerial]]. | ||
Even without a partner to strike with, forward tilt retains enough of its two-framing and KO potential to be a competent move on its own, a further testament to the power of the move in its base form. As long as both climbers are present, the Ice Climbers' forward tilt is a very solid attack and a standout among a fairly unremarkable move category. | Even without a partner to strike with, forward tilt retains enough of its two-framing and KO potential to be a competent move on its own, a further testament to the power of the move in its base form. As long as both climbers are present, the Ice Climbers' forward tilt is a very solid attack and a standout among a fairly unremarkable move category. | ||
Latest revision as of 10:32, August 8, 2024
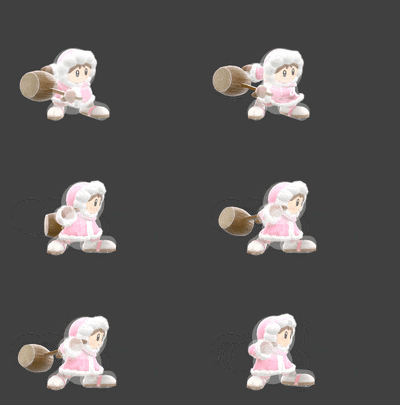
| Ice Climbers forward tilt hitbox visualization | ||
|---|---|---|
| ↗ | 
|
|
| → | 
|

|
| ↘ | 
|
|
Overview[edit]
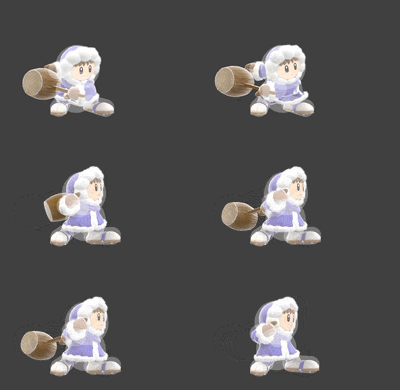
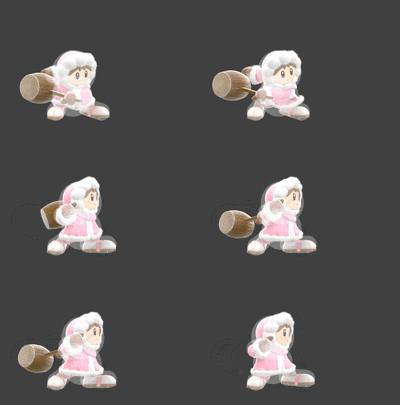
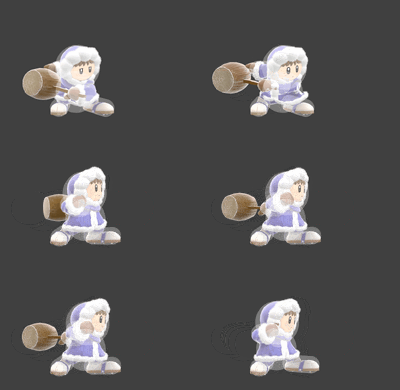
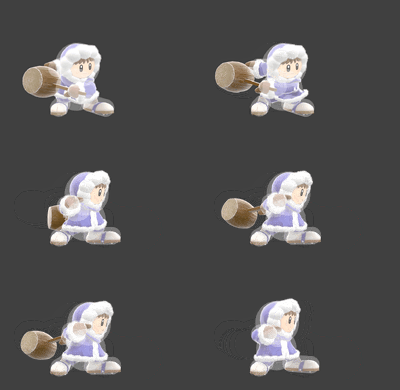
Each of the duo flicks their mallet outward. The attack boasts impressive speed, damage and knockback, without lacking in range or safety, either. It is, however, held back when it comes to activity, being active for only 2 frames. Depending on how much the 2nd Climber's attack is delayed (via desyncing) this can make the move much safer than it would be otherwise, and even grants it a touch of combo potential.
When angled upward, it is their most reliable followup from down throw at 0-4%
It clips the ledge when angled downward, and when combined with its relatively high speed and power, makes for an above-average two-frame option in spite of its low activity. Which is largely compensated by the delayed swing of the partner, working as a built-in 2nd try at a two-frame if the leader moves too early.
The partner can be made to use a forward tilt on their own if done out of a desyncing method known as the "Soymilk" desync, which involves manipulating the 2nd Climber to buffer a move independently during their turnaround animation. When performed by only one of the Ice Climbers, forward tilt also used for some of their zero-to-death combos, usually following a down throw and leading into a side special or forward aerial.
Even without a partner to strike with, forward tilt retains enough of its two-framing and KO potential to be a competent move on its own, a further testament to the power of the move in its base form. As long as both climbers are present, the Ice Climbers' forward tilt is a very solid attack and a standout among a fairly unremarkable move category.
Hitboxes[edit]
Timing[edit]
| Hitboxes | 9-10 |
|---|---|
| Interruptible | 30 |
| Animation length | 43 |
Lag time |
Hitbox |
Interruptible |
|