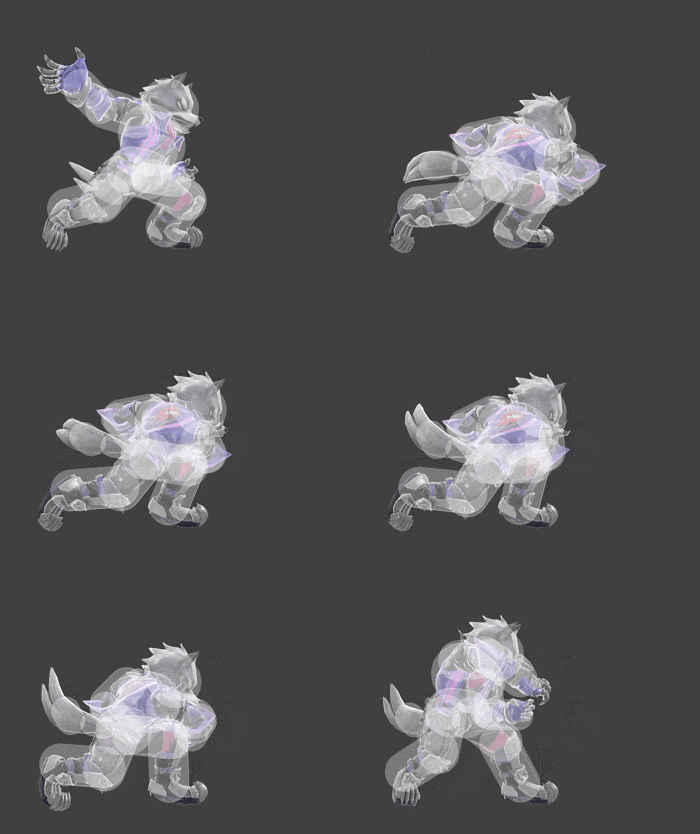
Wolf (SSBU)/Neutral attack/Hit 2: Difference between revisions
From SmashWiki, the Super Smash Bros. wiki
Jump to navigationJump to search
Raul Retana (talk | contribs) m (Added update history) |
(→Timing) |
||
| (2 intermediate revisions by 2 users not shown) | |||
| Line 1: | Line 1: | ||
{{ArticleIcons|ssbu=y}} | {{ArticleIcons|ssbu=y}} | ||
[[File:WolfJab2SSBU.gif|thumb| | [[File:WolfJab2SSBU.gif|thumb|350px|Hitbox visualization showing Wolf's second jab.]] | ||
{{competitive expertise}} | {{competitive expertise}} | ||
==Overview== | ==Overview== | ||
==Update History== | ==Update History== | ||
'''{{GameIcon|ssbu}} {{SSBU|3.1.0}}''' | '''{{GameIcon|ssbu}} {{SSBU|3.1.0}}''' | ||
*{{buff|Neutral attack 2's outermost hitbox is displaced further horizontally (Z offset: 11u → 12u | *{{buff|Neutral attack 2's outermost hitbox is displaced further horizontally (Z offset: 11u → 12u). As a result, the third hit is less likely to miss opponents after the second hit at higher percents.}} | ||
==Hitboxes== | ==Hitboxes== | ||
{{UltimateHitboxTableHeader}} | {{UltimateHitboxTableHeader}} | ||
| Line 12: | Line 12: | ||
|damage=2.0% | |damage=2.0% | ||
|angle=361 | |angle=361 | ||
|af=3 | |||
|bk=25 | |bk=25 | ||
|ks=25 | |ks=25 | ||
| Line 30: | Line 31: | ||
|damage=2.0% | |damage=2.0% | ||
|angle=361 | |angle=361 | ||
|af=3 | |||
|bk=25 | |bk=25 | ||
|ks=25 | |ks=25 | ||
| Line 48: | Line 50: | ||
|damage=2.0% | |damage=2.0% | ||
|angle=361 | |angle=361 | ||
|af=3 | |||
|bk=20 | |bk=20 | ||
|ks=20 | |ks=20 | ||
| Line 68: | Line 71: | ||
|4 | |4 | ||
|- | |- | ||
! | !Continuability window | ||
|7 | |7-24 | ||
|- | |- | ||
!Interruptible | !Interruptible | ||
| Line 80: | Line 83: | ||
{{FrameStripStart}} | {{FrameStripStart}} | ||
{{FrameStrip|t=Lag|c=3}}{{FrameStrip|t=Hitbox|c=1}}{{FrameStrip|t=Lag|c=2|e=LagContinuableS}}{{FrameStrip|t=Lag|c=15|s=LagContinuableE}}{{FrameStrip|t=Interruptible|c=12}} | {{FrameStrip|t=Lag|c=3}}{{FrameStrip|t=Hitbox|c=1}}{{FrameStrip|t=Lag|c=2|e=LagContinuableS}}{{FrameStrip|t=Lag|c=15|s=LagContinuableE}}{{FrameStrip|t=Interruptible|c=12}} | ||
|- | |||
{{FrameStrip|t=Blank|c=6}}{{FrameStrip|t=Continuable|c=18}}{{FrameStrip|t=Blank|c=9}} | |||
{{FrameStripEnd}} | {{FrameStripEnd}} | ||
{{FrameIconLegend|lag=y|hitbox=y|earliestcontinuable=y|interruptible=y}} | {{FrameIconLegend|lag=y|hitbox=y|earliestcontinuable=y|continuable=y|interruptible=y}} | ||
{{MvSubNavWolf|g=SSBU}} | {{MvSubNavWolf|g=SSBU}} | ||
[[Category:Wolf (SSBU)]] | [[Category:Wolf (SSBU)]] | ||
[[Category:Neutral attacks (SSBU)]] | [[Category:Neutral attacks (SSBU)]] | ||
Latest revision as of 21:15, July 24, 2022
Overview[edit]
Update History[edit]
 Neutral attack 2's outermost hitbox is displaced further horizontally (Z offset: 11u → 12u). As a result, the third hit is less likely to miss opponents after the second hit at higher percents.
Hitboxes[edit]
Timing[edit]
| Hitboxes | 4 |
|---|---|
| Continuability window | 7-24 |
| Interruptible | 22 |
| Animation length | 33 |
Lag time |
Hitbox |
Continuable |
Earliest continuable point |
Interruptible |
|

