Ryu (SSBU)/Hitboxes: Difference between revisions
From SmashWiki, the Super Smash Bros. wiki
Jump to navigationJump to search
m (Text replacement - "}} {|class="wikitable sortable"" to "}} ==Hitboxes== {|class="wikitable sortable"") |
|||
| Line 7: | Line 7: | ||
!Hitbox | !Hitbox | ||
|- | |- | ||
|Neutral attack 1 tapped|| || [[File:RyuJab1TappedSSBU.gif|500px]] | |Neutral attack 1 tapped|| Jab || [[File:RyuJab1TappedSSBU.gif|500px]] | ||
|- | |- | ||
|Neutral attack 1 held close|| || [[File:RyuJabHeldCloseSSBU.gif|500px]] | |Neutral attack 1 held close|| Upper || [[File:RyuJabHeldCloseSSBU.gif|500px]] | ||
|- | |- | ||
|Neutral attack 1 held far|| || [[File:RyuJab1HeldFarSSBU.gif|500px]] | |Neutral attack 1 held far|| Mawashi Geri || [[File:RyuJab1HeldFarSSBU.gif|500px]] | ||
|- | |- | ||
|Neutral attack 2|| || [[File:RyuJab2SSBU.gif|500px]] | |Neutral attack 2|| Body Blow || [[File:RyuJab2SSBU.gif|500px]] | ||
|- | |- | ||
|Neutral attack 3|| || [[File:RyuJab3SSBU.gif|500px]] | |Neutral attack 3|| Hook || [[File:RyuJab3SSBU.gif|500px]] | ||
|- | |- | ||
|Forward tilt tapped close|| | |Forward tilt tapped close|| Hook || [[File:RyuFTiltTappedCloseSSBU.gif|500px]] | ||
|- | |- | ||
|Forward tilt tapped far|| | |Forward tilt tapped far|| Side Kick || [[File:RyuFTiltTappedFarSSBU.gif|500px]] | ||
|- | |- | ||
|Forward tilt held|| Collarbone Breaker || [[File:RyuFTiltHeldSSBU.gif|500px]] | |Forward tilt held|| Collarbone Breaker || [[File:RyuFTiltHeldSSBU.gif|500px]] | ||
|- | |- | ||
|Up tilt tapped|| || [[File:RyuUTiltTappedSSBU.gif|500px]] | |Up tilt tapped|| Elbow Strike || [[File:RyuUTiltTappedSSBU.gif|500px]] | ||
|- | |- | ||
|Up tilt held|| || [[File:RyuUTiltHeldSSBU.gif|500px]] | |Up tilt held|| Upper || [[File:RyuUTiltHeldSSBU.gif|500px]] | ||
|- | |- | ||
|Down tilt tapped|| Light Ankle Kick || [[File:RyuDTiltTappedSSBU.gif|500px]] | |Down tilt tapped|| Light Ankle Kick || [[File:RyuDTiltTappedSSBU.gif|500px]] | ||
| Line 31: | Line 31: | ||
|Down tilt held|| Heavy Ankle Kick || [[File:RyuDTiltHeldSSBU.gif|500px]] | |Down tilt held|| Heavy Ankle Kick || [[File:RyuDTiltHeldSSBU.gif|500px]] | ||
|- | |- | ||
|Dash attack|| | |Dash attack|| Tobisokuto || [[File:RyuDashAttackSSBU.gif|500px]] | ||
|- | |- | ||
|Forward smash|| Joudan | |Forward smash|| Joudan Sokutogeri || [[File:RyuFSmashSSBU.gif|500px]] | ||
|- | |- | ||
|Up smash |||| [[File:RyuUSmashSSBU.gif|500px]] | |Up smash || Thrust Upper || [[File:RyuUSmashSSBU.gif|500px]] | ||
|- | |- | ||
|Down smash || || [[File:RyuDSmashSSBU.gif|500px]] | |Down smash || Kaiten Ashibarai || [[File:RyuDSmashSSBU.gif|500px]] | ||
|- | |- | ||
|Neutral aerial || | |Neutral aerial || Knee Kick || [[File:RyuNAirSSBU.gif|500px]] | ||
|- | |- | ||
|Forward aerial|| Tobigeri || [[File:RyuFAirSSBU.gif|500px]] | |Forward aerial|| Tobigeri || [[File:RyuFAirSSBU.gif|500px]] | ||
|- | |- | ||
|Back aerial|| | |Back aerial|| Senpukyaku || [[File:RyuBAirSSBU.gif|500px]] | ||
|- | |- | ||
|Up aerial || Sukui Tsuki || [[File:RyuUAirSSBU.gif|500px]] | |Up aerial || Sukui Tsuki || [[File:RyuUAirSSBU.gif|500px]] | ||
| Line 93: | Line 93: | ||
|Pivot grab || || [[File:RyuPivotGrabSSBU.gif|500px]] | |Pivot grab || || [[File:RyuPivotGrabSSBU.gif|500px]] | ||
|- | |- | ||
|Pummel || || [[File:RyuPummelSSBU.gif|500px]] | |Pummel || Hizageri || [[File:RyuPummelSSBU.gif|500px]] | ||
|- | |- | ||
|Forward throw || || [[File:RyuFThrowSSBU.gif|500px]] | |Forward throw || Seoi Throw || [[File:RyuFThrowSSBU.gif|500px]] | ||
|- | |- | ||
|Back throw || Somersault Throw || [[File:RyuBThrowSSBU.gif|500px]] | |Back throw || Somersault Throw || [[File:RyuBThrowSSBU.gif|500px]] | ||
| Line 101: | Line 101: | ||
|Up throw || Heel Drop || [[File:RyuUThrowSSBU.gif|500px]] | |Up throw || Heel Drop || [[File:RyuUThrowSSBU.gif|500px]] | ||
|- | |- | ||
|Down throw || || [[File:RyuDThrowSSBU.gif|500px]] | |Down throw || Tile Breaker || [[File:RyuDThrowSSBU.gif|500px]] | ||
|- | |- | ||
|Getup attack front || || [[File:RyuGetupAttackFrontSSBU.gif|500px]] | |Getup attack front || || [[File:RyuGetupAttackFrontSSBU.gif|500px]] | ||
Latest revision as of 01:26, October 3, 2022
Hitboxes[edit]
| Move | Name | Hitbox |
|---|---|---|
| Neutral attack 1 tapped | Jab | 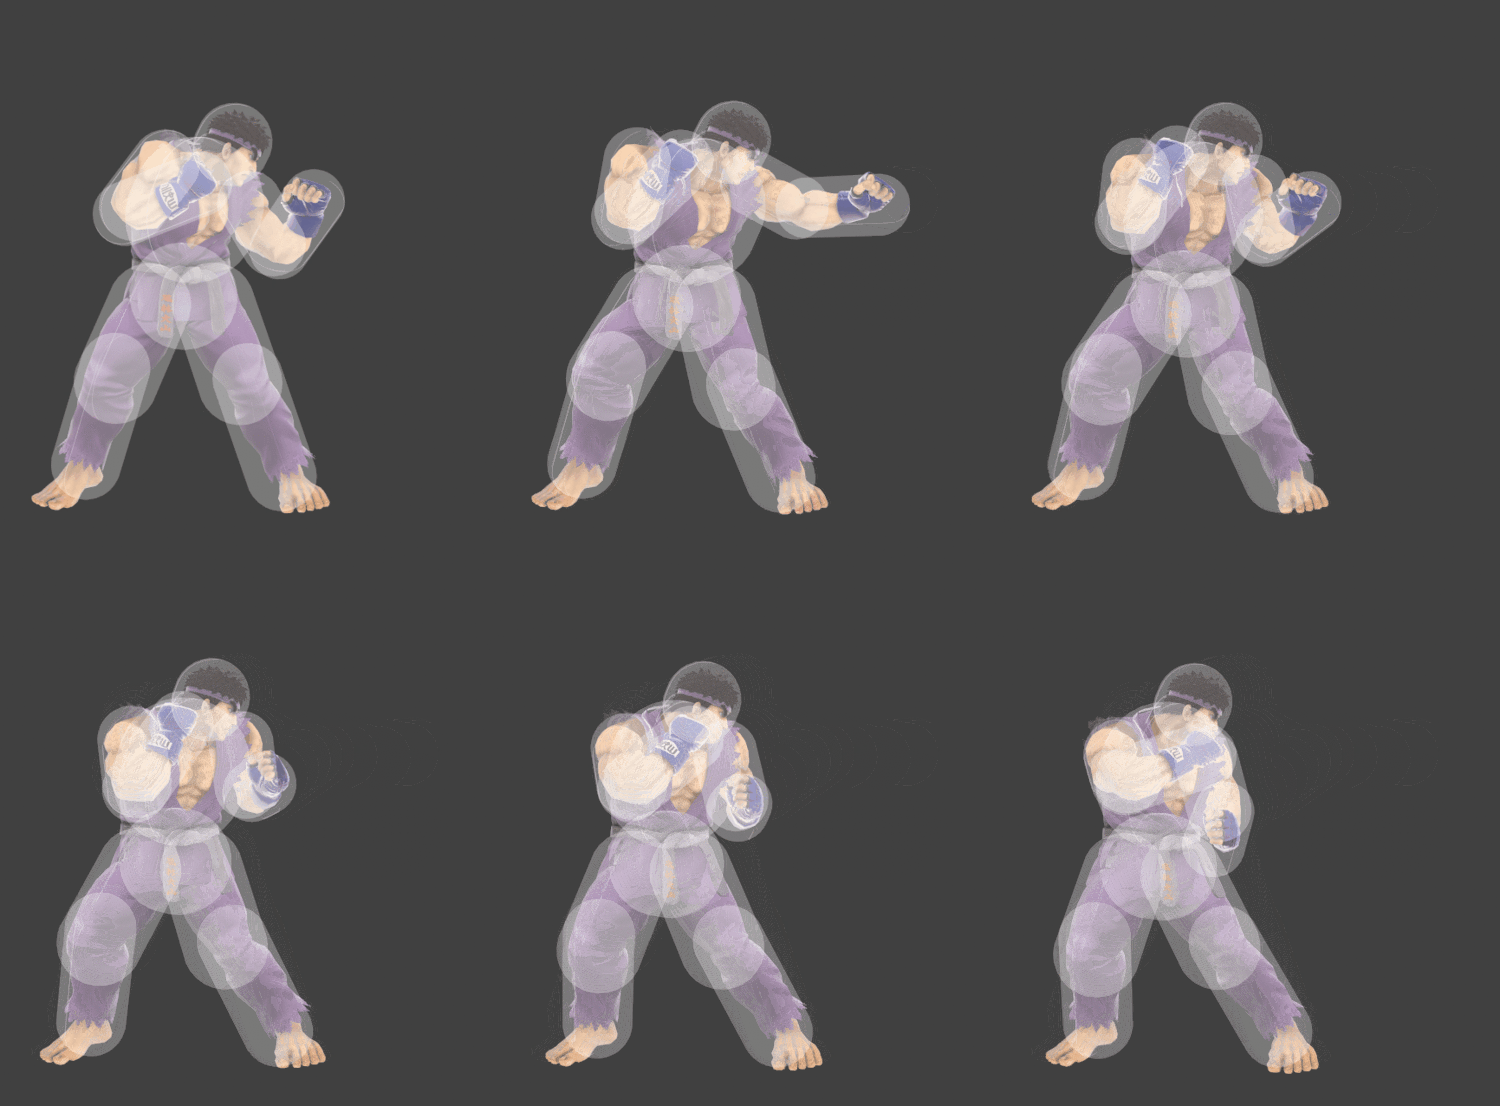
|
| Neutral attack 1 held close | Upper | 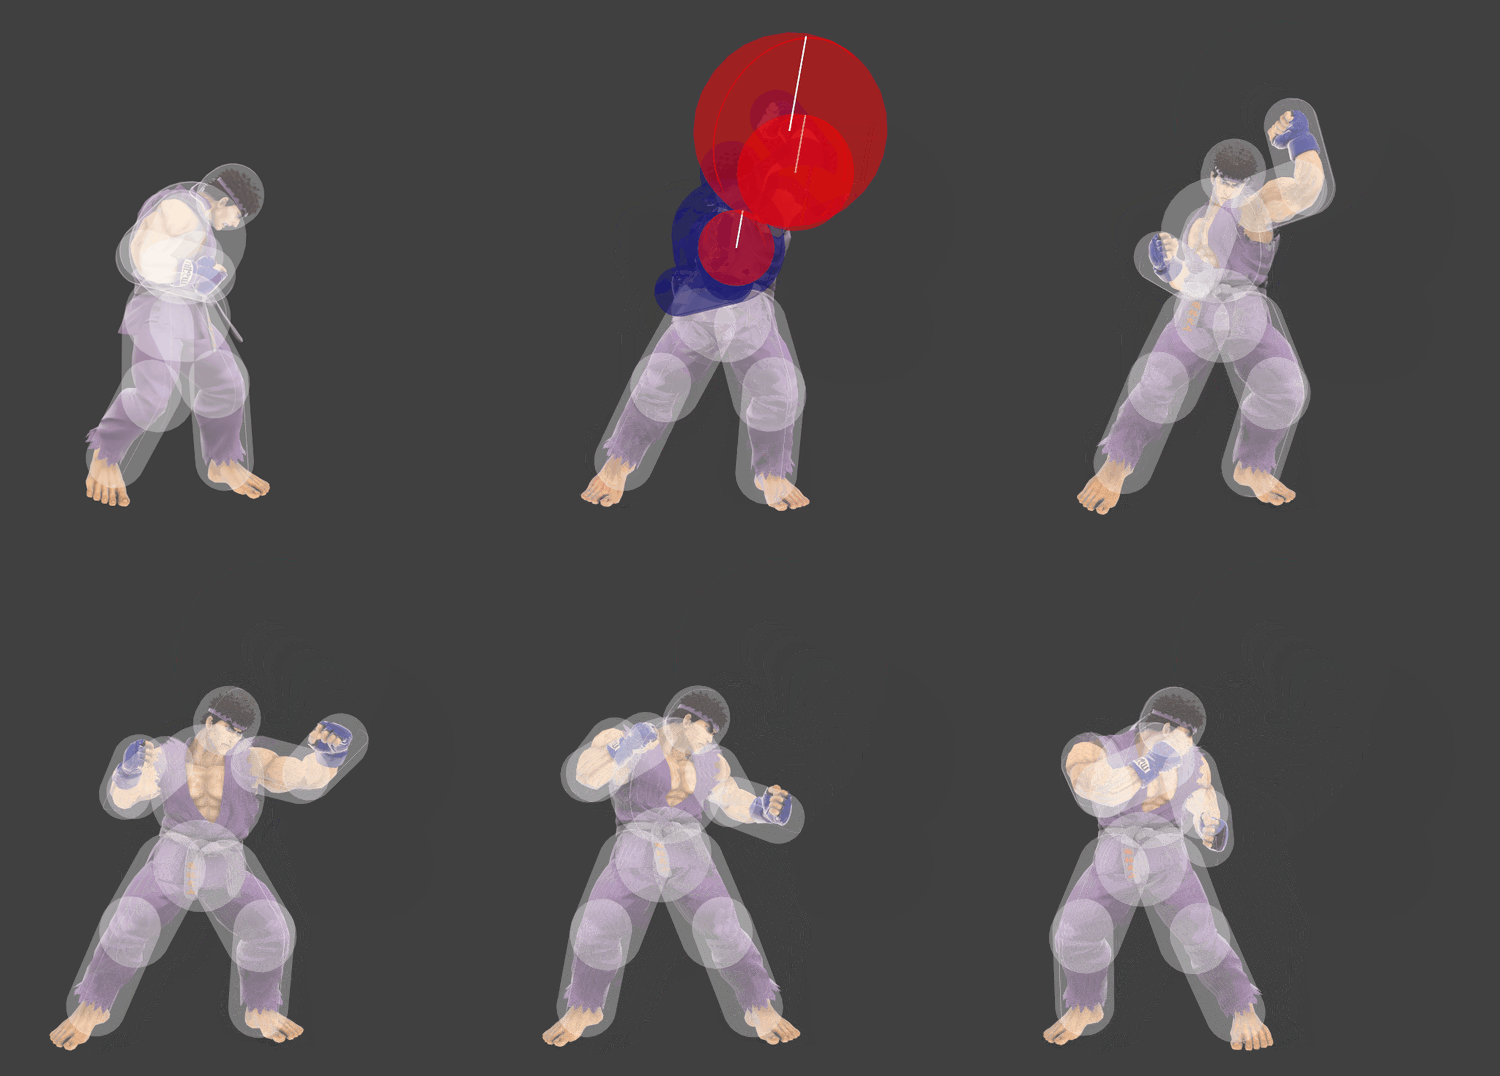
|
| Neutral attack 1 held far | Mawashi Geri | 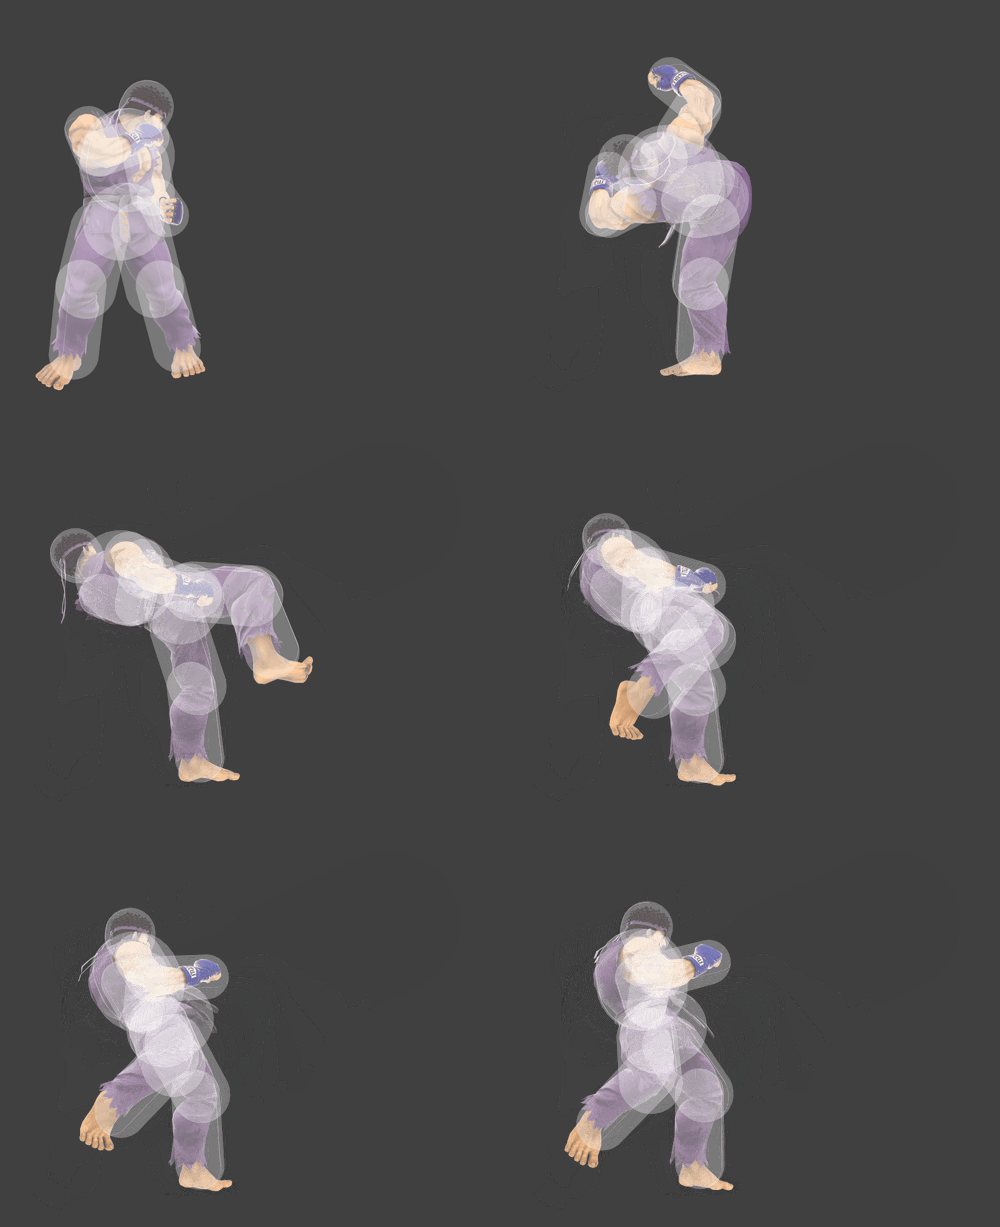
|
| Neutral attack 2 | Body Blow | 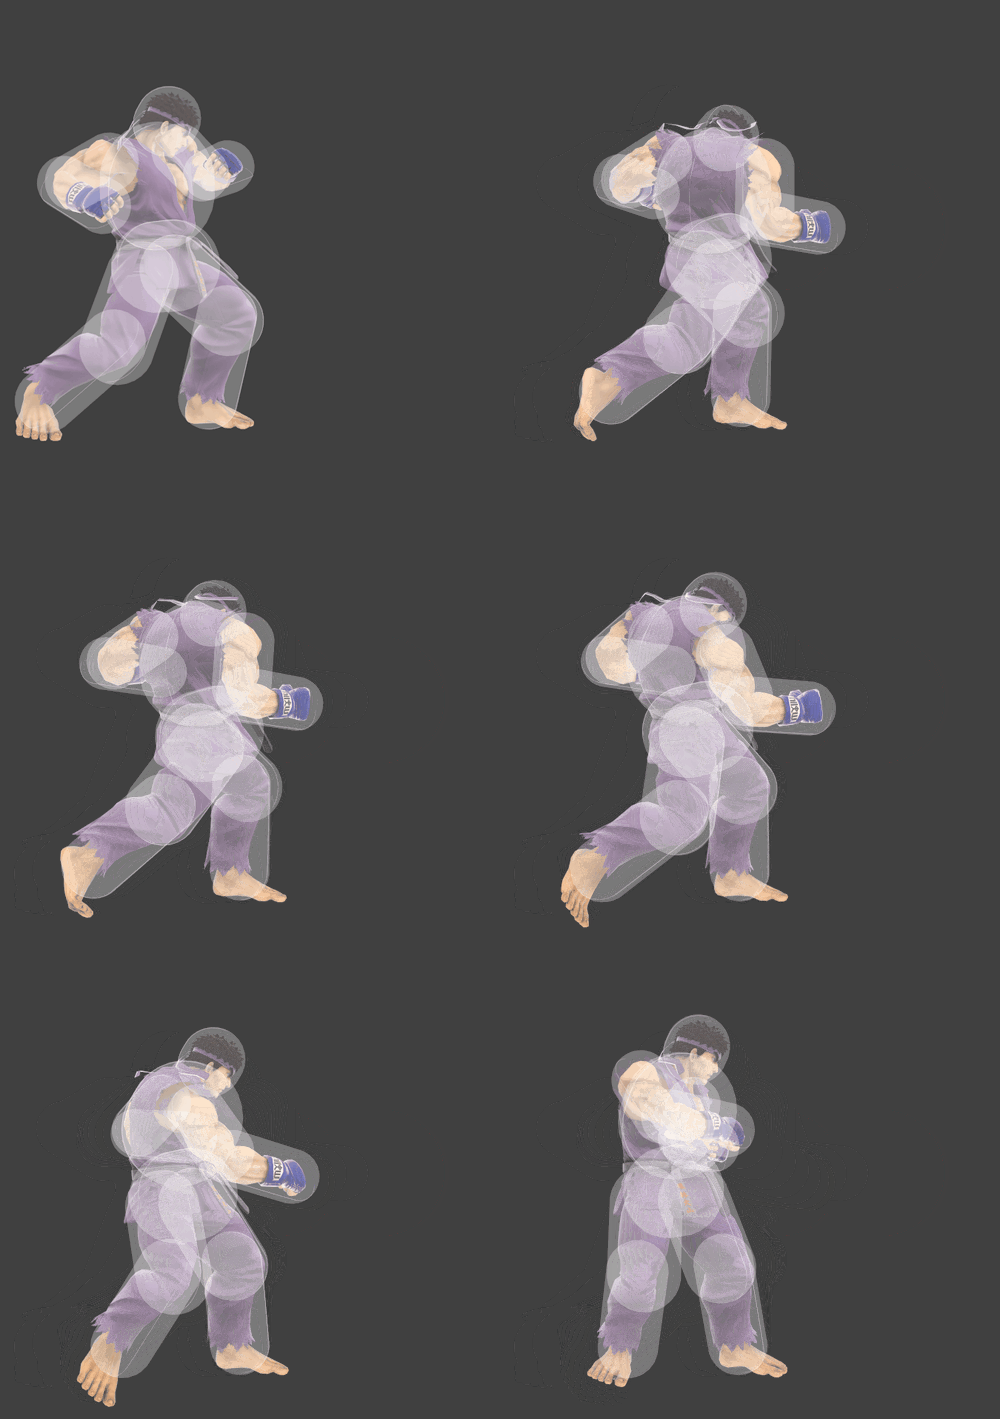
|
| Neutral attack 3 | Hook | 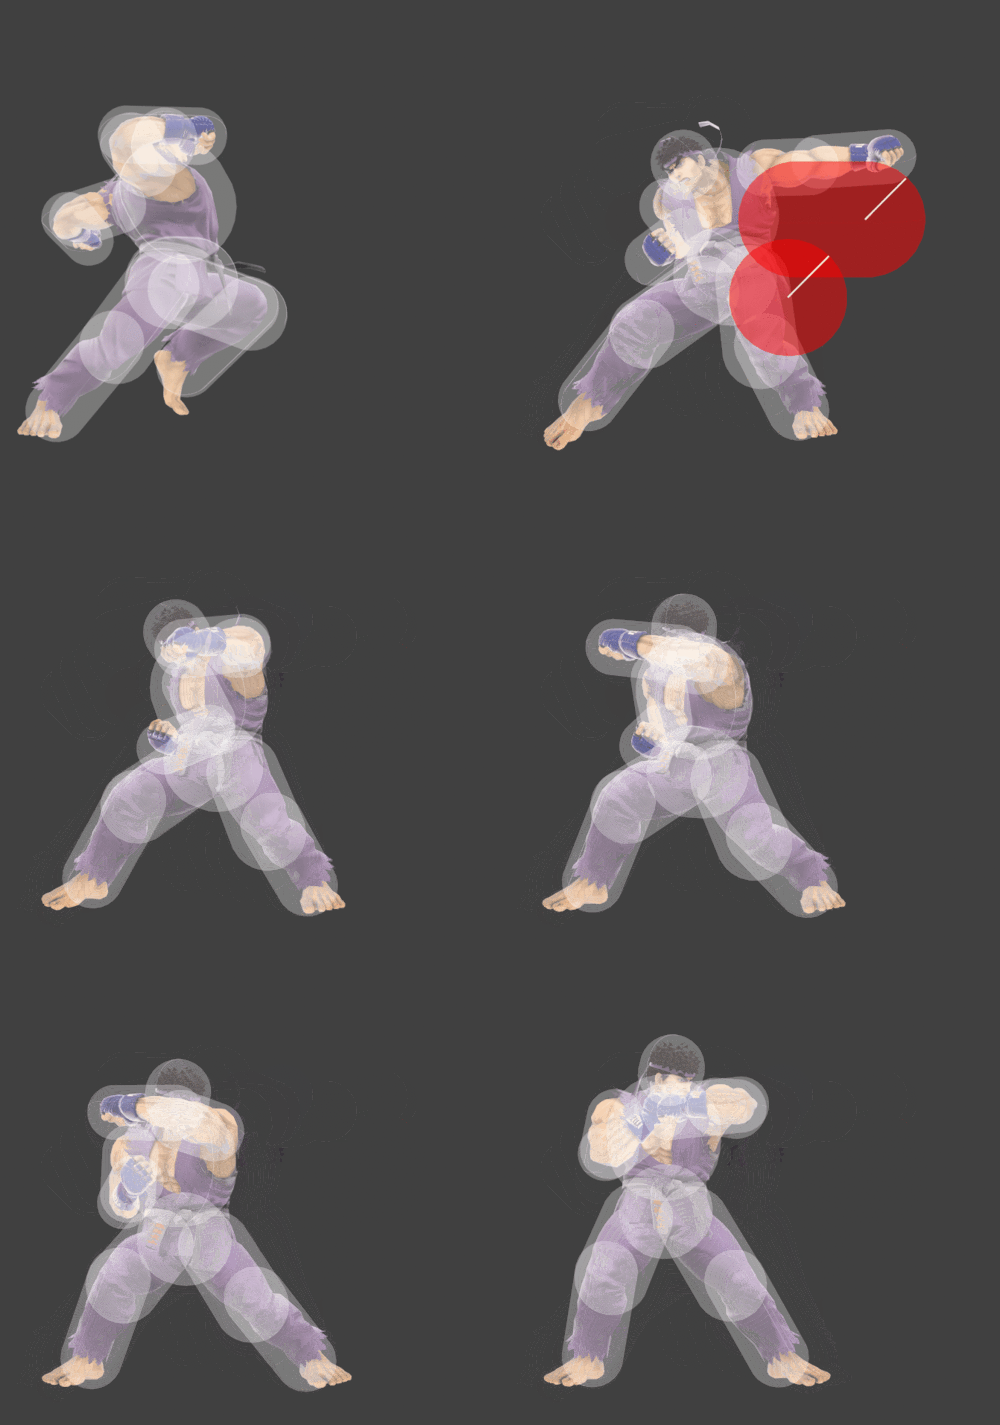
|
| Forward tilt tapped close | Hook | 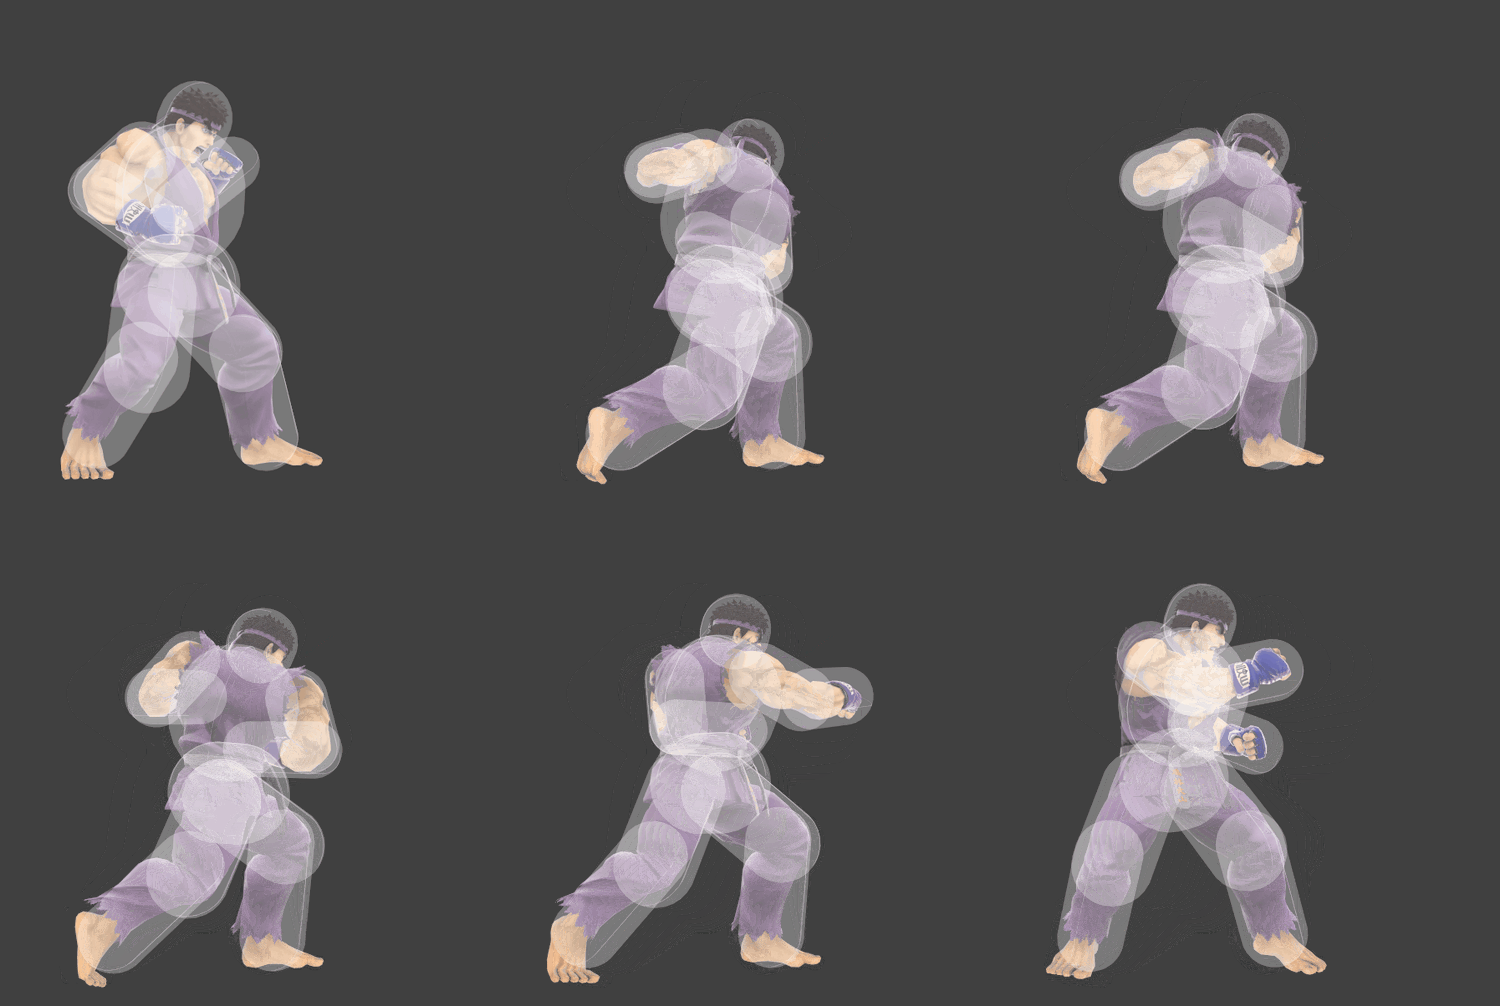
|
| Forward tilt tapped far | Side Kick | 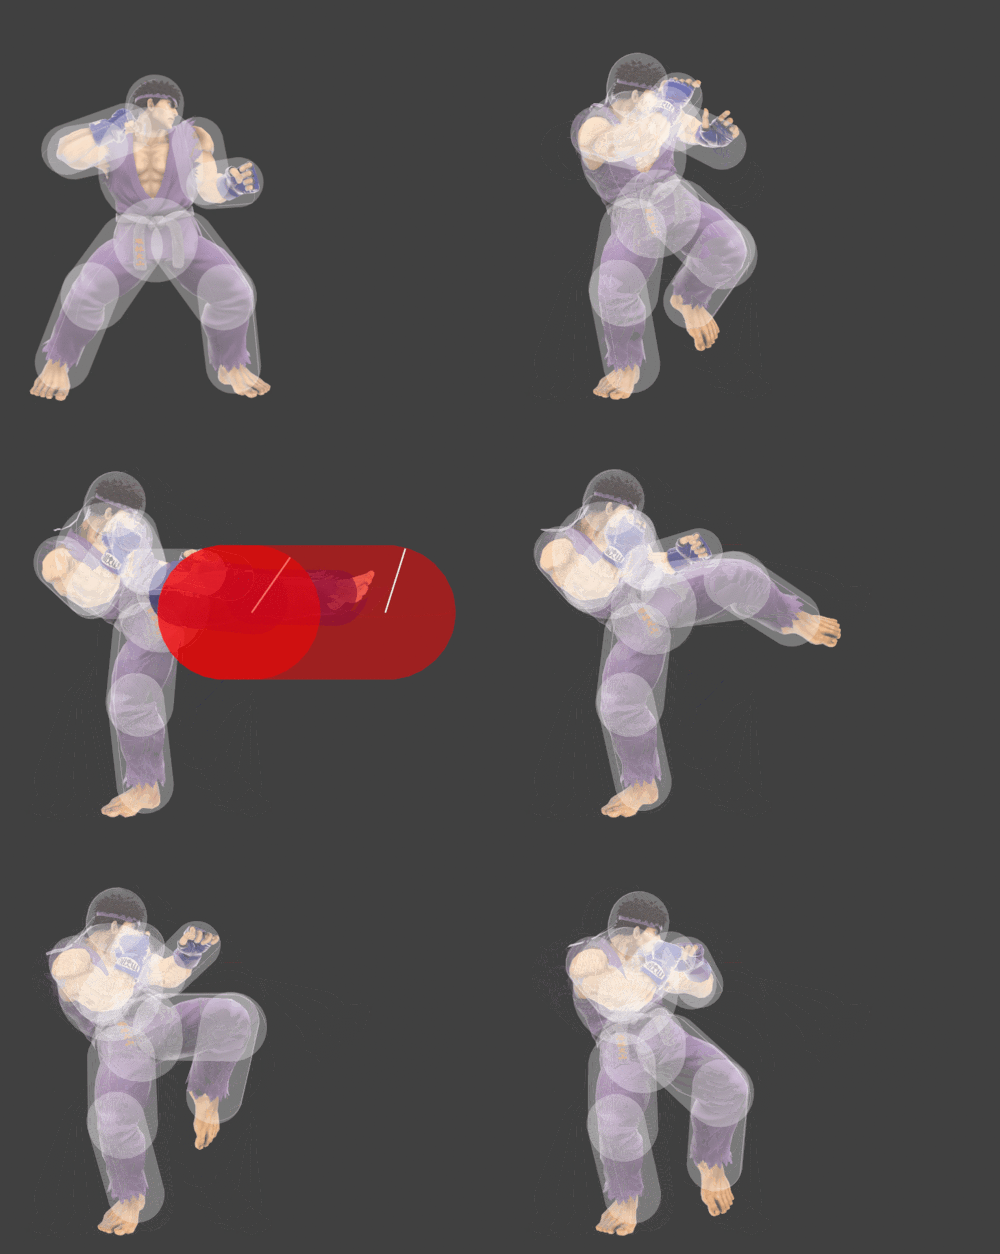
|
| Forward tilt held | Collarbone Breaker | 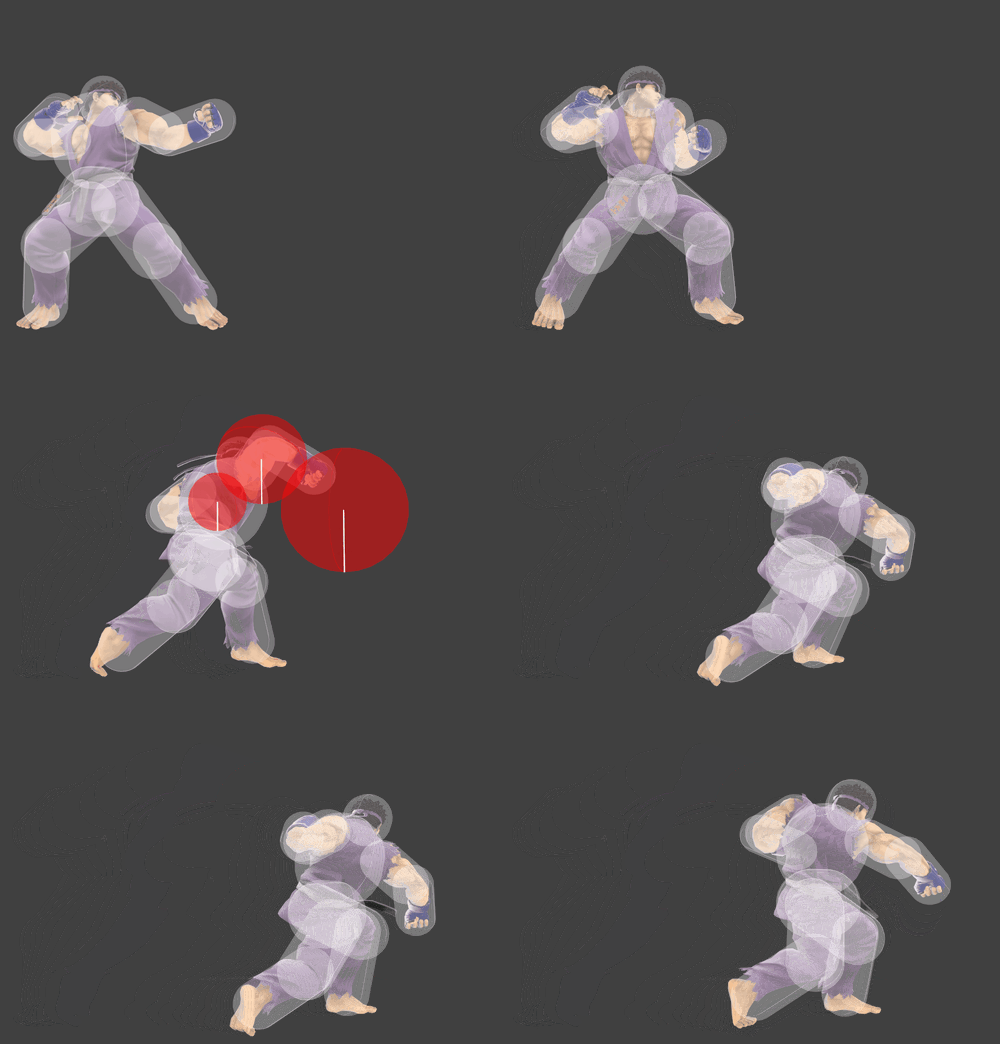
|
| Up tilt tapped | Elbow Strike | 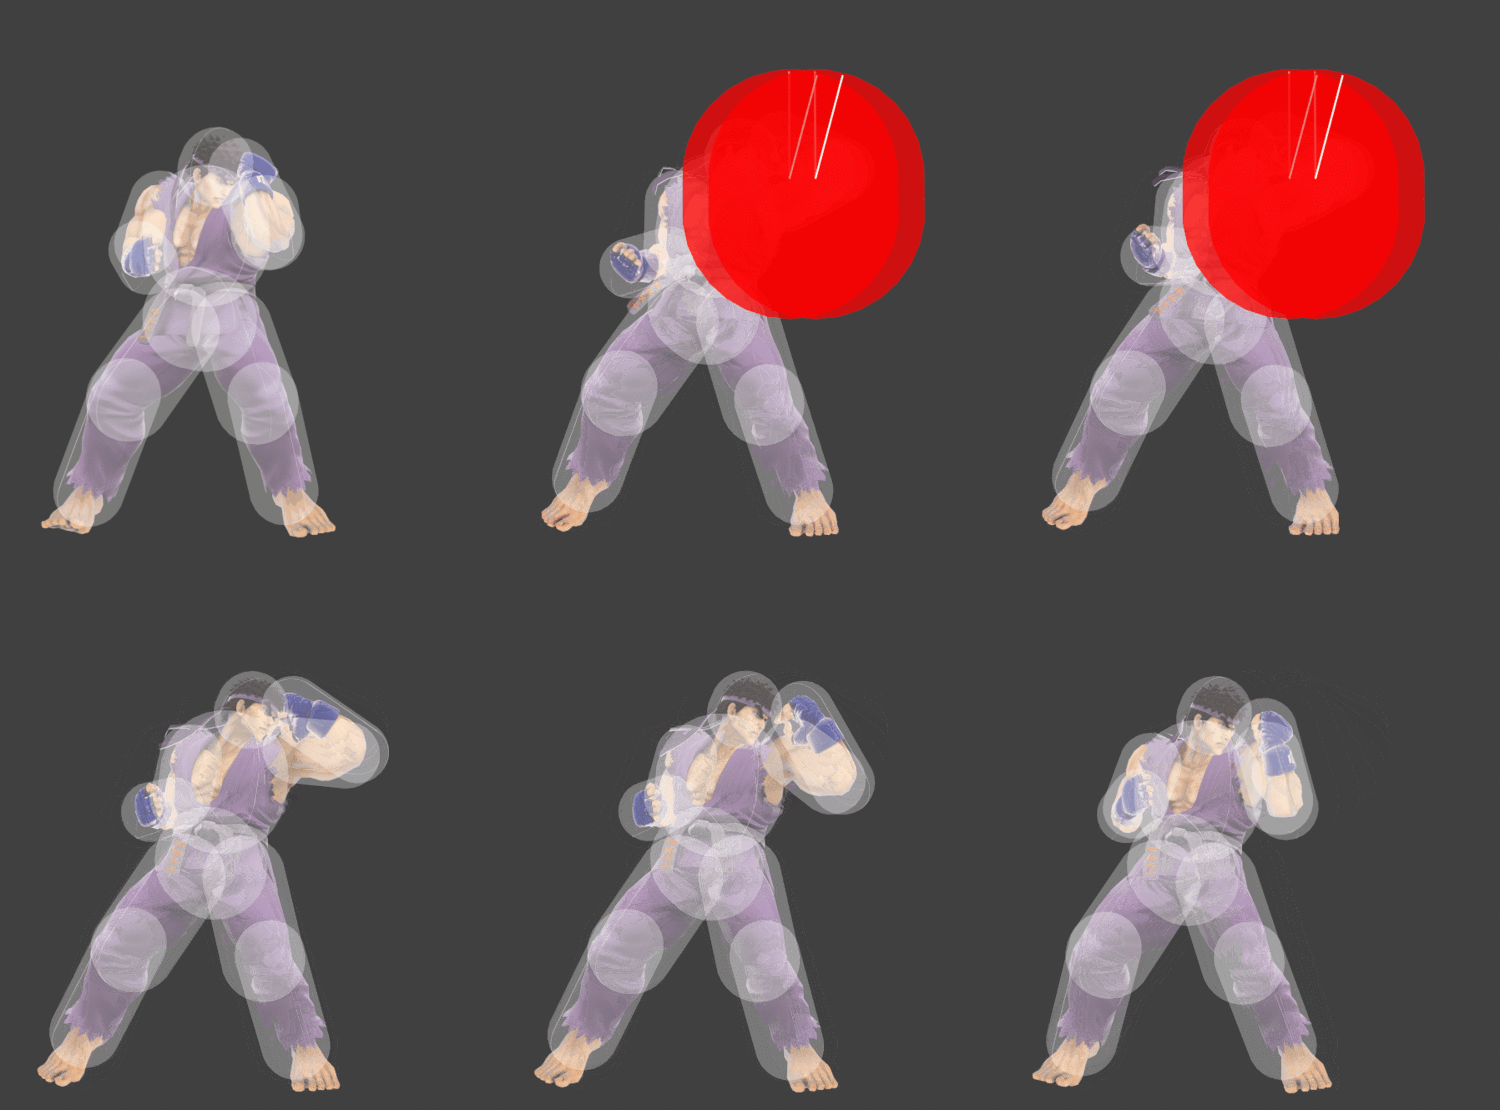
|
| Up tilt held | Upper | 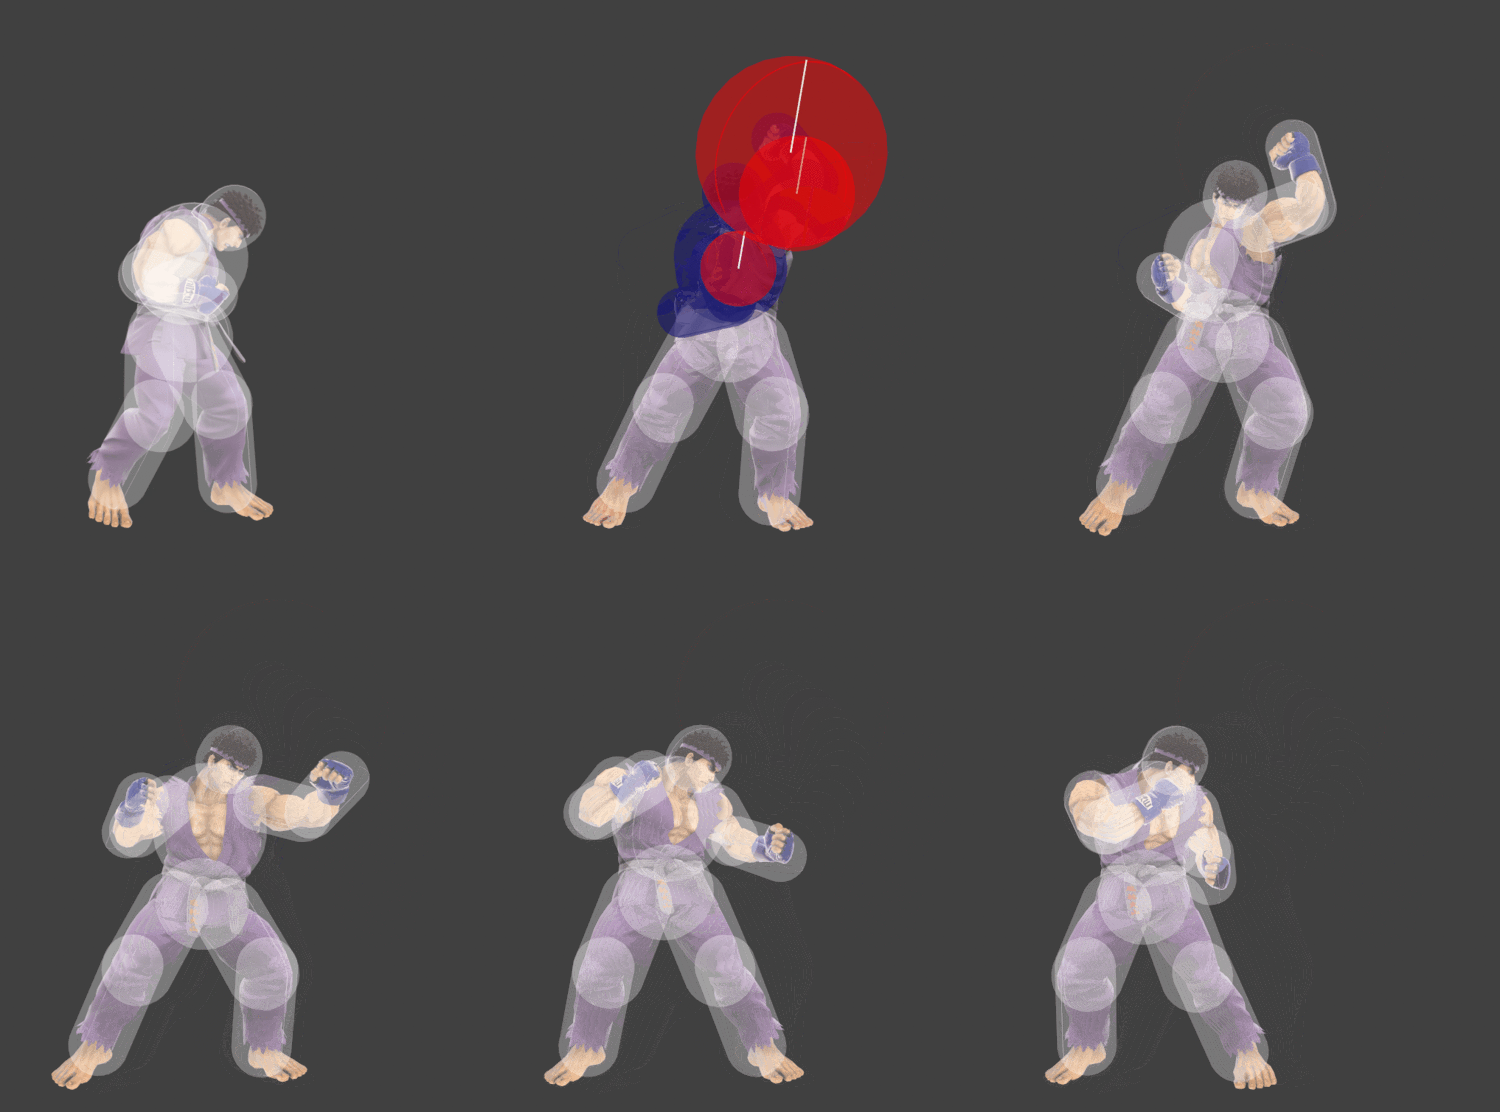
|
| Down tilt tapped | Light Ankle Kick | 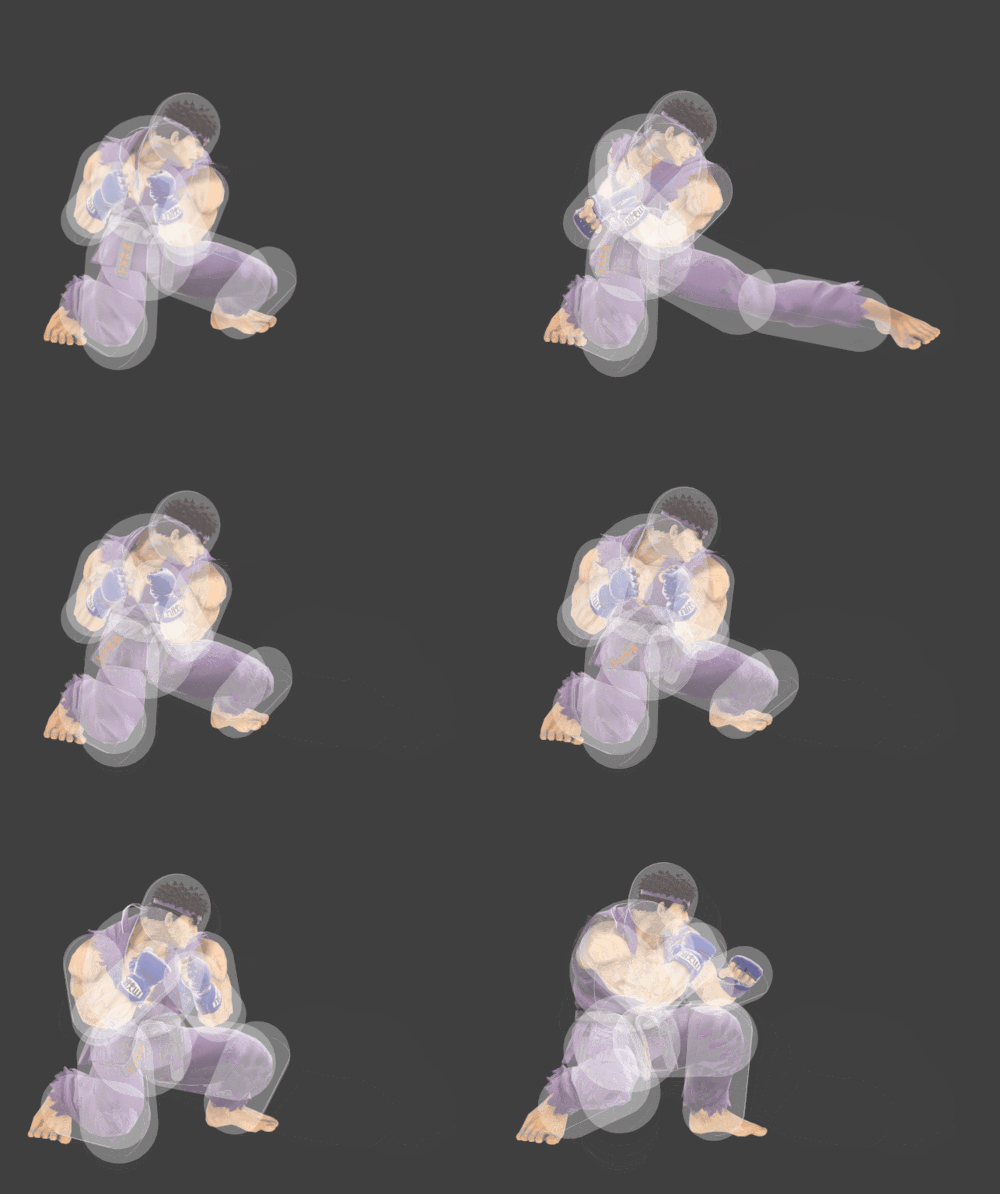
|
| Down tilt held | Heavy Ankle Kick | 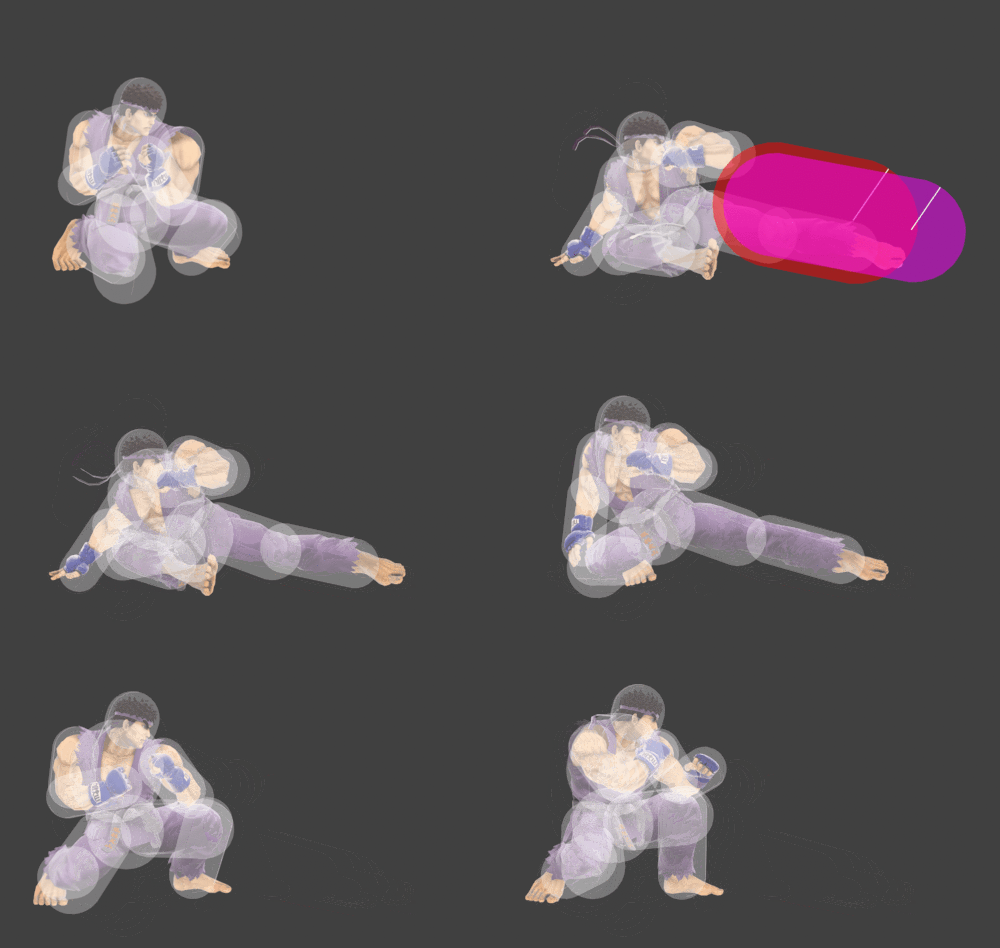
|
| Dash attack | Tobisokuto | 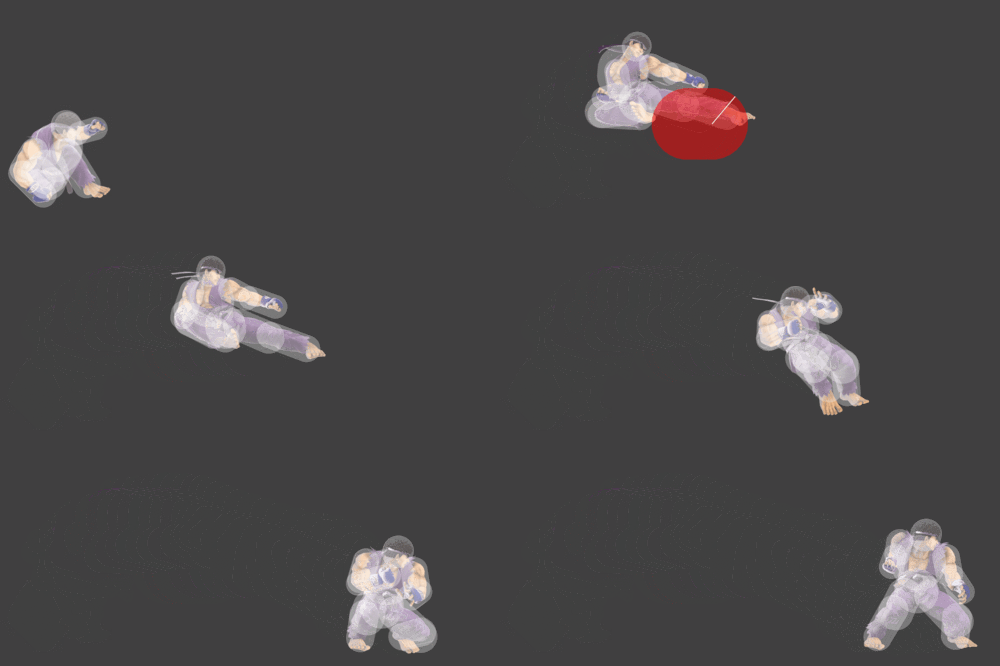
|
| Forward smash | Joudan Sokutogeri | 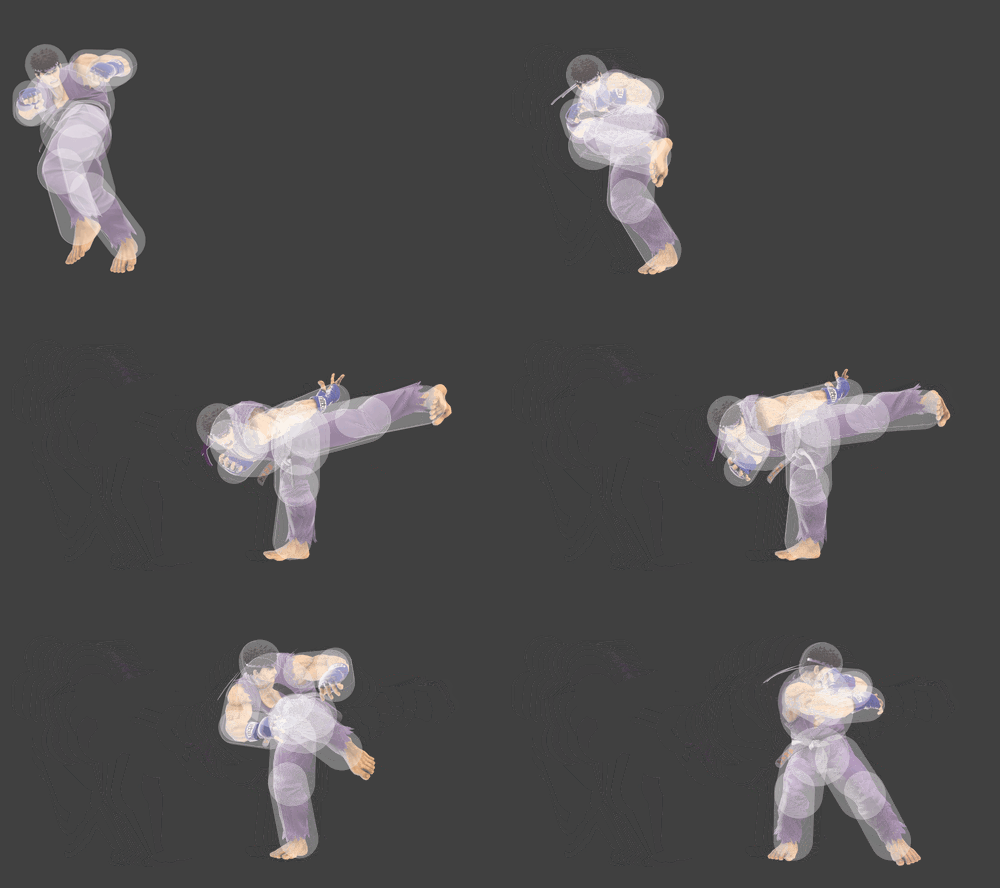
|
| Up smash | Thrust Upper | 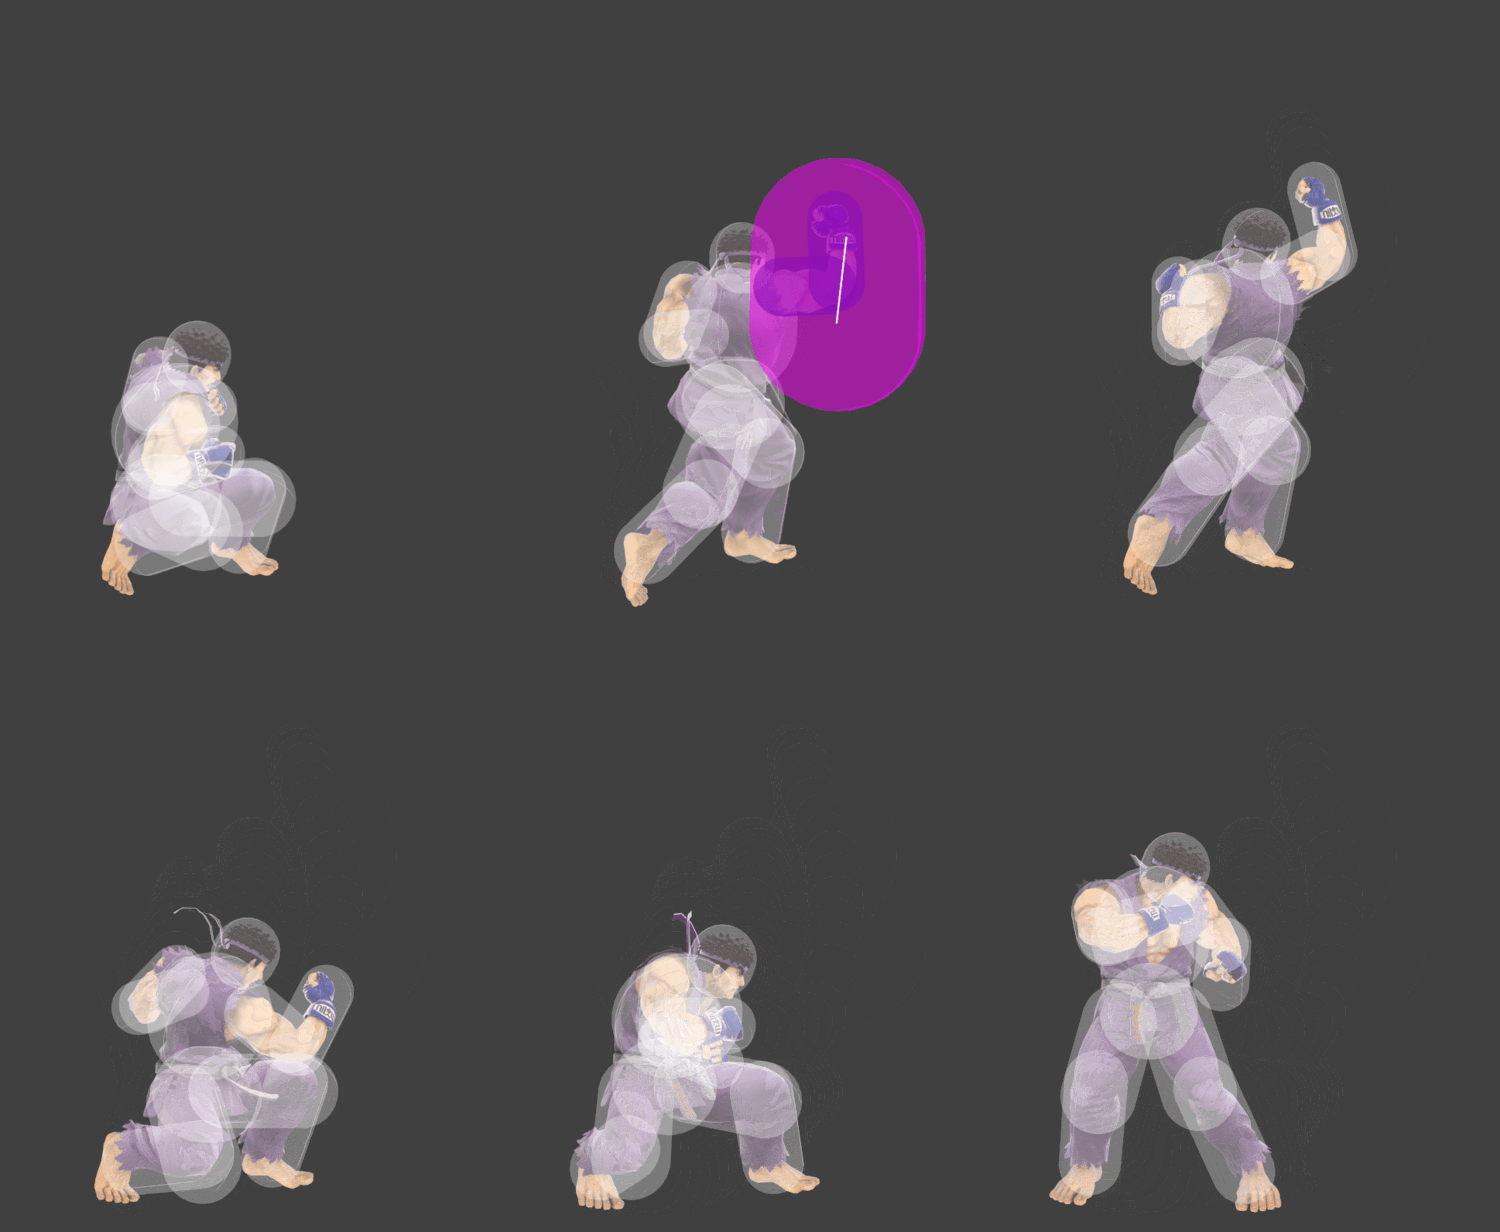
|
| Down smash | Kaiten Ashibarai | 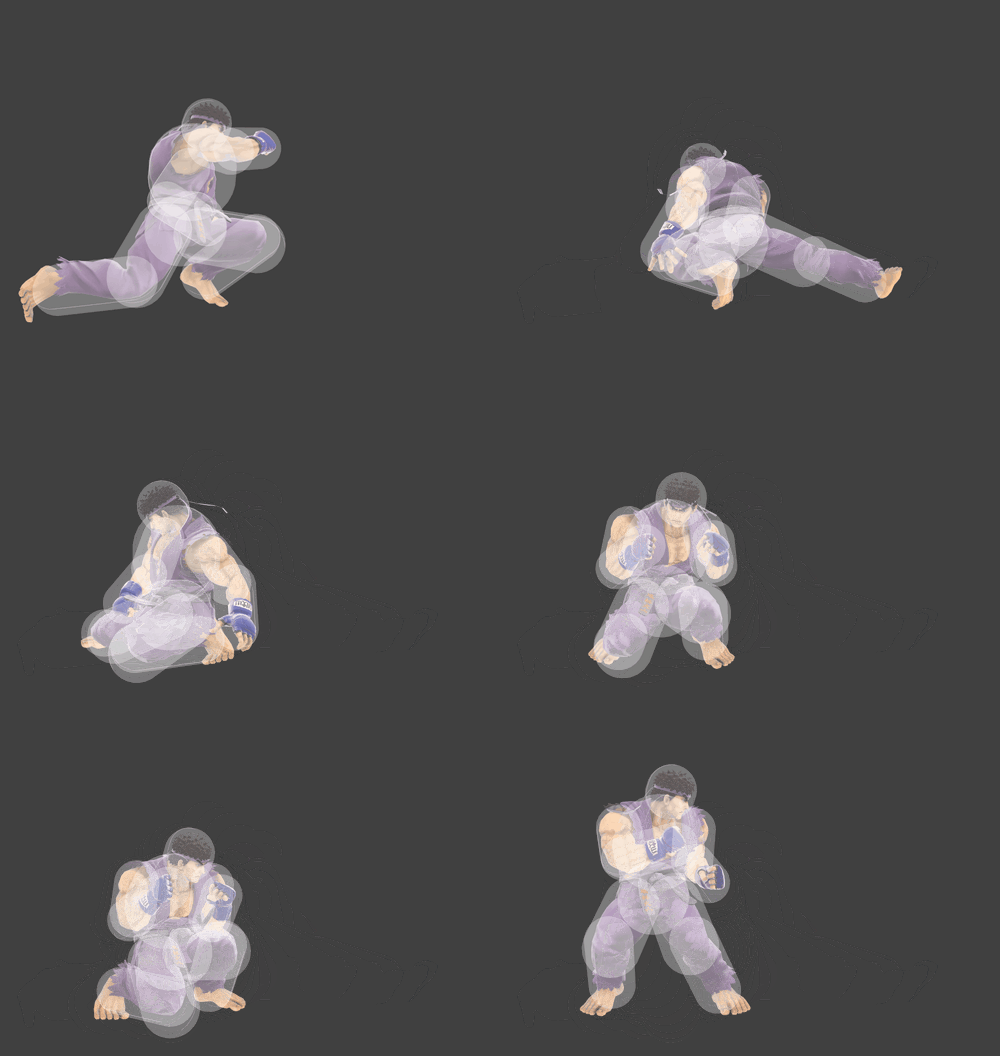
|
| Neutral aerial | Knee Kick | 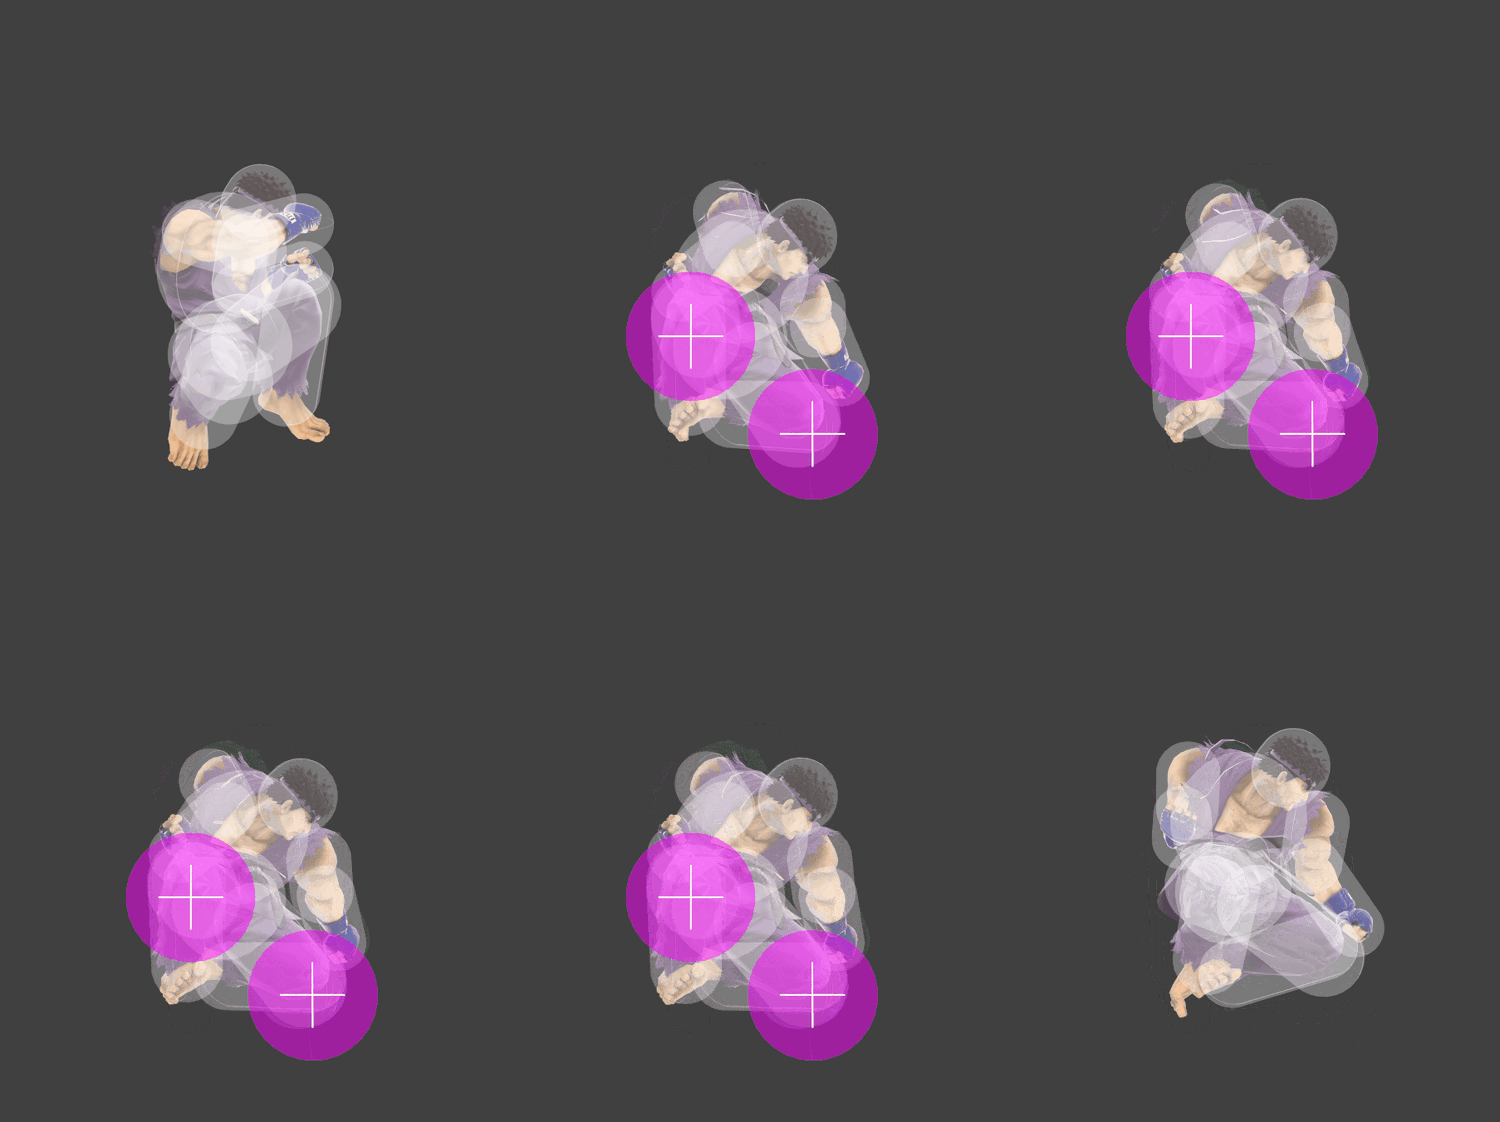
|
| Forward aerial | Tobigeri | 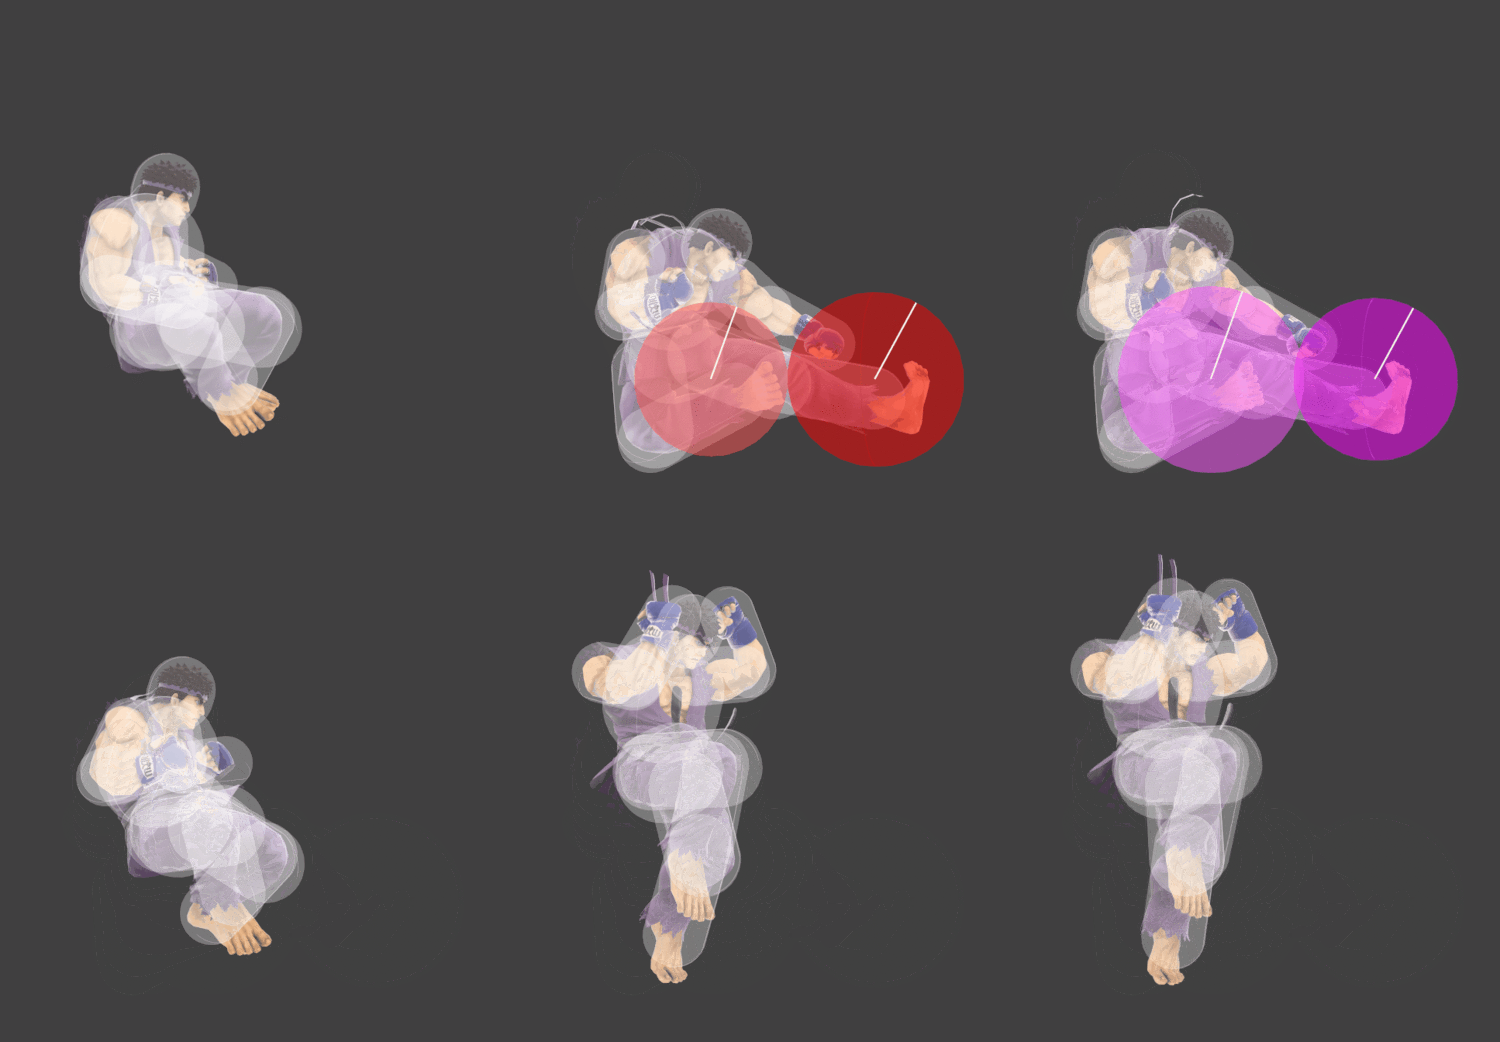
|
| Back aerial | Senpukyaku | 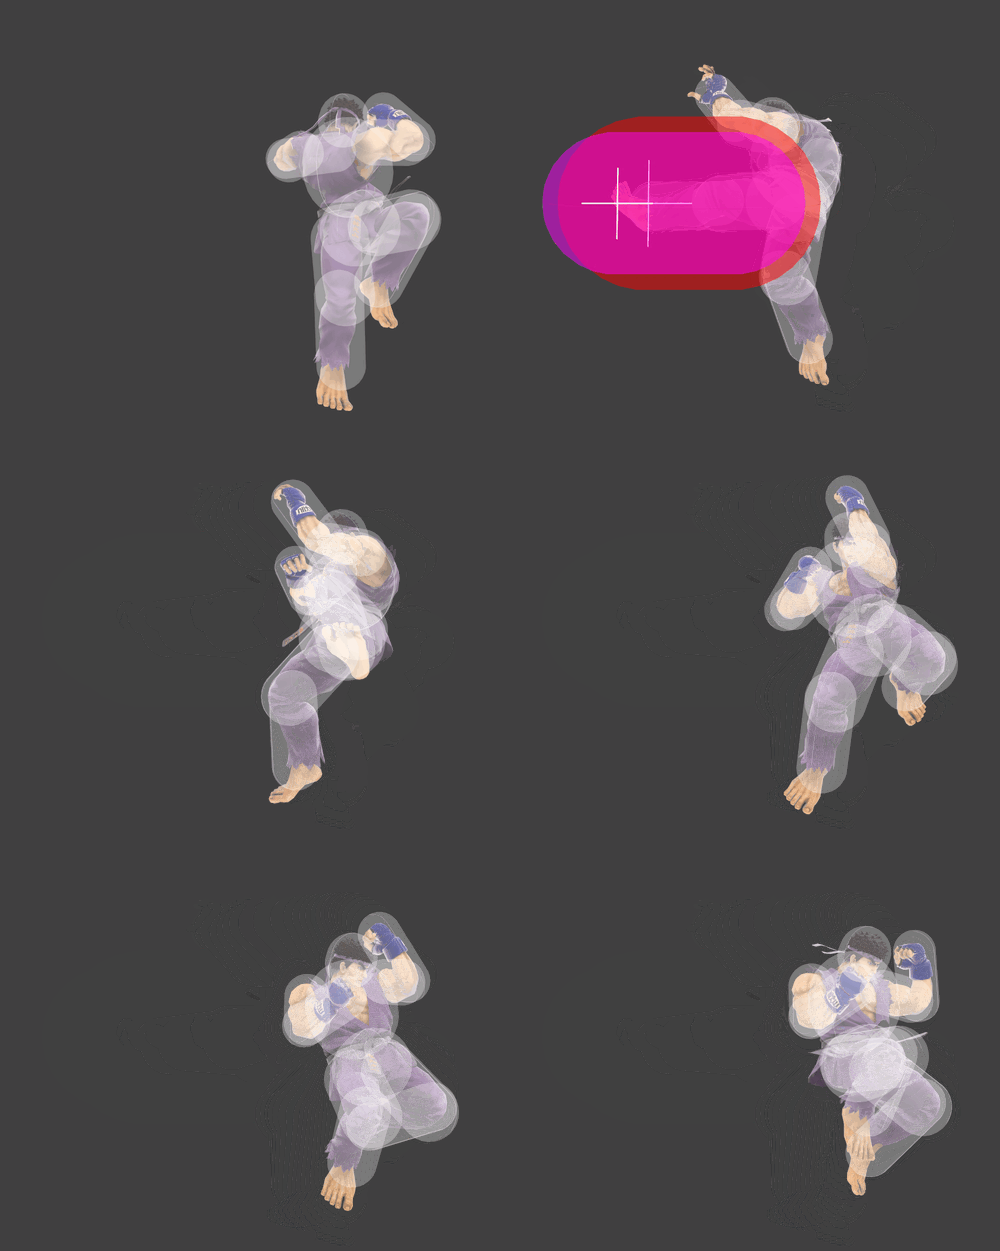
|
| Up aerial | Sukui Tsuki | 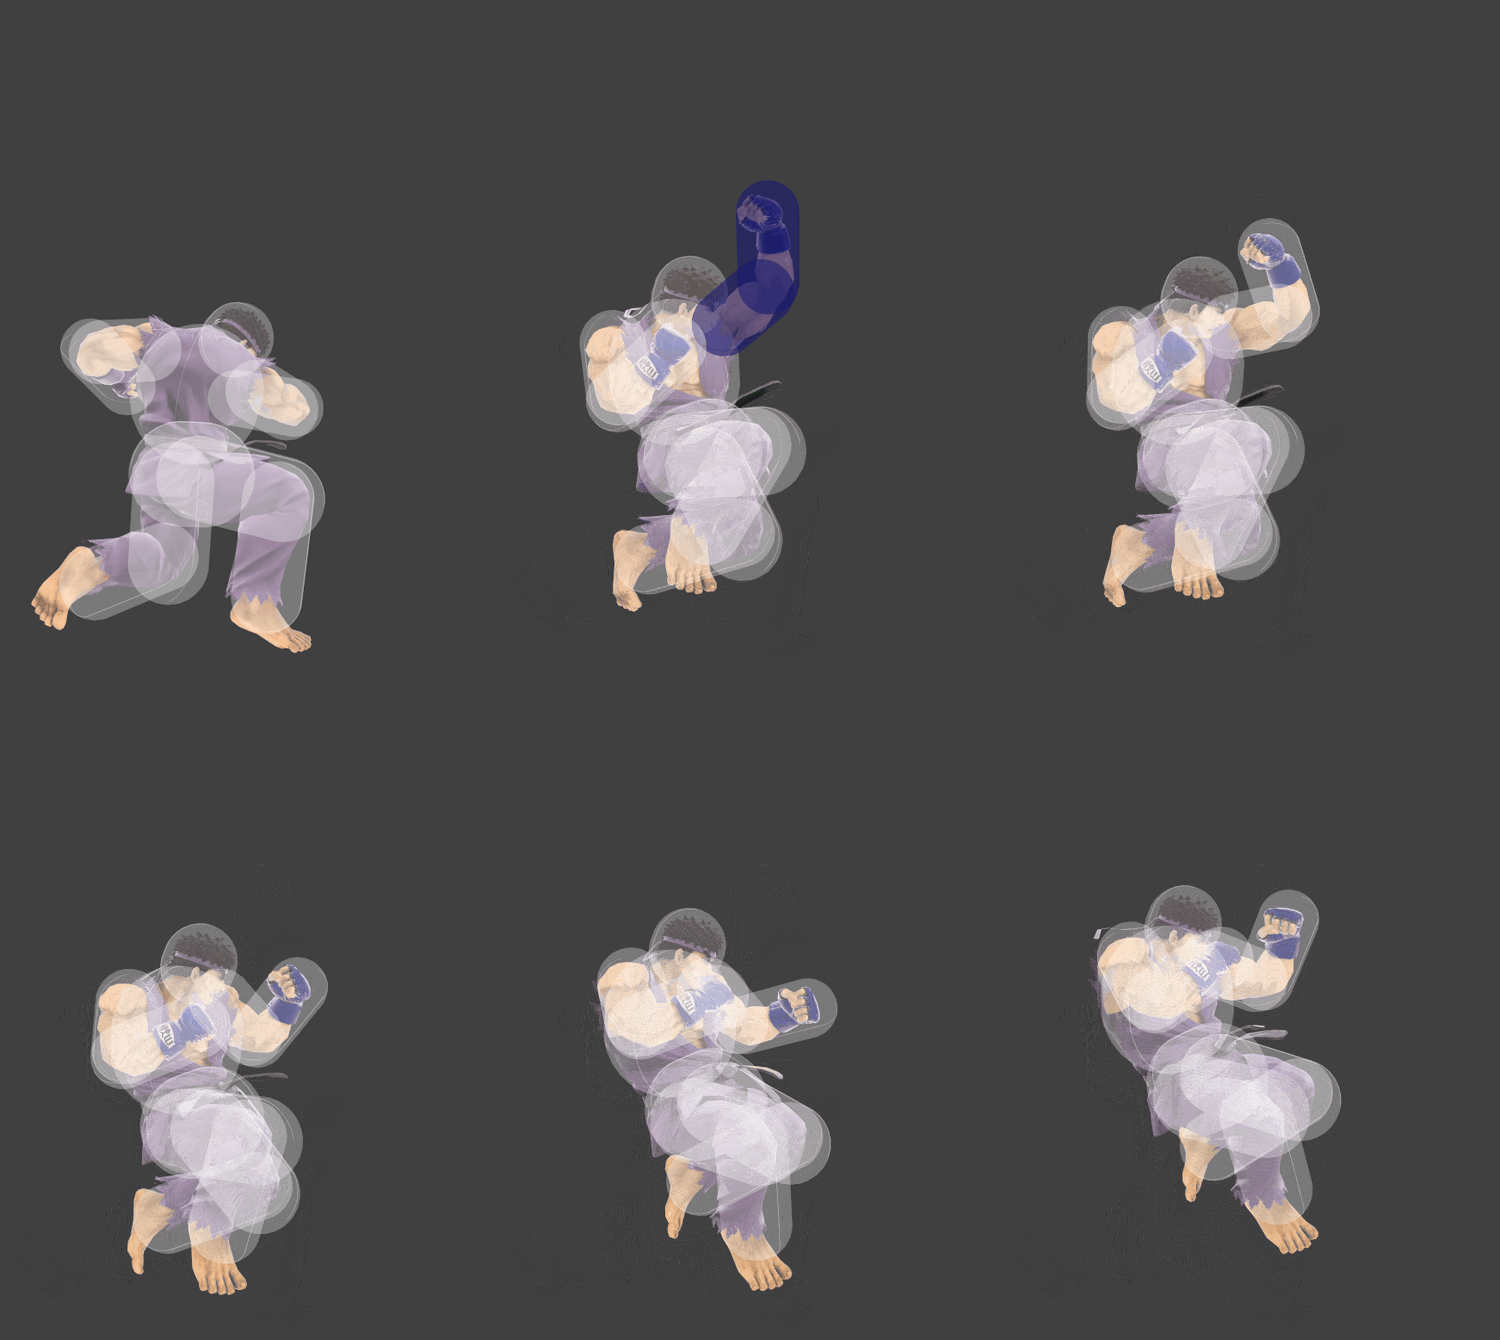
|
| Down aerial | Straight Punch | 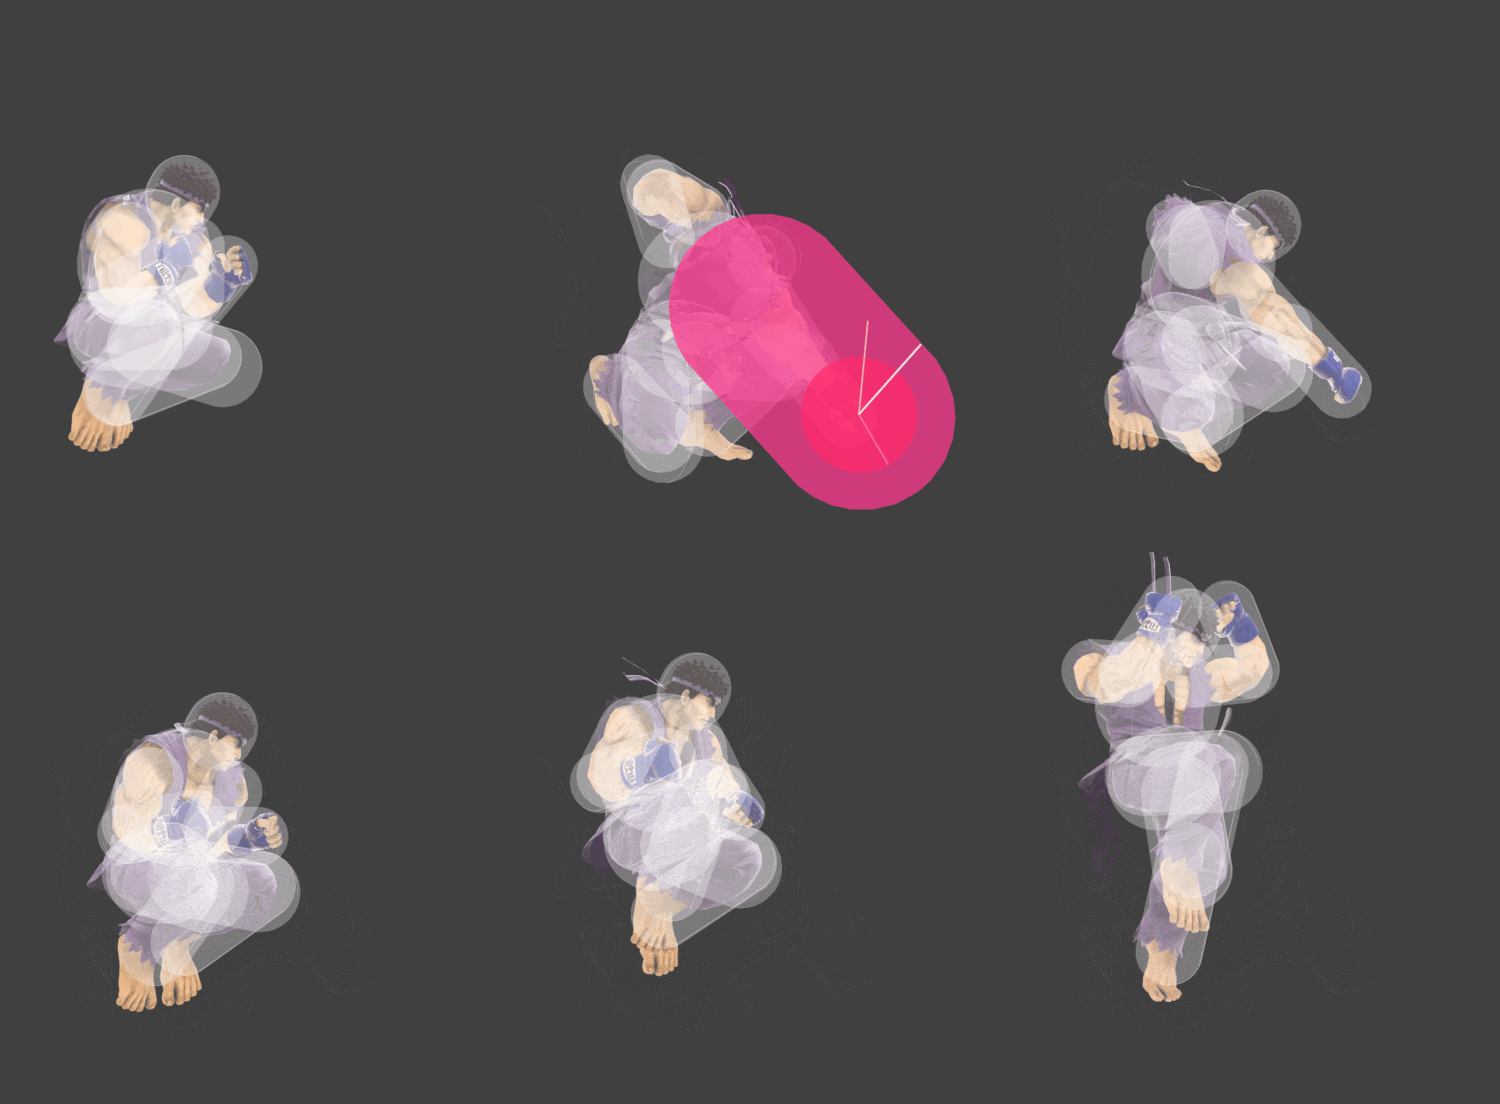
|
| Neutral special light | Hadoken | 
|
| Neutral special medium | Hadoken | 
|
| Neutral special heavy | Hadoken | 
|
| Neutral special light input | Shakunetsu Hadoken | 
|
| Neutral special medium input | Shakunetsu Hadoken | 
|
| Neutral special heavy input | Shakunetsu Hadoken | 
|
| Side special (startup) | Tatsumaki Senpukyaku | 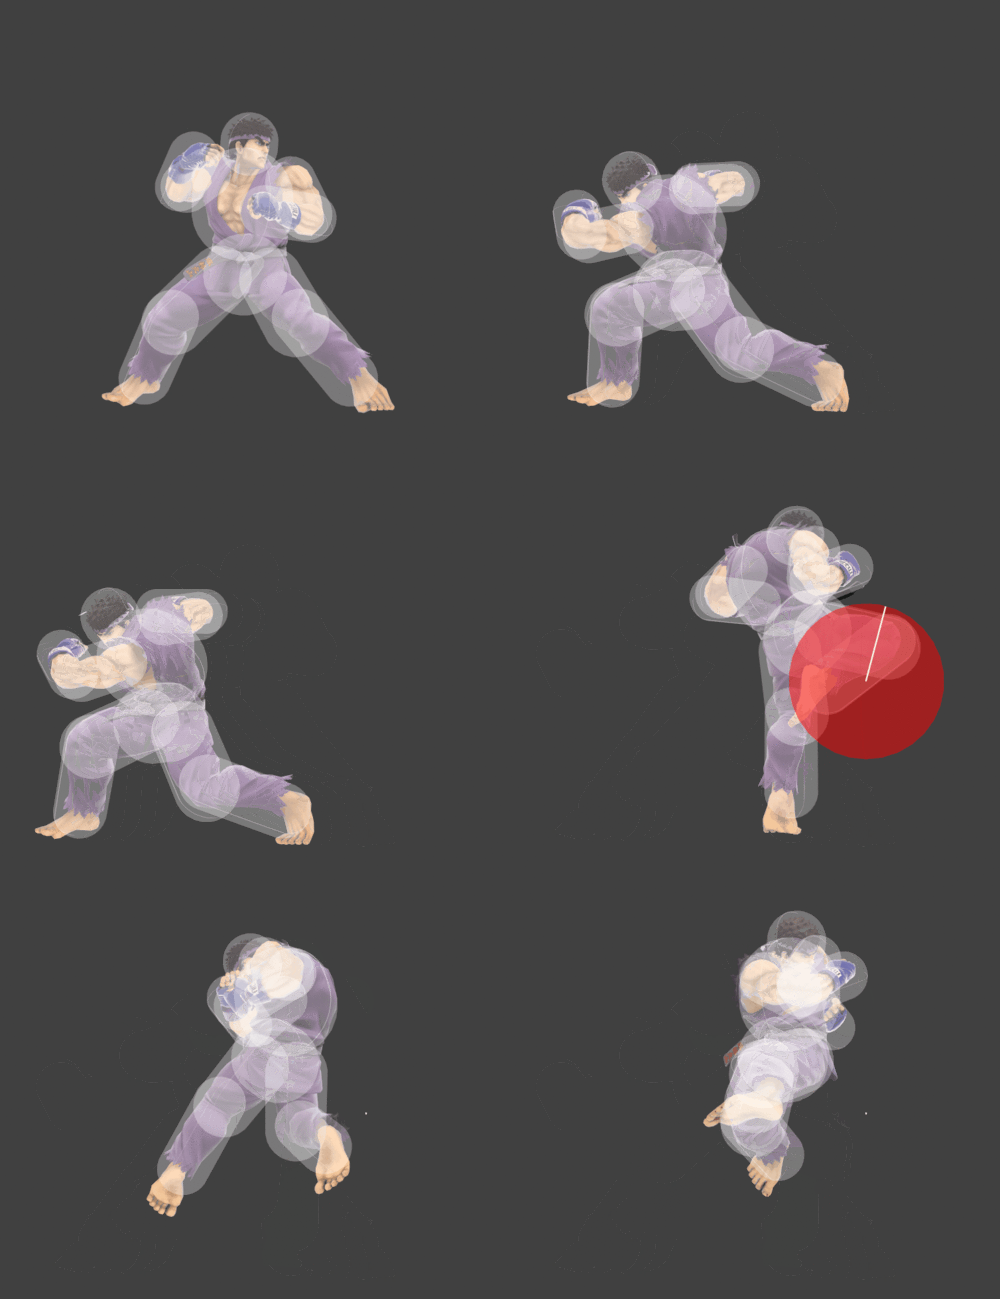
|
| Side special (grounded) | Tatsumaki Senpukyaku | 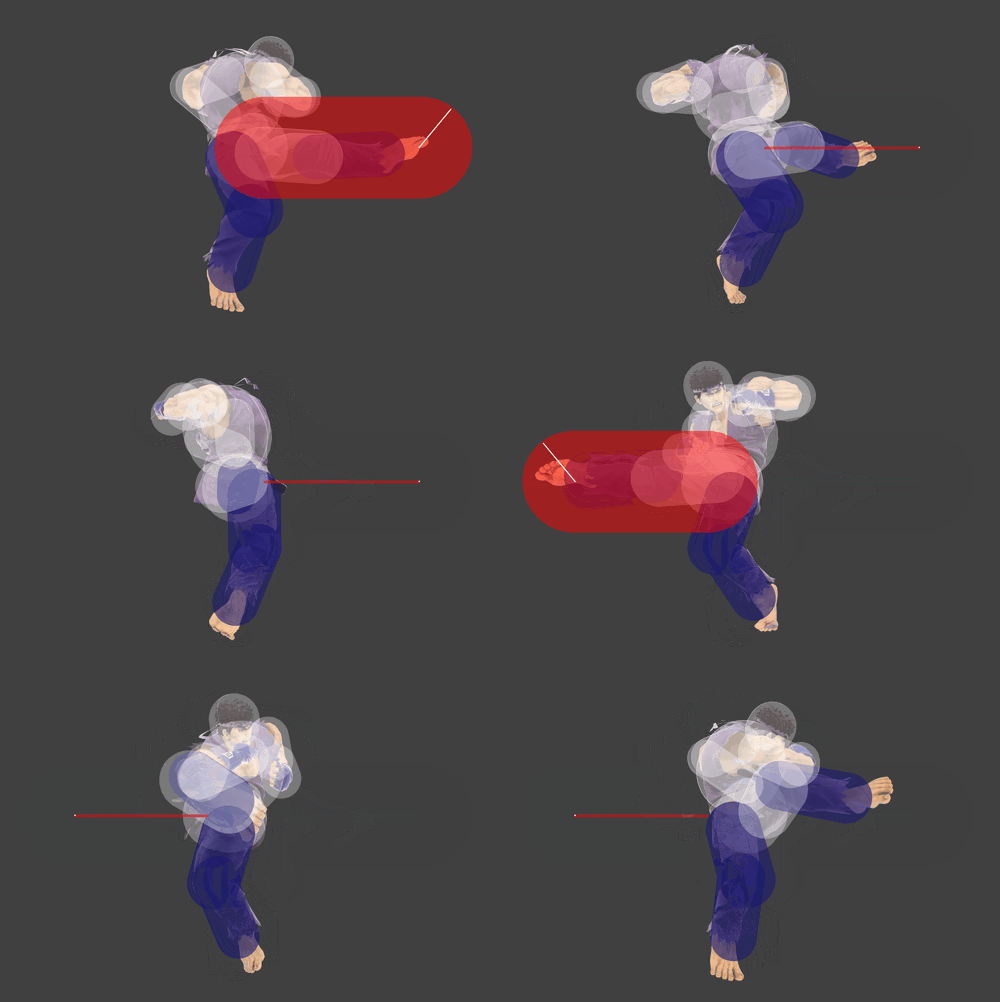
|
| Side special (aerial) | Tatsumaki Senpukyaku | 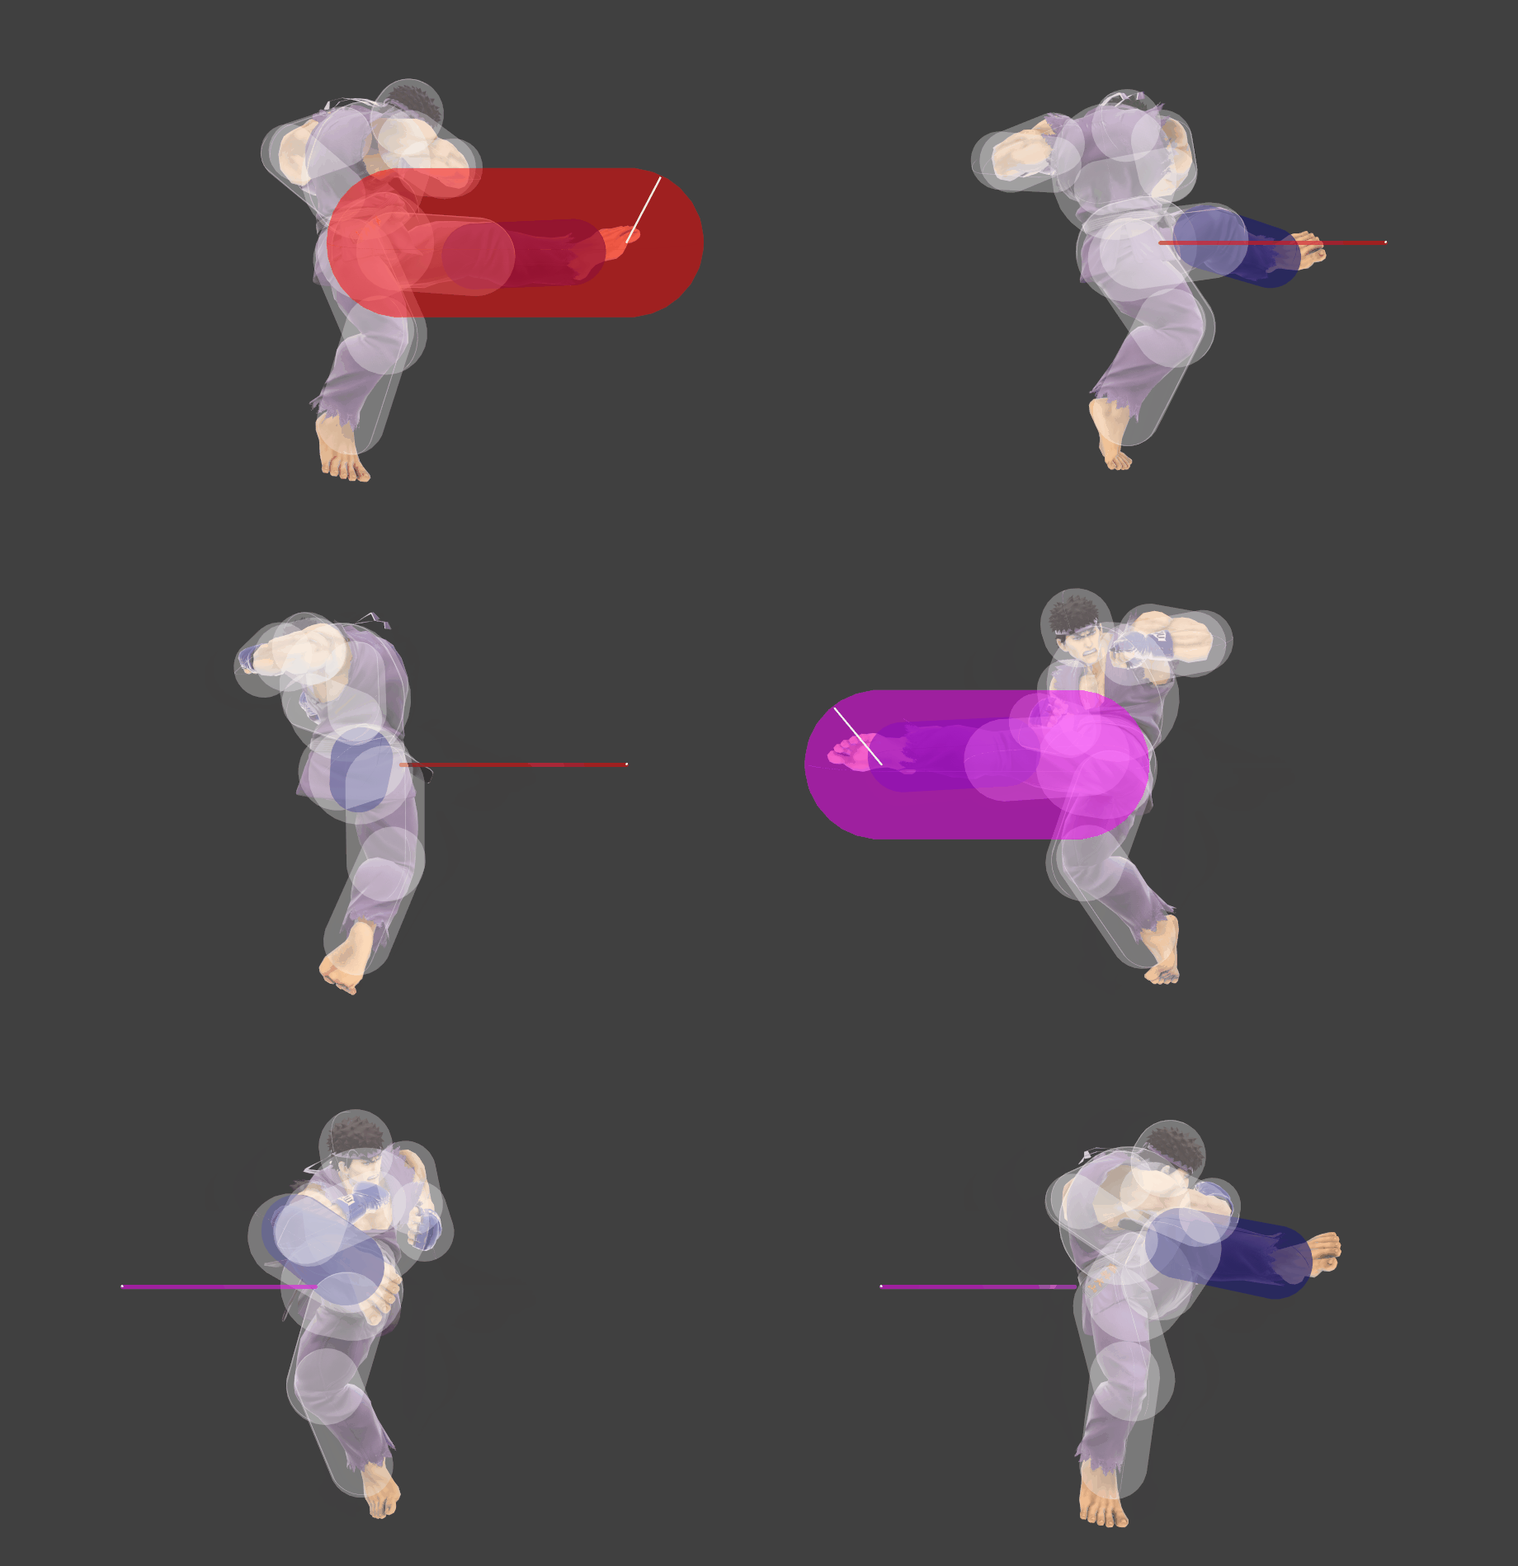
|
| Side special (aerial heavy) | Tatsumaki Senpukyaku | 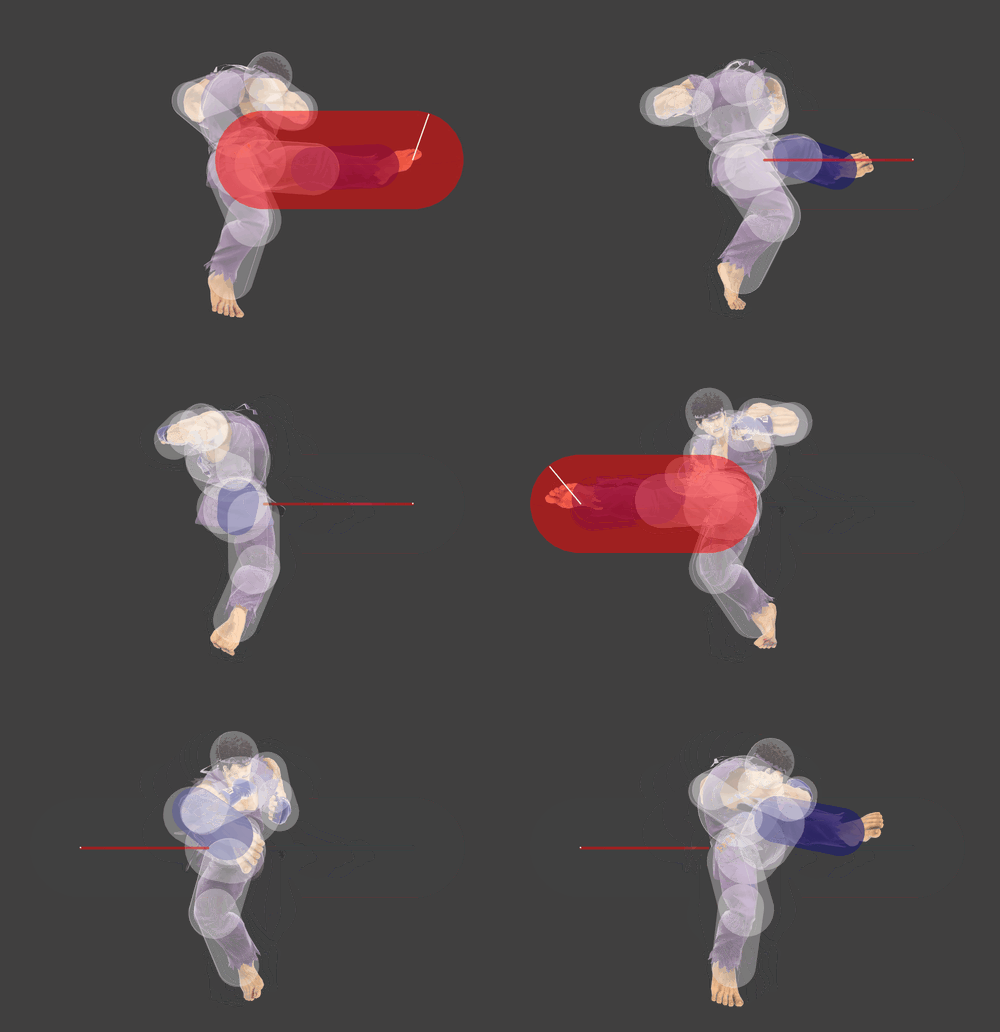
|
| Up special light | Shoryuken | 
|
| Up special light input | Shoryuken | 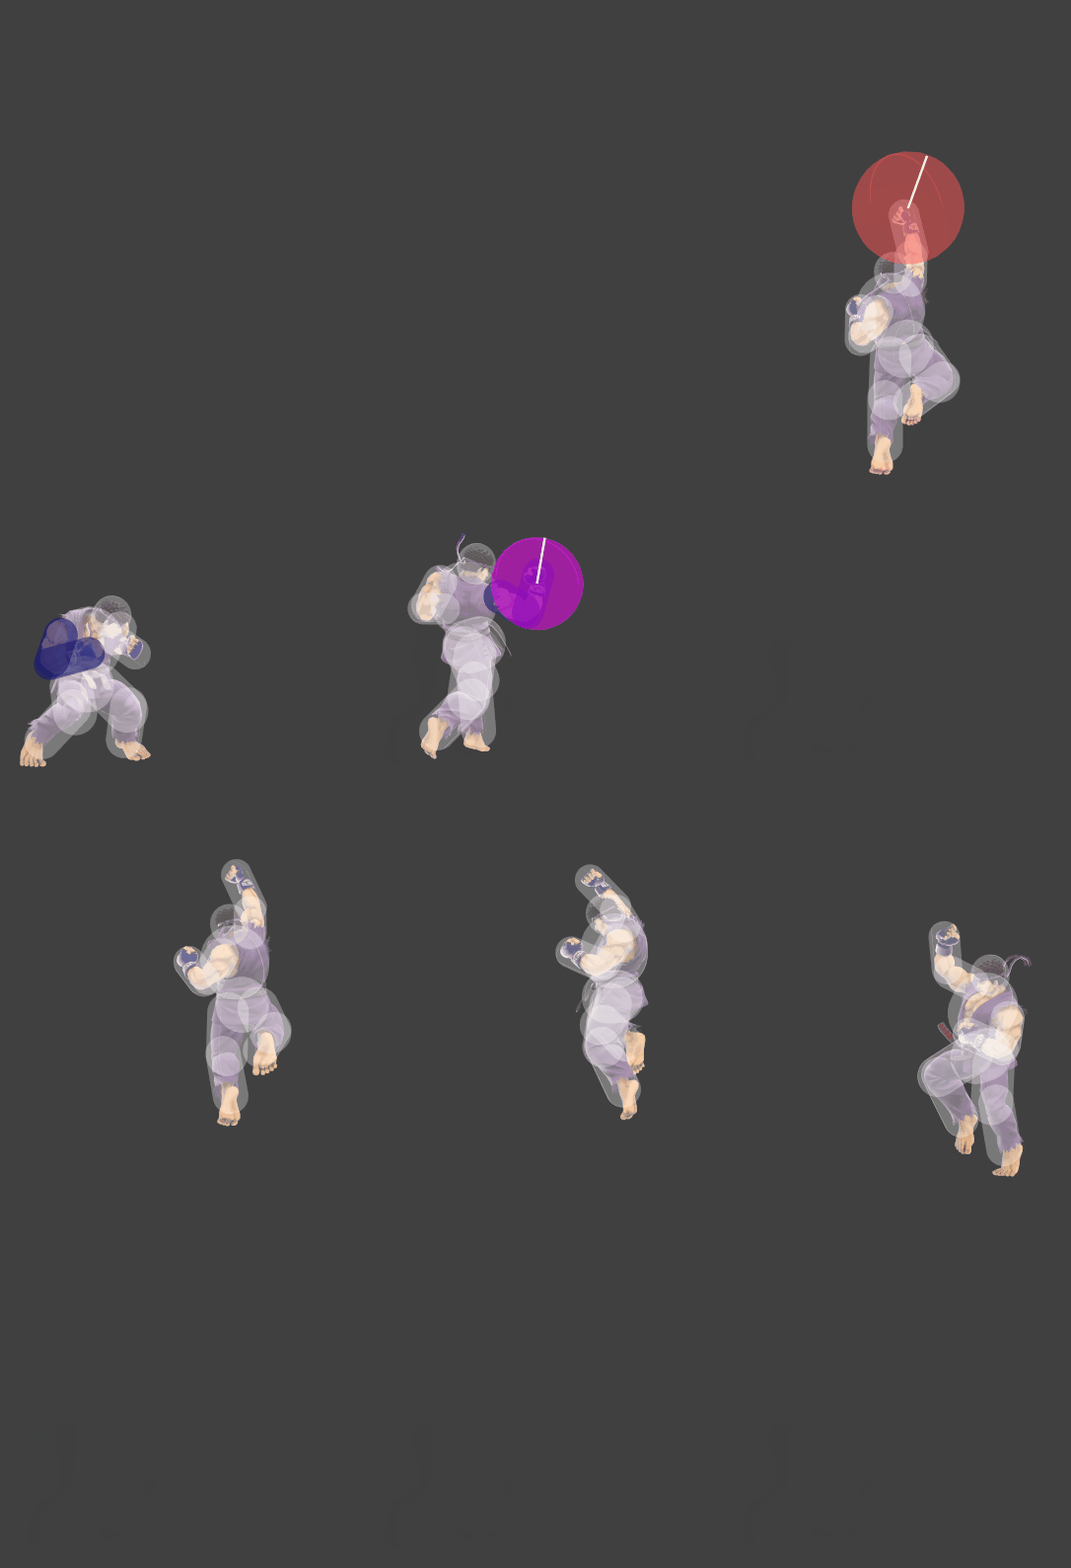
|
| Up special mid | Shoryuken | 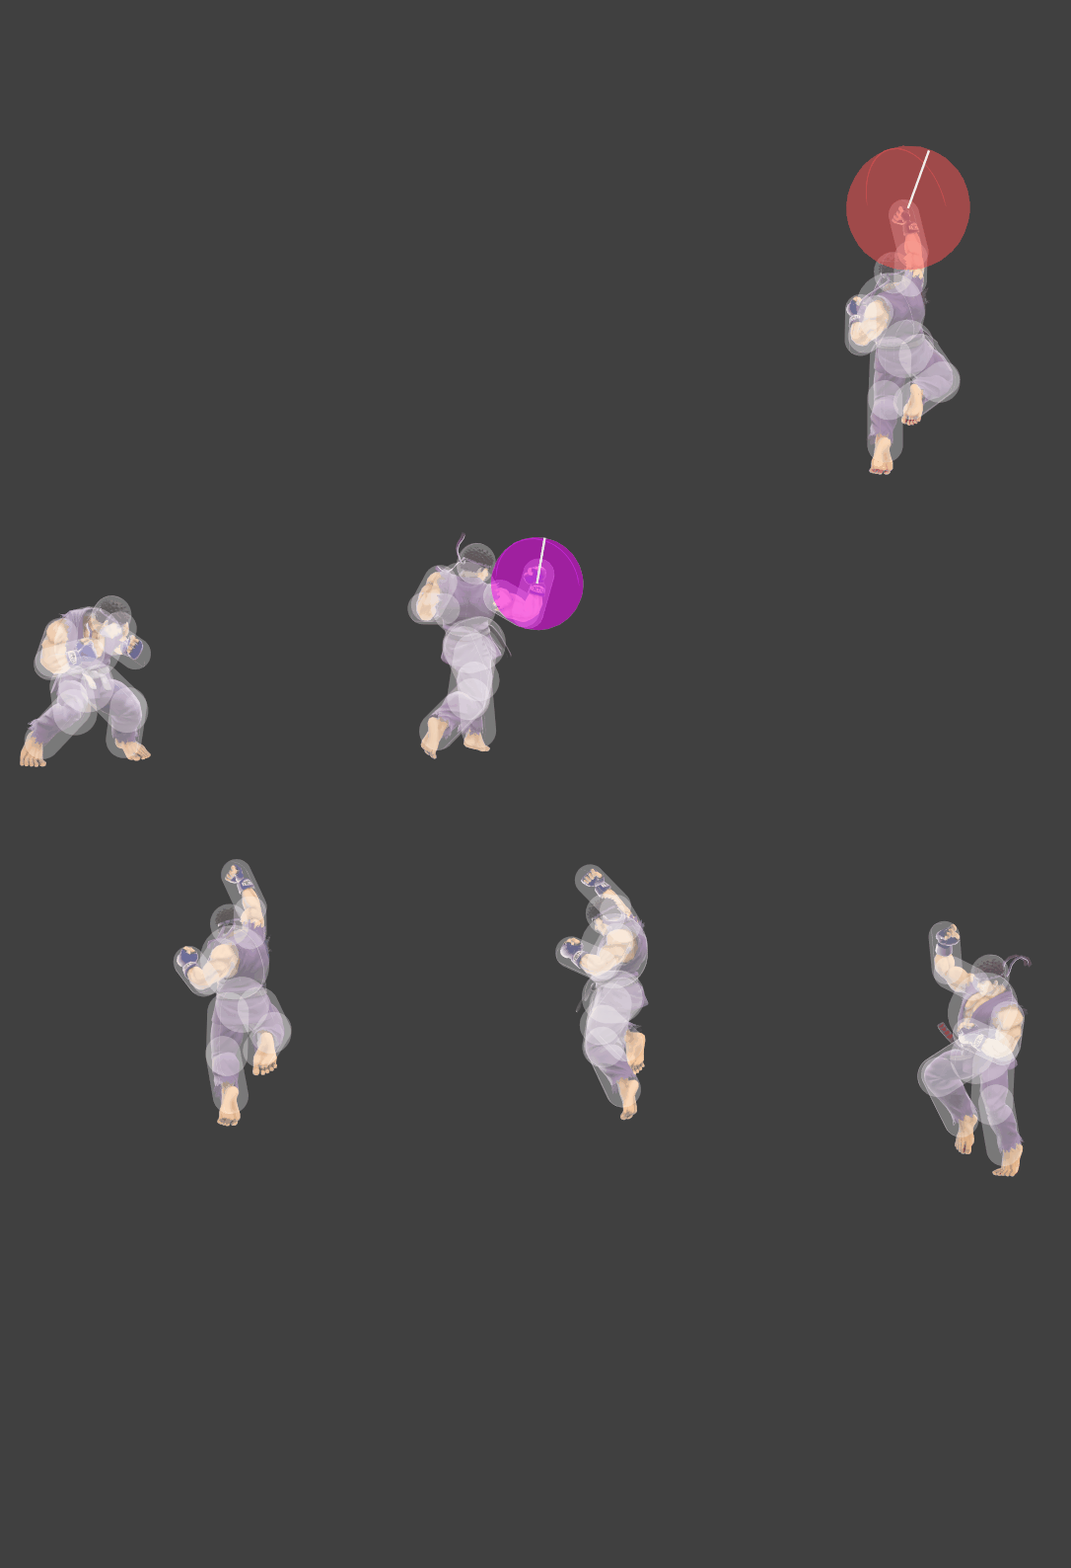
|
| Up special mid input | Shoryuken | 
|
| Up special heavy | Shoryuken | 
|
| Up special heavy input | Shoryuken | 
|
| Down special level 1 | Focus Attack | 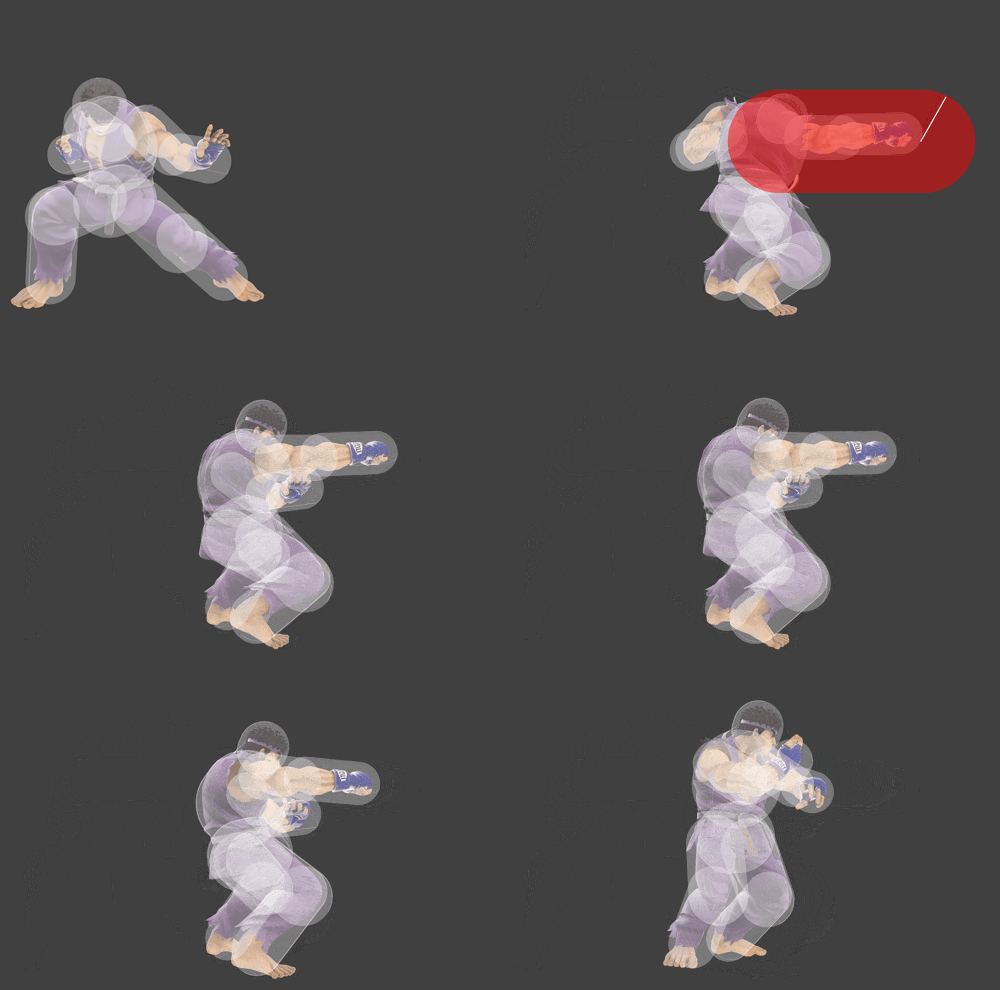
|
| Down special level 2 | Focus Attack | 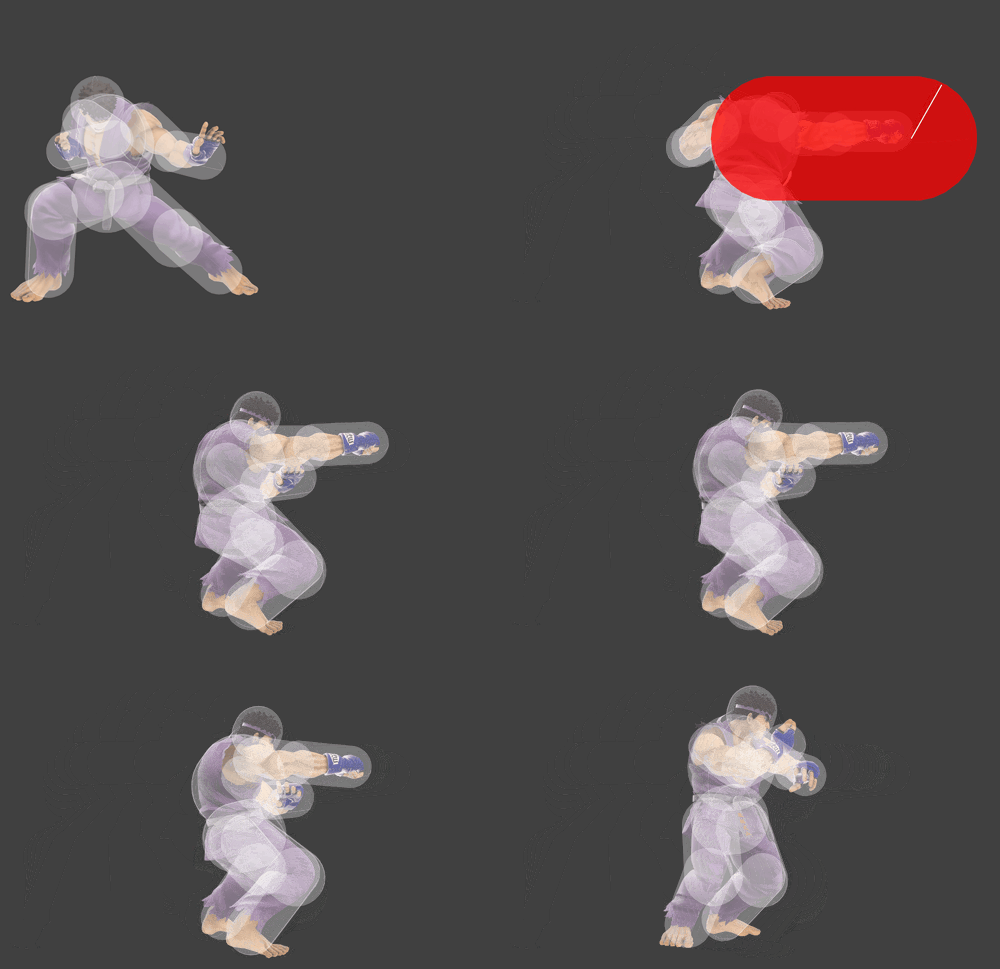
|
| Down special level 3 | Focus Attack | 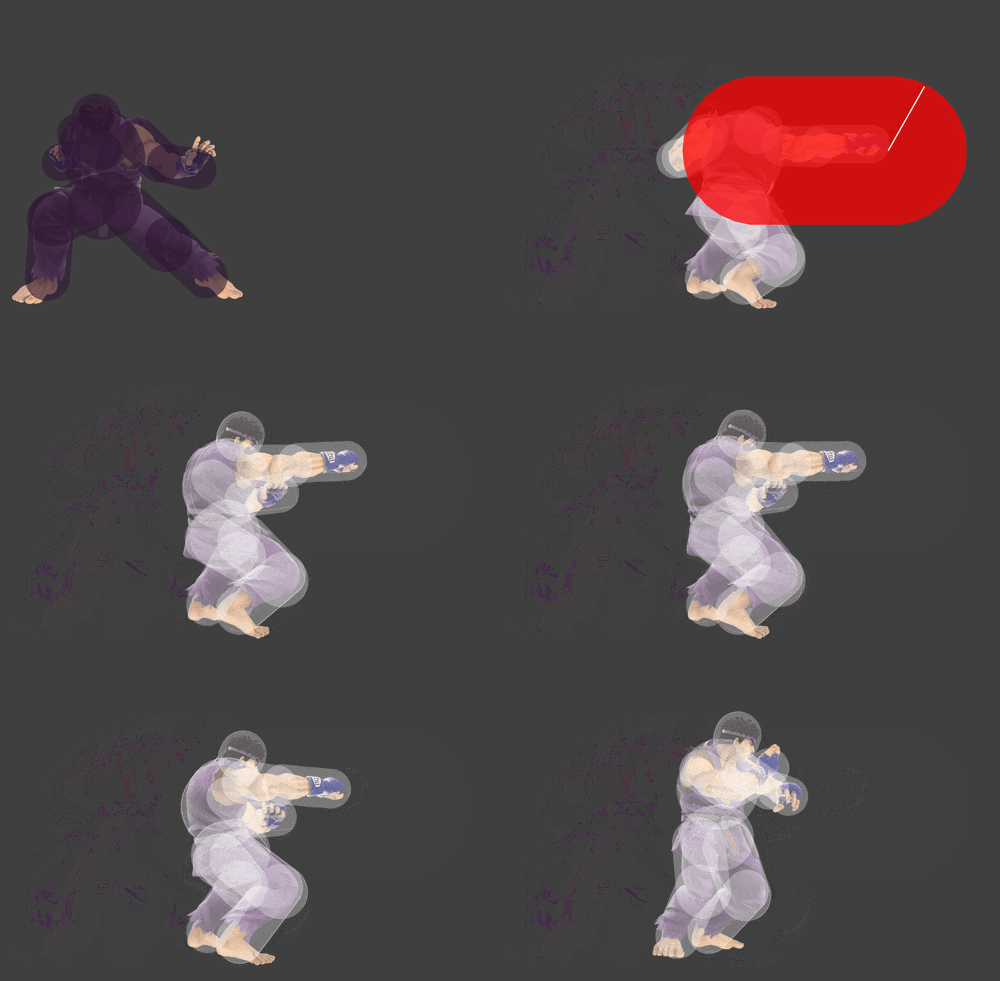
|
| Standing grab | 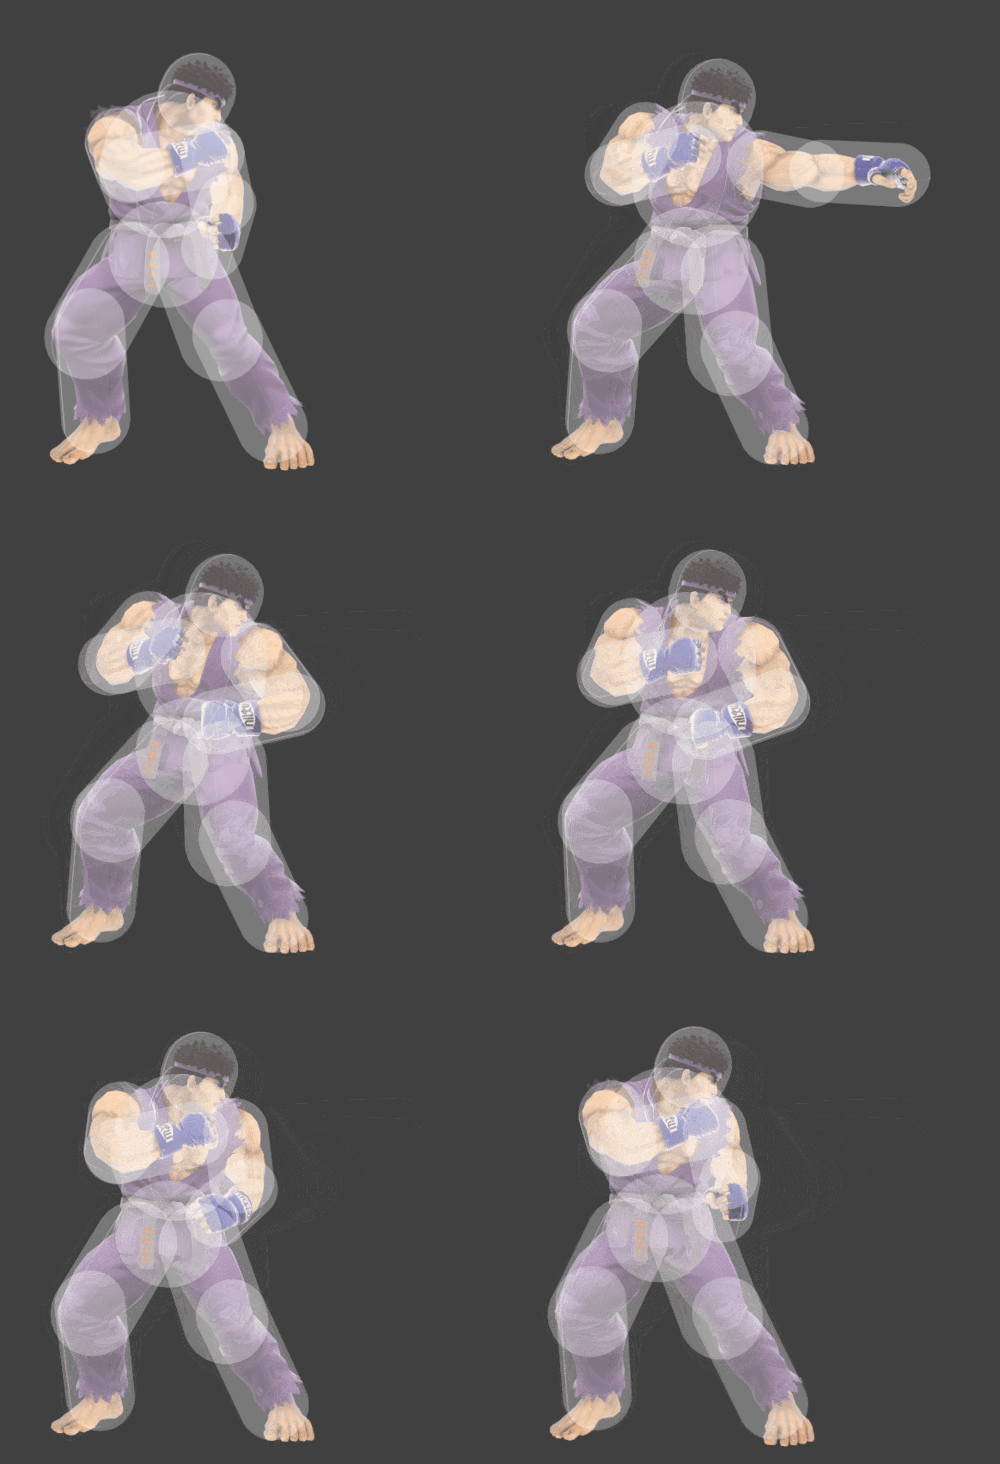
| |
| Dash grab | 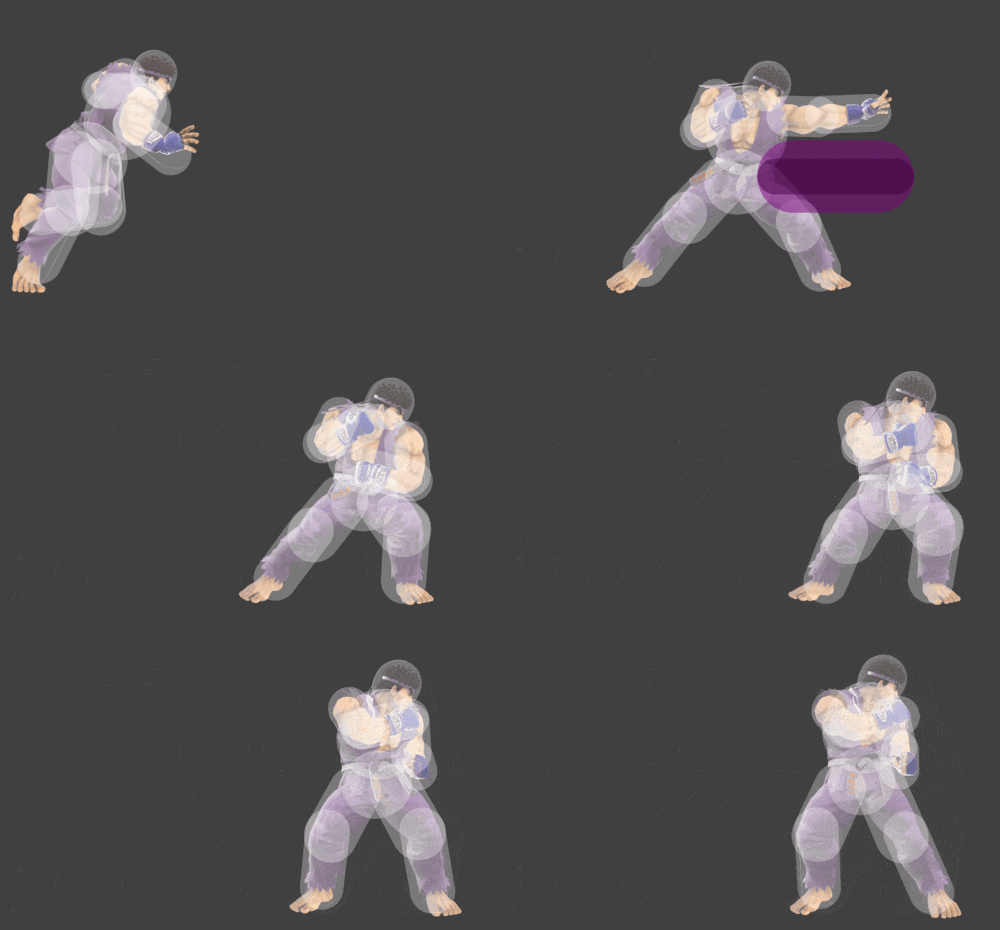
| |
| Pivot grab | 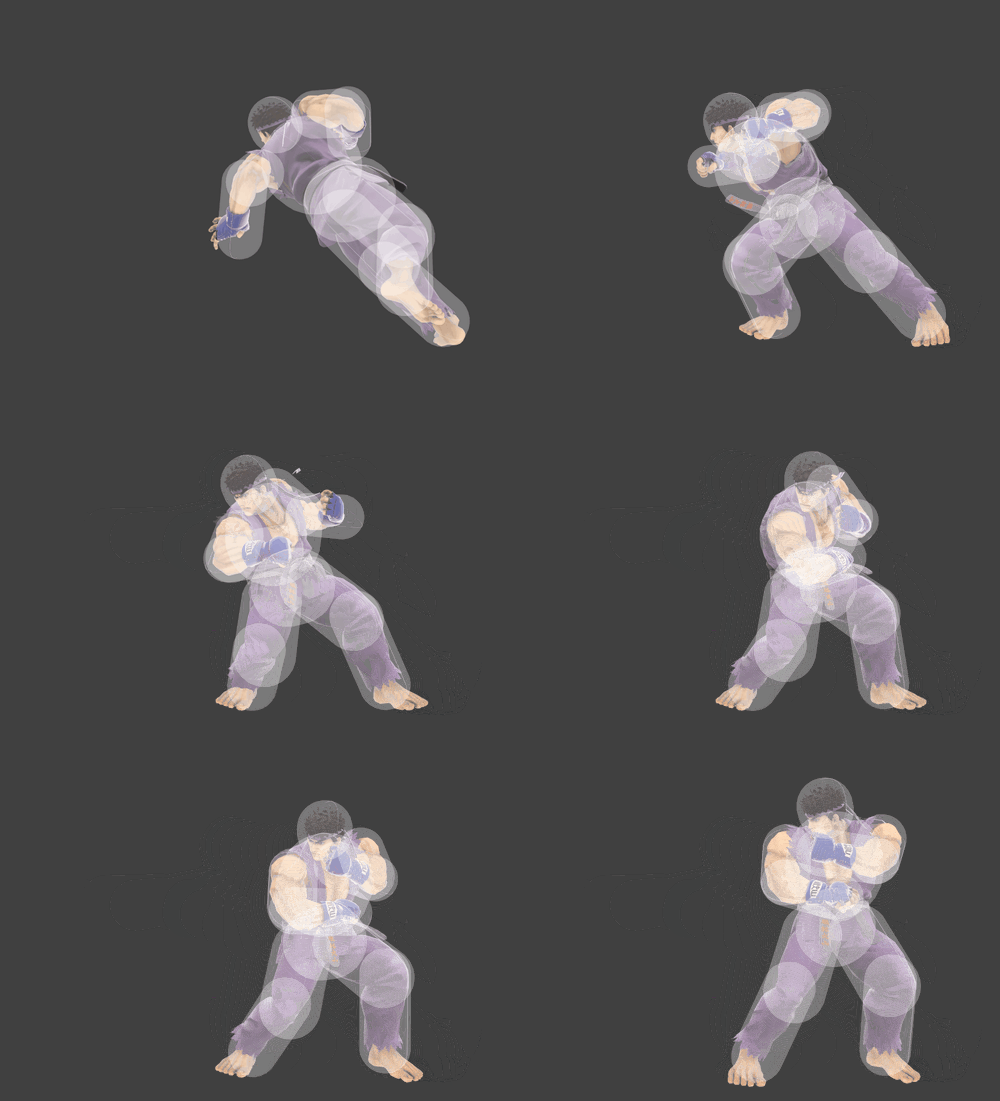
| |
| Pummel | Hizageri | 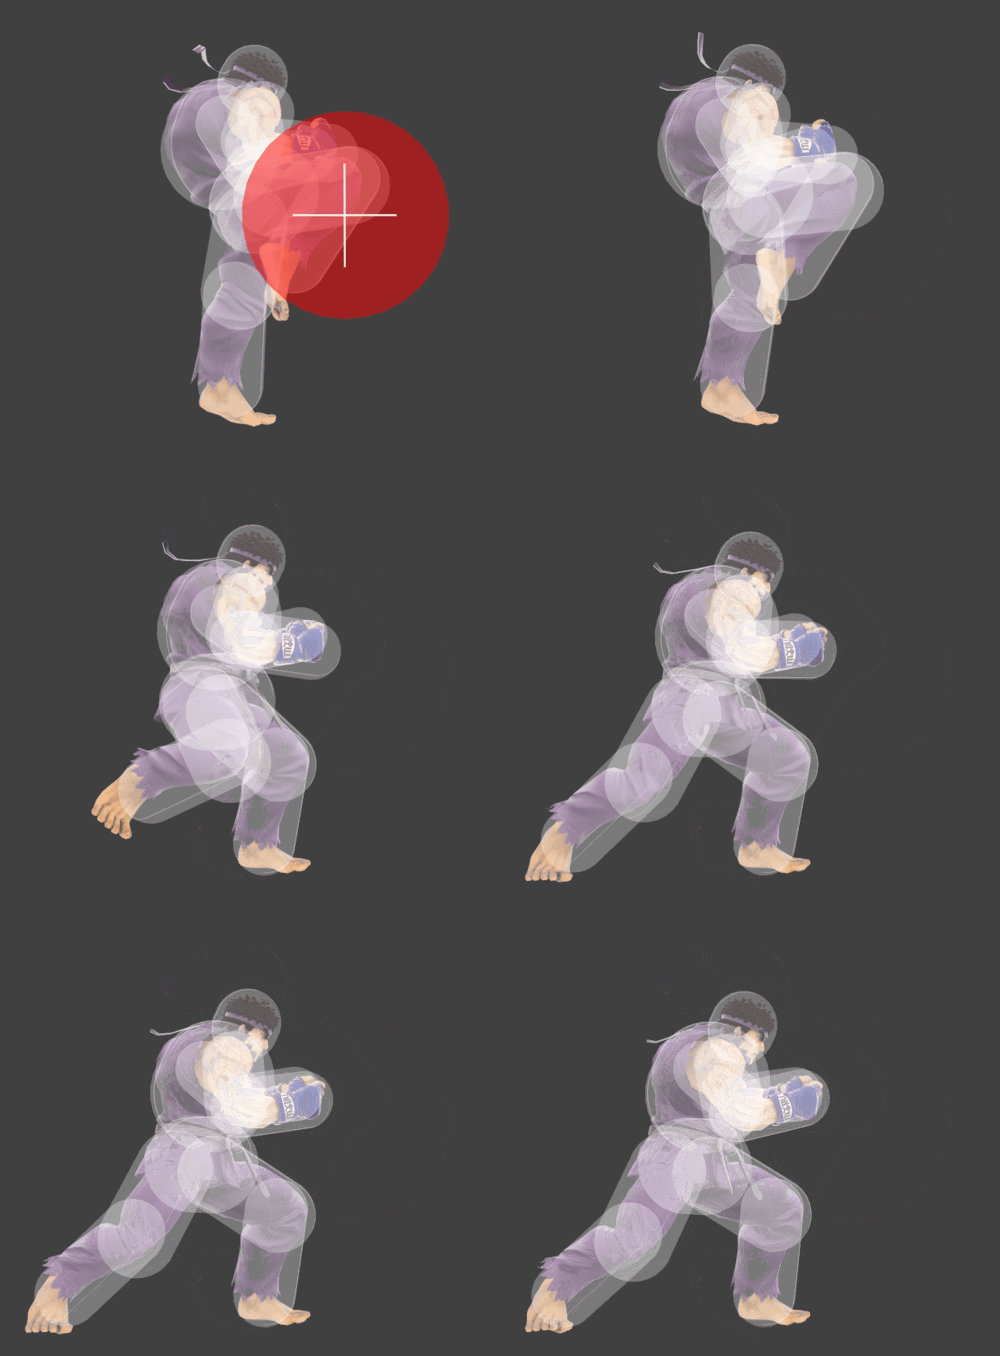
|
| Forward throw | Seoi Throw | 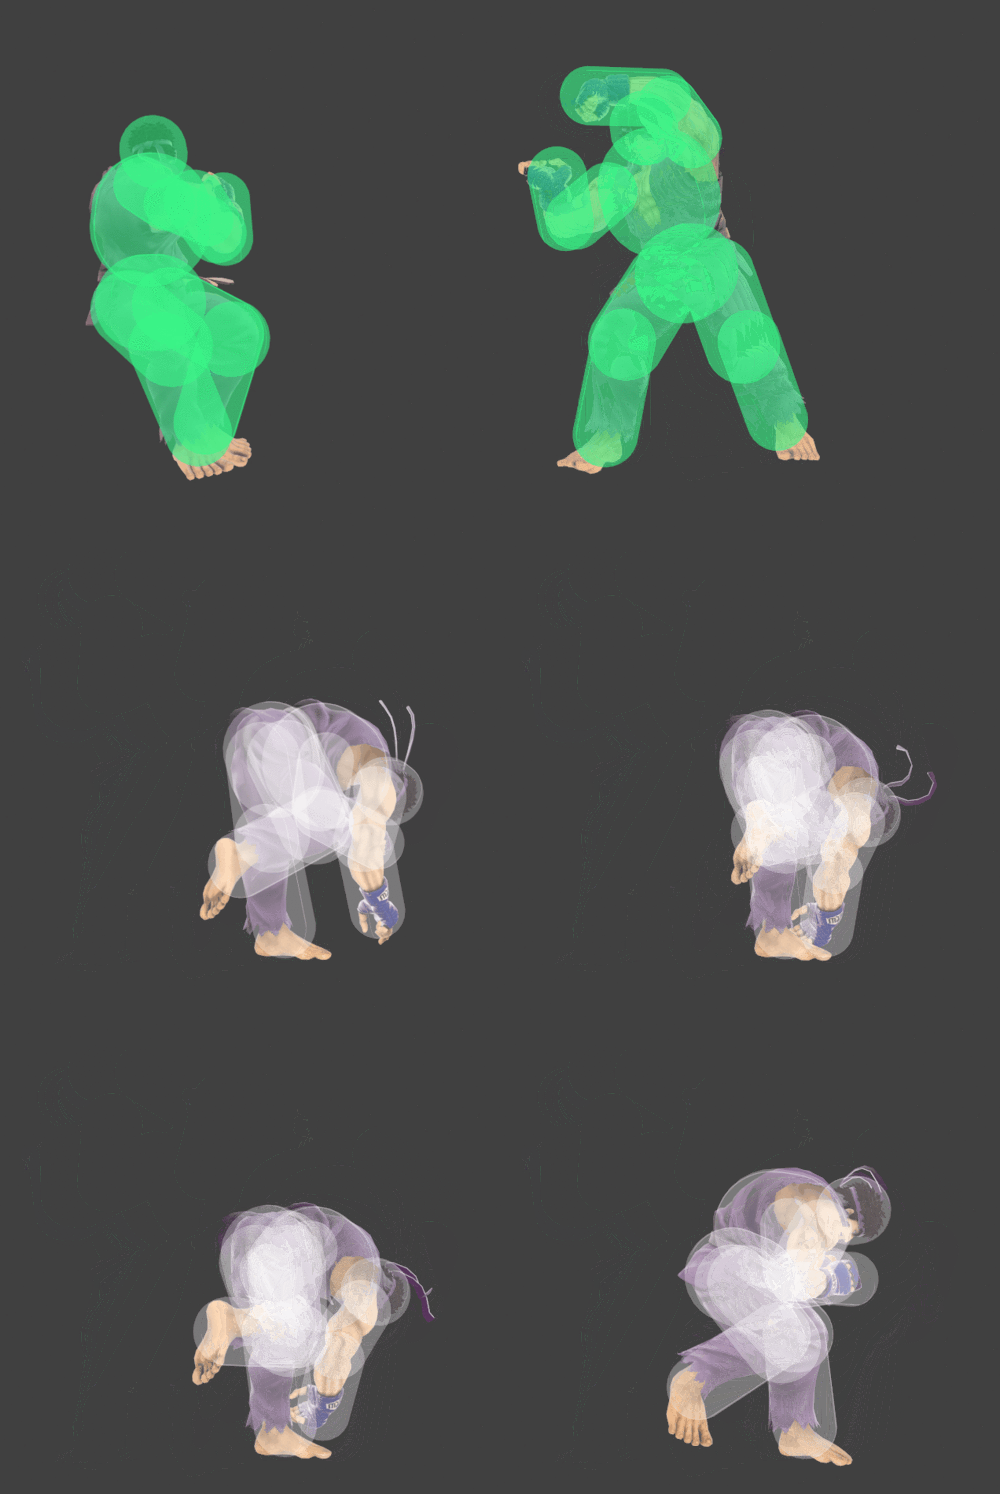
|
| Back throw | Somersault Throw | 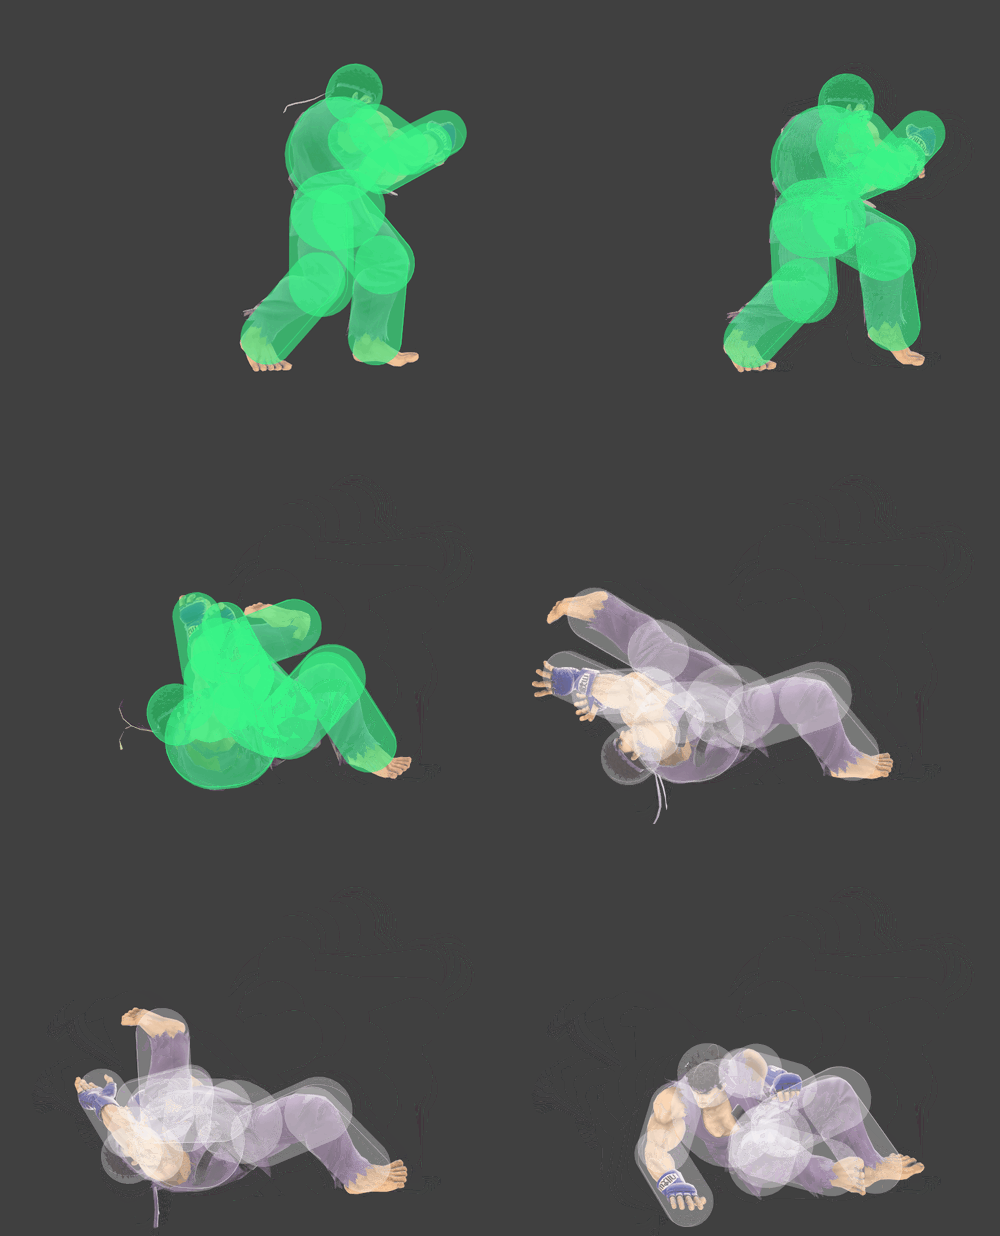
|
| Up throw | Heel Drop | 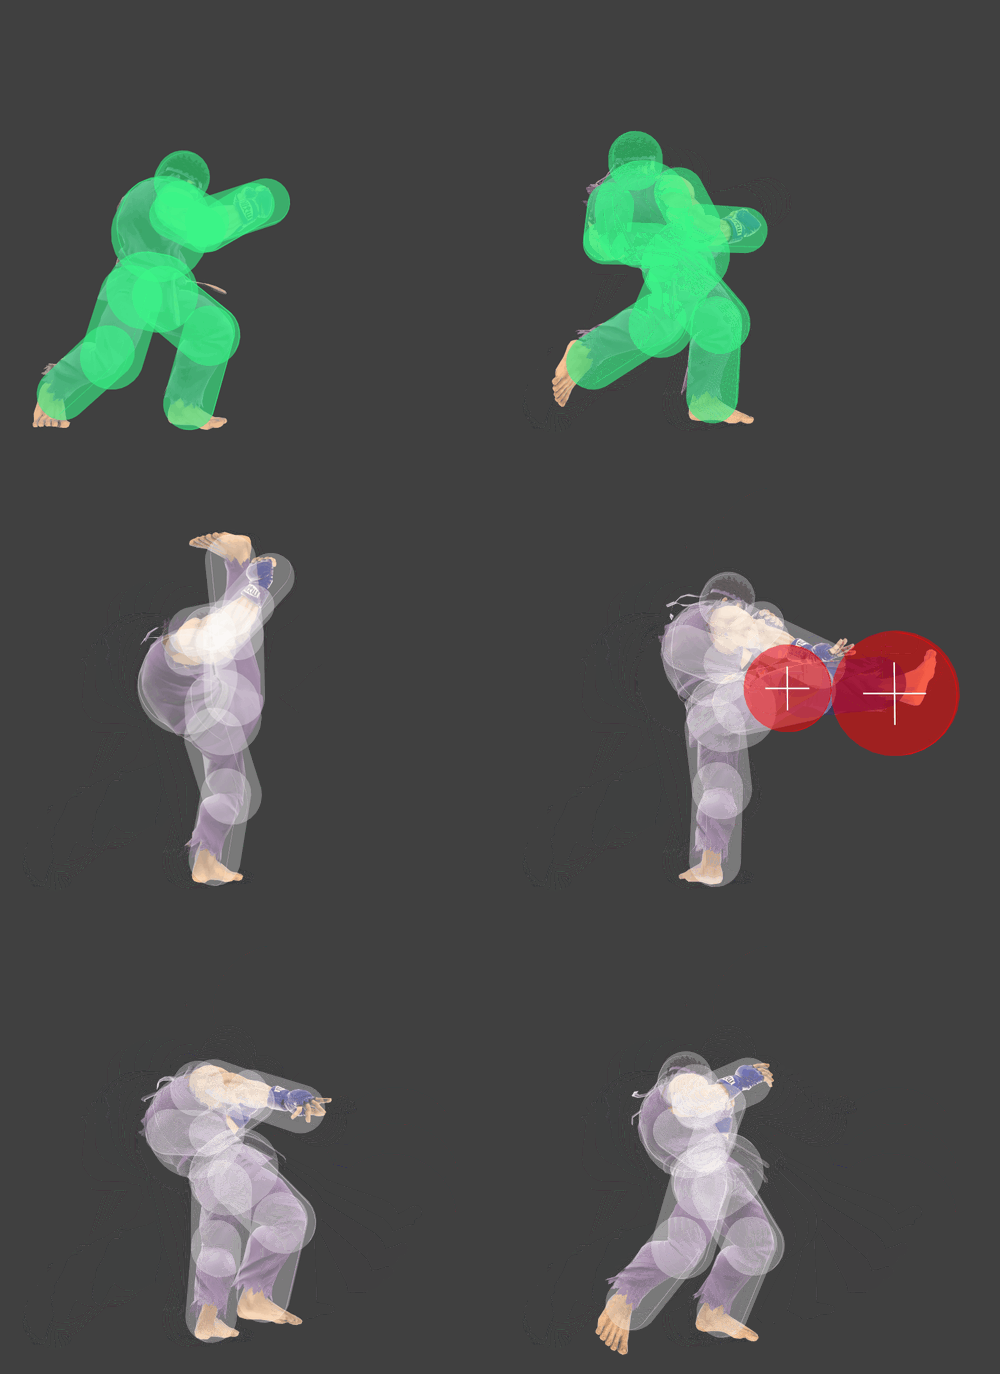
|
| Down throw | Tile Breaker | 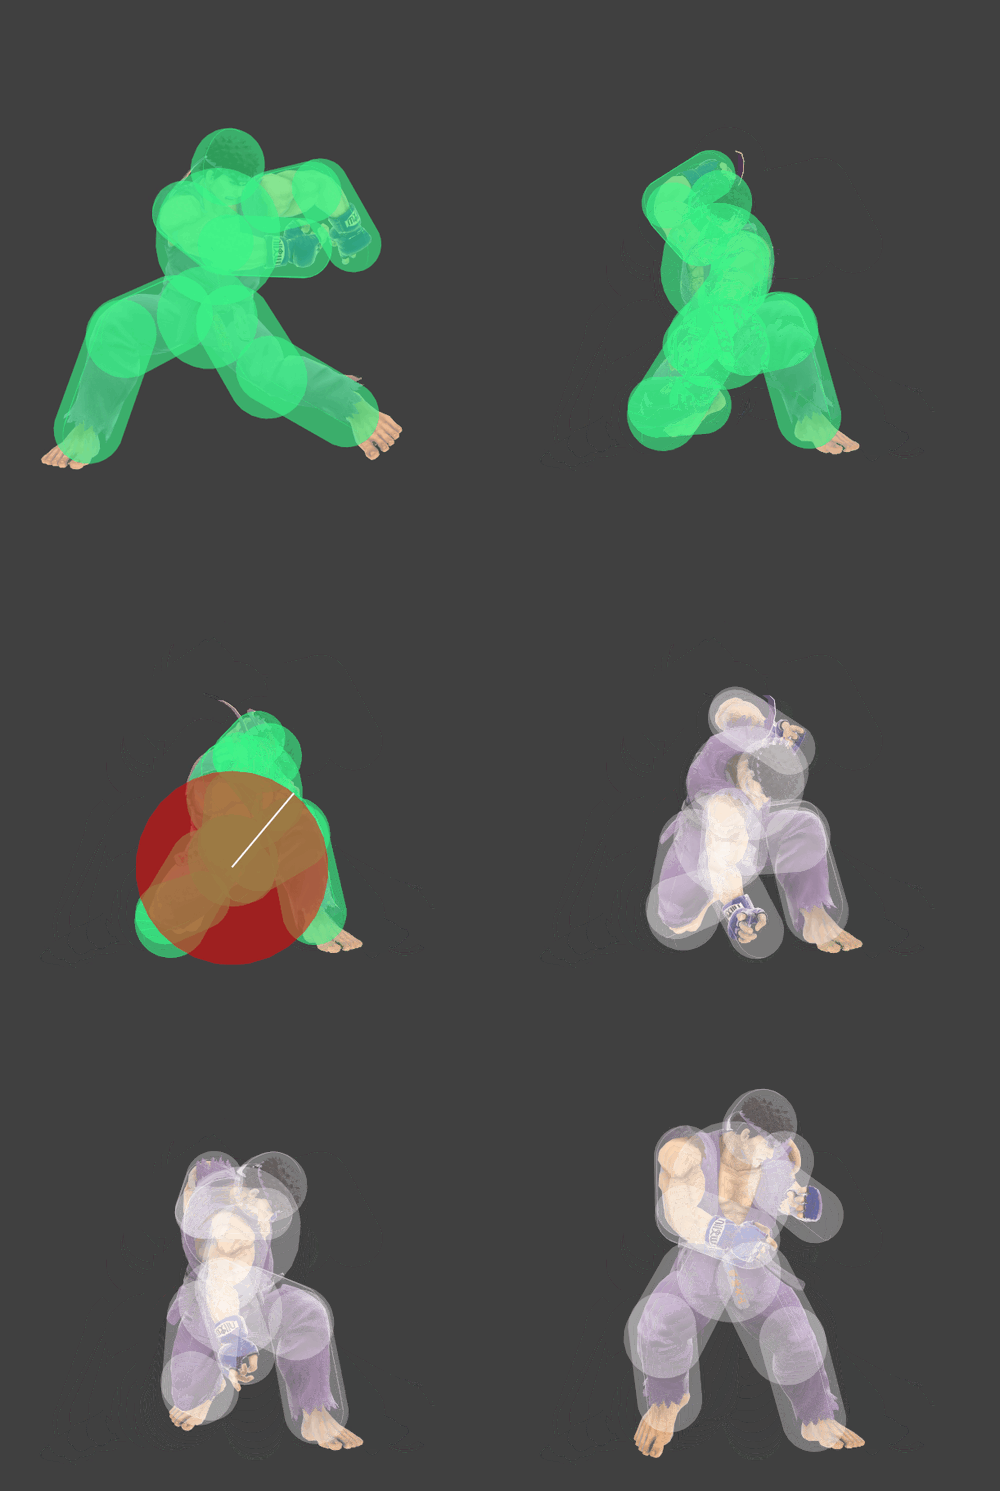
|
| Getup attack front | 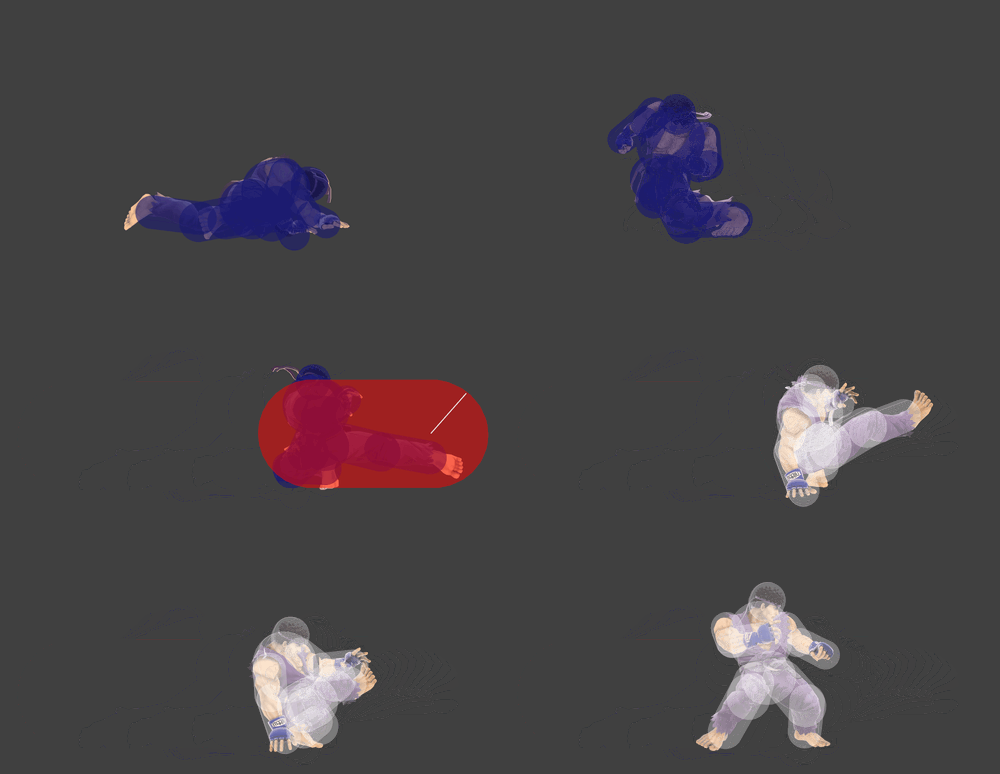
| |
| Getup attack back | 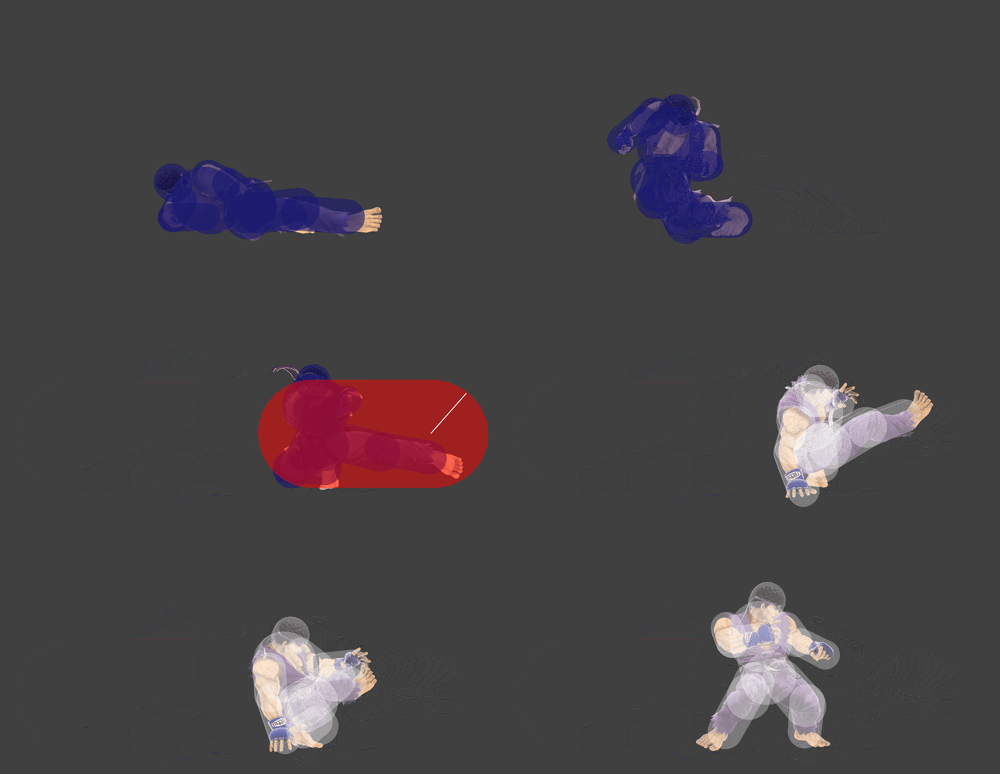
| |
| Getup attack trip | 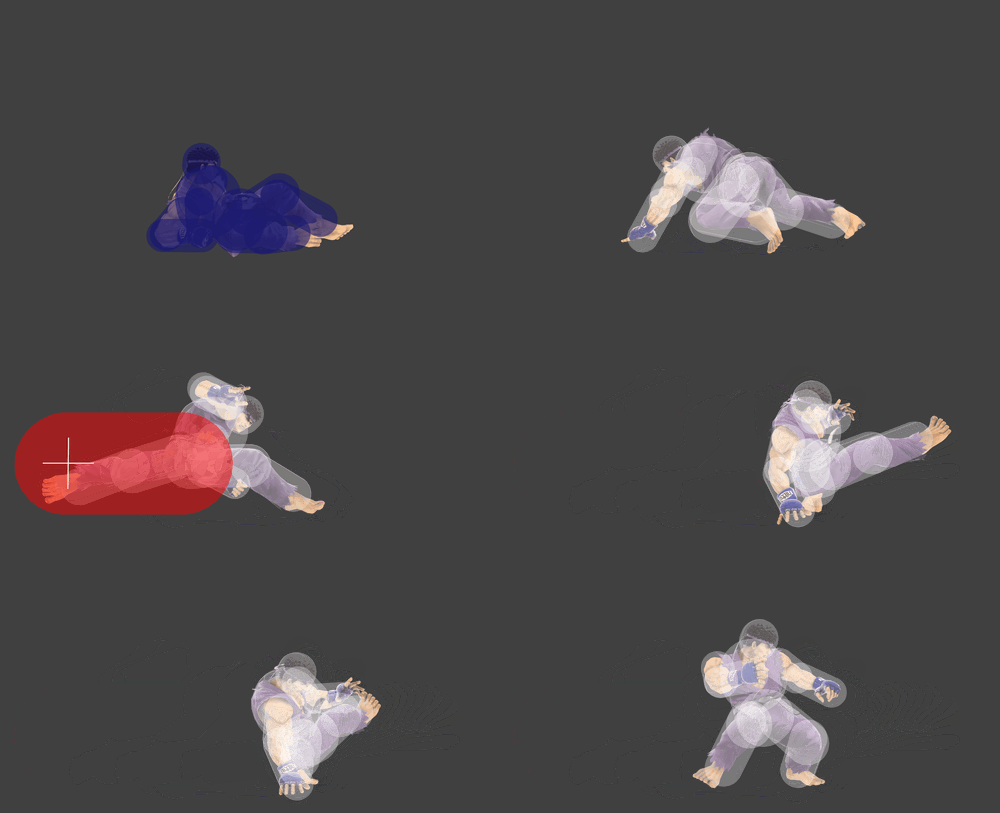
| |
| Ledge attack | 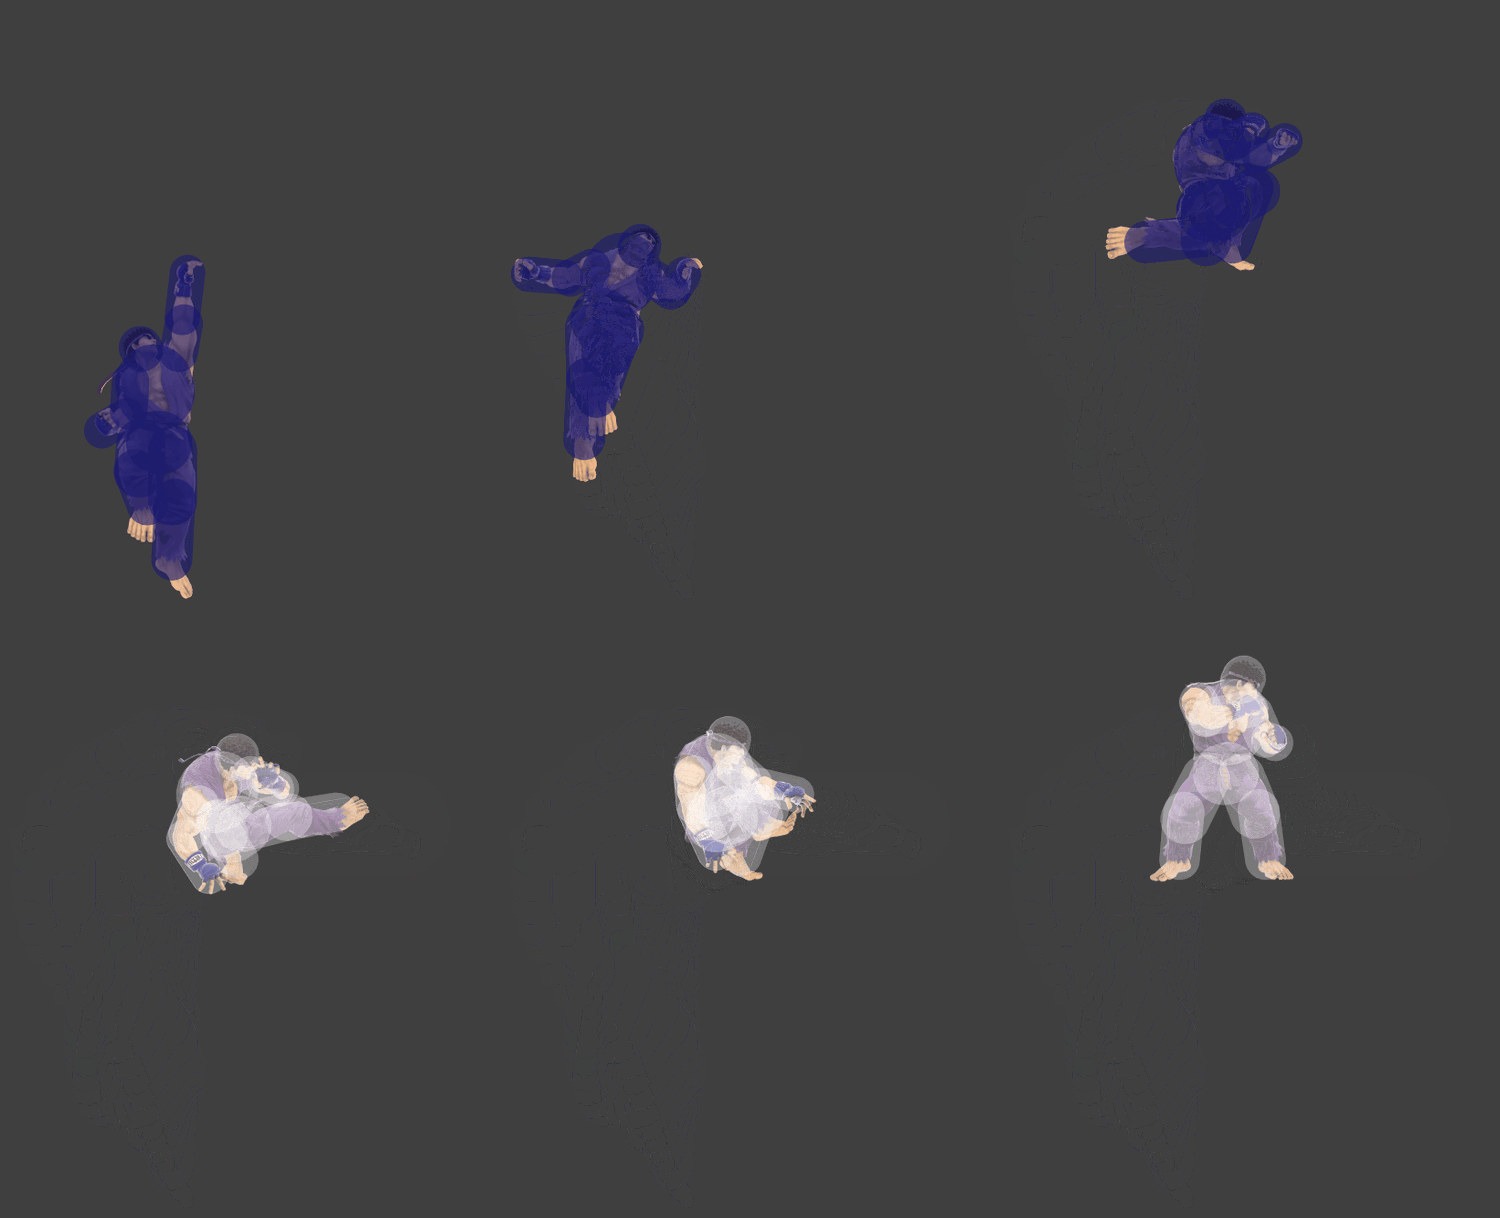
|