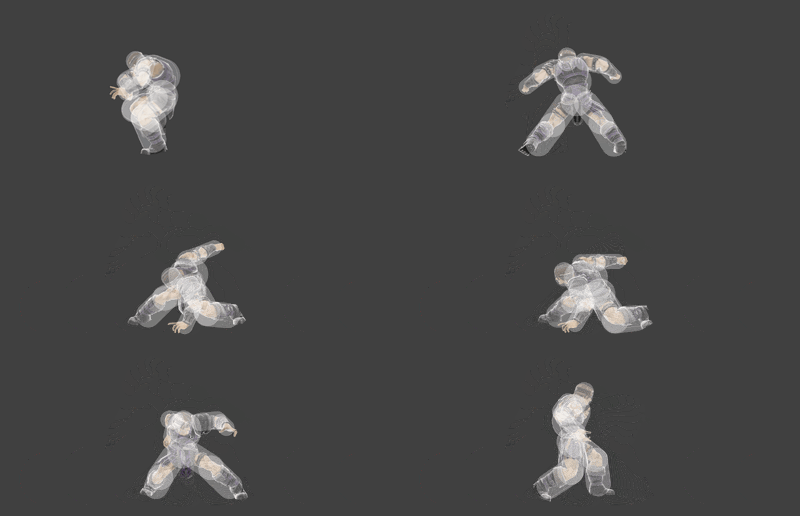
Simon (SSBU)/Down smash: Difference between revisions
From SmashWiki, the Super Smash Bros. wiki
Jump to navigationJump to search
Roadrunnerto (talk | contribs) mNo edit summary |
No edit summary |
||
| Line 1: | Line 1: | ||
{{ArticleIcons|ssbu=y}} | {{ArticleIcons|ssbu=y}} | ||
[[File:SimonDSmash.gif|thumb| | [[File:SimonDSmash.gif|thumb|400px|Hitbox visualization showing Simon's down smash.]] | ||
{{competitive expertise}} | {{competitive expertise}} | ||
==Overview== | ==Overview== | ||
| Line 8: | Line 8: | ||
==Hitboxes== | ==Hitboxes== | ||
{{UltimateHitboxTableHeader}} | {{UltimateHitboxTableHeader}} | ||
{{HitboxTableTitle|Hit 1| | {{HitboxTableTitle|Hit 1|50}} | ||
{{UltimateHitboxTableRow | {{UltimateHitboxTableRow | ||
|id=0 | |id=0 | ||
| Line 66: | Line 66: | ||
|rebound=f | |rebound=f | ||
}} | }} | ||
{{HitboxTableTitle|Hit 2| | {{HitboxTableTitle|Hit 2|50}} | ||
{{UltimateHitboxTableRow | {{UltimateHitboxTableRow | ||
|id=0 | |id=0 | ||
Revision as of 19:03, January 24, 2022
Overview
Update History
 Down smash has more knockback scaling (77 → 82 (front), 82 → 87 (back)).
Hitboxes
Timing
| Charges between | 2-3 |
|---|---|
| Hit 1 | 14-15 |
| Hit 2 | 20-21 |
| Interruptible | 56 |
| Animation length | 63 |
Lag time |
Charge interval |
Hitbox |
Interruptible |
|

