Dr. Mario (SSBU)/Hitboxes: Difference between revisions
From SmashWiki, the Super Smash Bros. wiki
Jump to navigationJump to search
No edit summary |
No edit summary |
||
| Line 1: | Line 1: | ||
{{ArticleIcons|ultimate=y}} | {{ArticleIcons|ultimate=y}} | ||
{|class="wikitable sortable" | {|class="wikitable sortable" | ||
!Move | !Move | ||
| Line 70: | Line 69: | ||
|Down throw || Hospital Bed || [[File:Dr.MarioDThrowSSBU.gif|500px]] | |Down throw || Hospital Bed || [[File:Dr.MarioDThrowSSBU.gif|500px]] | ||
|- | |- | ||
|Getup attack front || || | |Getup attack front || || [[File:Dr.MarioGetupAttackFrontSSBU.gif|500px]] | ||
|- | |- | ||
| Getup attack back || || | | Getup attack back || || [[File:Dr.MarioGetupAttackBackSSBU.gif|500px]] | ||
|- | |- | ||
|Getup attack trip || || | |Getup attack trip || || [[File:Dr.MarioTripAttackSSBU.gif|500px]] | ||
|- | |- | ||
|Ledge attack || || | |Ledge attack || || [[File:Dr.MarioLedgeAttackSSBU.gif|500px]] | ||
|} | |} | ||
[[Category:Dr. Mario (SSBU)]] | [[Category:Dr. Mario (SSBU)]] | ||
[[Category:Hitboxes (SSBU)]] | [[Category:Hitboxes (SSBU)]] | ||
Revision as of 16:20, April 11, 2020
| Move | Name | Hitbox |
|---|---|---|
| Neutral attack 1 | 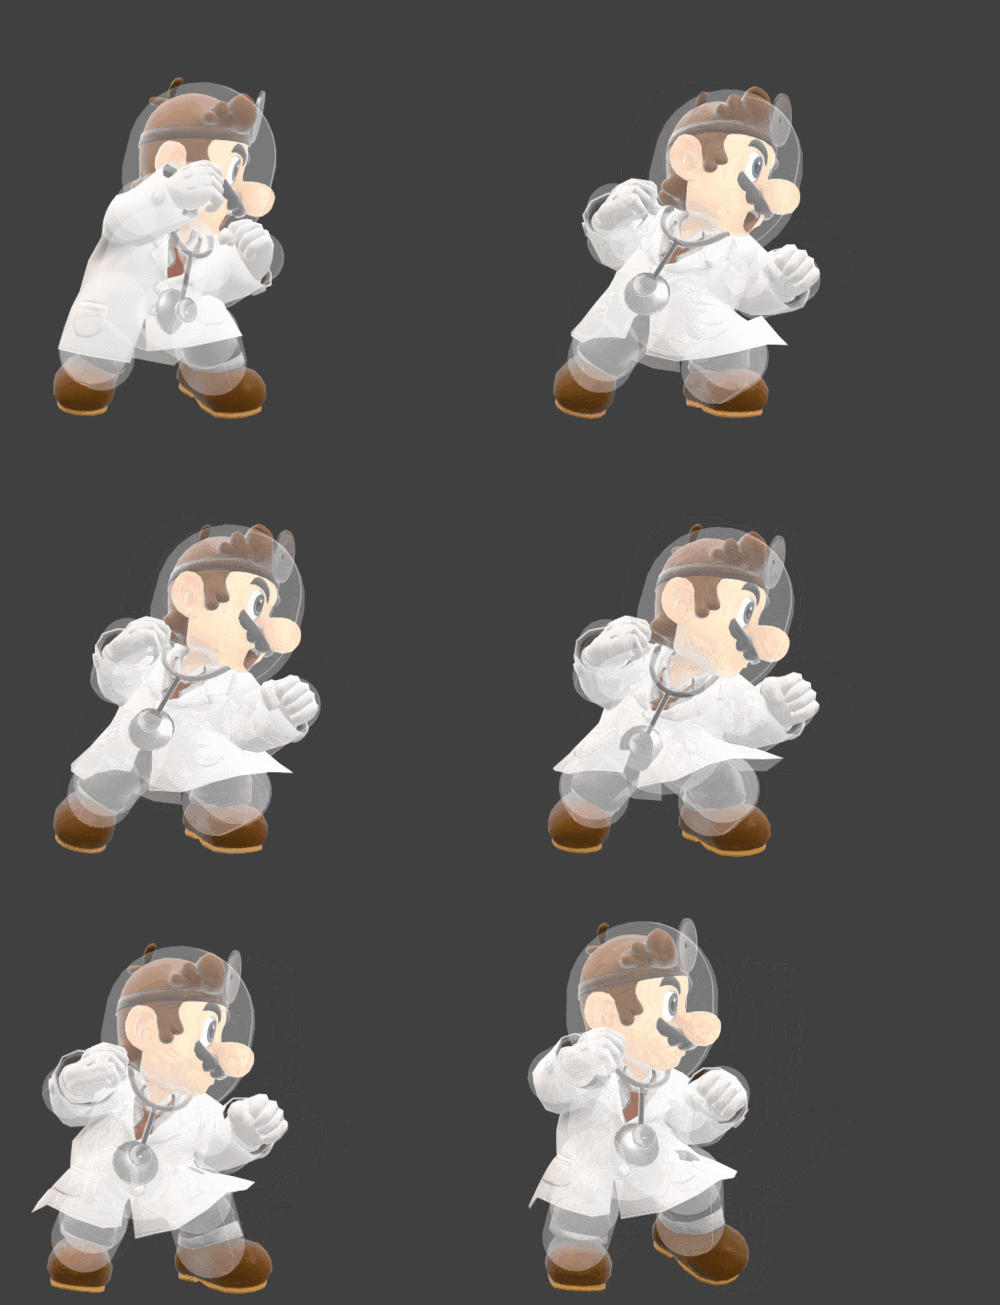
| |
| Neutral attack 2 | 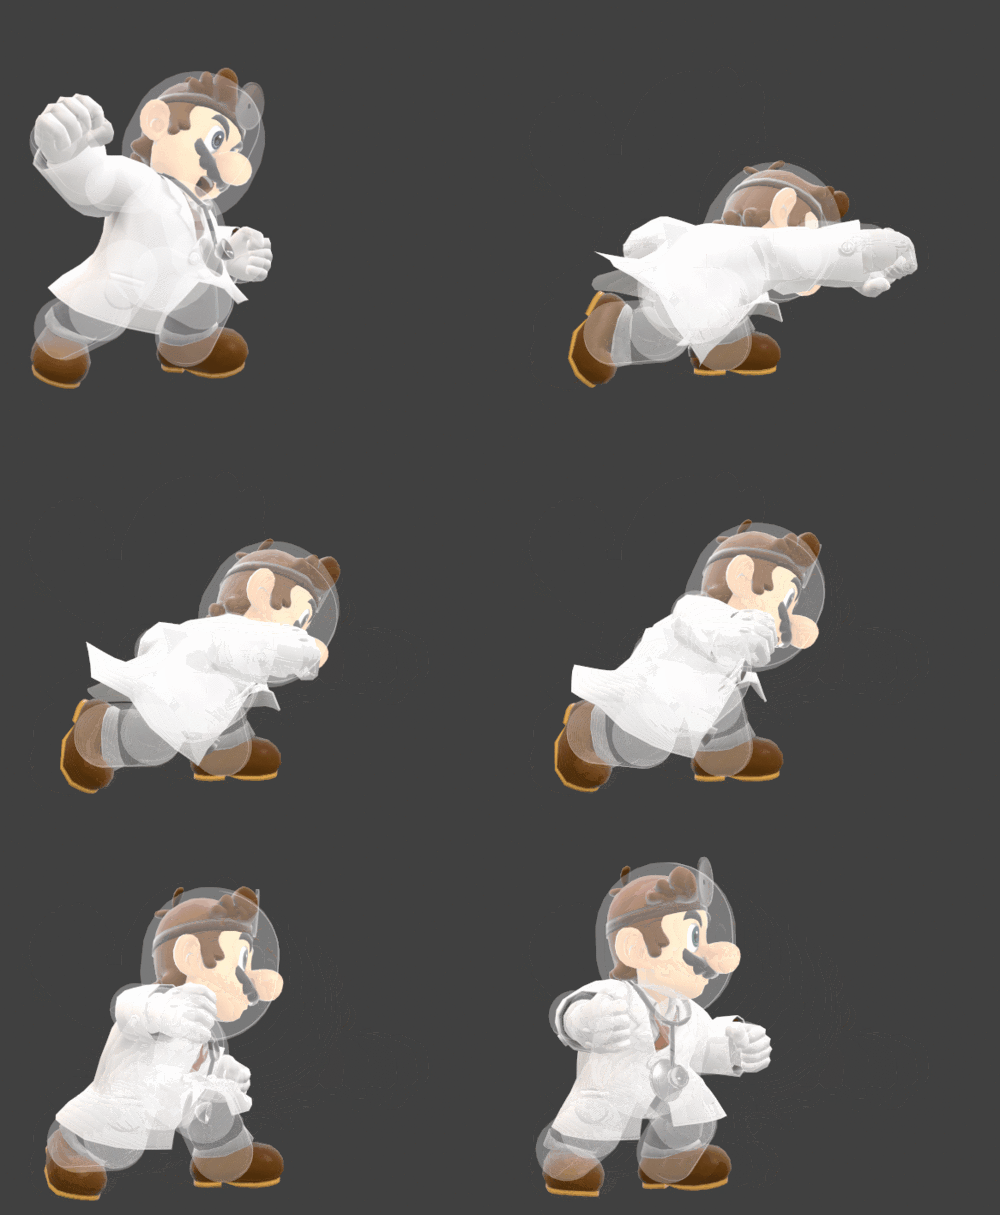
| |
| Neutral attack 3 | 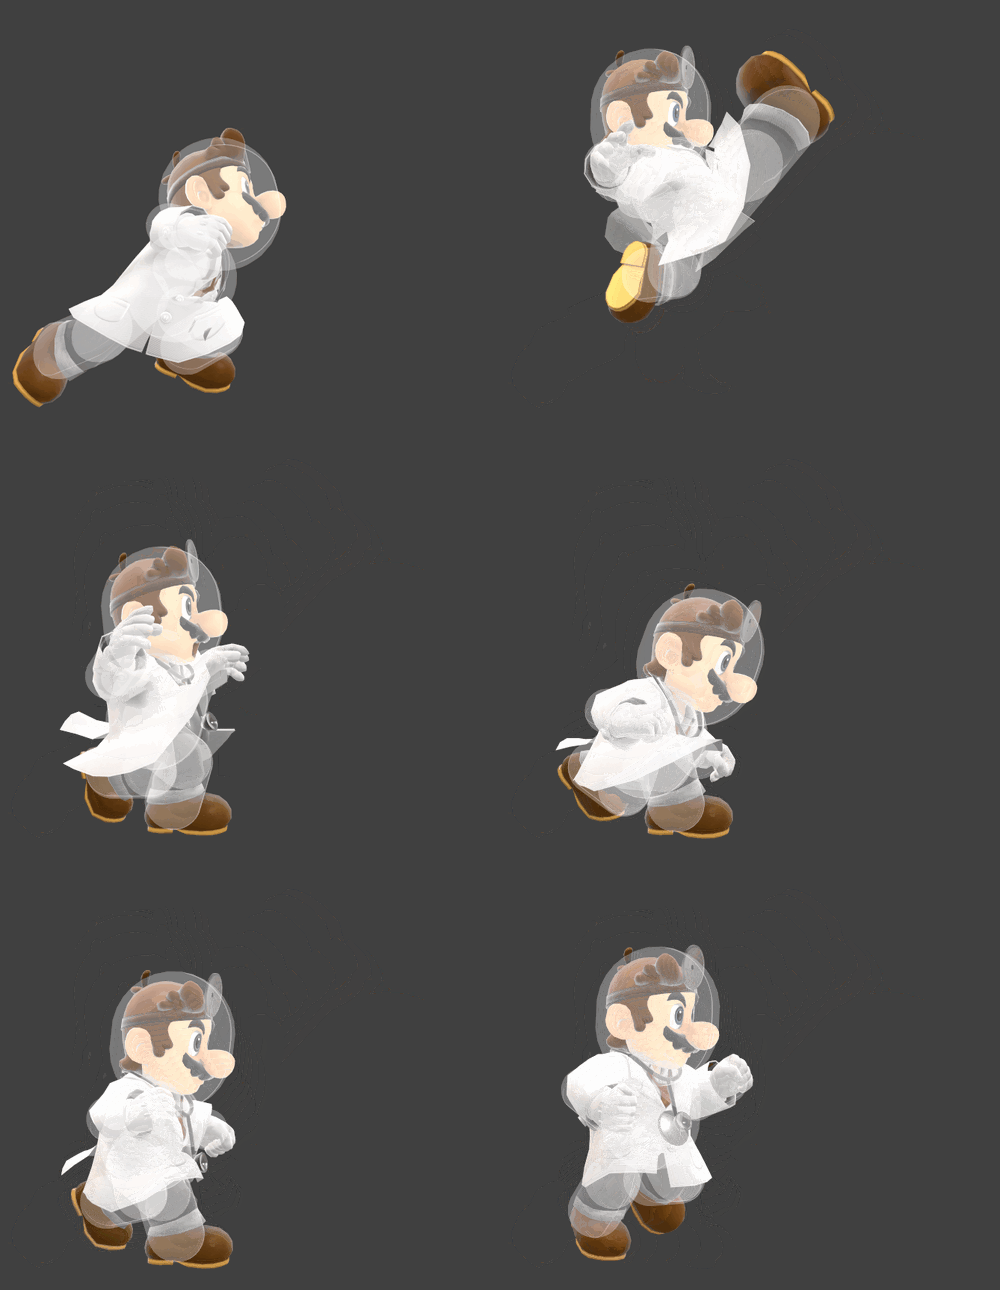
| |
| Forward tilt | 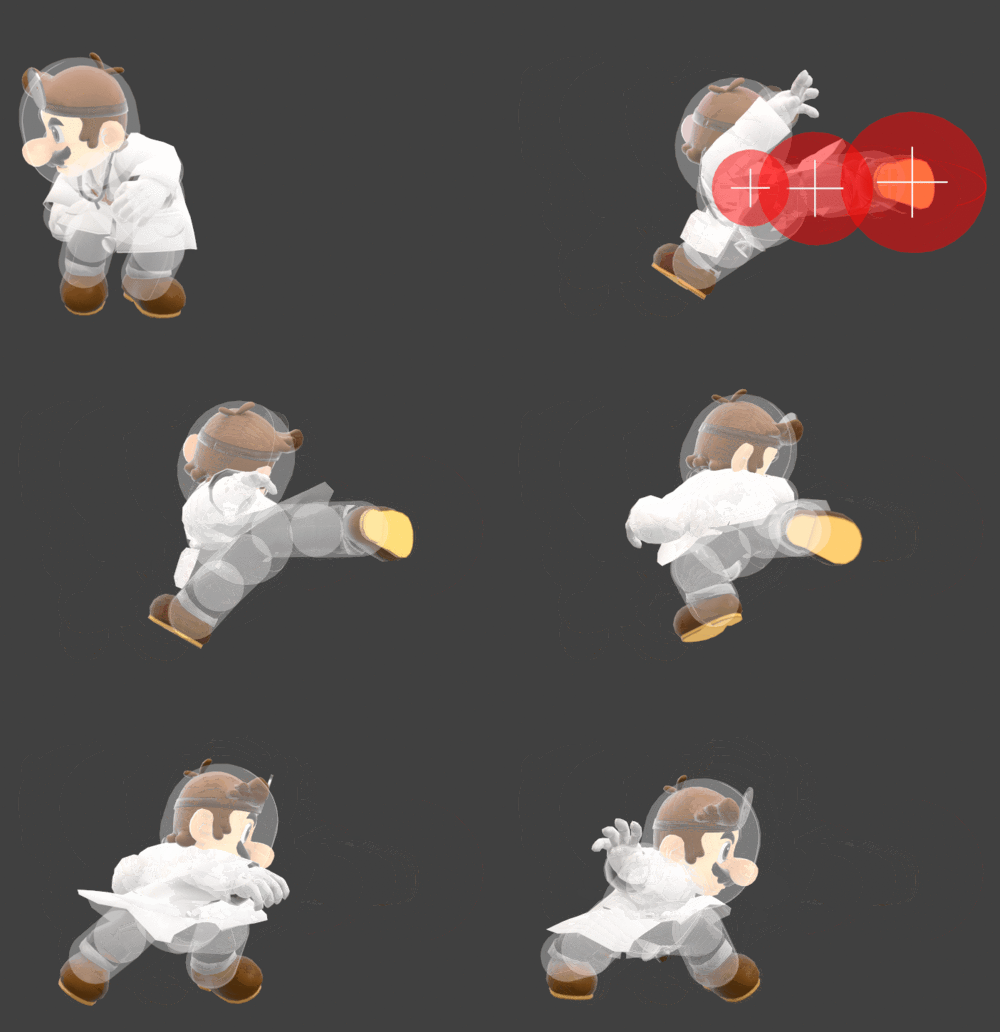
| |
| Forward tilt (up) | 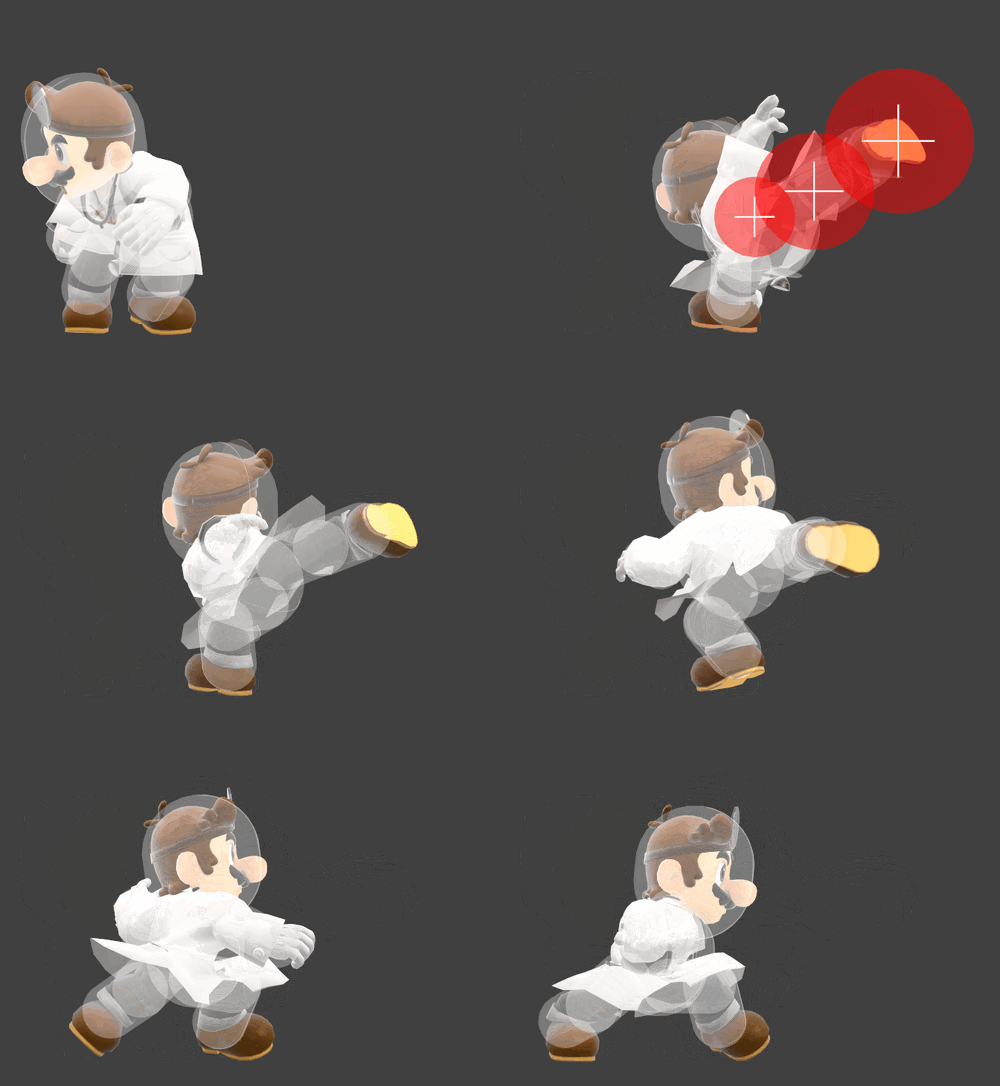
| |
| Forward tilt (down) | 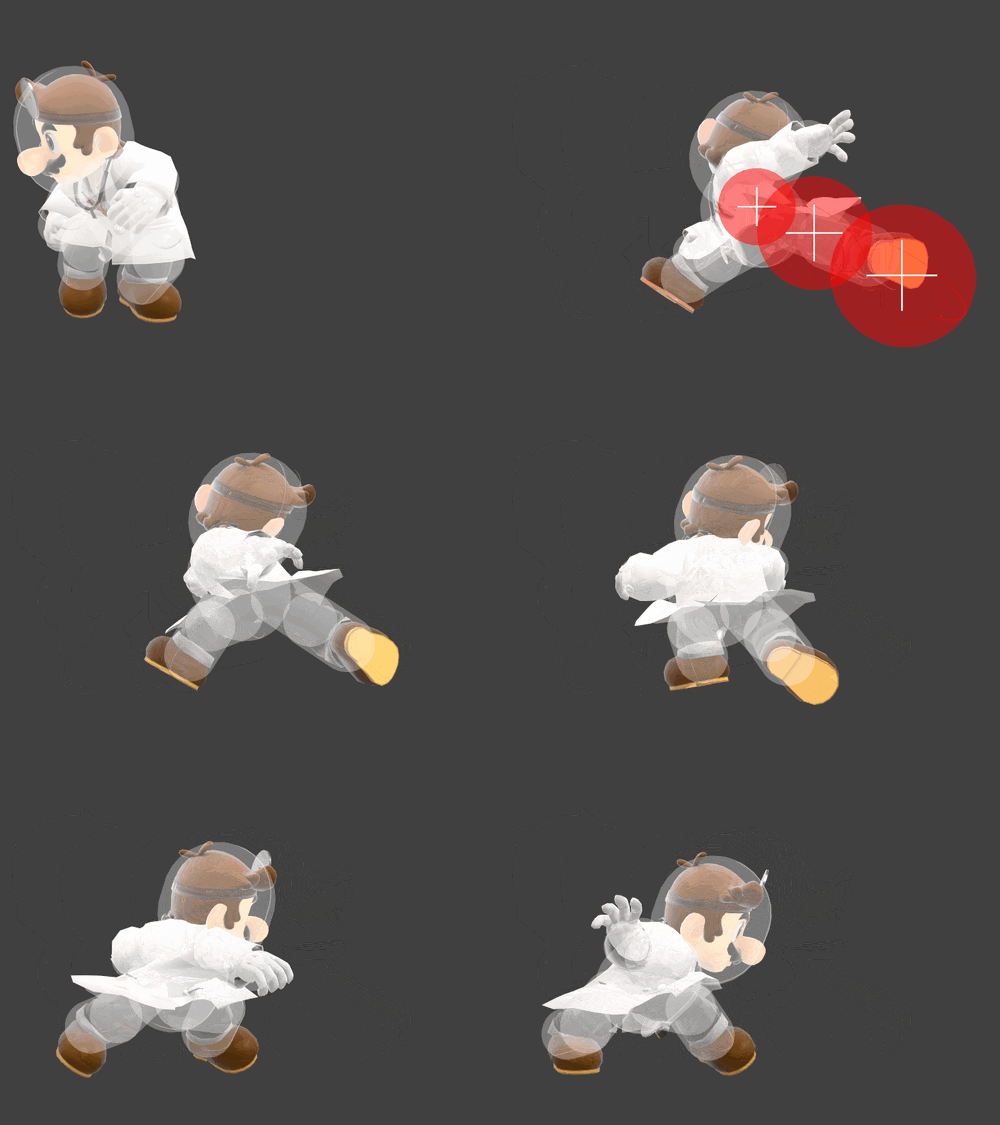
| |
| Up tilt | 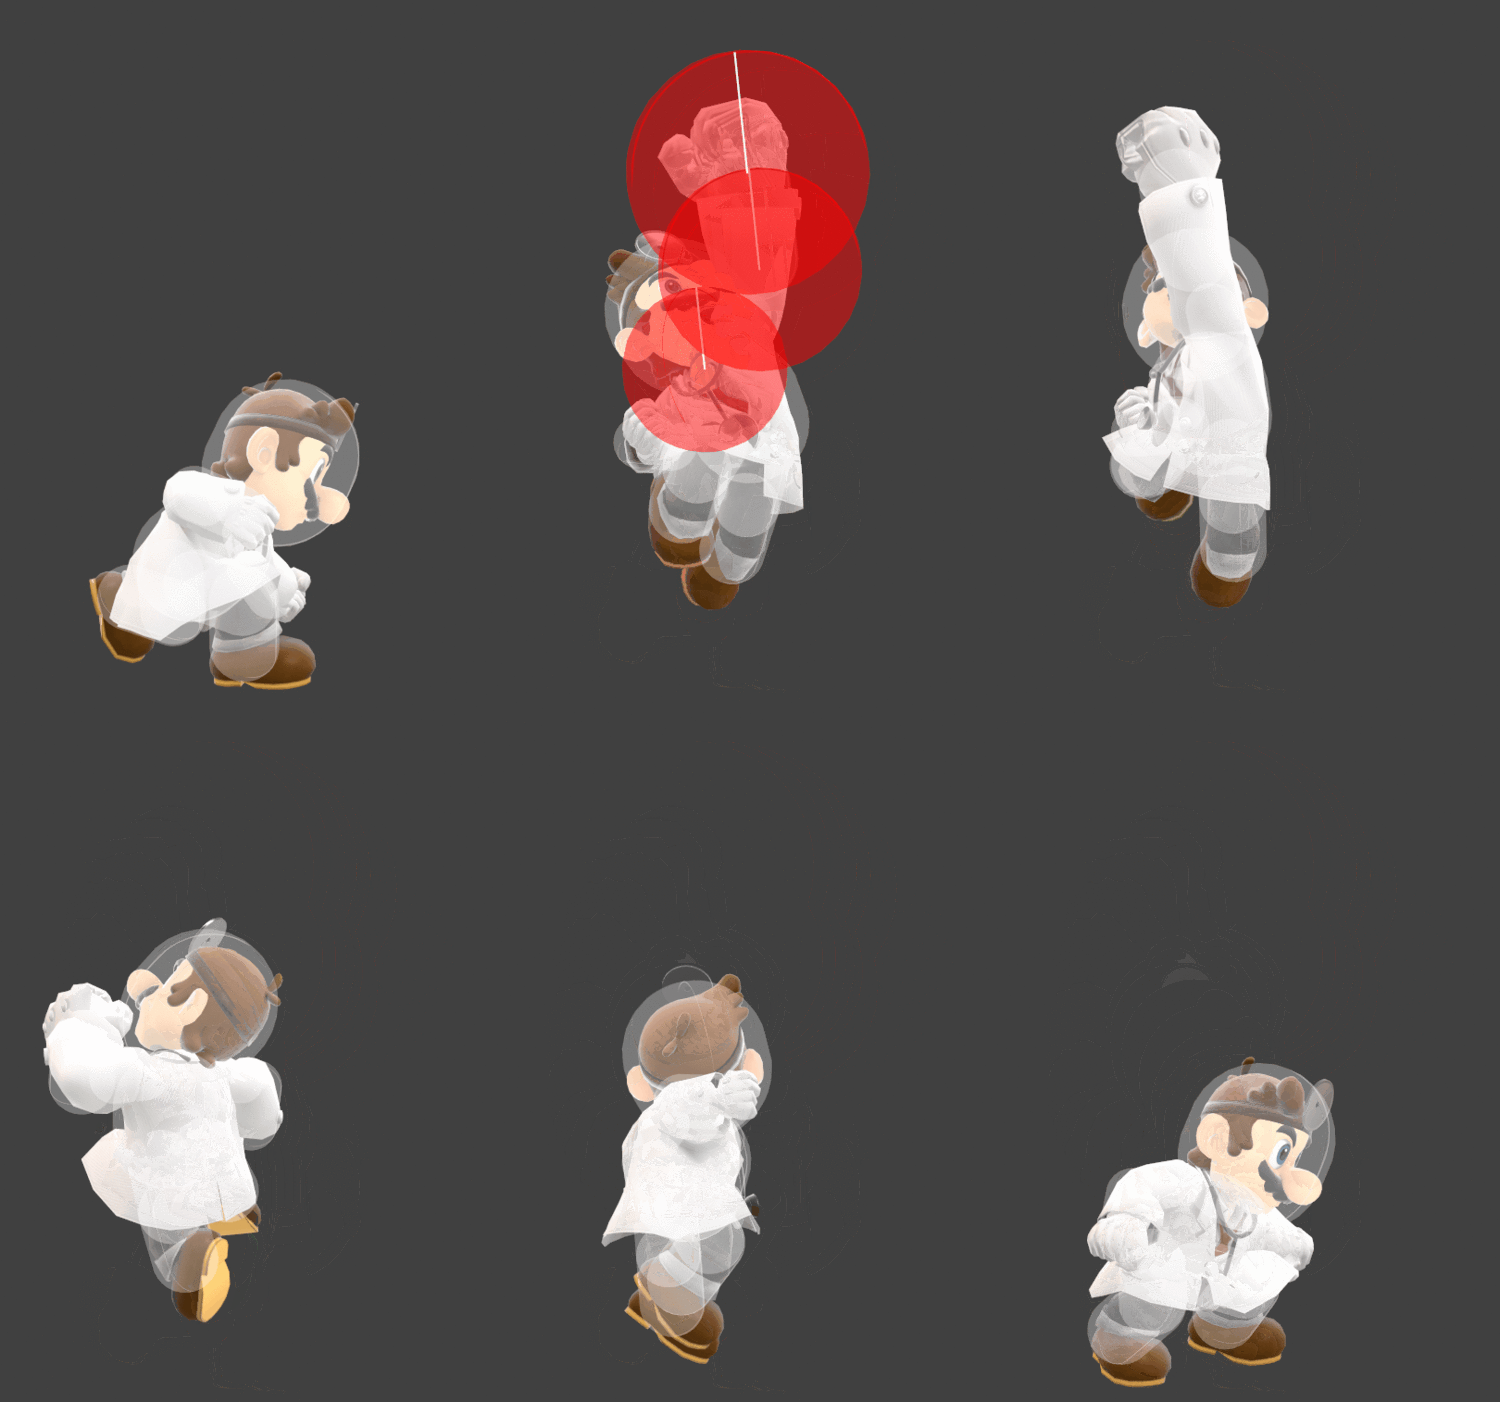
| |
| Down tilt | 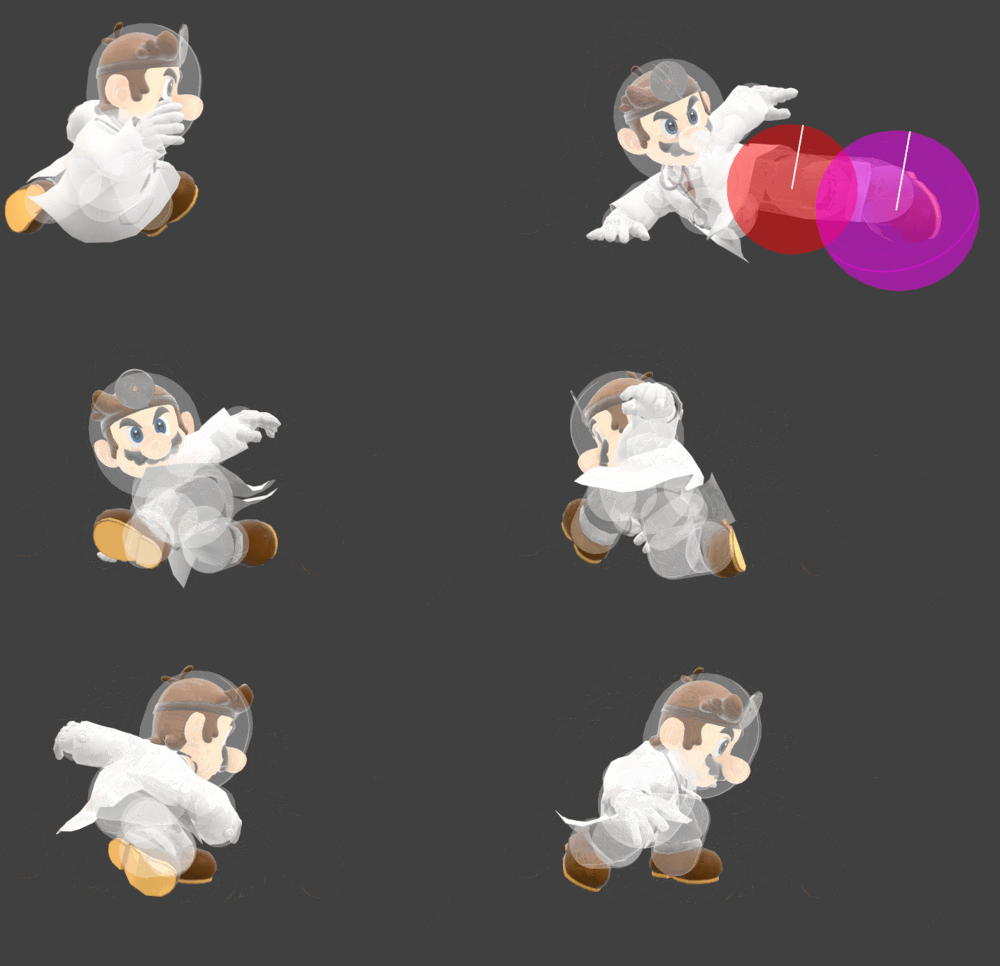
| |
| Dash attack | 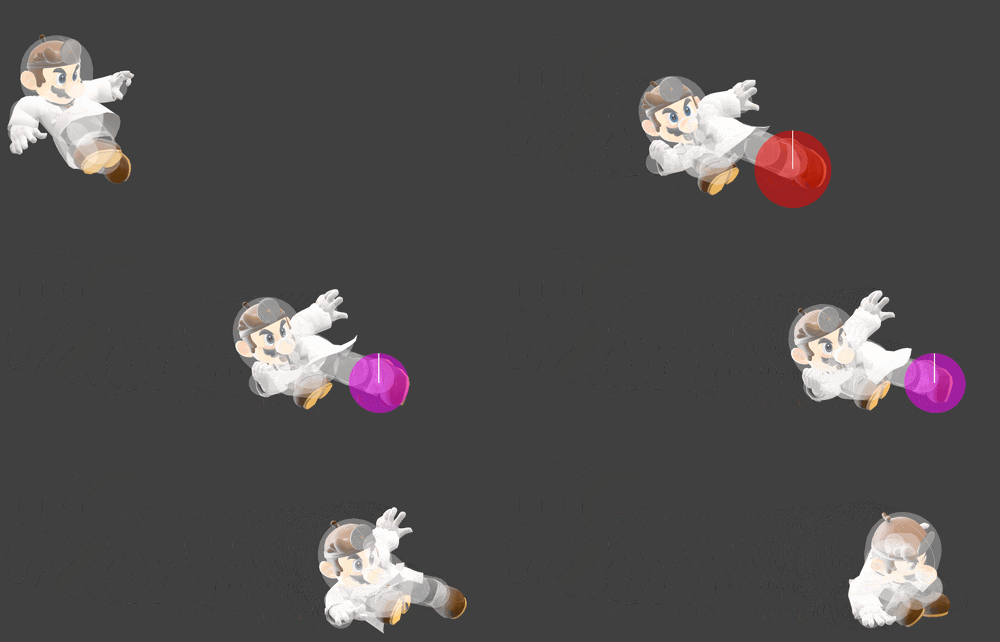
| |
| Forward smash | 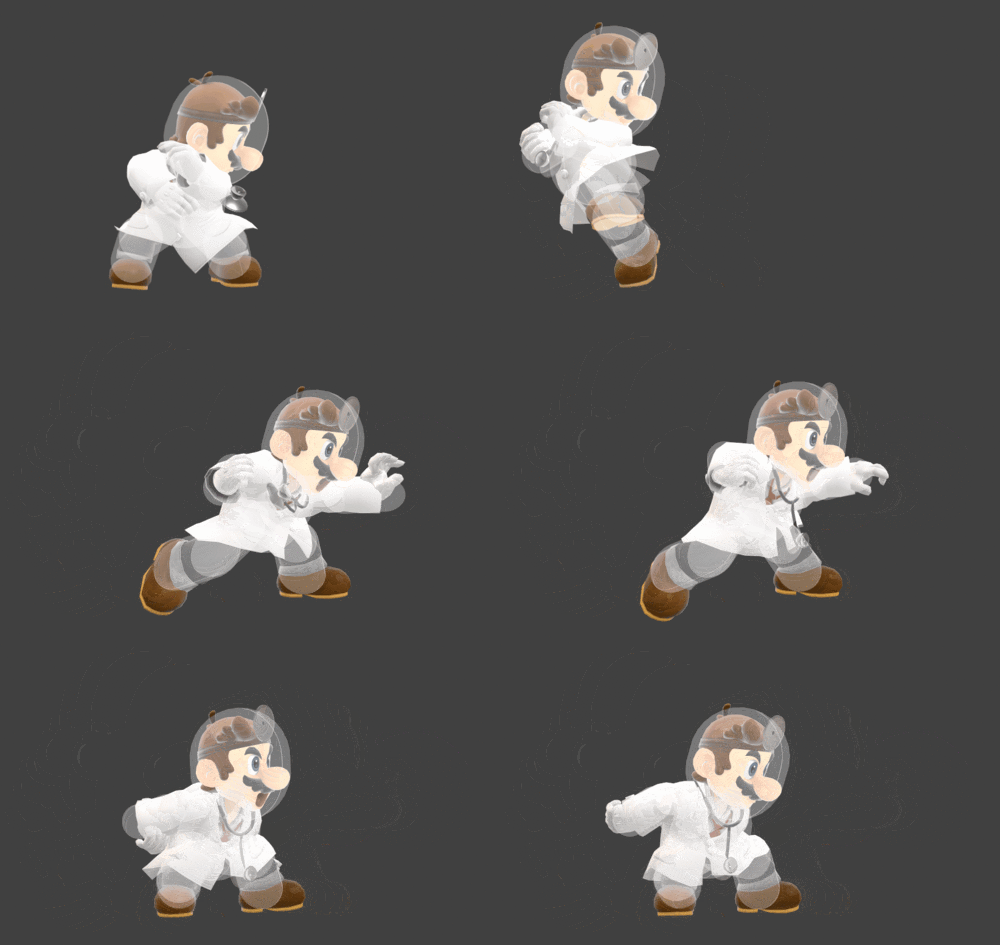
| |
| Forward smash (up) | 
| |
| Forward smash (down) | 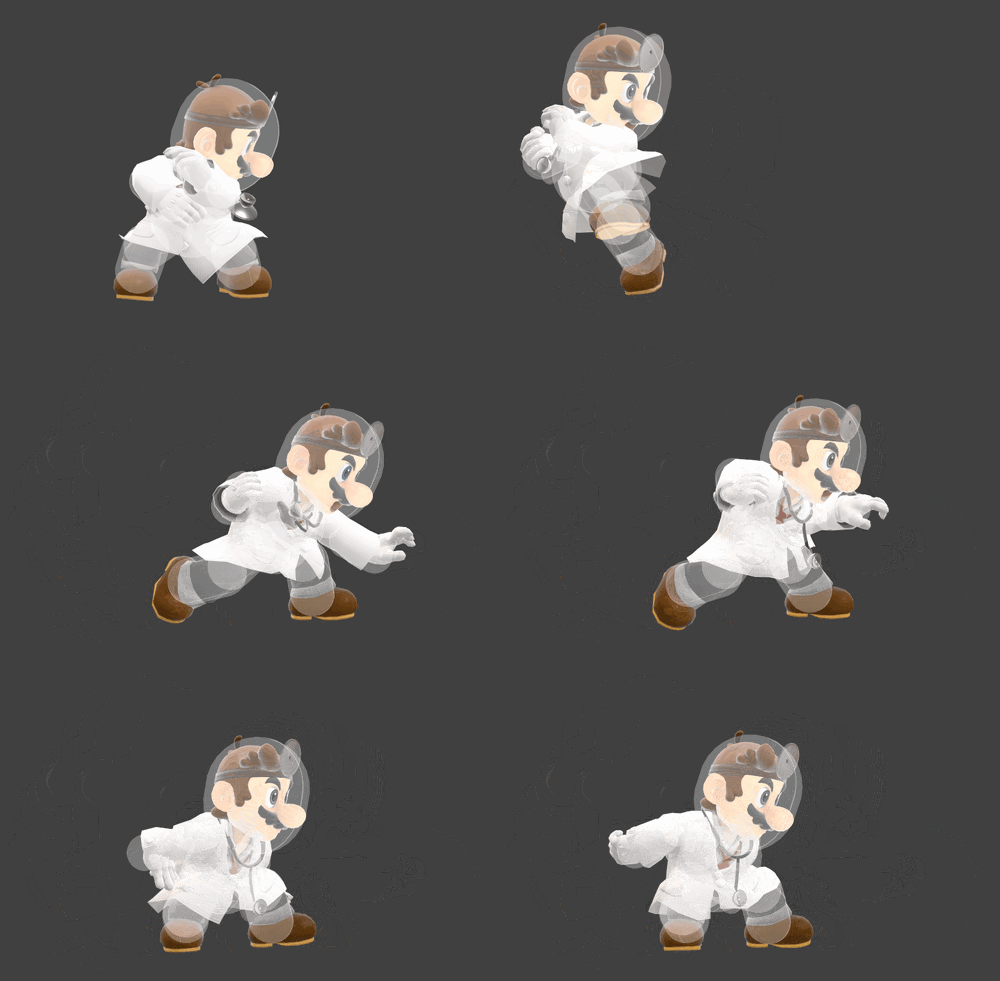
| |
| Up smash | Ear, Nose, and Throat | 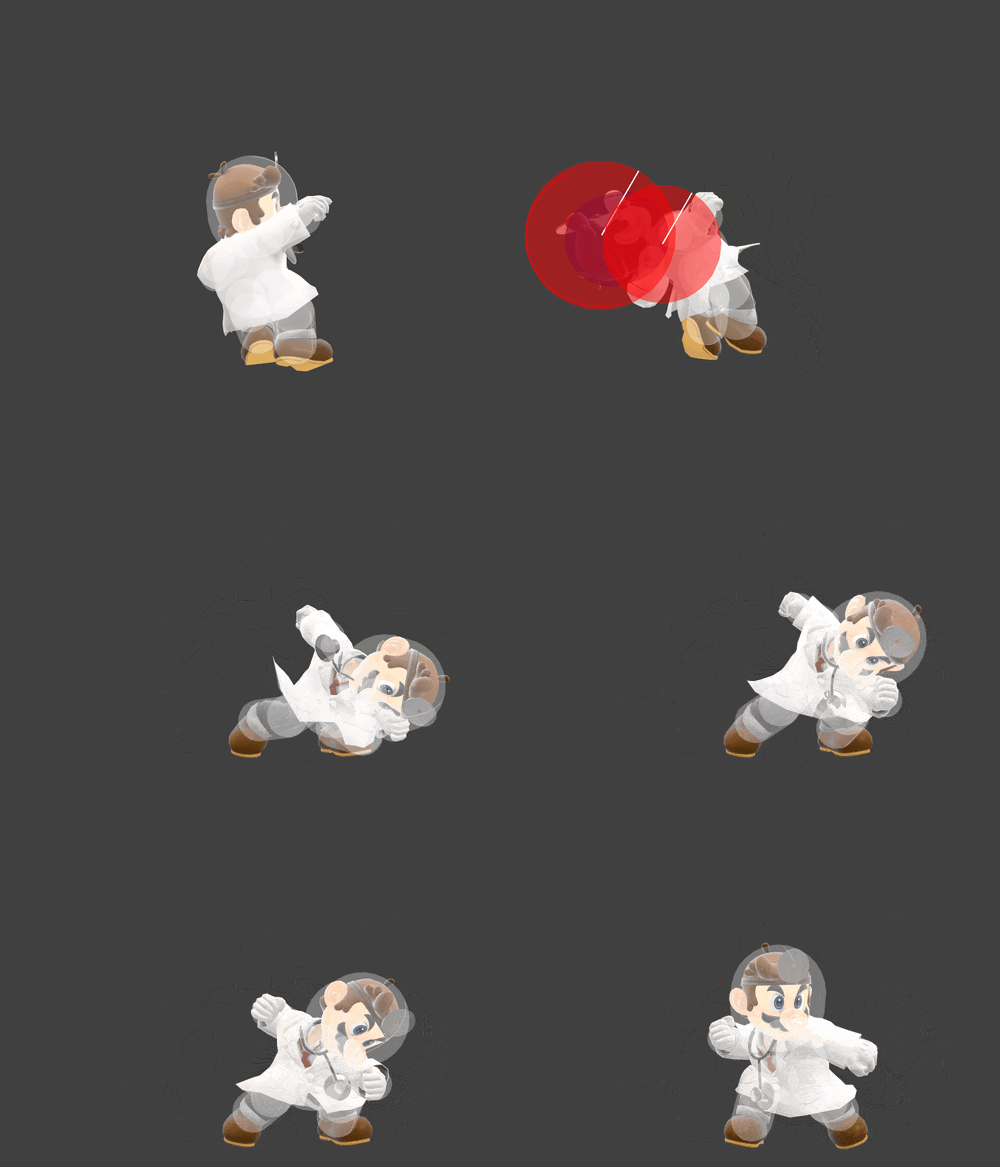
|
| Down smash | 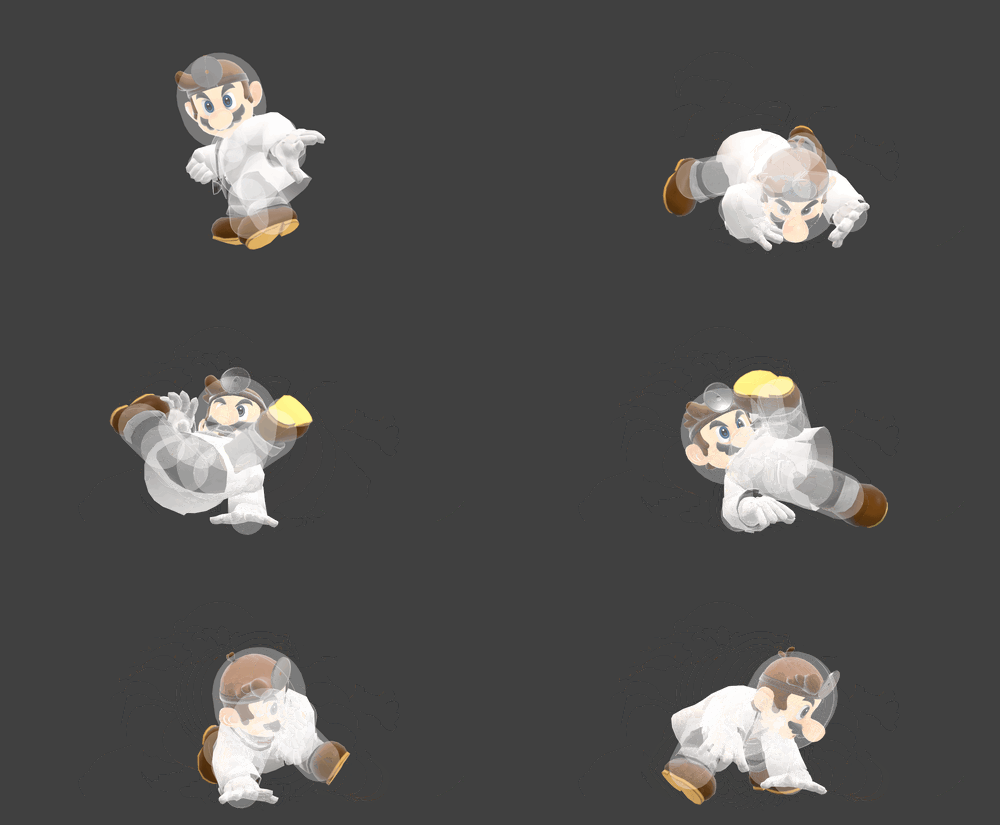
| |
| Neutral aerial | Doctor Kick | 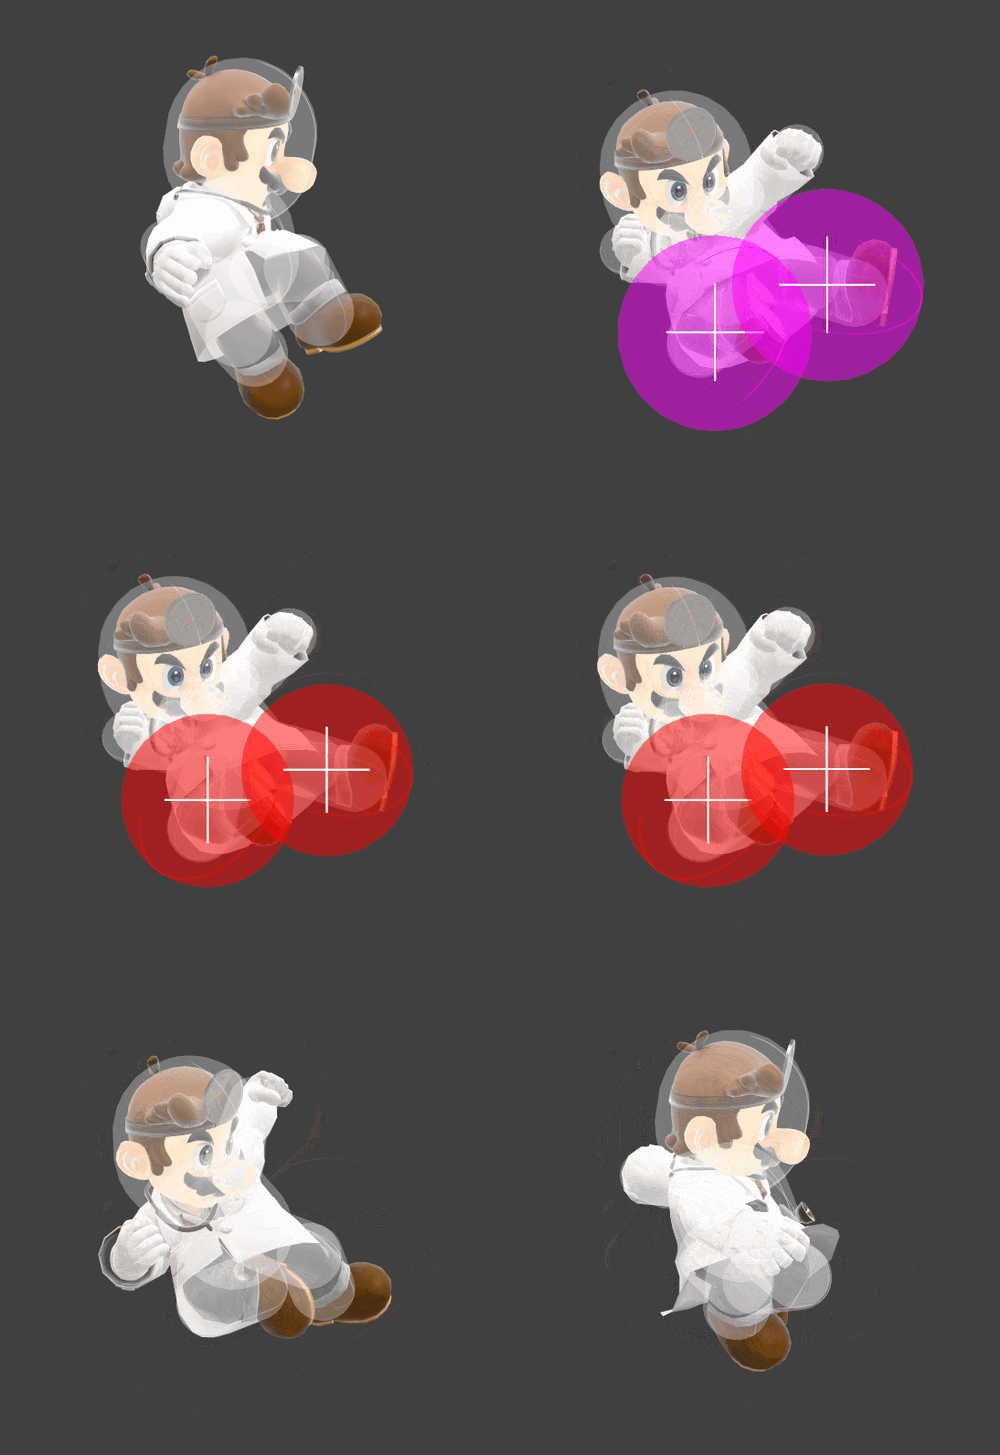
|
| Forward aerial | Doctor Punch | 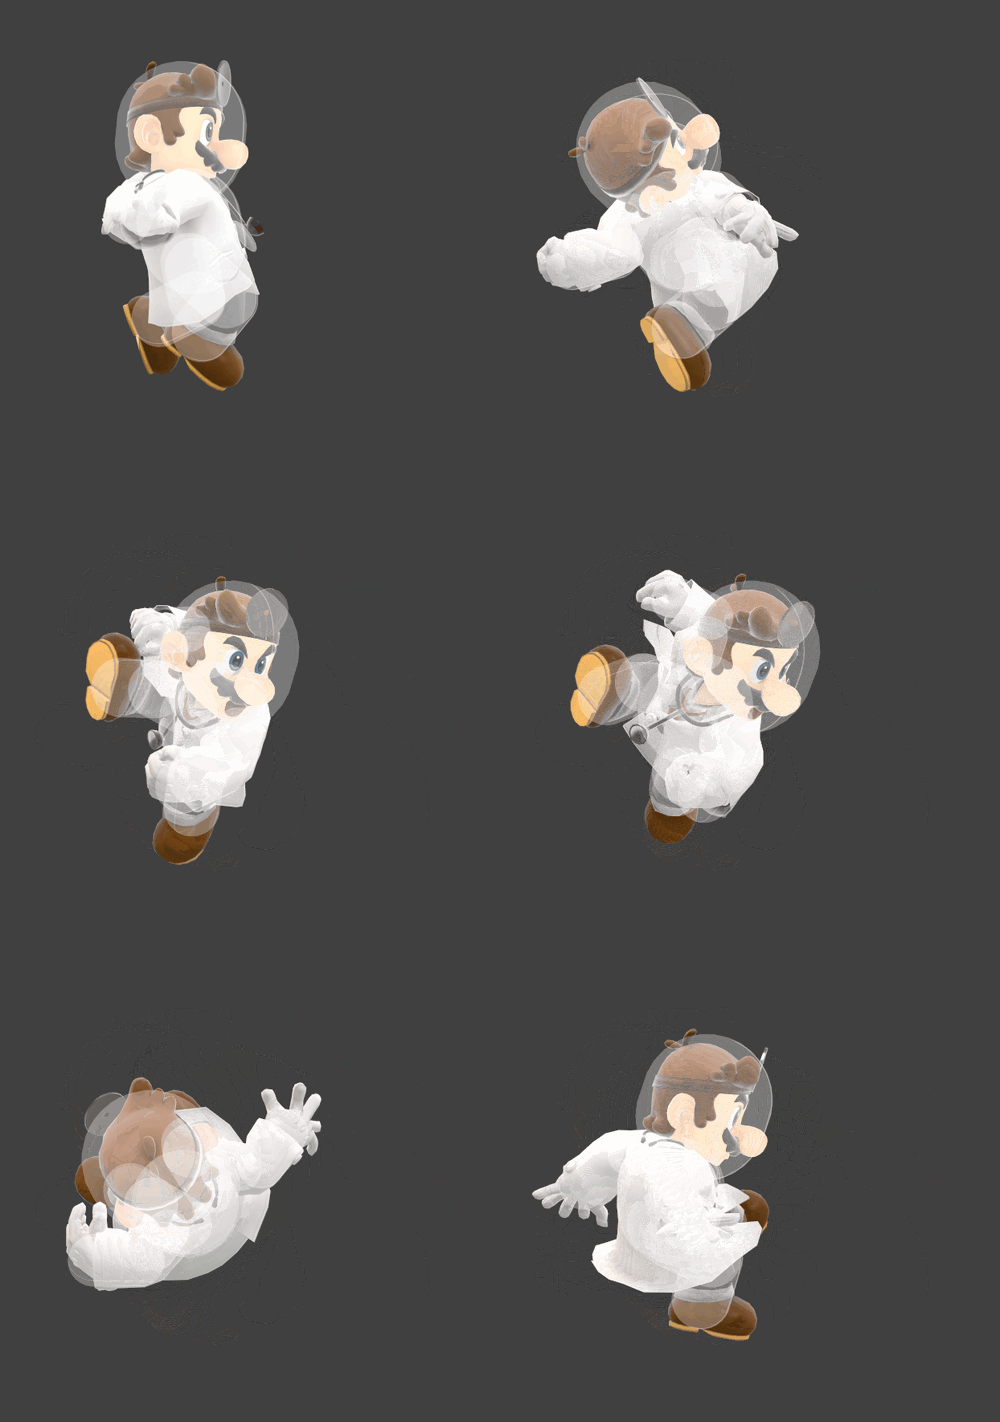
|
| Back aerial | 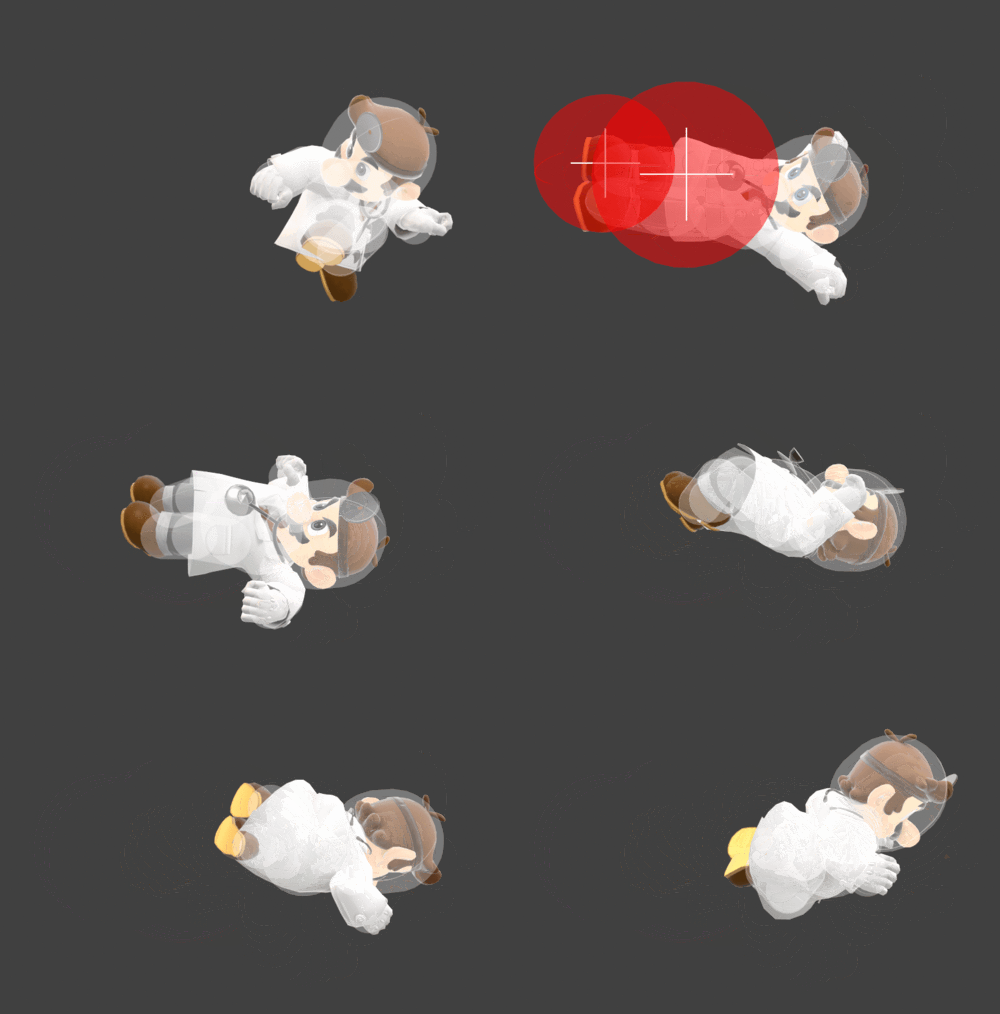
| |
| Up aerial | 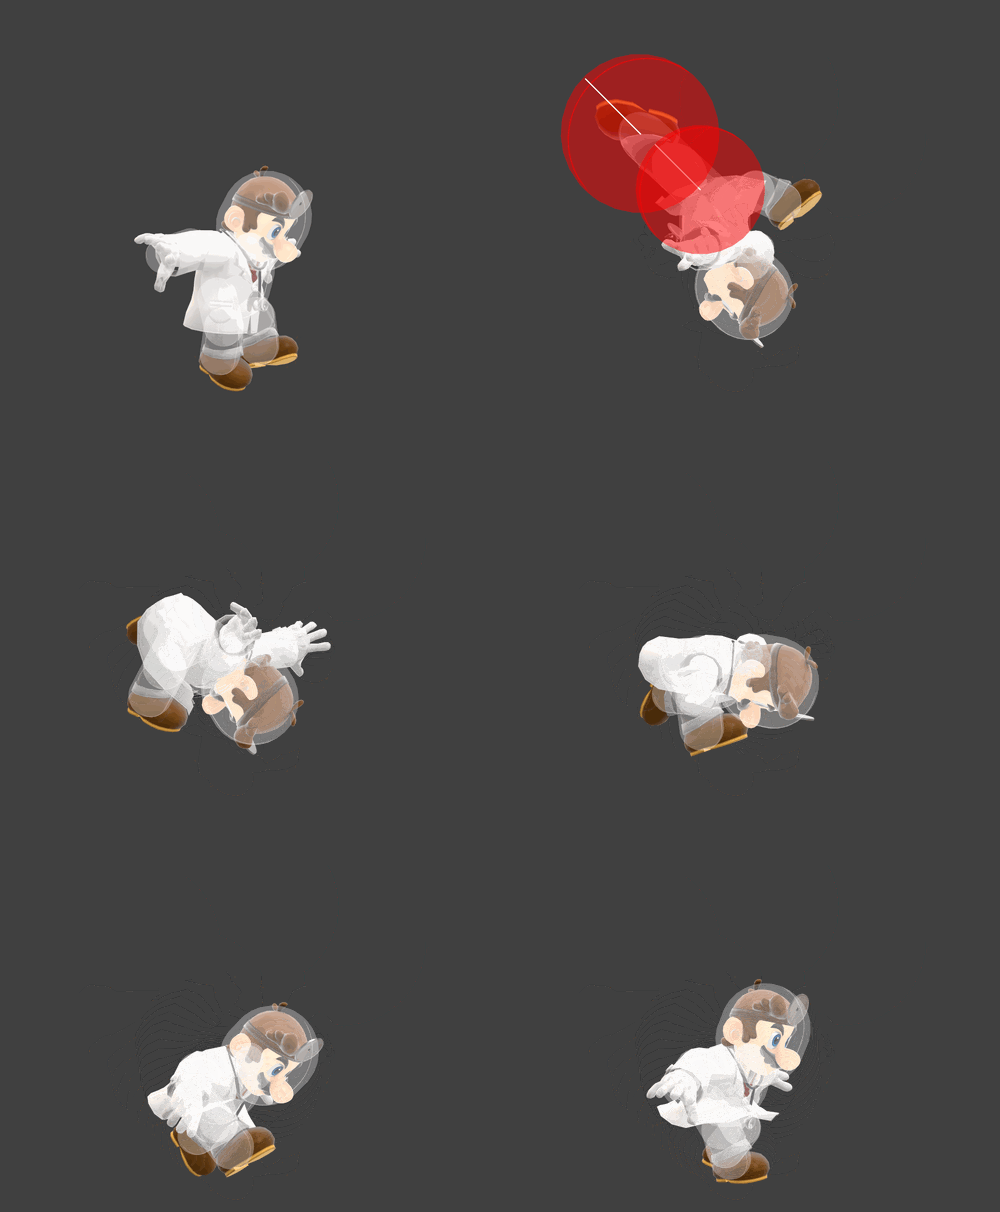
| |
| Down aerial | CLEAR! | 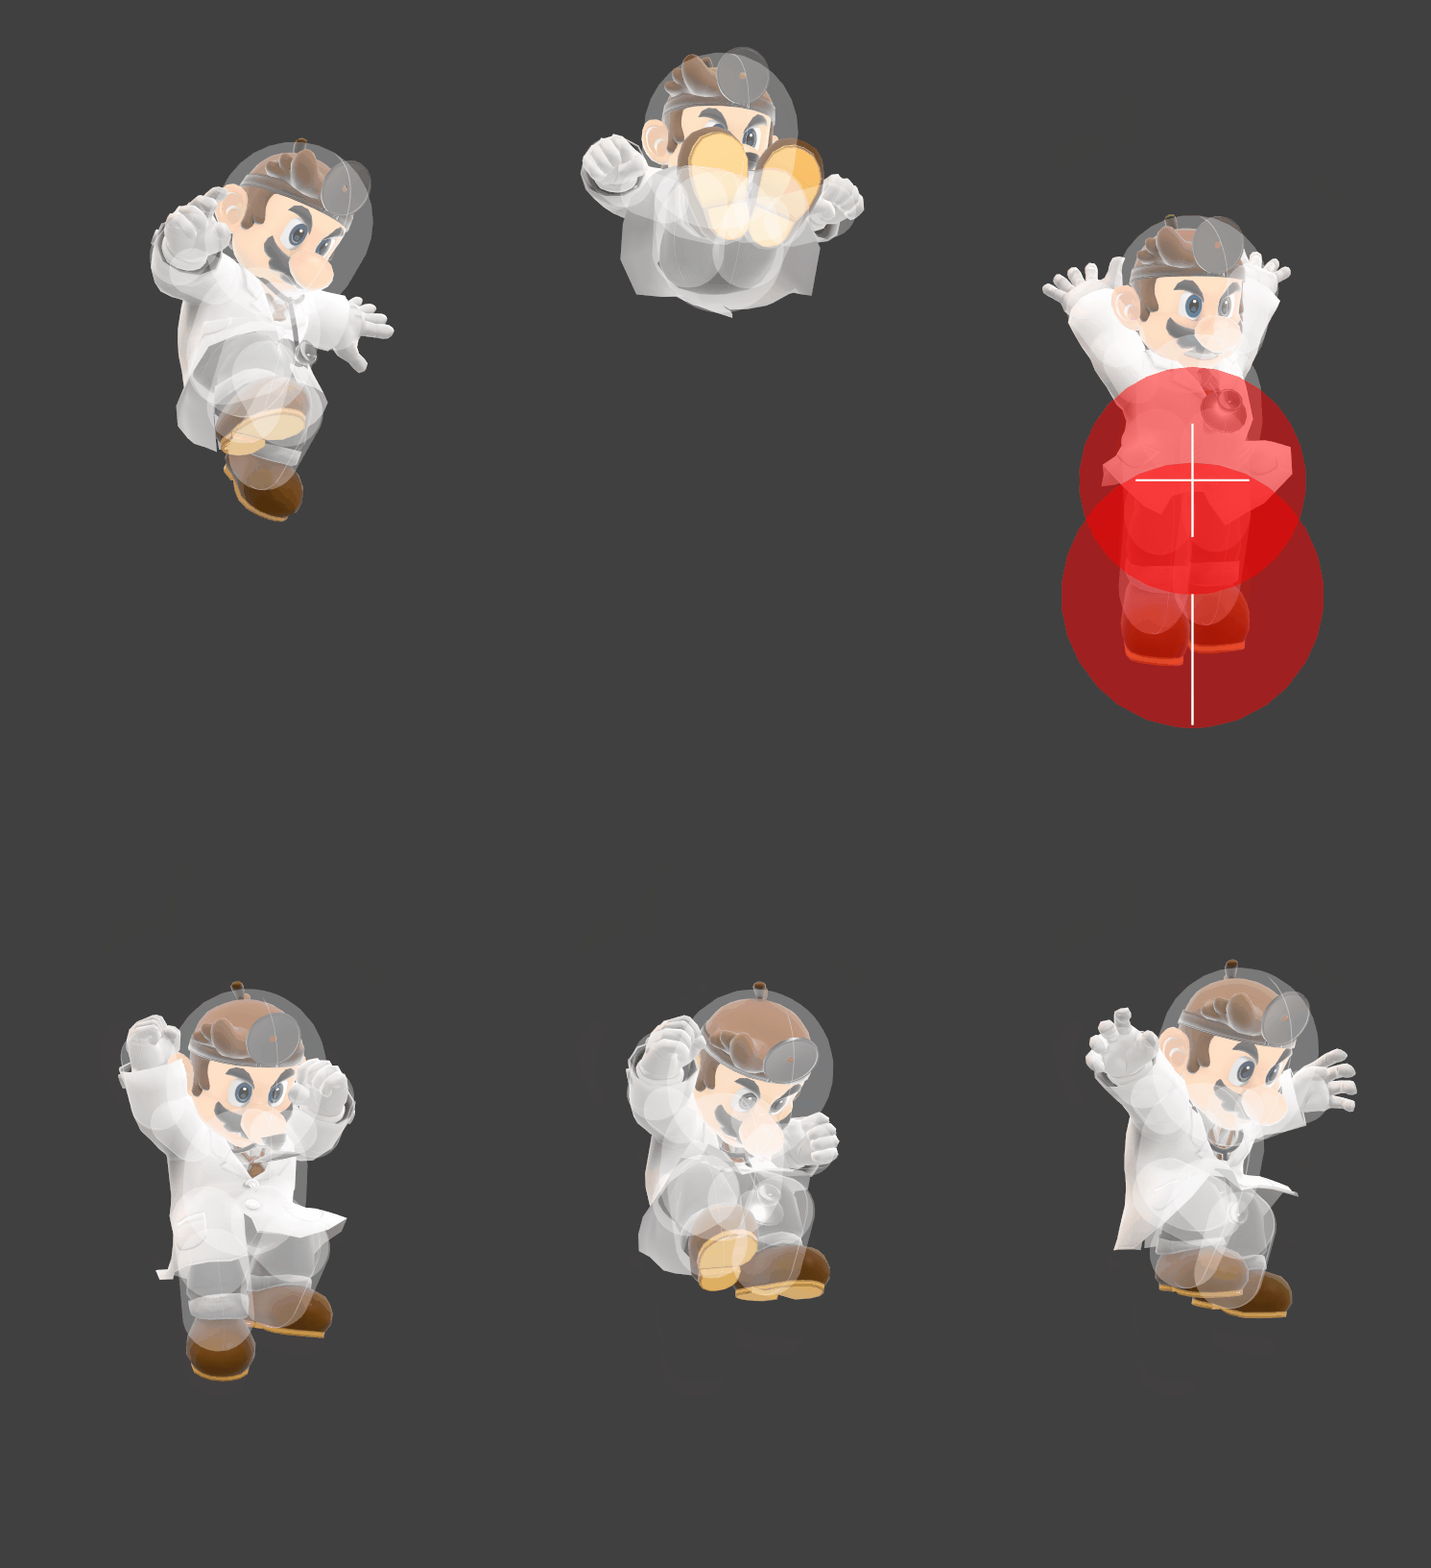
|
| Neutral special | Megavitamins | 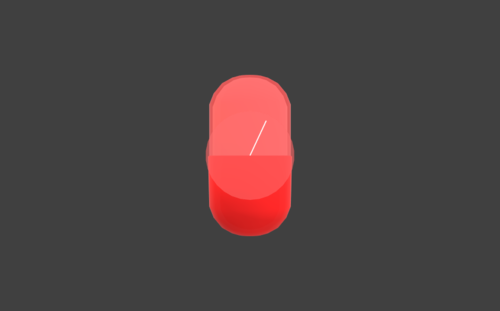
|
| Side special | Super Sheet | 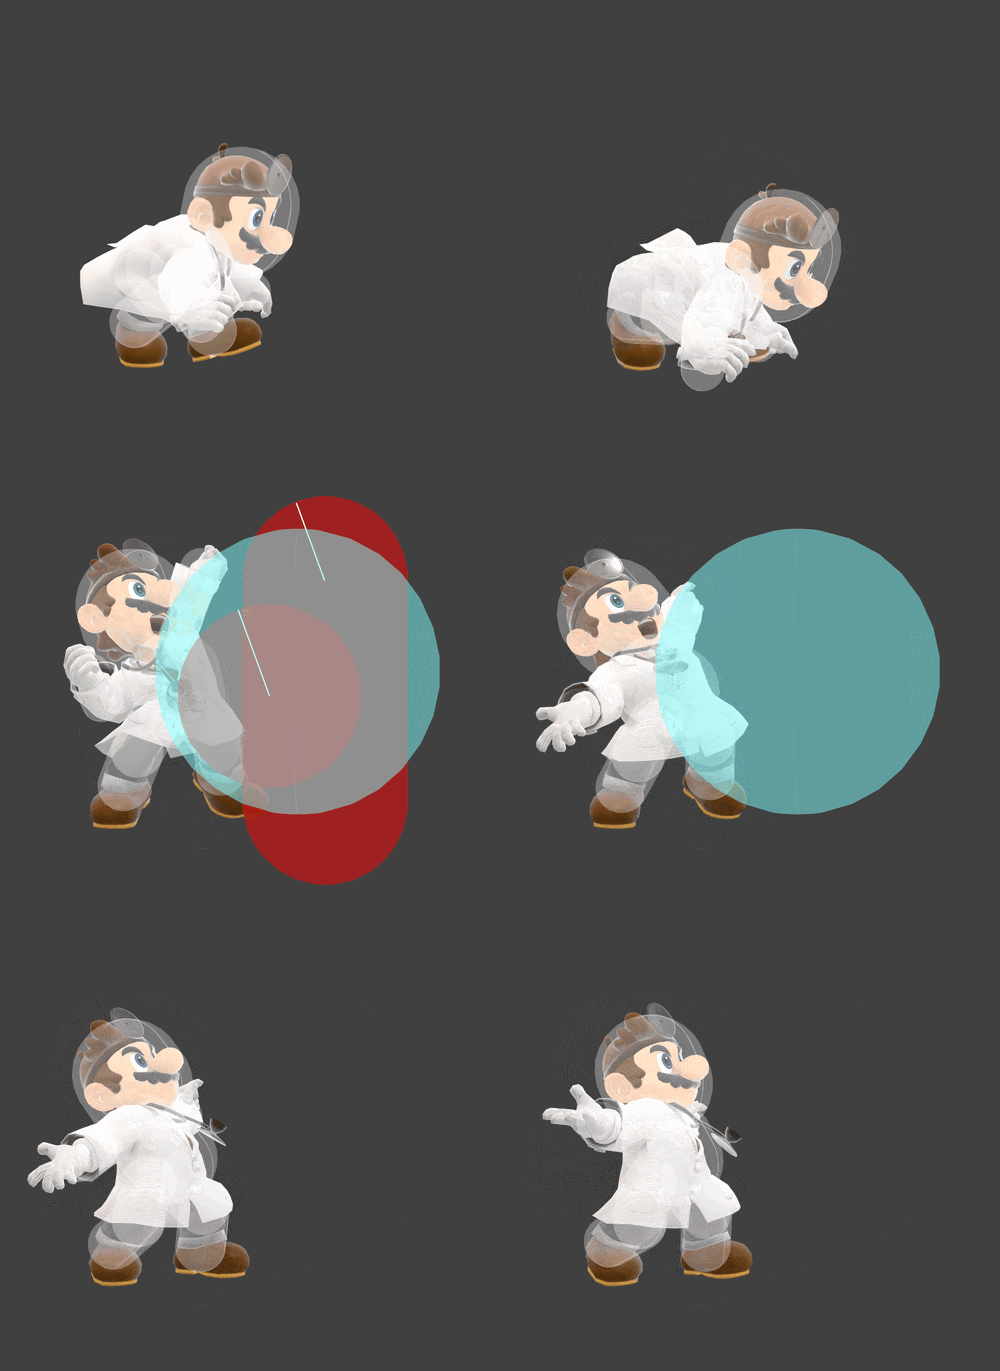
|
| Up special | Super Jump Punch | 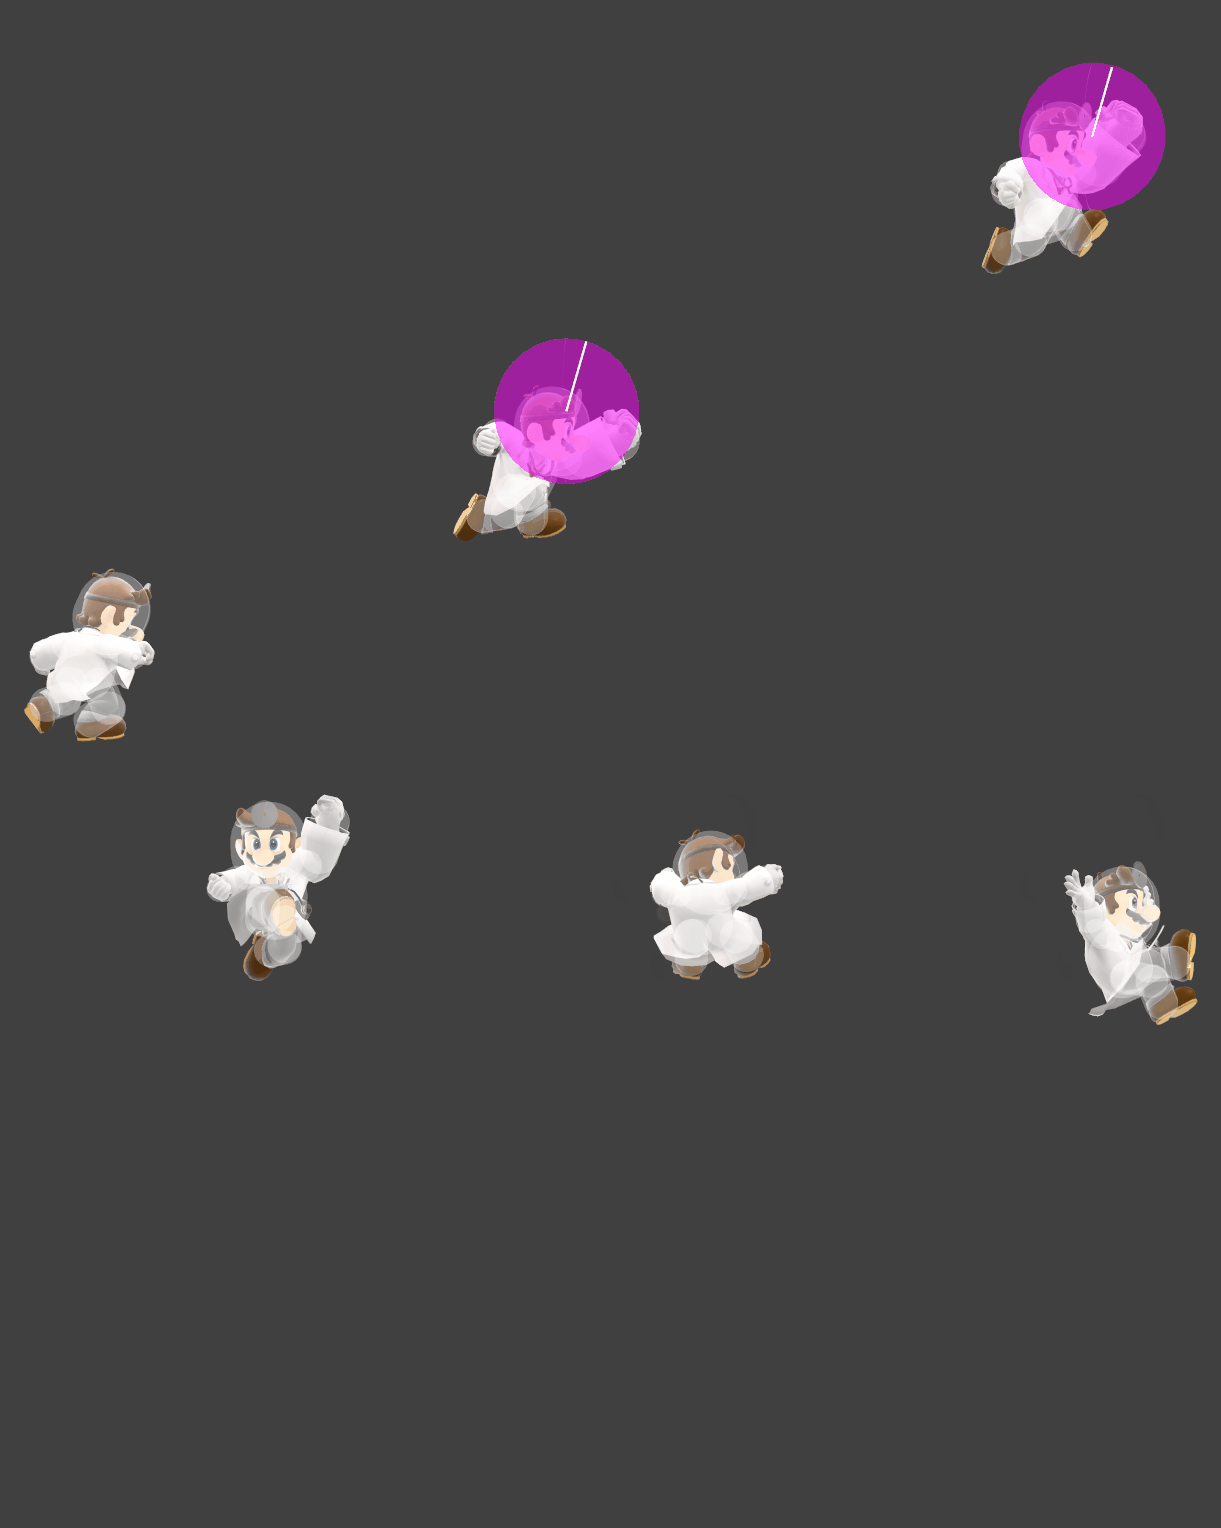
|
| Down special (grounded) | Dr. Tornado | 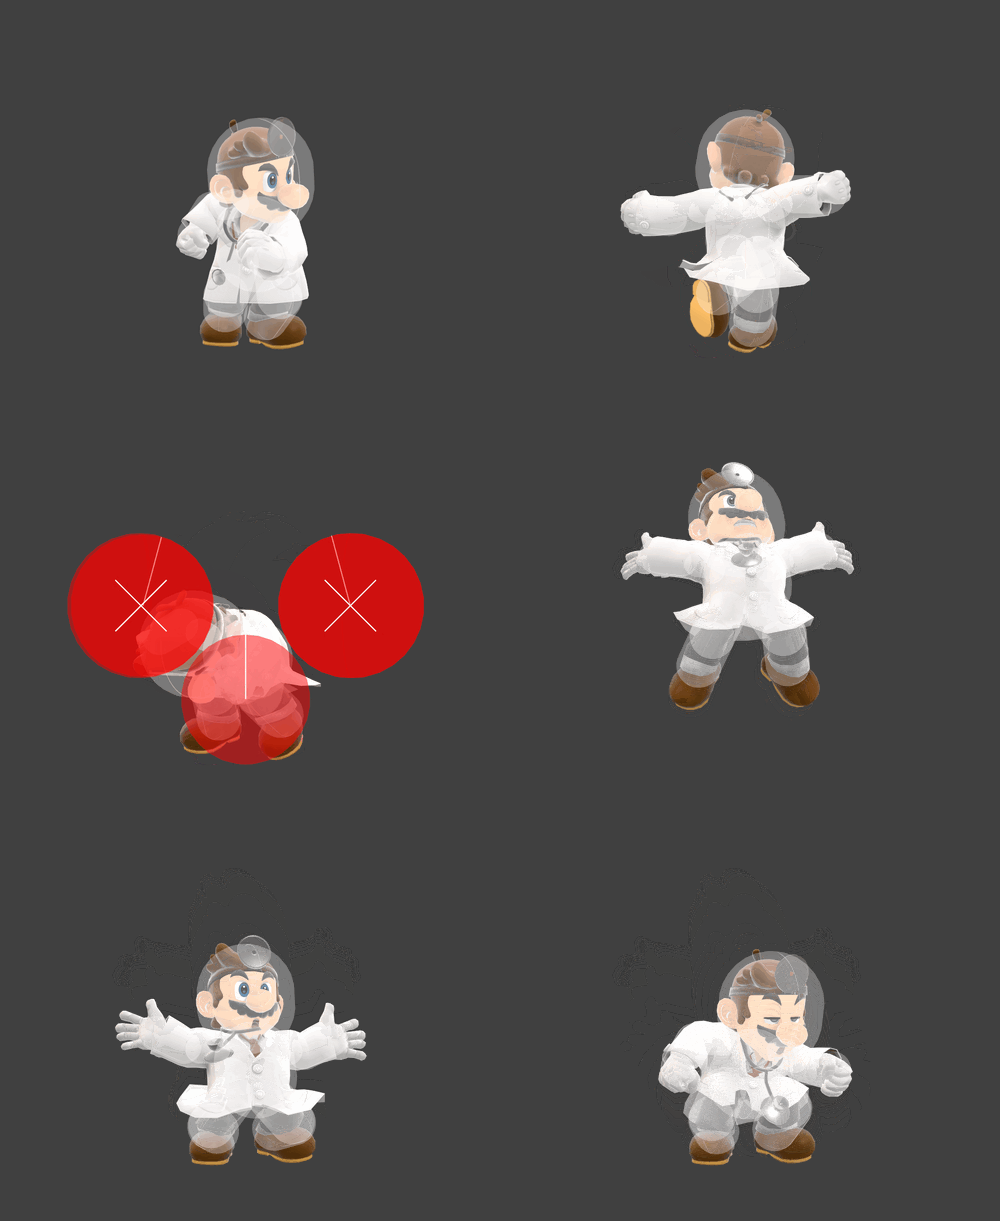
|
| Down special (aerial) | Dr. Tornado | 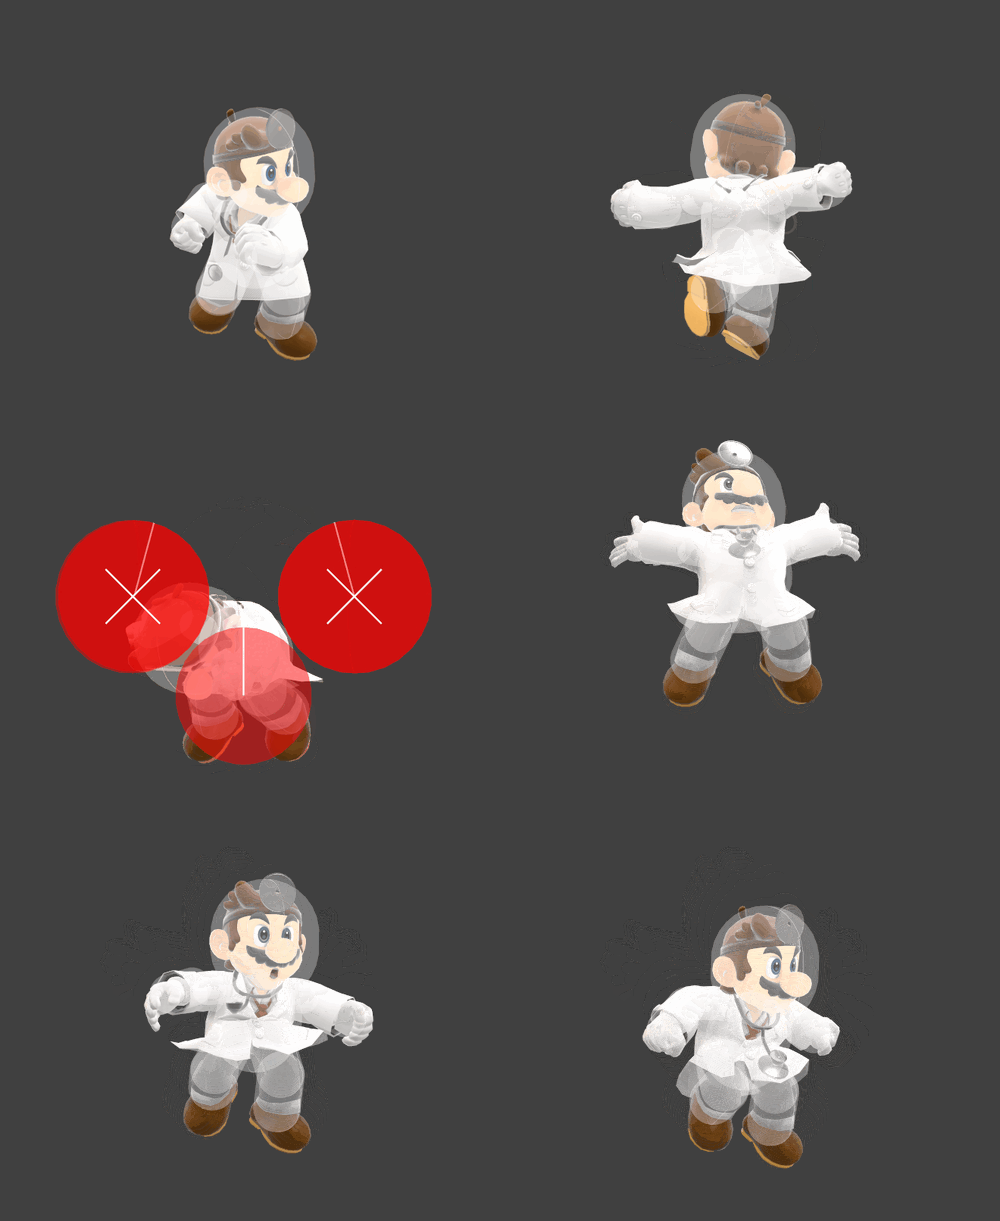
|
| Standing grab | 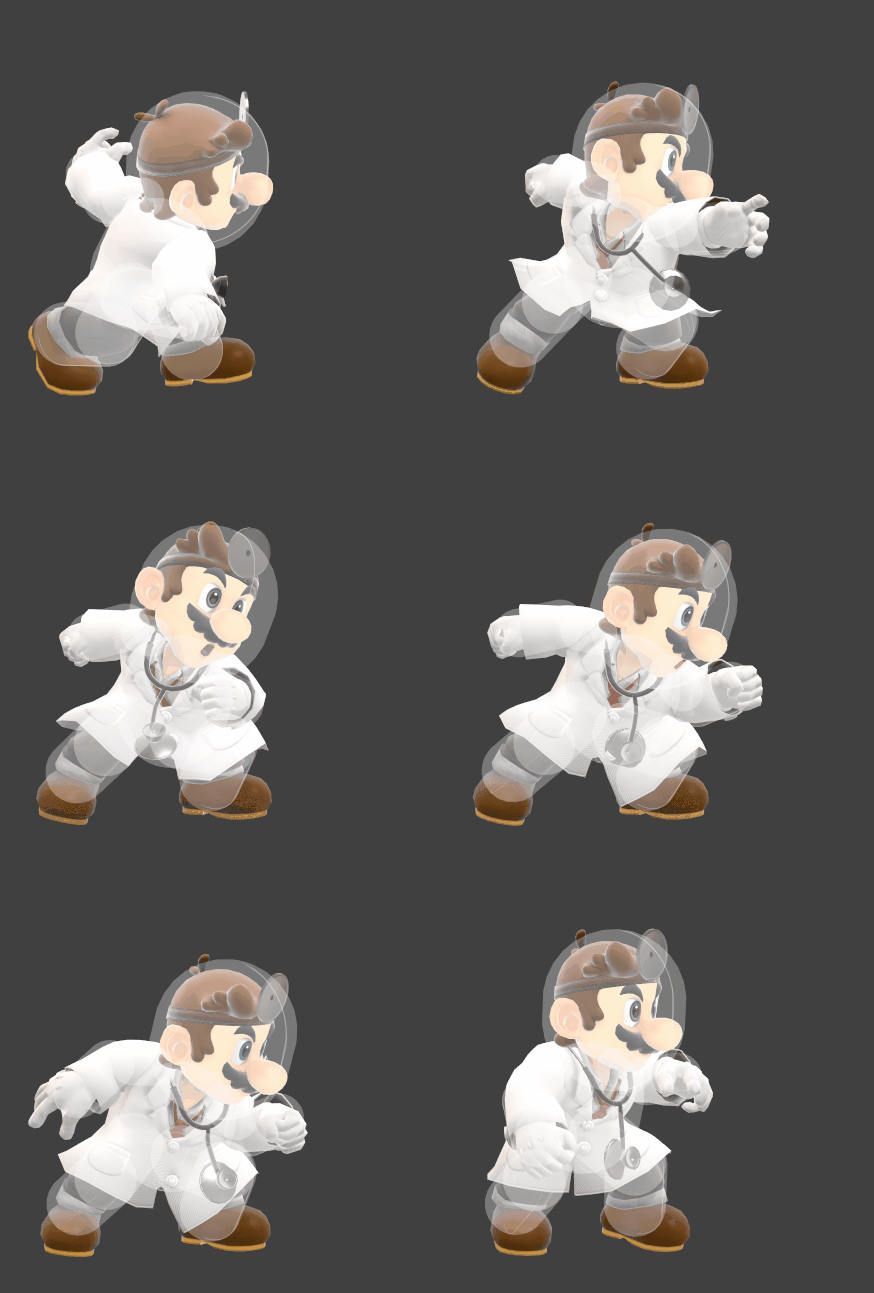
| |
| Dash grab | 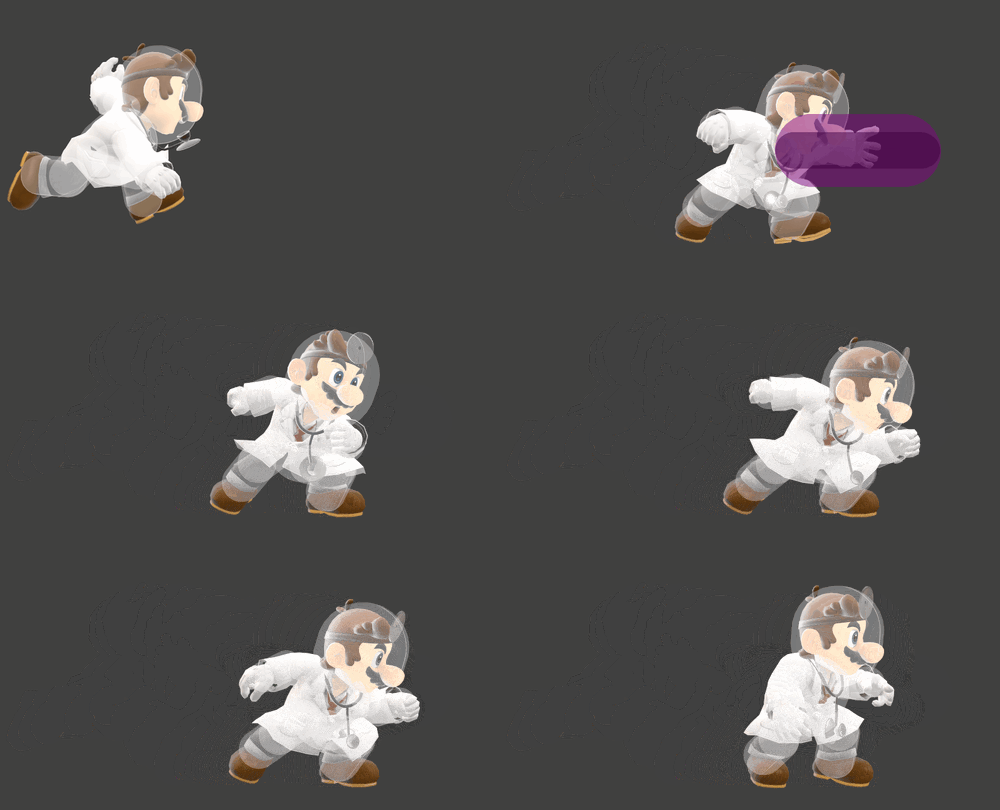
| |
| Pivot grab | 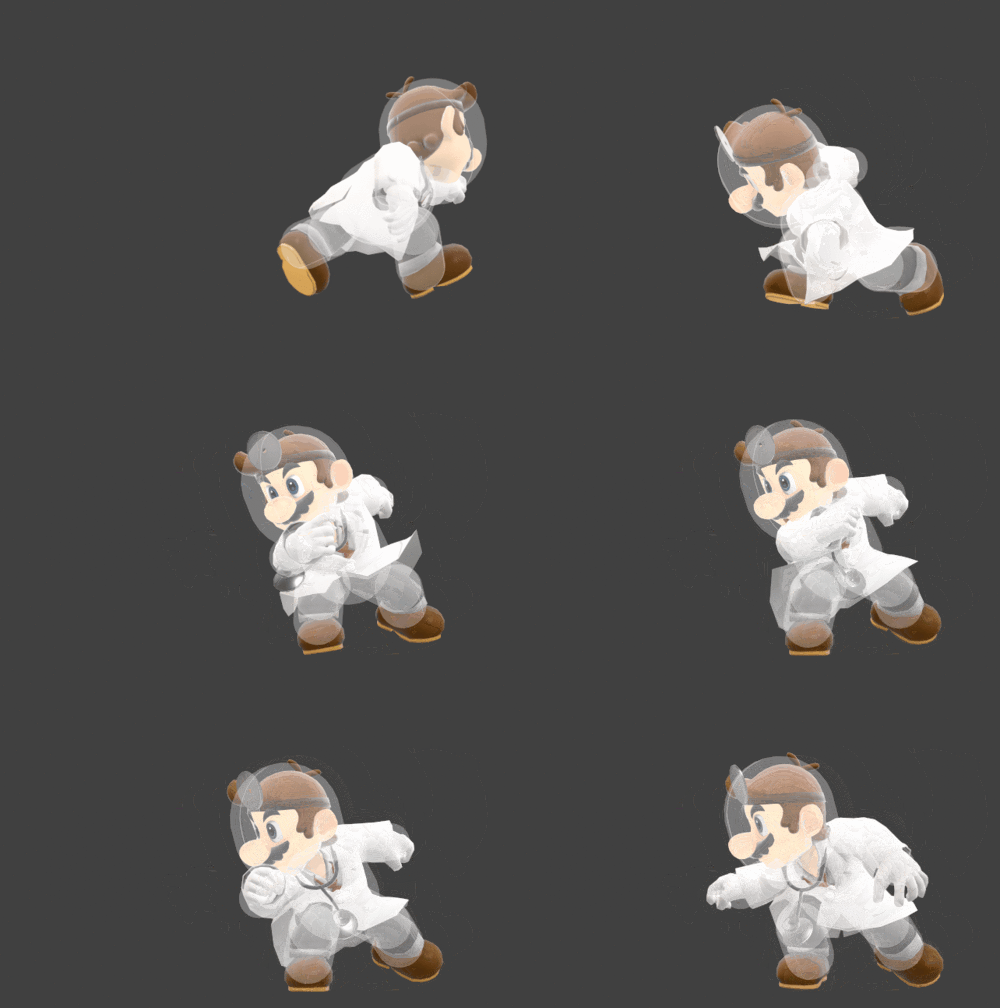
| |
| Pummel | 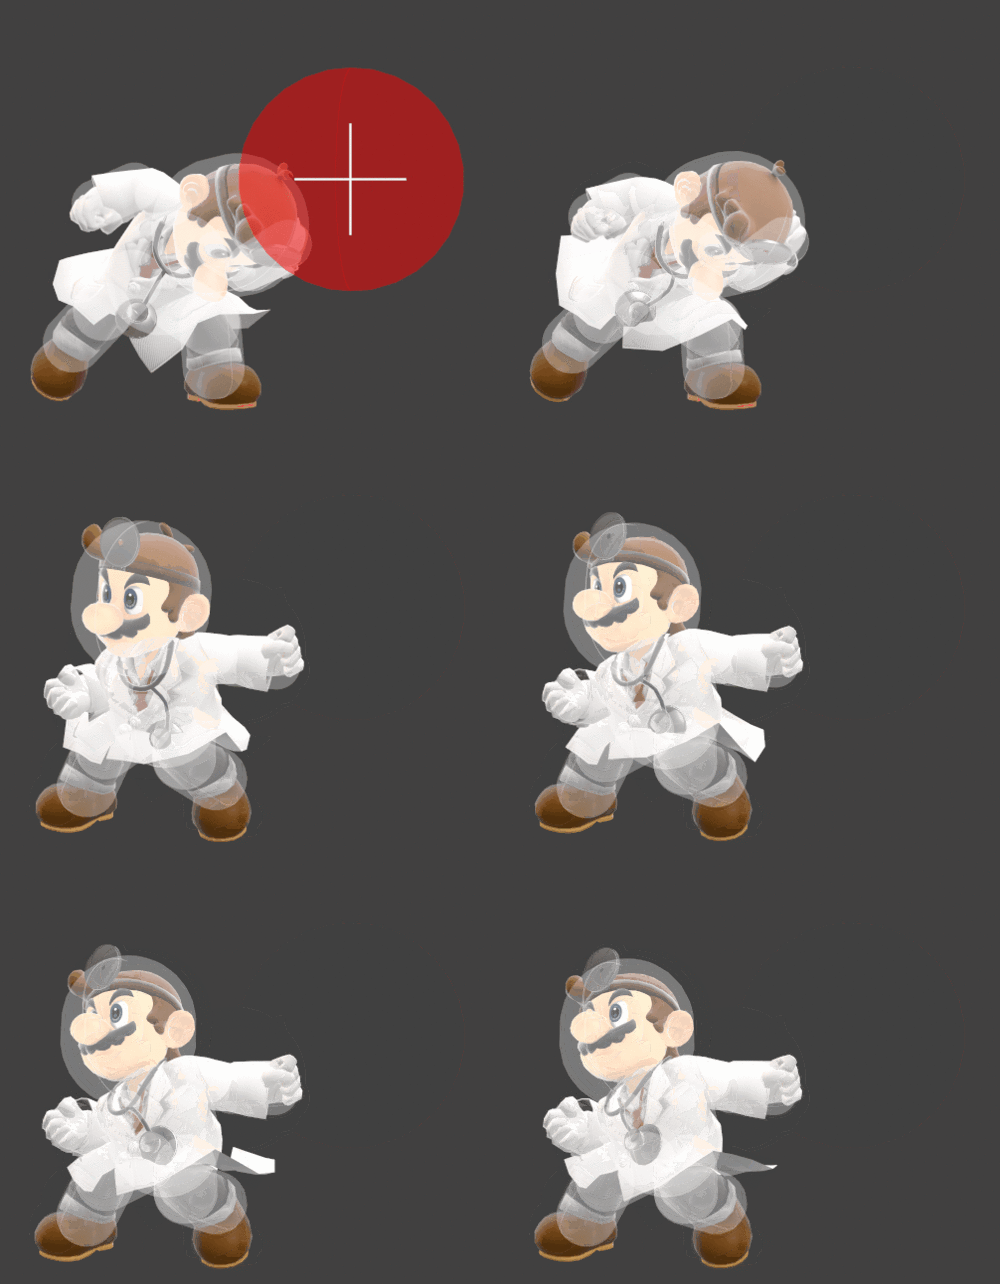
| |
| Forward throw | 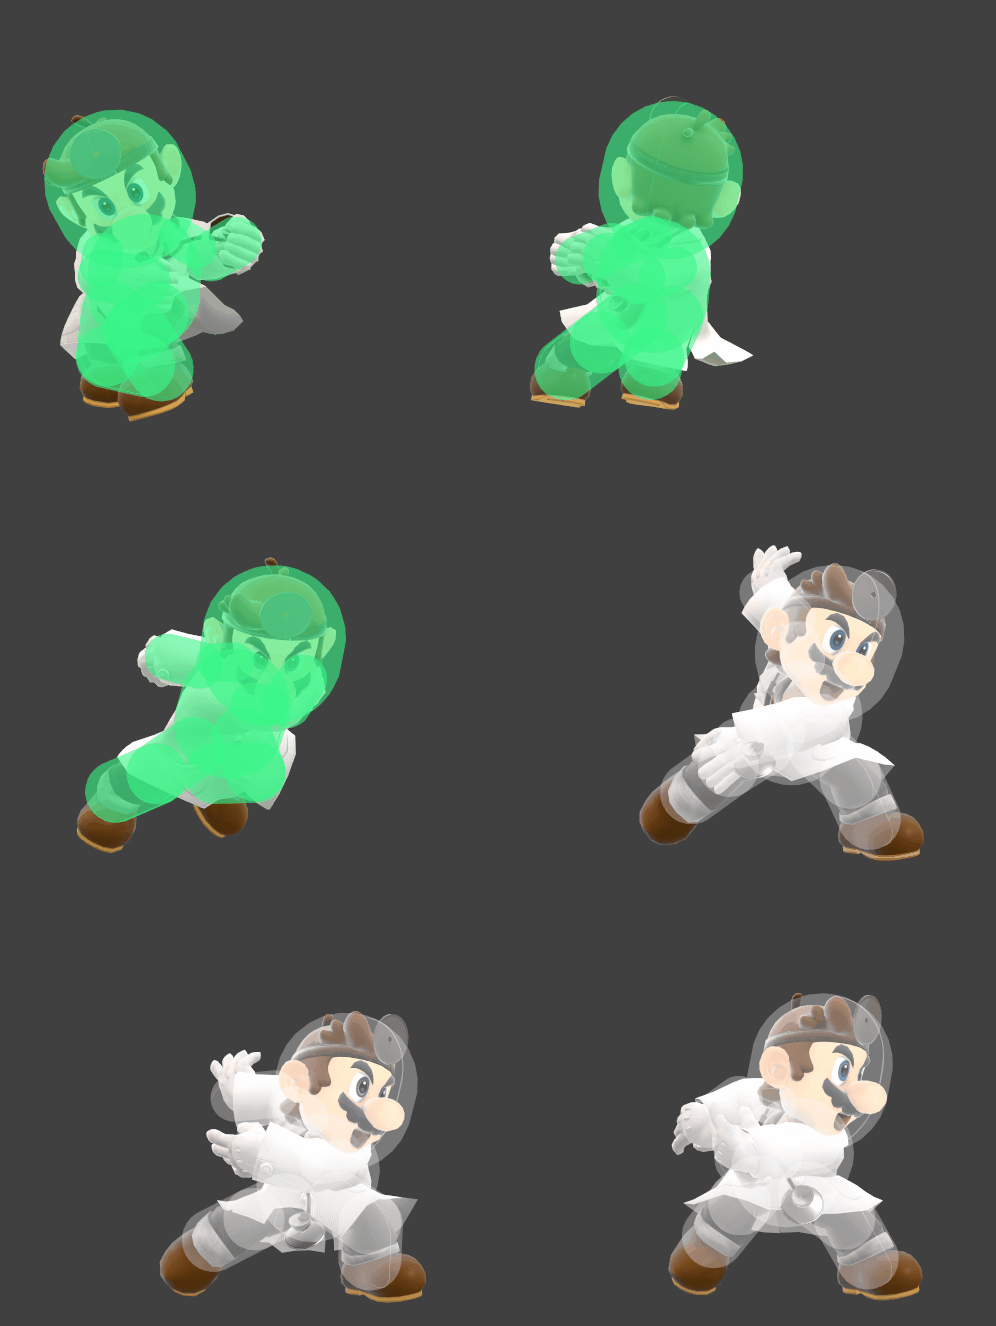
| |
| Back throw | 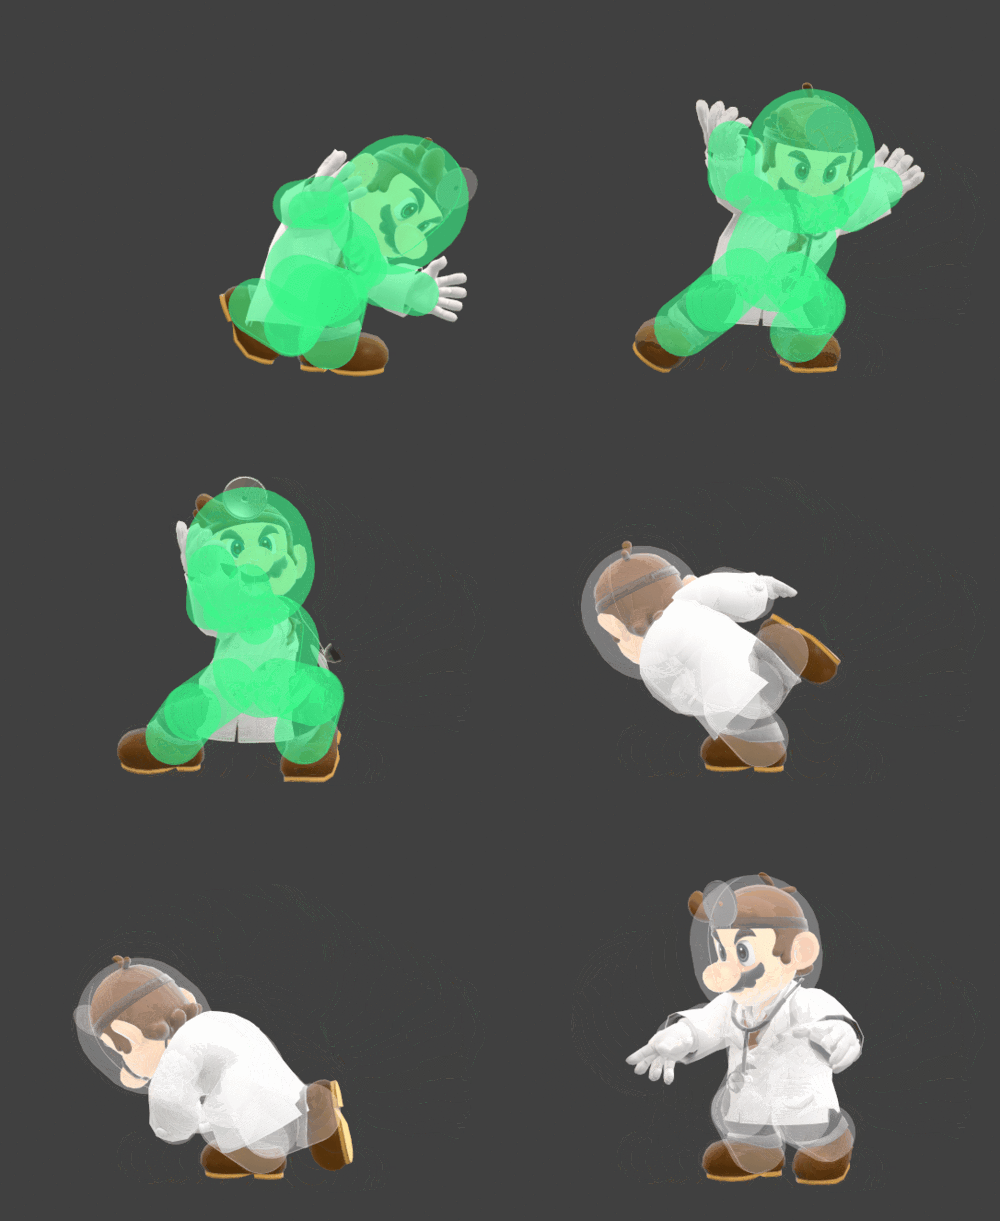
| |
| Up throw | 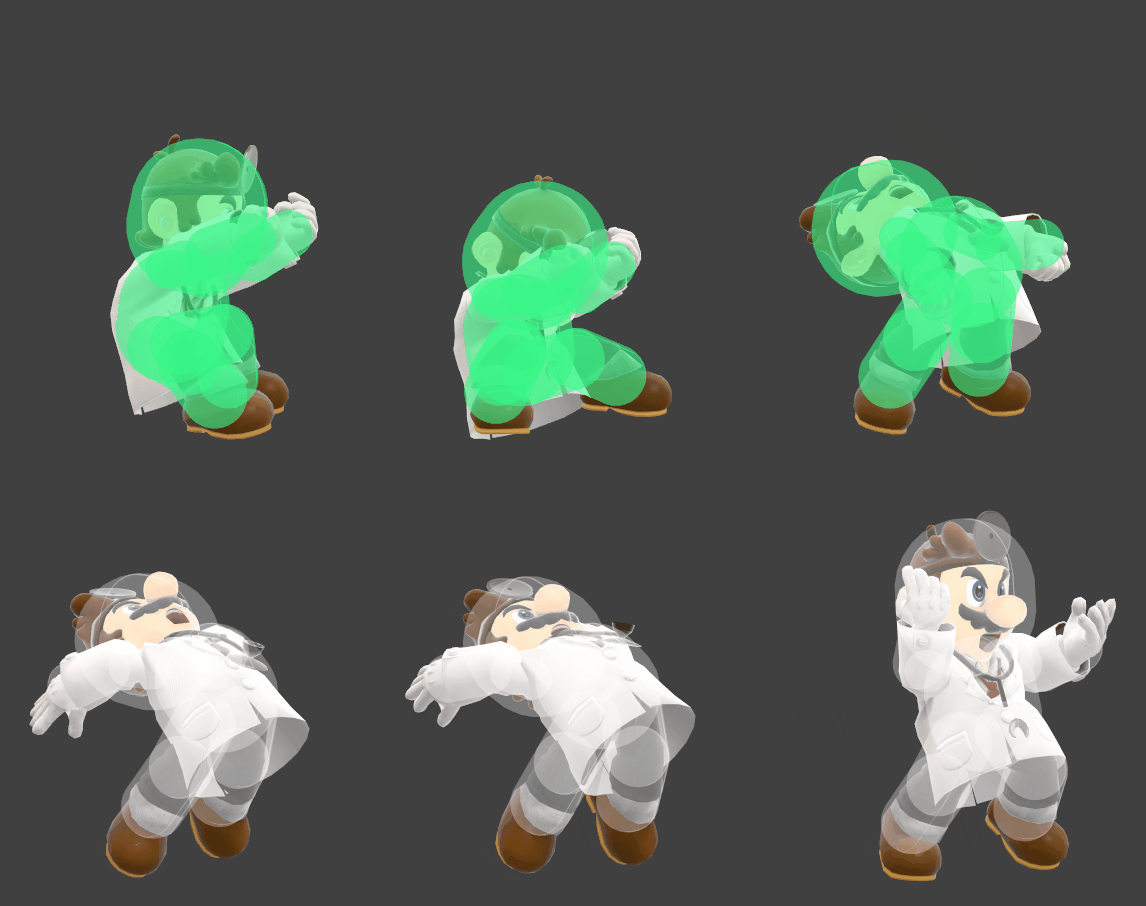
| |
| Down throw | Hospital Bed | 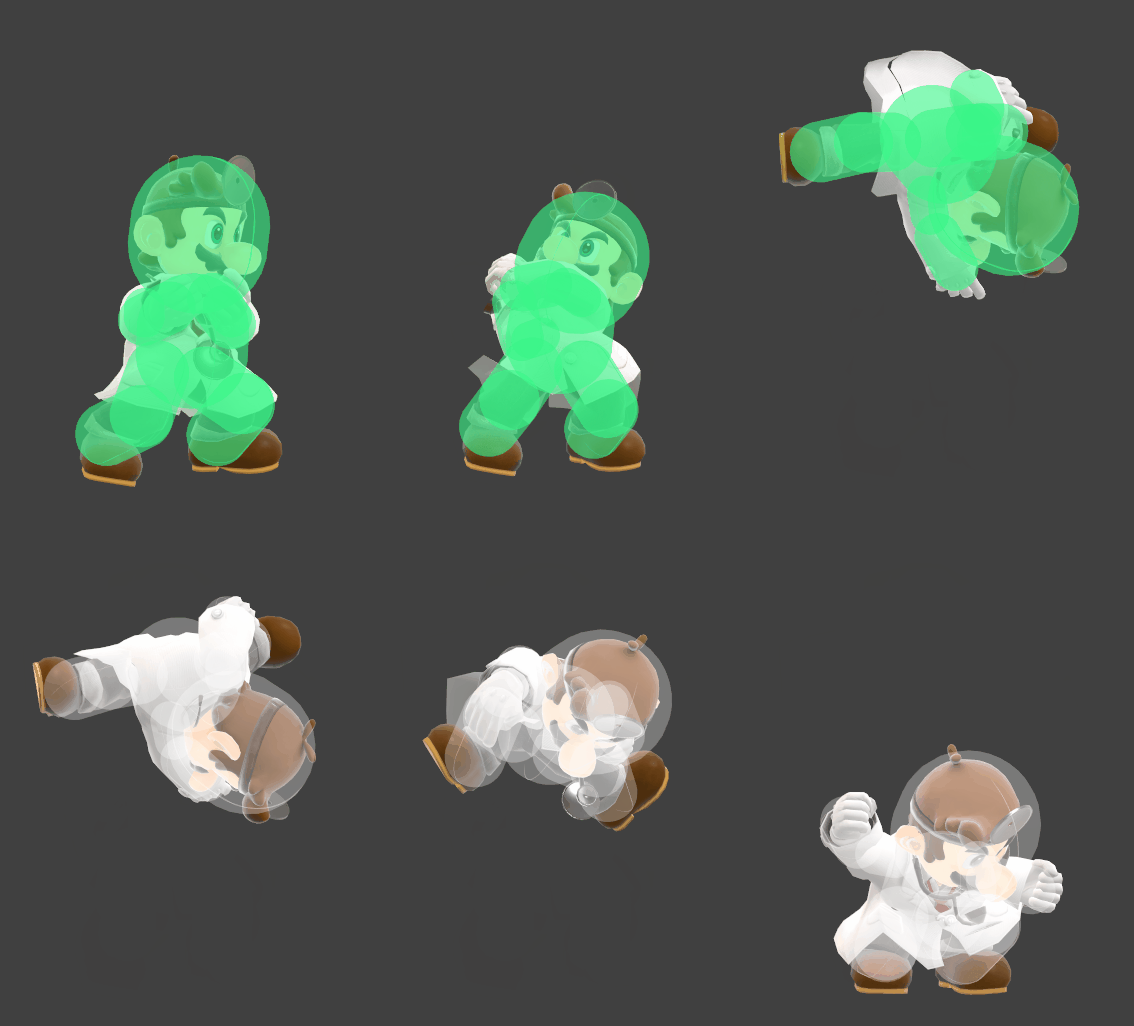
|
| Getup attack front | 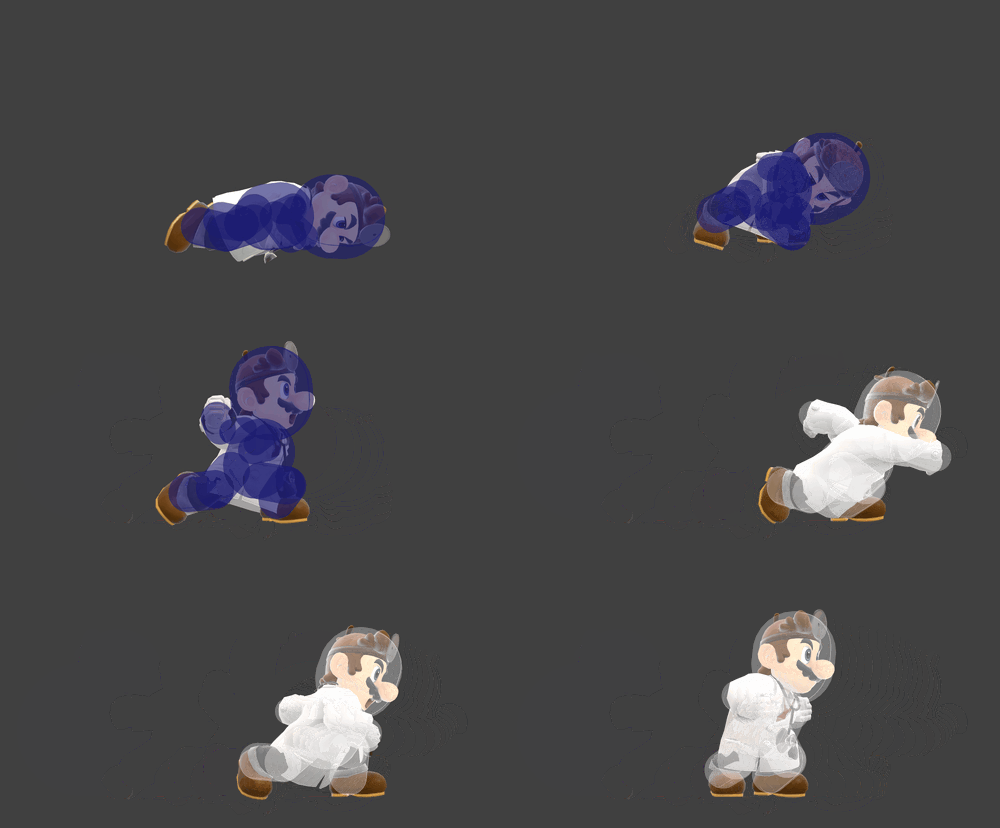
| |
| Getup attack back | 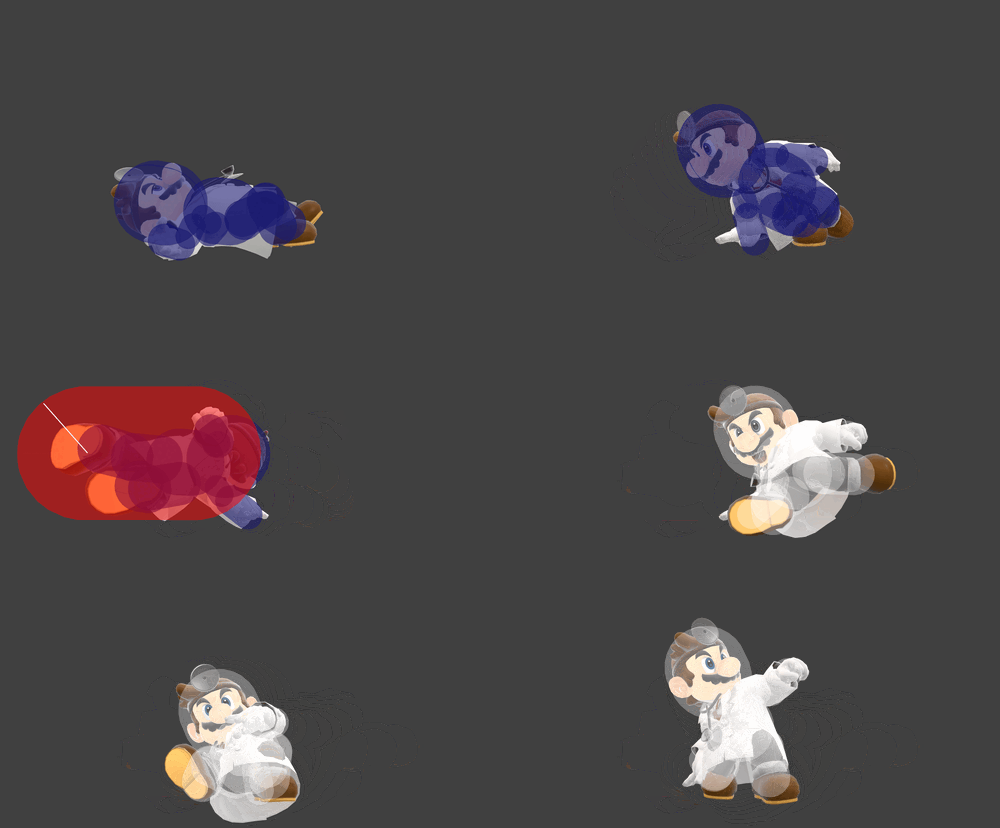
| |
| Getup attack trip | 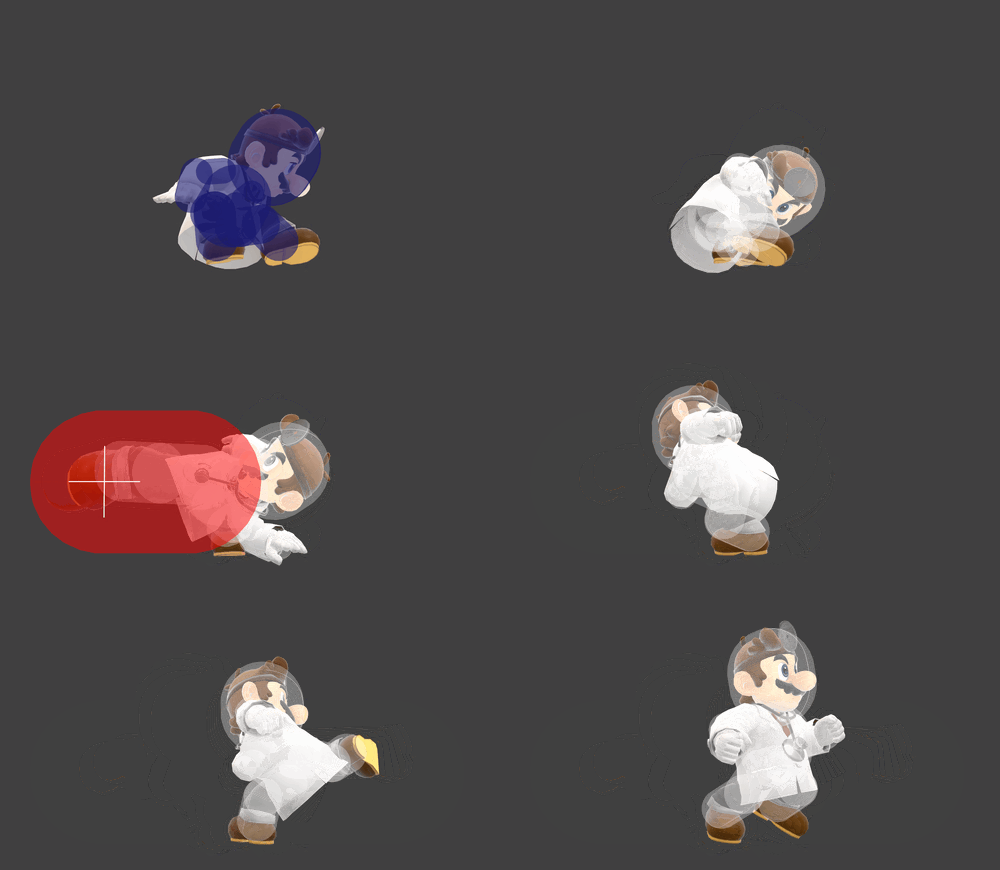
| |
| Ledge attack | 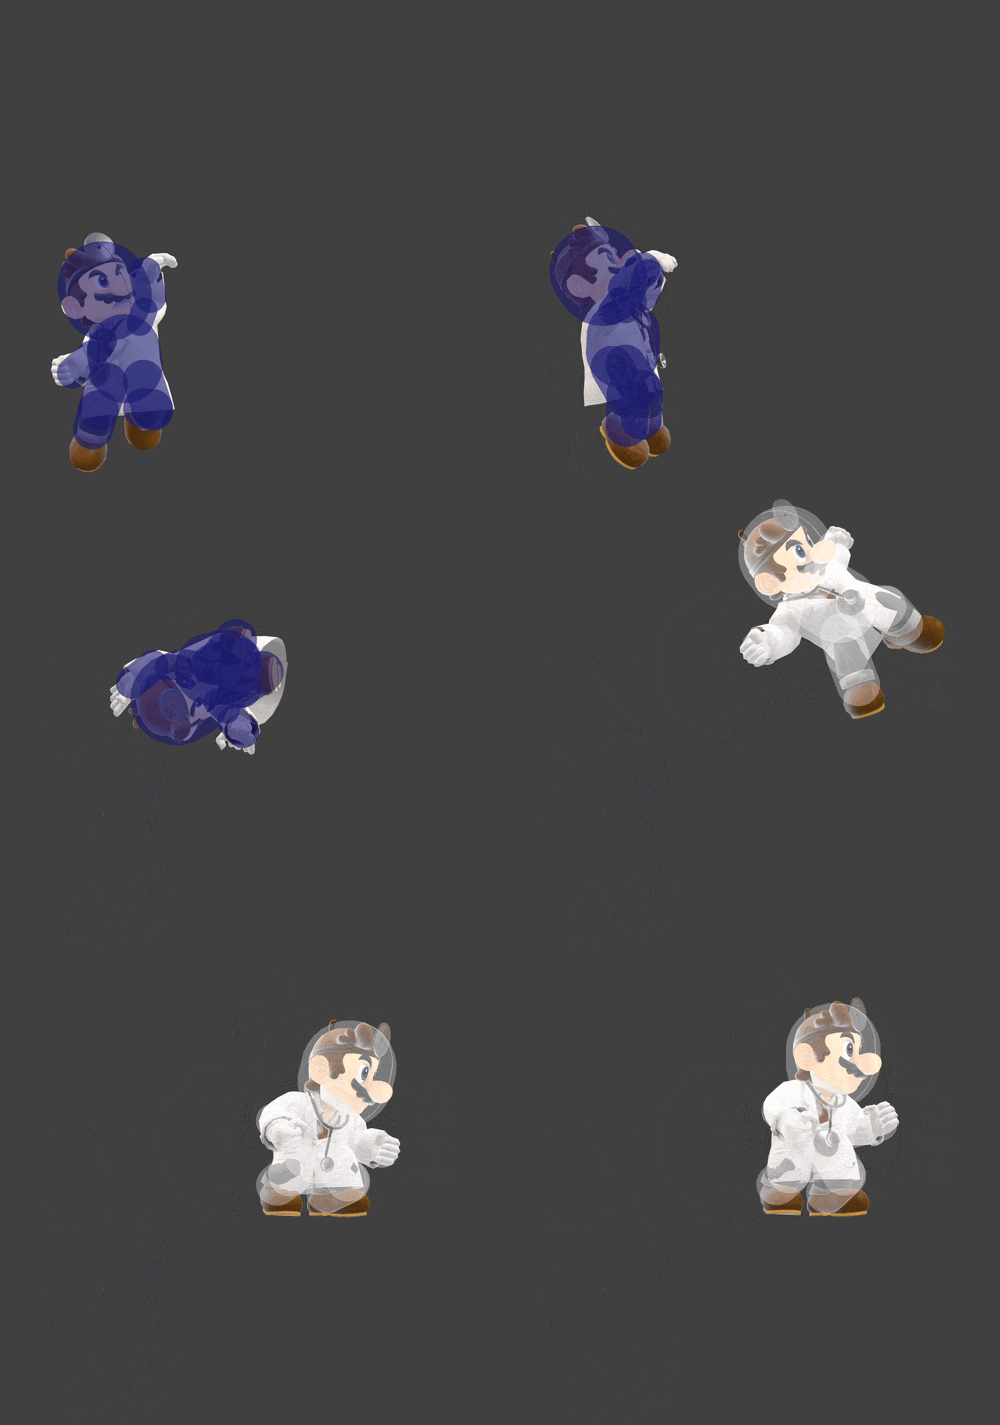
|