SSBB Icon.png

Ness (SSBB)/Down tilt: Difference between revisions

From SmashWiki, the Super Smash Bros. wiki
Jump to navigationJump to search
No edit summary
 
Line 1: Line 1:
{{ArticleIcons|ssbb=y}}
 
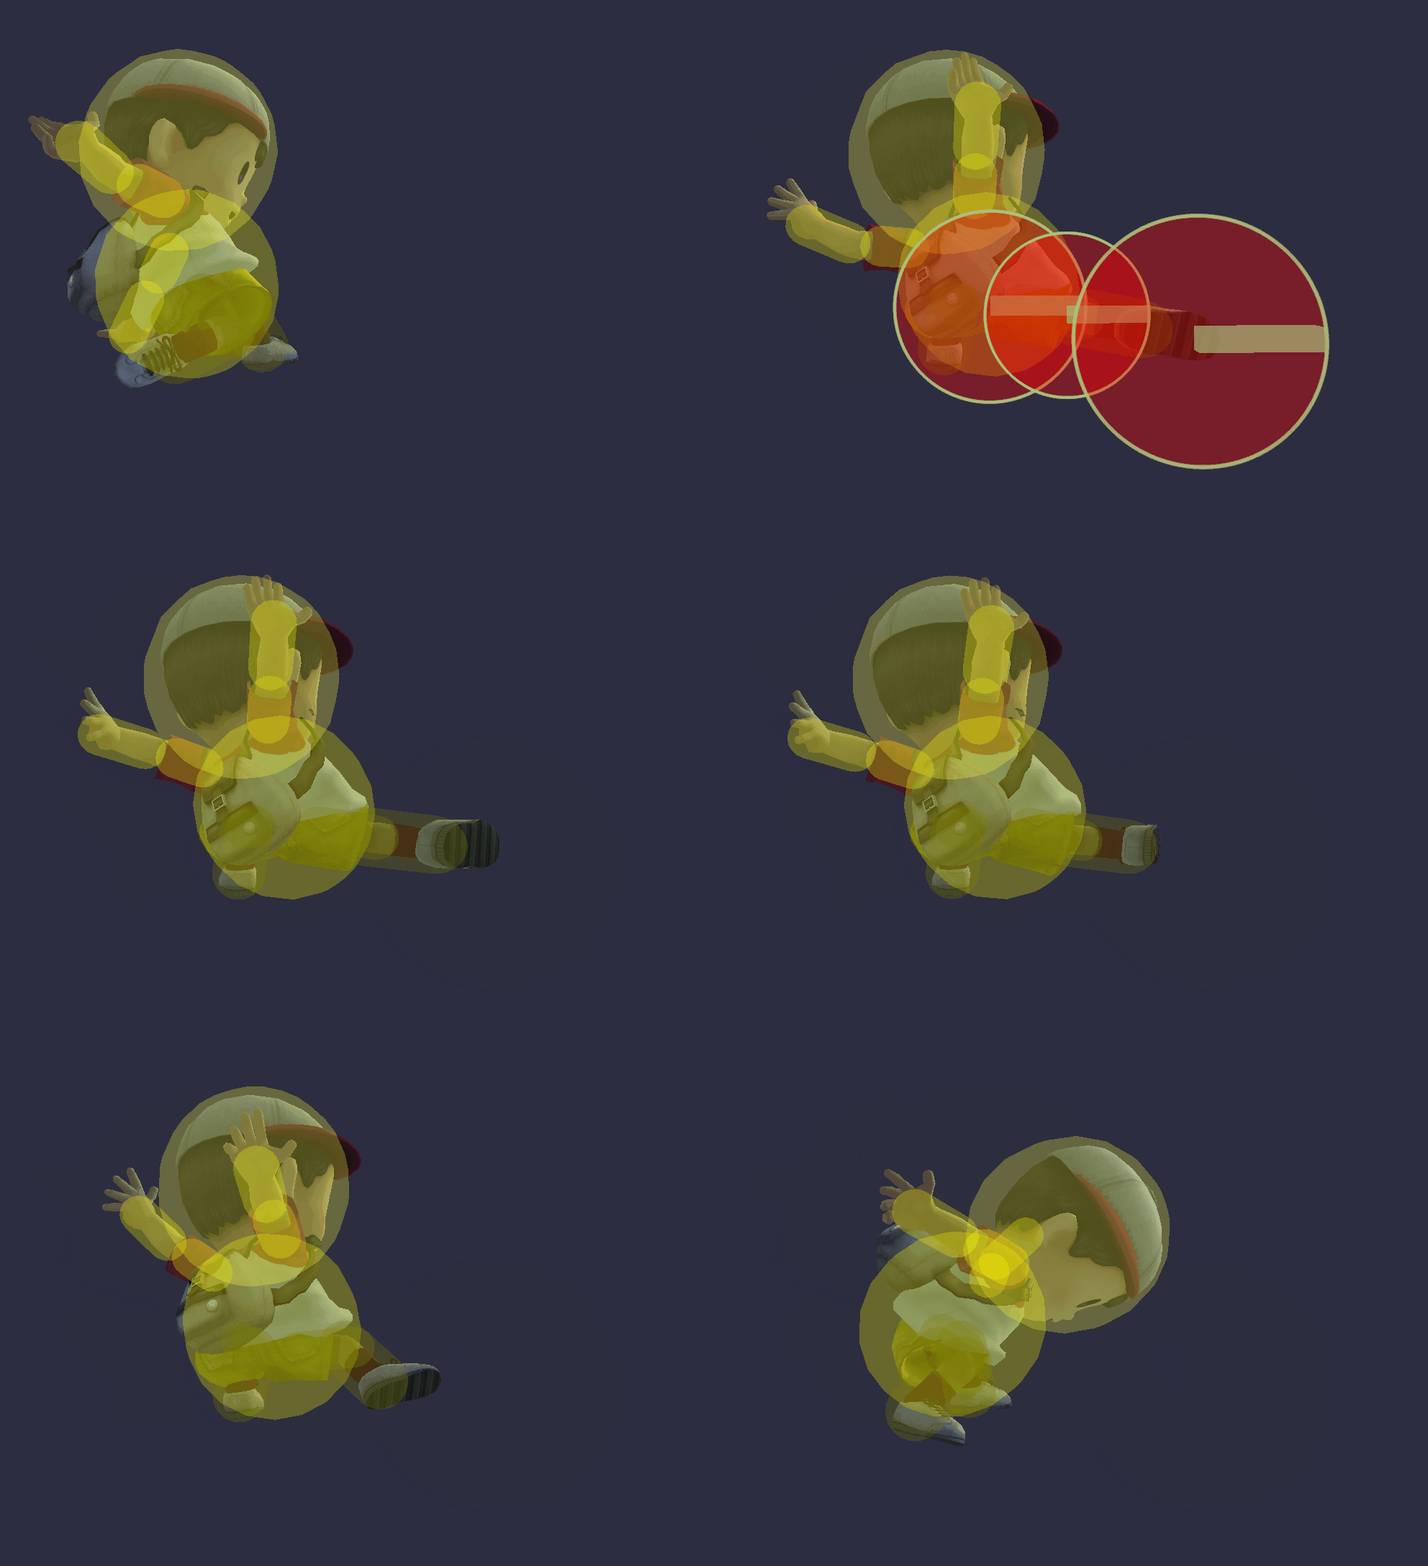
[[File:NessDTiltSSBB.gif|thumb|350px|Hitbox visualization showing Ness's down tilt.]]
==Overview==
==Overview==
{{competitive expertise}}

Latest revision as of 23:39, May 21, 2024

Hitbox visualization showing Ness's down tilt.

Overview[edit]

Competitive.png This article or section may require competitive expertise.
You can discuss this issue on the talk page or edit this page to improve it.

Hitboxes[edit]

ID Part Damage SD Angle BK KS FKV Radius Bone Offset SDIx T% Clang Rebound Type Effect G A Sound Direct
0 0 4% 0 AngleIcon0.png 3 20 0 4.32 16 0.0 4.4 0.0 1.0x 0.5x 30% HitboxTableIcon(Clang).png HitboxTableIcon(Rebound).png TypeIcon(Foot).png EffectIcon(Normal).png HitboxTableIcon(GroundedTrue).png HitboxTableIcon(AerialTrue).png S Kick SpecialsDirect.png
1 0 4% 0 AngleIcon0.png 3 20 0 2.88 15 0.0 1.6 0.0 1.0x 0.5x 30% HitboxTableIcon(Clang).png HitboxTableIcon(Rebound).png TypeIcon(Foot).png EffectIcon(Normal).png HitboxTableIcon(GroundedTrue).png HitboxTableIcon(AerialTrue).png S Kick SpecialsDirect.png
2 0 4% 0 AngleIcon0.png 3 20 0 3.36 7 0.0 0.0 0.0 1.0x 0.5x 30% HitboxTableIcon(Clang).png HitboxTableIcon(Rebound).png TypeIcon(Foot).png EffectIcon(Normal).png HitboxTableIcon(GroundedTrue).png HitboxTableIcon(AerialTrue).png S Kick SpecialsDirect.png

Timing[edit]

Earliest continuable is for another down tilt only.

Hitboxes 3-4
Earliest continuable frame 6
Animation length 13
FrameIcon(Lag).png FrameIcon(Lag).png FrameIcon(Hitbox).png FrameIcon(Hitbox).png FrameIcon(LagContinuableS).png FrameIcon(LagContinuableE).png FrameIcon(Lag).png FrameIcon(Lag).png FrameIcon(Lag).png FrameIcon(Lag).png FrameIcon(Lag).png FrameIcon(Lag).png FrameIcon(Lag).png
Legend (1 square = 1 frame)
FrameIcon(Lag).png
Lag time
FrameIcon(Hitbox).png
Hitbox