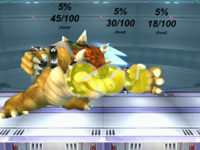
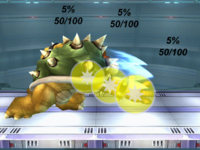
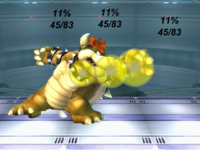
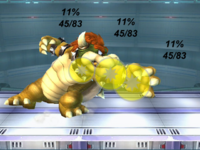
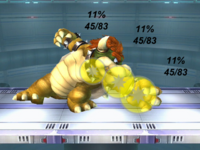
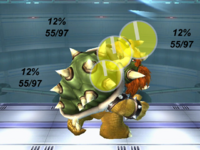
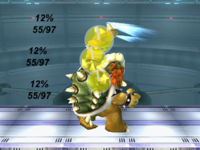
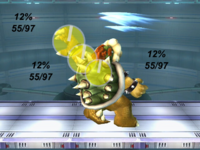
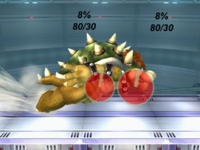
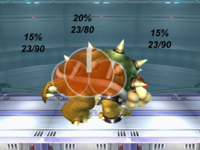
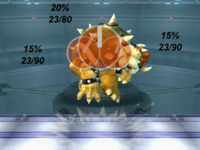
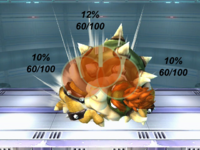
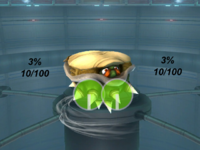
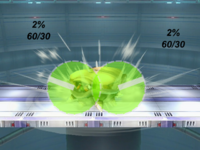
Super Smash Bros. Brawl

Bowser (SSBB)/Hitboxes

Hitbox Article.png This is a hitbox repository. Hitbox Article.png
Click on any image to view full size.


Bowser's Hitboxes
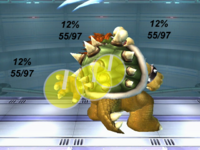
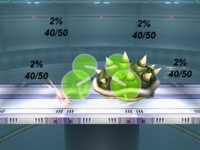
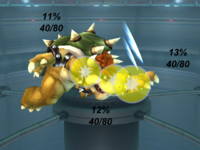
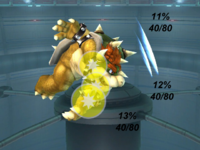
Neutral
(Double Claw)
BowserSSBBNeutral(hit1).png
Hit 1
BowserSSBBNeutral(hit2).png
Hit 2
F-Tilt
(Backhand Knuckle)
BowserSSBBFTilt(angledup).png
Angled Up
BowserSSBBFTilt(angledside).png
Angled Side
BowserSSBBFTilt(angleddown).png
Angled Down
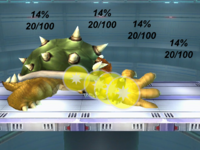
U-Tilt
(Vertical Claw)
BowserSSBBUTilt(part1).png BowserSSBBUTilt(part2).png
BowserSSBBUTilt(part3).png BowserSSBBUTilt(part4).png
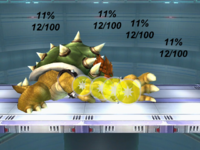
D-Tilt
(Craw Trip)
BowserSSBBDTilt(hit1).png BowserSSBBDTilt(hit2).png
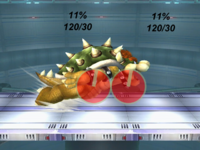
Dash
(Body Slam)
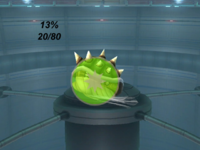
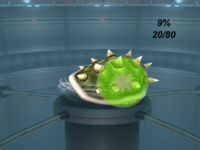
BowserSSBBDash(clean).png
Clean
BowserSSBBDash(late).png
Late
U-Smash
(Shell Slam)
BowserSSBBUSmash(cleanstart).png
Clean (start)
BowserSSBBUSmash(cleanend).png
Clean (end)
BowserSSBBUSmash(late).png
Late
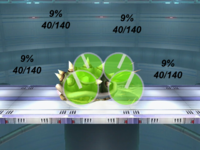
D-Smash
(Shell Blender)
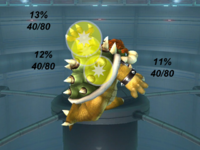
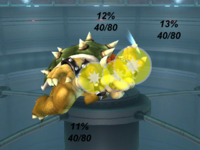
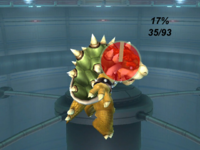
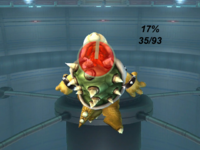
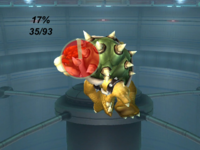
BowserSSBBDSmash(hits1-6).png
Hits 1-6
BowserSSBBDSmash(hit7).png
Hit 7
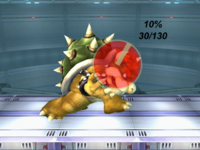
F-Smash
(Horn Lunge)
BowserSSBBFSmash(hit1).png
Hit 1
BowserSSBBFSmash(hit2).png
Hit 2
Nair
(Shell Spin)
BowserSSBBNair(clean).png
Clean
BowserSSBBNair(late).png
Late
Fair
(Air Claw)
BowserSSBBFair(part1).png BowserSSBBFair(part2).png
BowserSSBBFair(part3).png BowserSSBBFair(part4).png
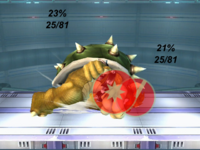
Bair
(Shell Bulge)
BowserSSBBBair(clean).png
Clean
BowserSSBBBair(late).png
Late
Uair
(Upper Headbutt)
BowserSSBBUair(start).png BowserSSBBUair(mid).png BowserSSBBUair(end).png
Dair
(Inverted Spin)
BowserSSBBDair(hits1-8).png
Hits 1-8
BowserSSBBDair(hit9).png
Hit 9
BowserSSBBDair(landing).png
Landing

Notes

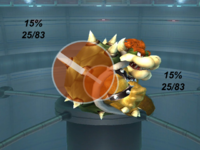
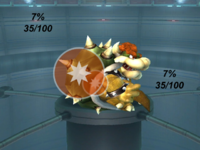
  • The angle of a hitbox is displayed as a line. Note that all angles are based on what side of the attacker the target is on - if the target is on the opposite side of the attacker, they will fly in the opposite direction (but at the same angle). Most presented angles assume the target is on the right of the attacker, unless the attack is obviously on the attacker's left.
  • A transcendent hitbox is denoted by a dashed border.
  • The colour of a hitbox is its type; the colour of its angle indicator and border is its effect.
  • The numbers represent each hitbox's damage and knockback (base knockback/knockback scaling), as well as whether the knockback is fixed.