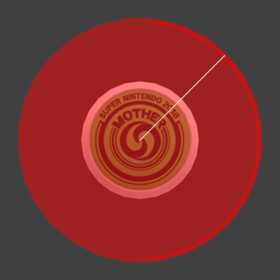
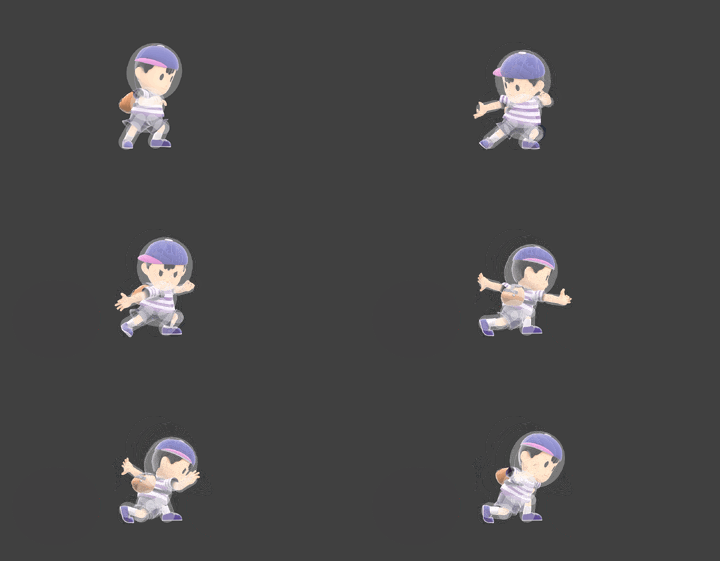
Hitbox visualization showing Ness's down smash when charging.
Hitbox visualization showing Ness's down smash.


Competitive.png This article or section may require competitive expertise.
You can discuss this issue on the talk page or edit this page to improve it.

Overview

Update History

  3.0.0

  •   Down smash is automatically unleashed from charging state earlier and hit less often while charging (rehit rate: 3 → 4).
  •   The physics of Ness' yo-yo string are stiffer. This improves the consistency of down smash at the ledge.

  3.1.0

  •   The physics of Ness' yo-yo string have been reverted back to their pre-3.0.0 properties.

Hitboxes

ID Part Rehit rate Damage SD Angle Angle type BK KS FKV Set weight Radius Bone Offset SDI× T% Clang Rebound Effect Type G A Sound Direct Hit bits Hit part Blockable Reflectable Absorbable Flinchless No GFX Heedless
Charge
0 0 4 1.0% 0   Forward 0 100 12   4.0 attach 0.0 0.0 0.0 1.0× 1.0× 0%               Kick   All All            
Back hit 1
0 0 4 1.0% 0   Forward 0 100 12   4.0 attach 0.0 0.0 0.0 1.0× 1.0× 0%               Kick   All All            
Back hit 2
0 0 0 10.0% 0   Forward 60 80 0   5.0 attach 0.0 0.0 0.0 1.0× 1.0× 0%               Kick   All All            
Front hit 1
0 0 4 1.0% 0   Backward 0 100 20   4.0 attach 0.0 0.0 0.0 1.0× 1.0× 0%               Kick   All All            
Front hit 2
0 0 0 10.0% 0   Backward 50 80 0   5.0 attach 0.0 0.0 0.0 1.0× 1.0× 0%               Kick   All All            

Timing

Charges between 11-12
Back hit 1 12-15
back hit 2 17-18
Front hit 1 23-25
Front hit 2 31-32
Interruptible 46
Animation length 63
                                                                                                                             
Legend (1 square = 1 frame)
 
Lag time
  
Charge interval
 
Hitbox
 
Interruptible

Trivia

  • The front hit has a hitbox before the final hit that is deleted on the frame it appears. As such, it never appears in the game.